JCreator and JUnit Integration
Requirements
- Java JDK 1.5 or later
- You will need a JDK to compile or run any Java files on your machine. You can download this from http://java.sun.com/javase/downloads/index_jdk5.jsp.
- JCreator LE v4.50 or later
- If you do not already have JCreator LE installed, please download the latest version from http://www.jcreator.com/download.htm.
- This write-up was created with JCreator LE version 4.50; exact instructions may differ if the version you are downloading is newer.
- JUnit v4.4
- If you do not already have JUnit 4.4 installed, please download it from here. Save it somewhere in your directories and remember this location.
Initial
JCreator/JUnit Setup
Setup JUnit Project
Path
- Load JCreator.
- Each lab and assignment will require their own JCreator project. To create a new project, press Ctrl+Shift+N, or navigate to the option through the File menu.
- Under "Project Template", select "Empty Project".
- Under "Project Paths", enter a project name.
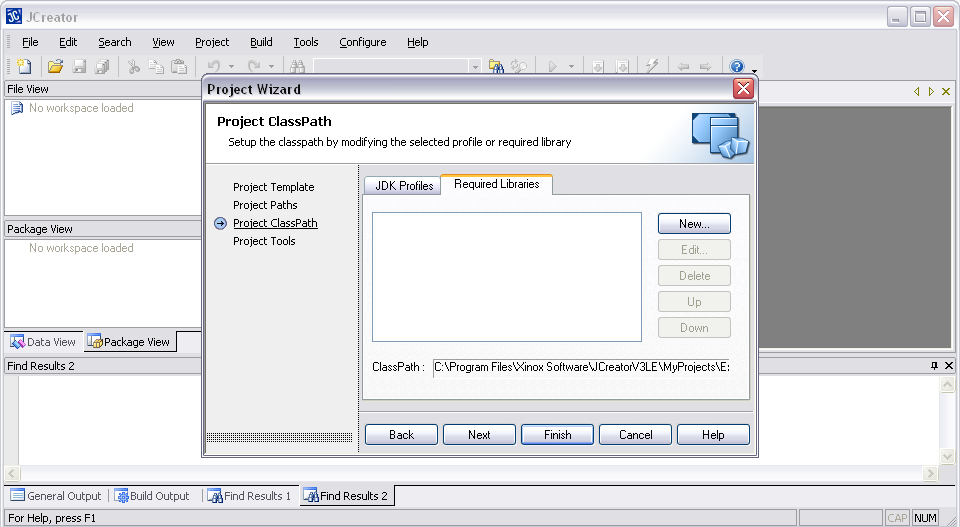
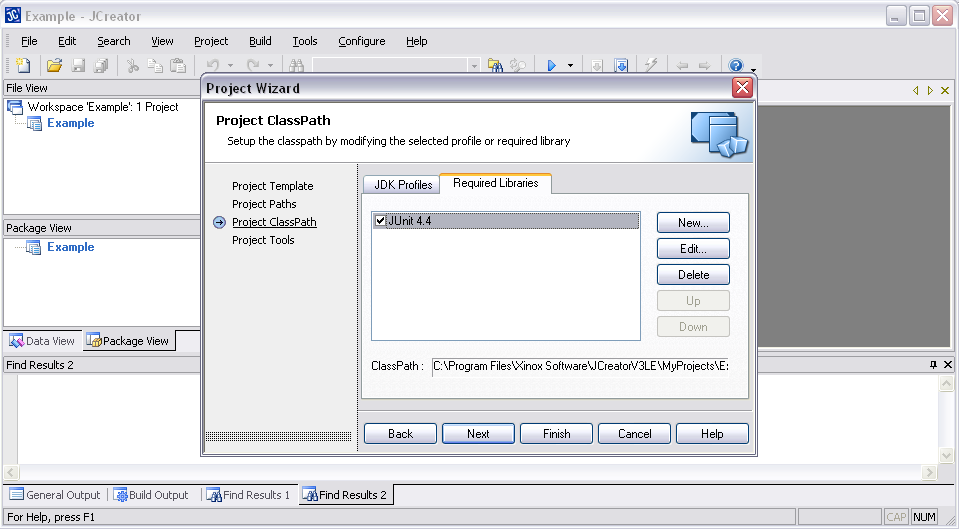
- Under "Project ClassPath", select the "Required Libraries" tab. Click "New...".
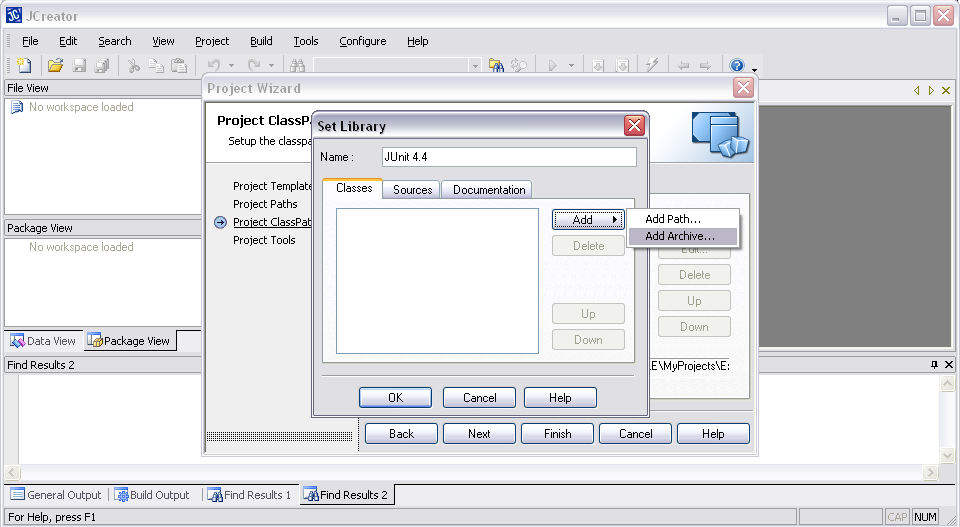
- In the "Name" text box, type JUnit 4.4.
- On the Classes tab, add a new archive. Navigate to your junit-4.4.jar file from your JUnit 4.4 installation. Click "Open". Click "OK".
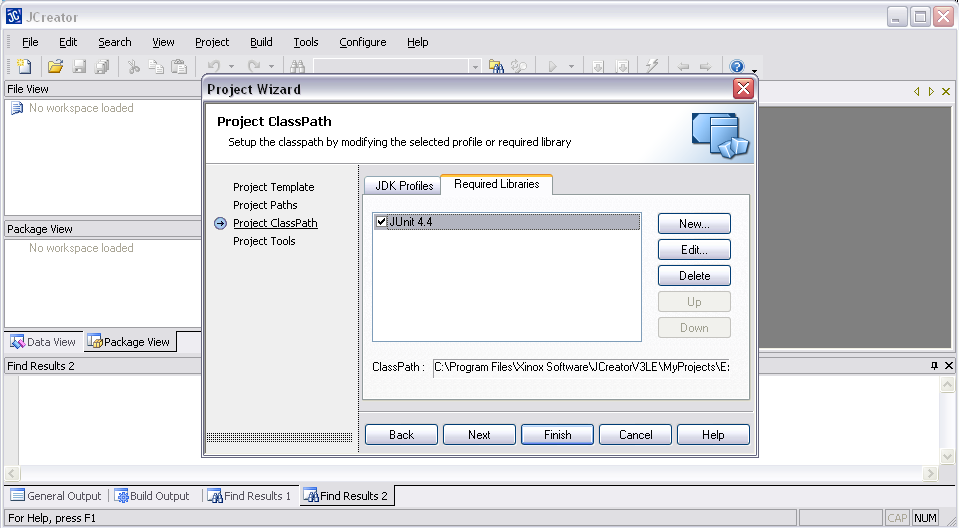
- Check the box next to "JUnit 4.4", and click "Finish".
JCreator/JUnit Setup For Future Projects
The JUnit project path remains on your machine
between projects. The one and only task that needs to be remembered for each
subsequent project is to check the "JUnit 4.4" box on the "Project ClassPath"
page. No additional setup is required.
Running JUnit Tests
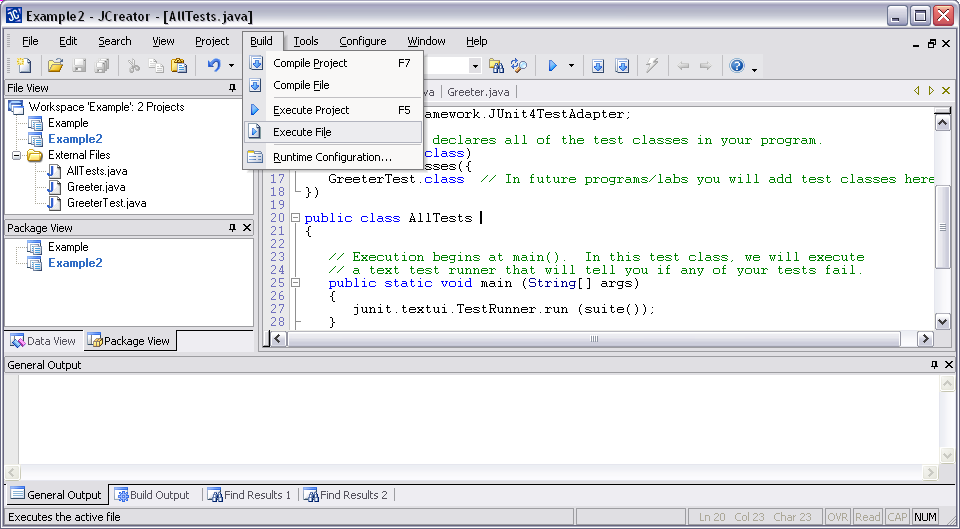
- Open the desired AllTests.java test file so that it is the currently selected file in JCreator.
- Click "Build/Execute File".