The Scheduler application features three different user accounts: Scheduling Administrator (also known as Administrator or Admin), Instructor, and Student.
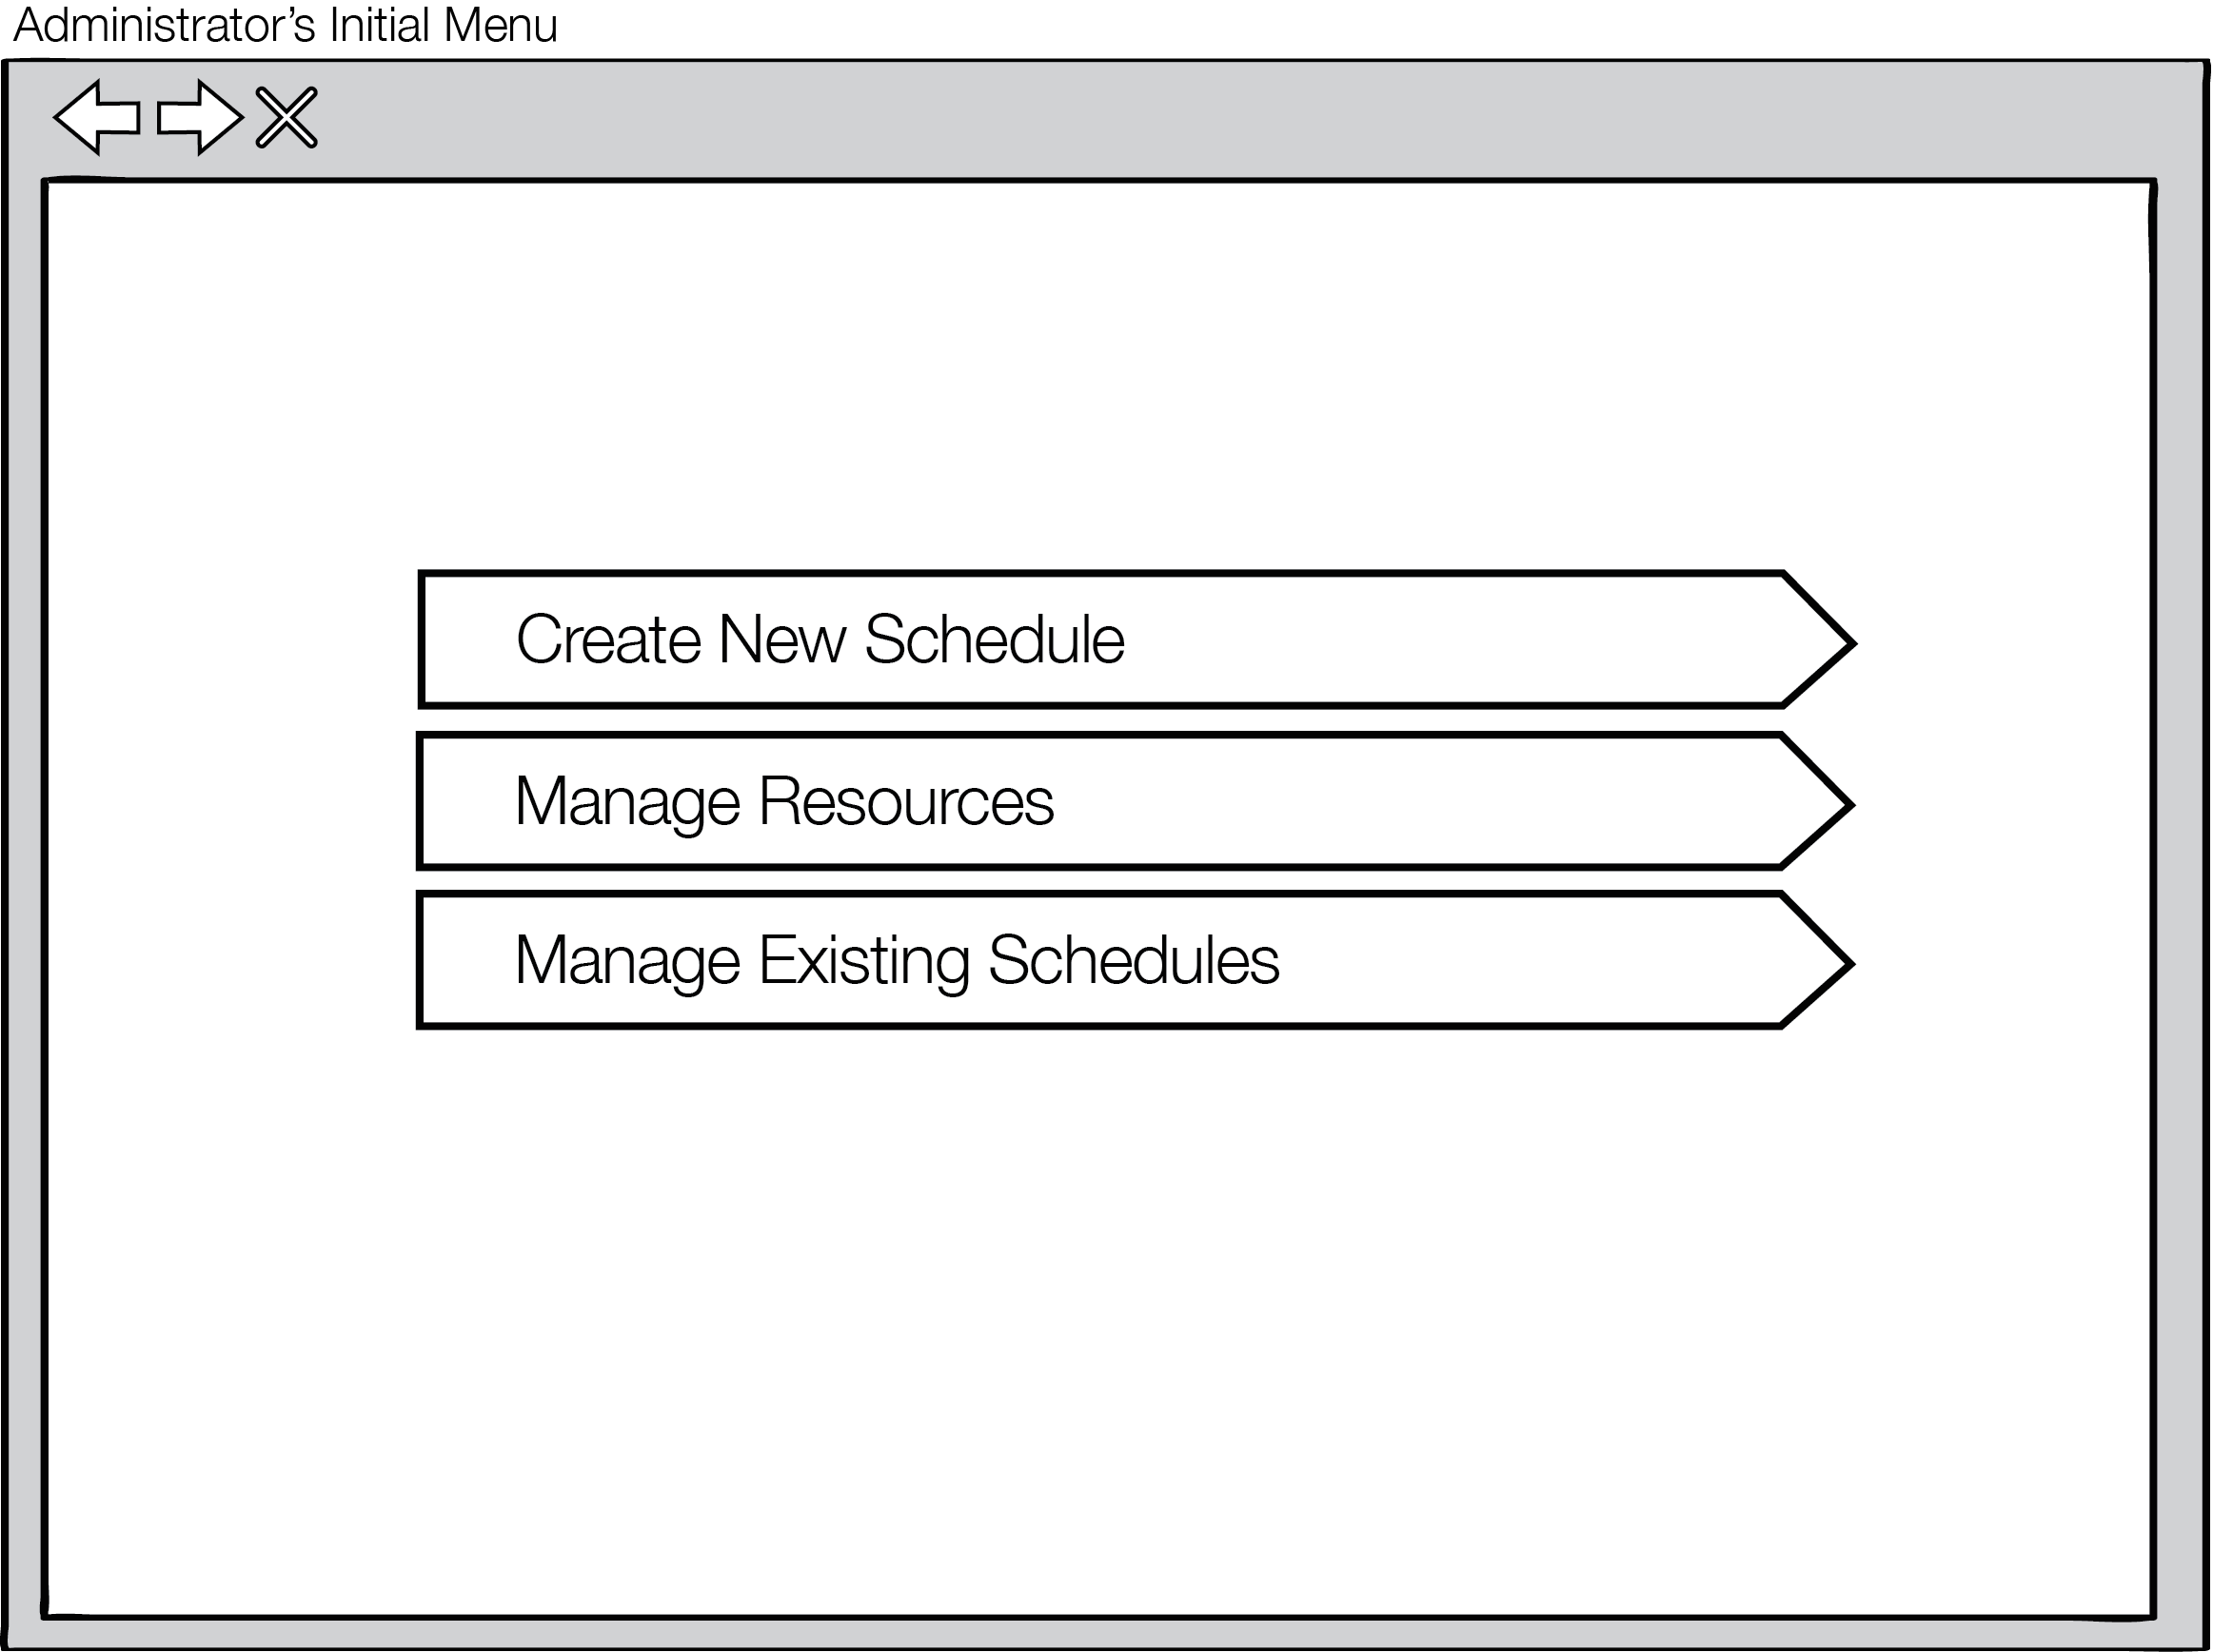
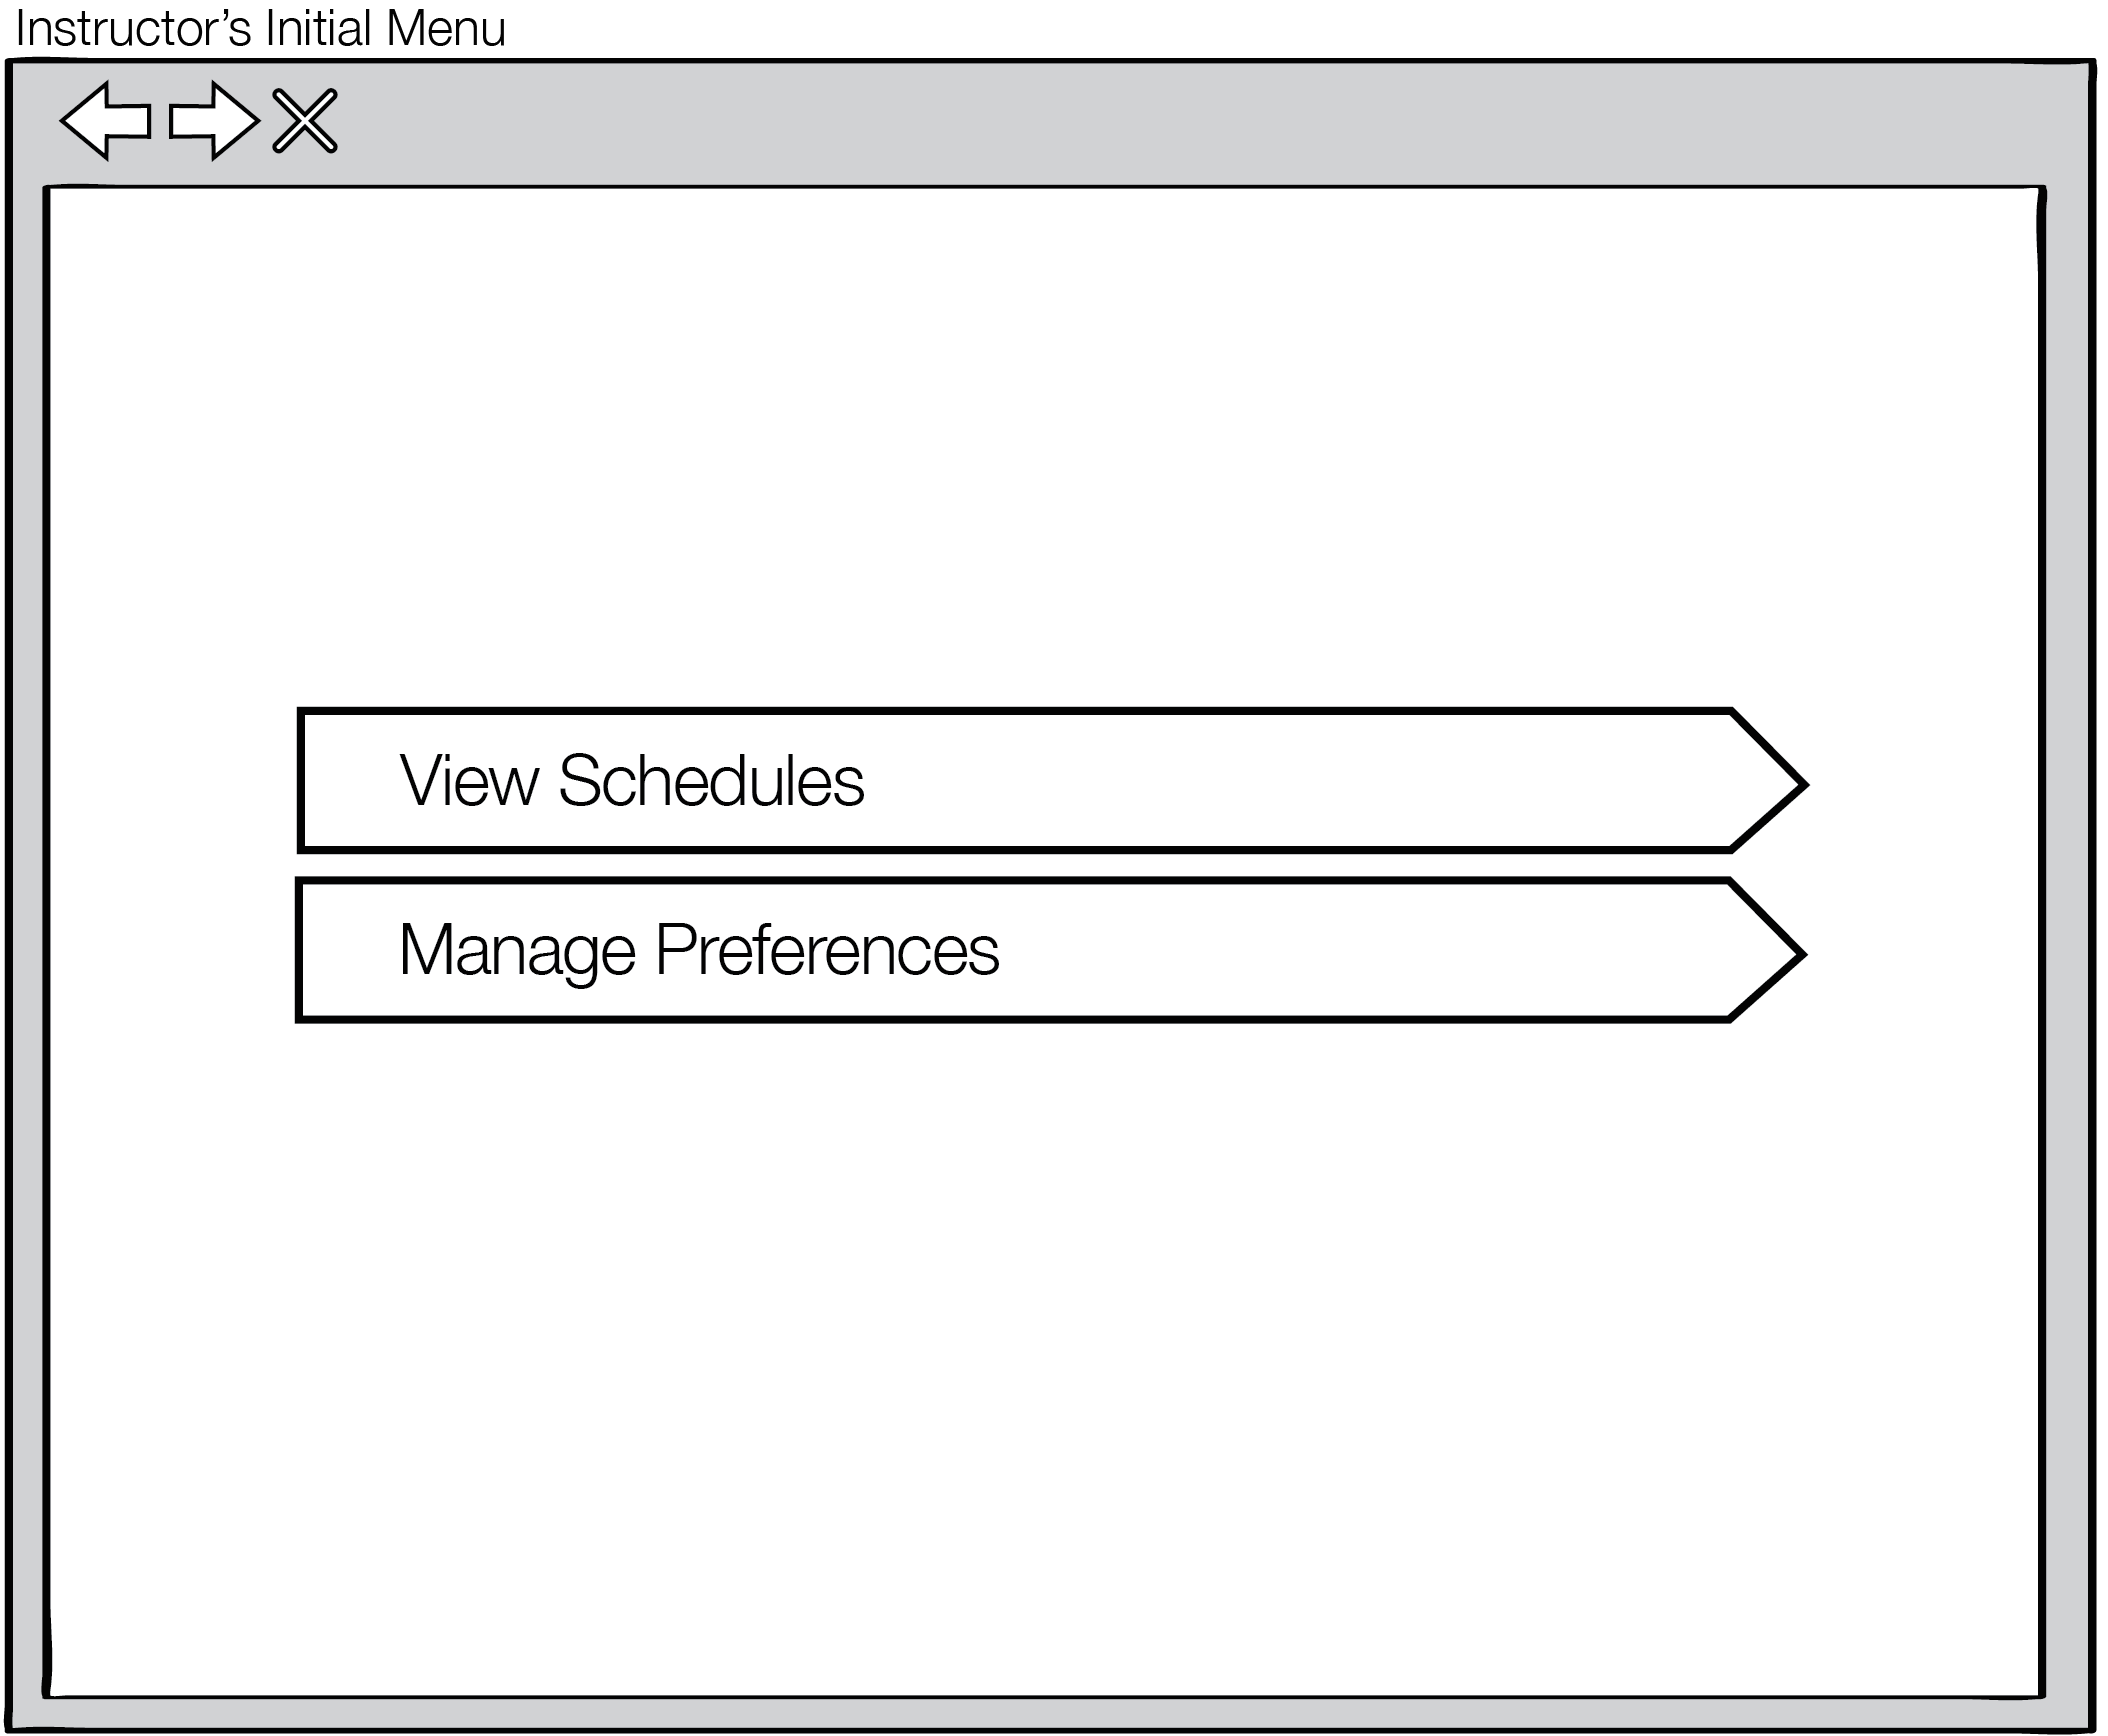
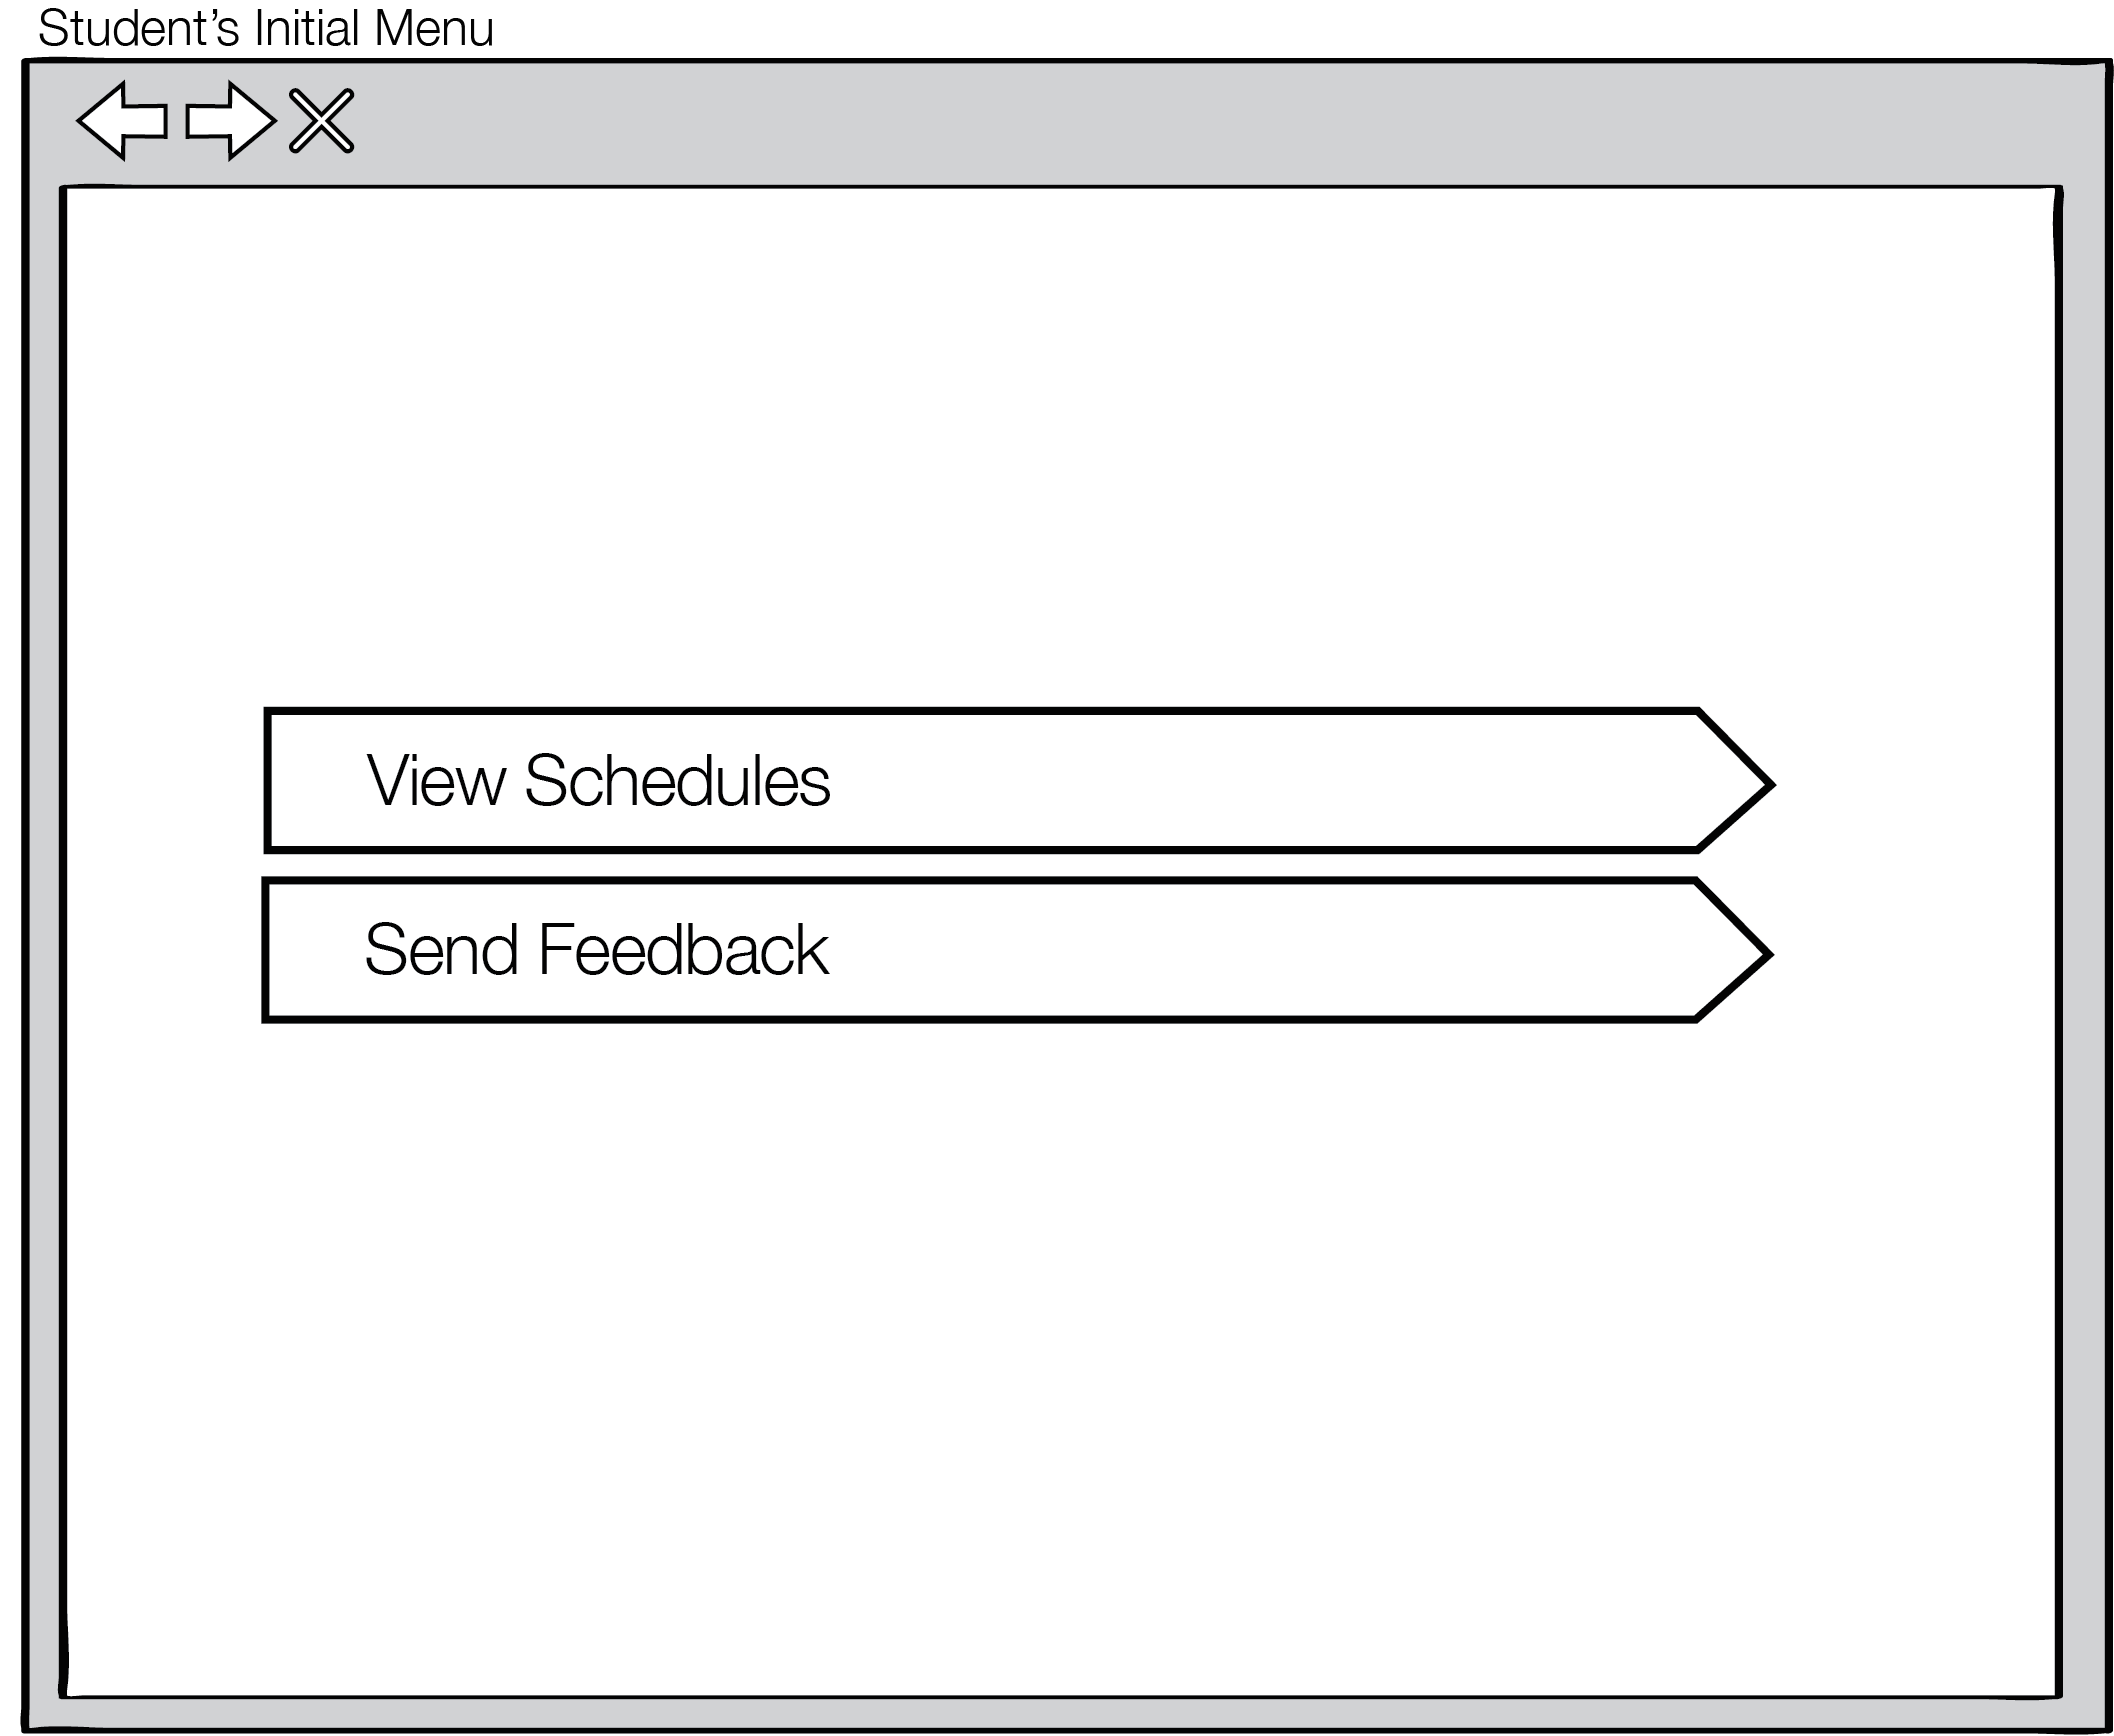
When a scheduling administrator launches the Scheduler application, the initial screen appears as shown in Figure 1. When an instructor launches the Scheduler application, the initial screen appears as shown in Figure 2. When a student launches the Scheduler application, the initial screen appears as shown in Figure 3.

Figure 1: Initial screen for Scheduling Administrator
The initial screen for the Scheduling Administrator features three buttons: Create New Schedule, View Schedules, and Manage Resources.
The Create New Schedule button allows the administrator to generate new schedules. The Manage Existing Schedules button allows the administrator to view and edit existing schedules. The Manage Resources button allows the administrator to view or edit the room, course, and instructor databases as well as handle instructor preferences and overall schedule preferences.

Figure 2: Initial screen for Instructor
The initial screen for an Instructor features two buttons: View Schedules and Manage Preferences.
The View Schedules button allows the instructor to view generated schedules by the administrator. The Manage Preferences button allows the instructor to submit and edit their preferences for the administrator to collect.

Figure 3: Initial screen for Student
The initial screen for a Student features two buttons: View Schedules and Send Feedback.
The View Schedules button allows the student to view published schedules. The Send Feedback button allows the student to submit feedback.