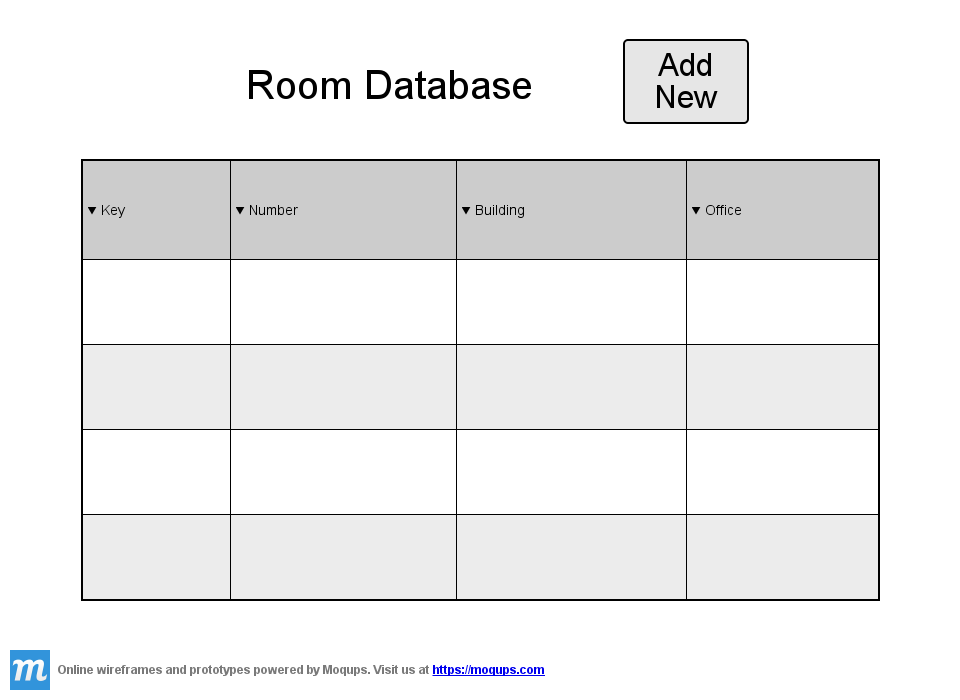
When the user selects the `Room Database' item in the `Database Menu', the system responds with the table shown in Figure 2.2.1.
Figure 2.3.3: Room Database Screen
This screen simply shows users the contents of the Room table which are then clickable by the user for editing, duplication or other file operations.
When the user selects the 'Add New +' item from the 'Database Menu' or the 'Room Database'
menu, the system displays the dialog shown in Figure 2.3.3.1.

Figure 2.3.3.1: Add-Room Window.
On this screen the user would enter information in the fields to create a new room. The user can navigate through the entries using the prev and next arrows. The user can stop editing the entry by clicking the X in the upper left or press Save to add it to the database. This is the same screen the user would see when editing a Room entry.
The user can fill in values or for some fields the values can be selected from a dropdown menu.
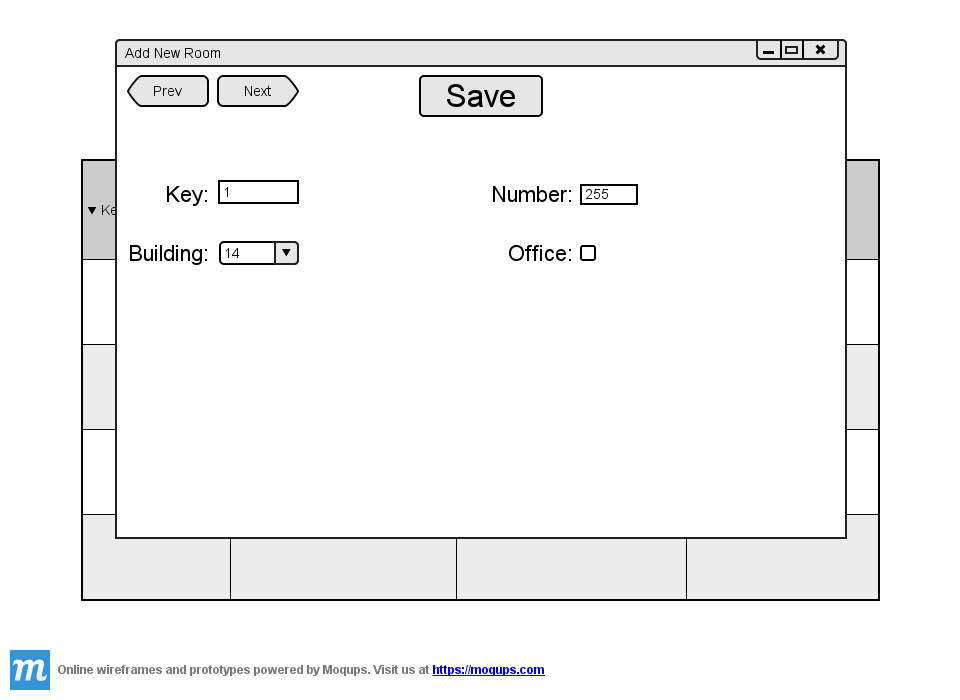
Figure 2.3.2.2: Add-Room Window Filled
After the user has filled in all the fields the entry can be saved and it will be added to the database when the user presses save.
The window for adding an entry will close and the database view will be visable again with the entry now shown.

Figure 2.3.2.3: Database with one Room
The user can continue in this fashion adding all the entries they need to the database.
The completed database will look something like Figure 2.3.2.4
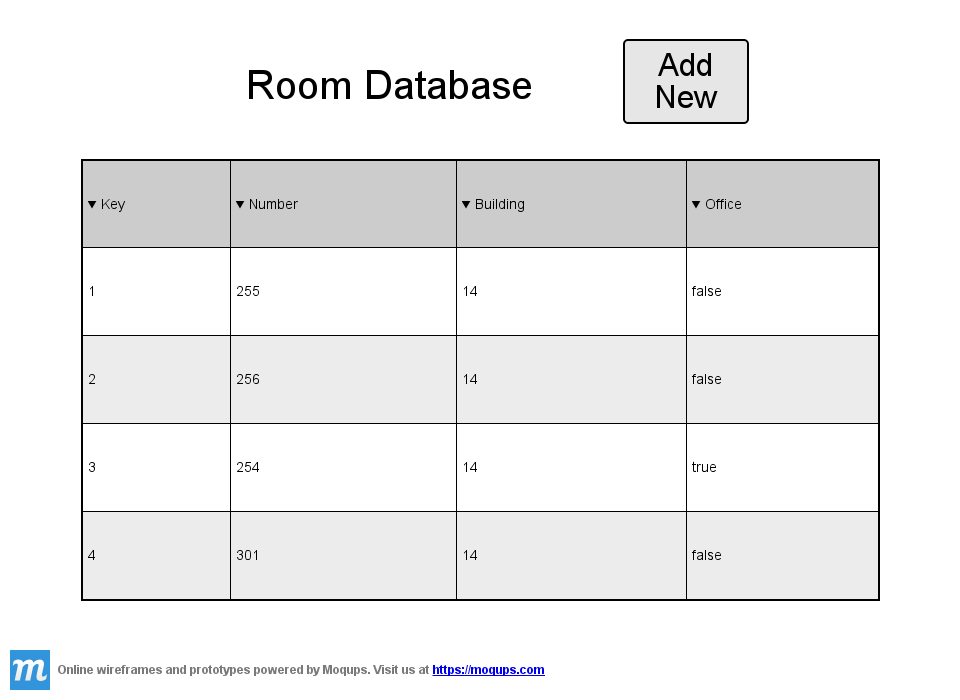
Figure 2.3.2.4: Room Database Filled