A student is able to enter a future schedule and view the schedules they have entered. The scenario
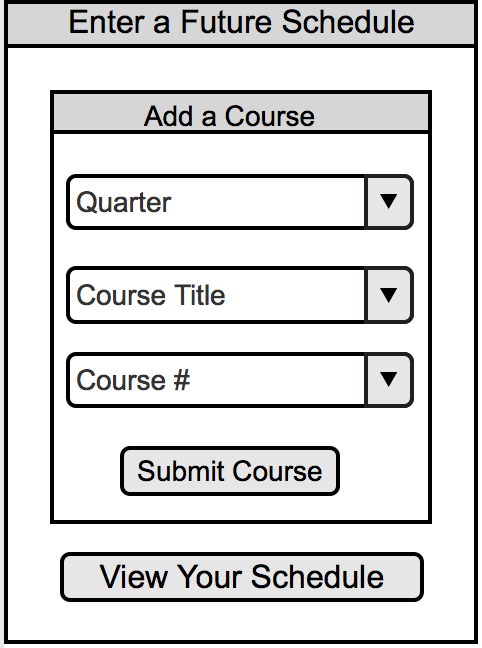
assumes that the appropriate databases and have already been configured. Figure 2.6.1 illustrates the interface a student user will encounter when they enter their future schedule.
This dialog box allows a student user to enter their anticipated course schedules for all upcoming terms within
the timespan leading upto their graduation date. The user is able to "Add a Course," by specifying the term, course title,
and course number. Once this information is specified, the user clicks on the "Submit Course" button in order
to save their data.
Figure 2.6.2 is an example of a typical course addition using the dialog box shown in figure 2.6.1.

Figure 2.6.2 Dialog box to input future courses filled in
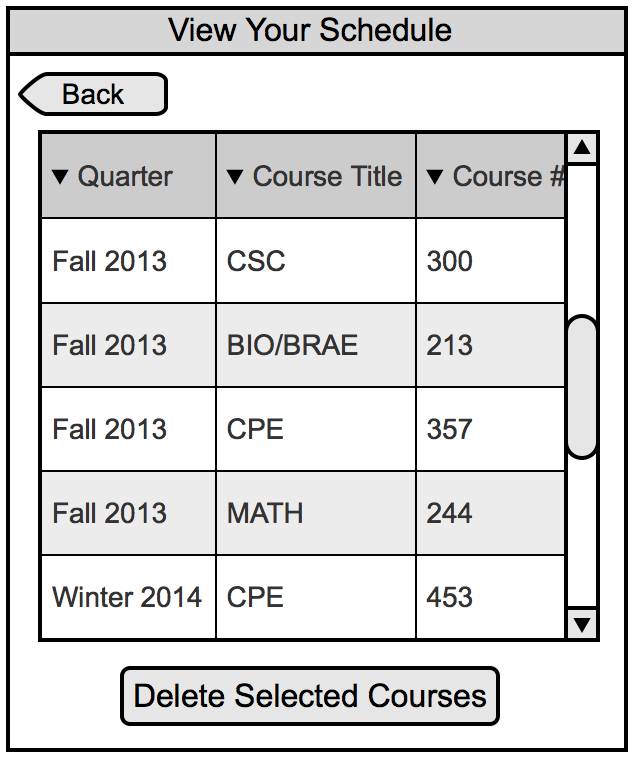
The student then proceeds to fill in more courses. Once input for all anticipated courses is complete, the user can chose to view all inputted courses by clicking the "View Your Schedule" button at the bottom of Figure 2.6.1. Selecting this will direct them to the interface illustrated in Figure 2.6.3 below.
This scrolling-enabled interface allows the student user to review all the courses they have stored to the tool. They are able to delete coures by selecting all rows
on which the desired courses lie and then proceeding to click the button at the bottom of the dialog box, "Delete Selected Courses." The student user may also
utilize the "Back" button to return to the diolog box represented in Figure 2.6.3 and add more courses.