In this scenario, we take a look at how a user can add a new class spreadsheet
manually, via the 'Class' menu and the Quick Menu commands. Manually adding a class
is necessary to start a new spreadsheet to which a user can add students and gradable items.
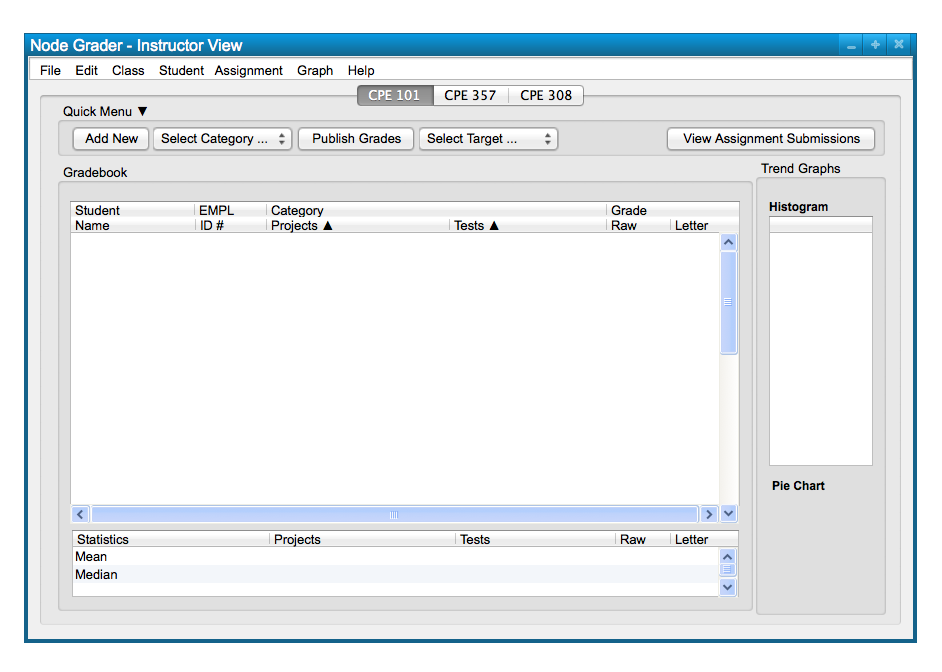
Below, in Figure 1, is a sample class spreadsheet that is ready for a user who wants to make a new
class.
Figure 1: Sample Class Spreadsheet.
To manually create a new class spreadsheet, the user chooses the 'Class' menu
command. A list of options appears and the user chooses
'New Class...' to add a new class; this takes the form of the
following, Figure 2.

Figure 2: Add Class path.
The other commands in the 'Class' submenu are Manage Class, Grade Schema, and Late Policy. These commands are covered in later scenarios, but for now we are focusing on just adding a spreadsheet for a new class.
The response to the users selection of the 'Class New Class' command is a dialog box that
only takes in a new class name in a text box, and is confirmed with the 'Create Speadsheet'
button below. This dialog is shown in Figure 3.
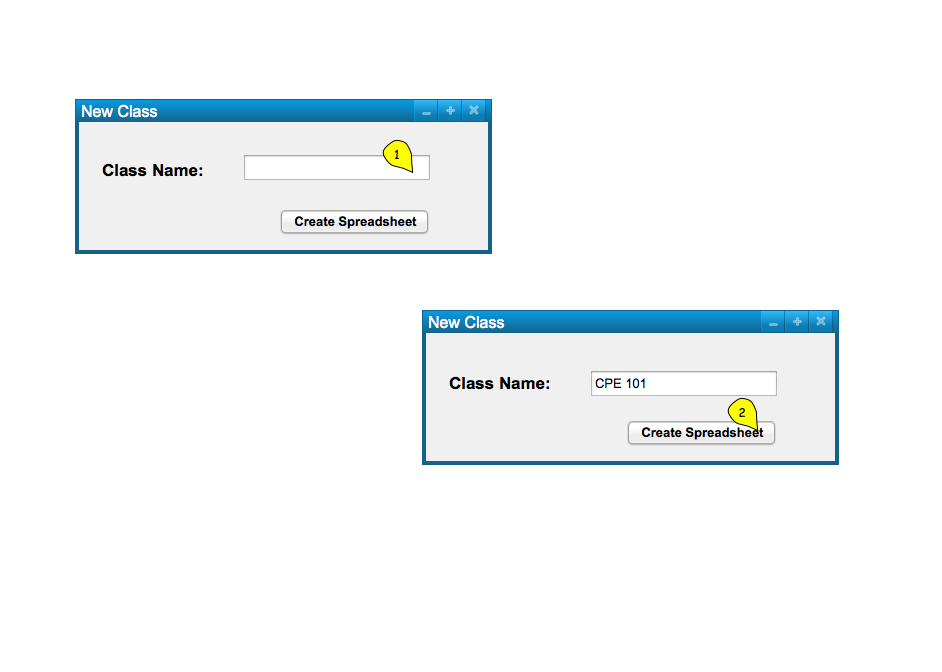
Figure 3: New Class dialog.
Confirming the class creates a new tab above the spreadsheet that can be selected to switch between multiple classes if applicable.
Selecting the 'Create Spreadsheet' button displays the newly created spreadsheet in Figure 4.

Figure 4: Class Added view.
New classes can be added and dragged to be rearranged in a preferred order. Adding a new class
is required to start a new spreadhseet for editing.
The scenario itself will not be covered, but for the user knowledge, a class may also be added manually
using the Quick Menu, located above the spreadsheet. To do this, a user selects 'Class' in the selcection
tab and clicks the 'Add New' button next to it. This is displayed in Figure 5 below.
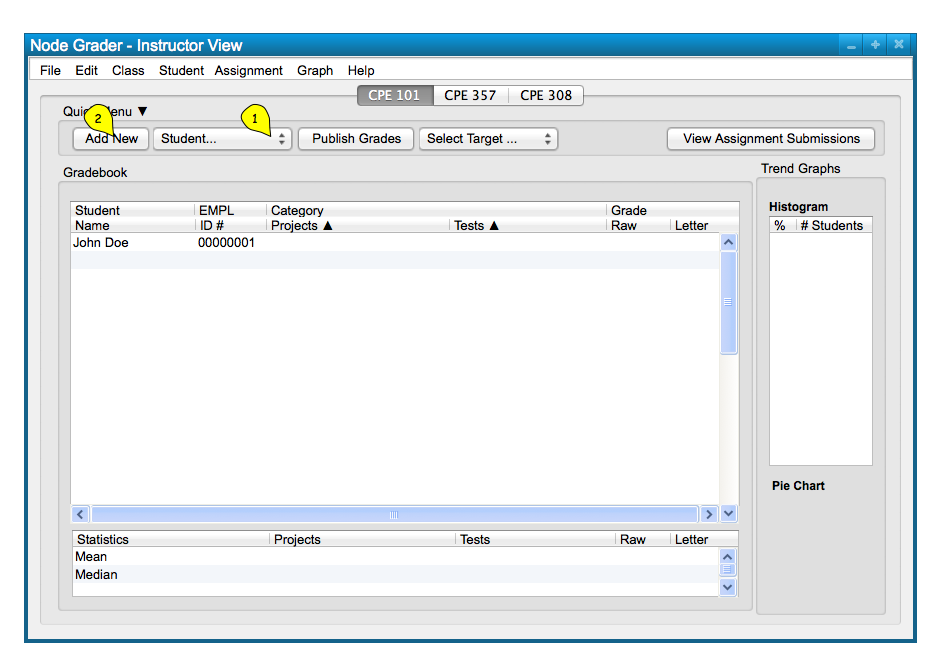
Figure 5: Add Class Quick Menu.