This scenario shows how an instructor would add class materials to the repository.
To get to the repository the user would select Windows from the main screen and then click Repository in the drop-down menu. The program would then transition to the Repository screen, as shown in Figure x.
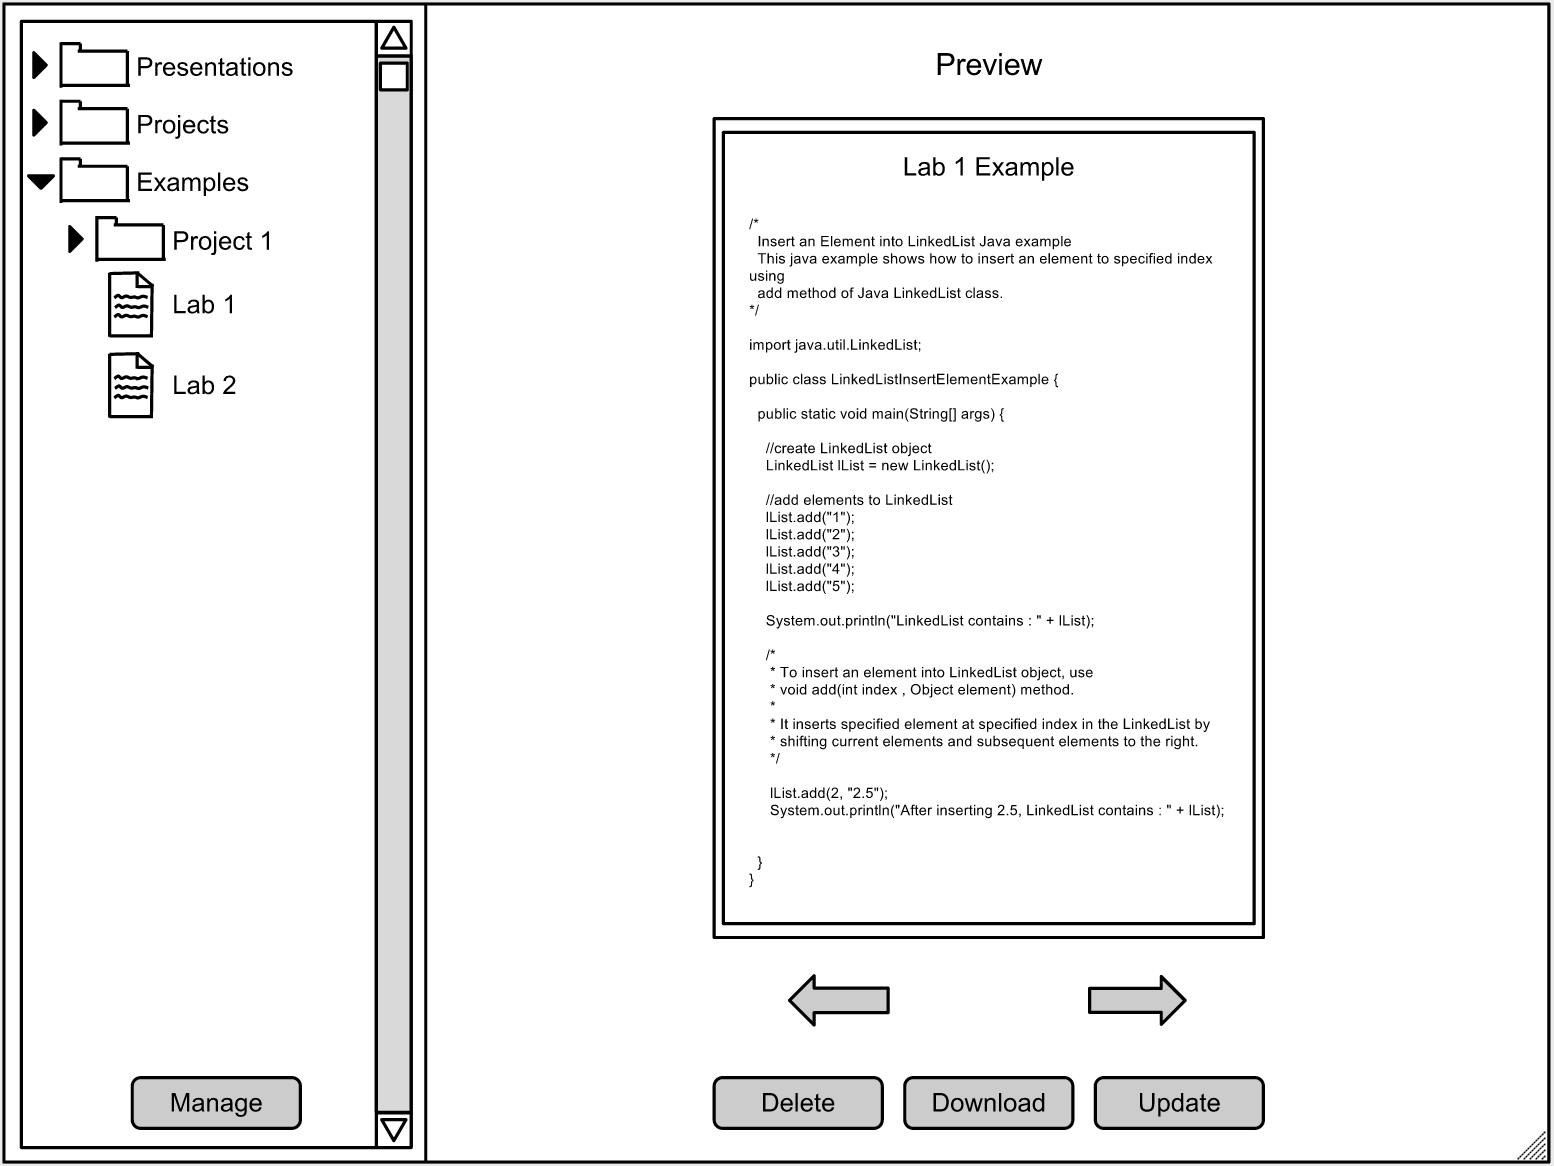
The teacher view differs from the student's view of the repository in that it has 3 extra buttons. These buttons are the Manage, Delete, and Update buttons. Delete allows the instructor to remove files from the repository. Update allows the user to update files to a newer version.
When the user presses the Manage button in the left pane, the Manage Repository screen appears, as shown in Figure X.
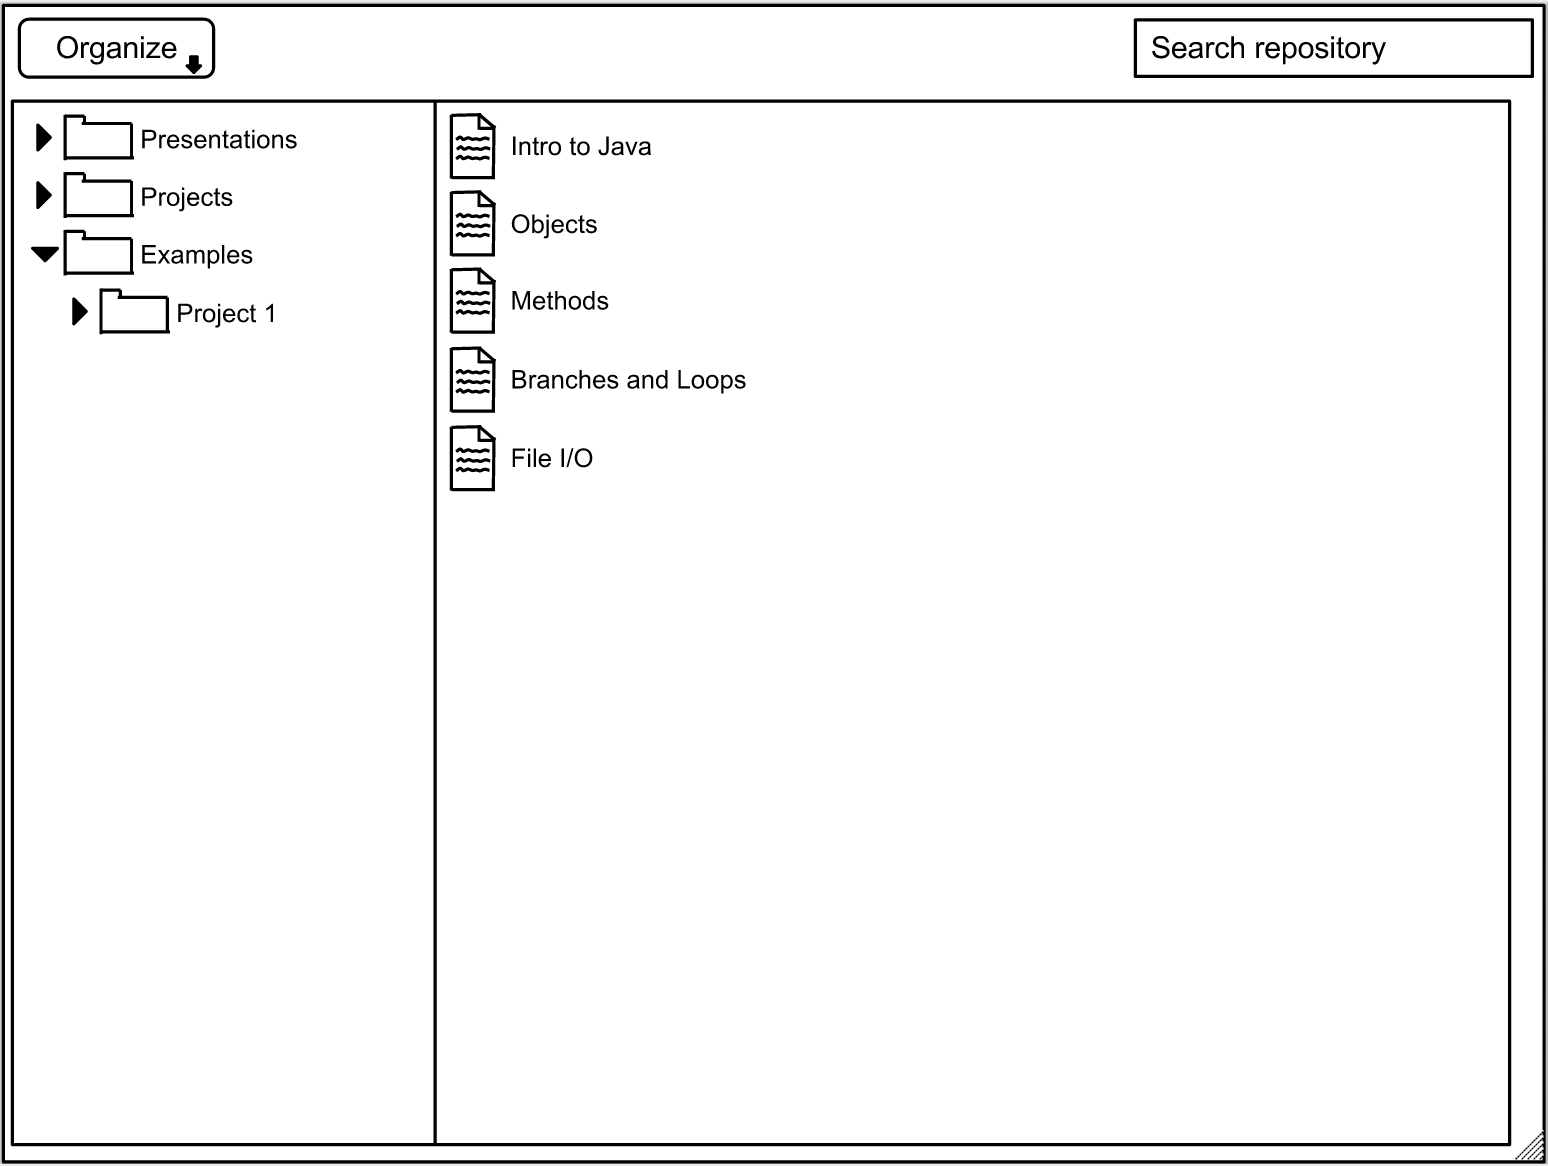
In the top left corner of this window is the search bar. This allows the instructor to search for a file they have already uploaded. In the left pane of this window is the hierarchy of folders in the repository. The folders can be expanded or collapsed by pressing the arrow next to the folder icon. To view the files in the folder, the user simply clicks the folder and the list of files is shown in the right pane.
In the top left is the Organize button. When the user presses this button, a drop down list with tools for managing the repository appears. An expanded view of the menu is shown in Figure x.

To add a file to the repository, the instructor presses Add File from the drop-down menu. This opens the Add File dialog, as shown in Figure X.
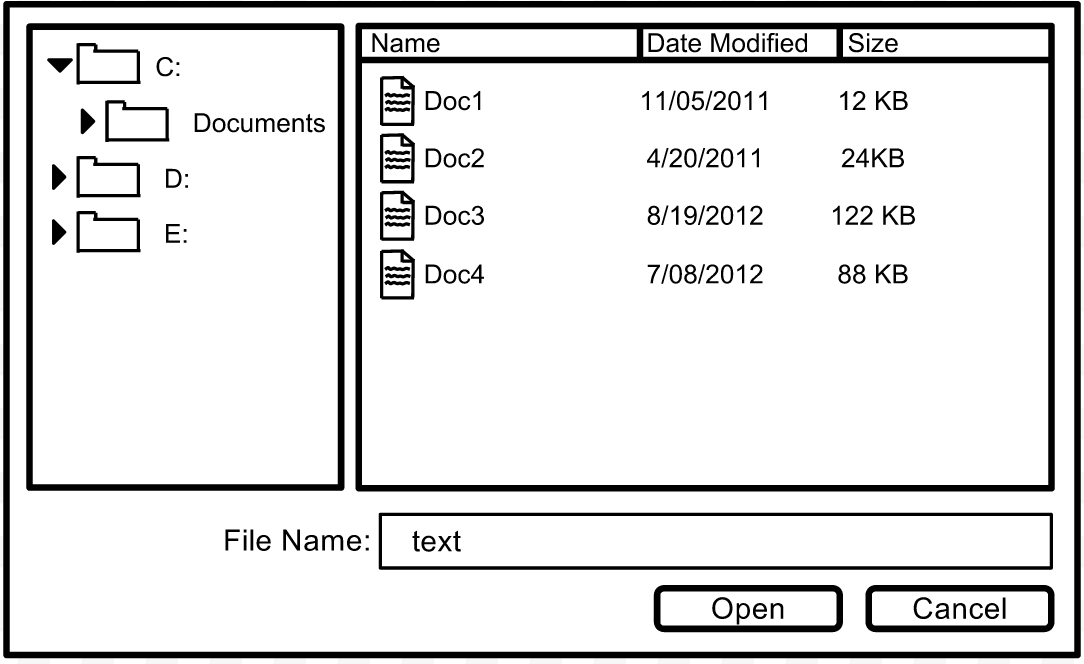
The user can navigate to the desired directory or type the file name into the text field below the browsing window. After the user has selected a file, they press Open to add the file to the repository.