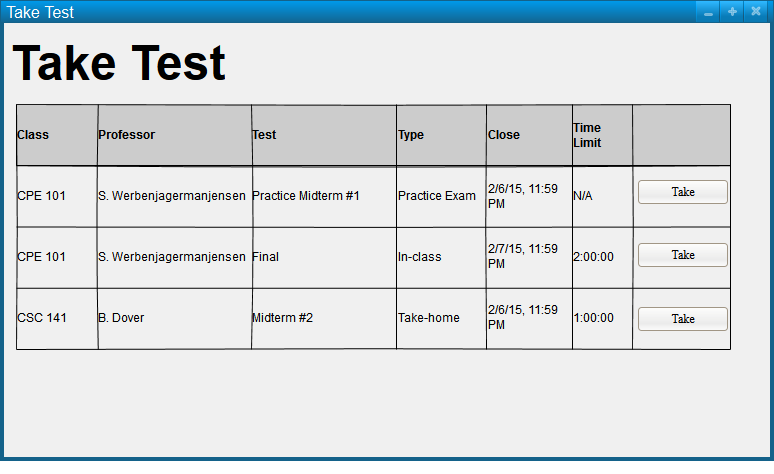
Upon entering the Take Test screen, the screen welcomes students with all of the tests that have been administered to the students by their professors (Figure 1). Additionally, this displays important information about each test, including class, professor, the name of the test, the type of test, when the test closes, the time limit, and perhaps more.
Figure 1: Take Test Screen
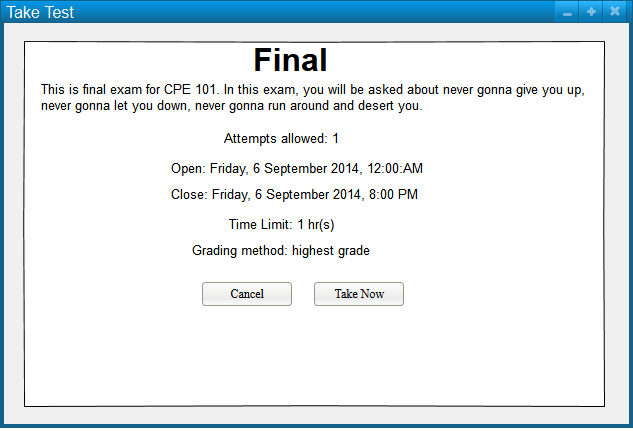
When the student clicks the Take button, the software responds by bringing the student to a page with a brief overview of the logistics of the test (Figure 2).
Figure 2: Take Test prompt
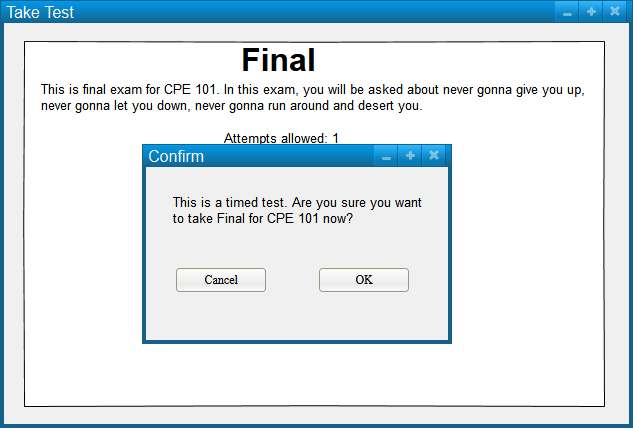
If the student clicks the Take Now button, the system responds with a dialog and asks for confirmation (Figure 3).
Figure 3: Take Test Confirmation
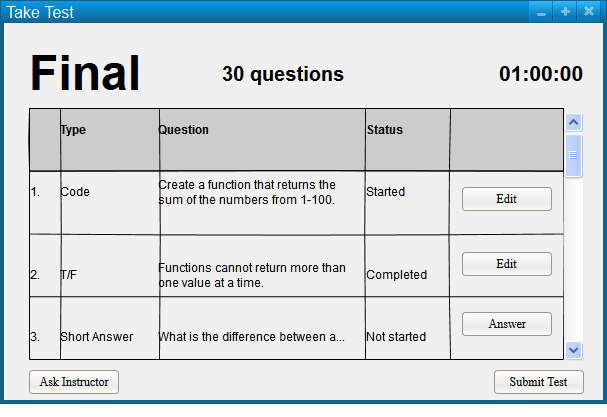
Selecting the OK button takes the student to the home page of their test --an overview of the test (Figure 4).
Figure 4: Test Overview
This overview allows for students to glance at the entire test. It serves as a form of summary index in the taking UI that allows the student to go to a particular question by just selecting the question. Selecting the question opens a new window to answer the question in. The overview lists the question number, types of question, a preview of a question, and whether or not the student has filled in the question. The “Ask Instructor” button allows students to ask instructors questions during the test. When the student finishes the test, the “Submit Test” allows the student to submit their test to the instructor. The label on the top left provides the specified test.
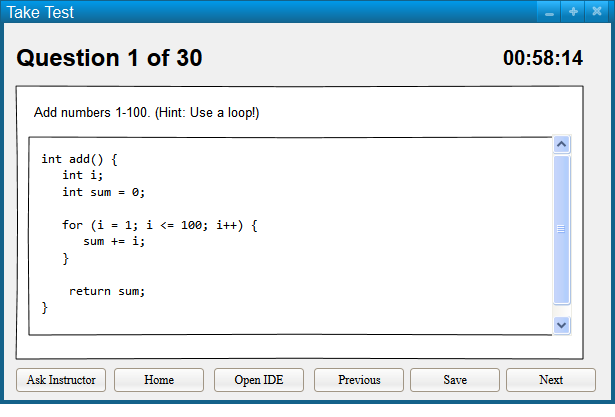
When clicking the “Answer” or “Edit” button in Figure 4, the software takes the student to the question overview page. This page is a specific page dedicated to a specific question. In Figure 10, it shows an example of a coding question.
Figure 5: Coding Question
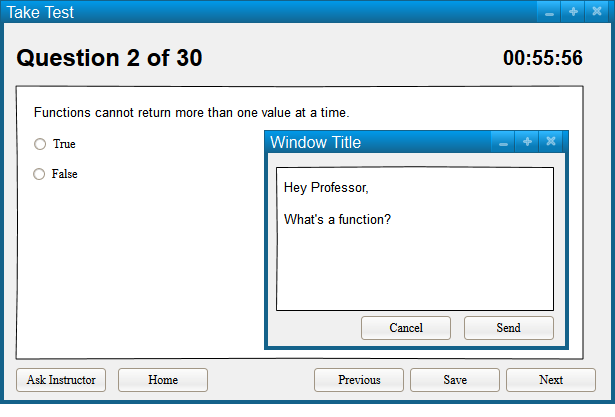
When the student clicks “Ask Instructor”, the software specifies the question by relating the student’s question to the test question. In the example, student’s answer is submitted in the form of a series of text. The question is labeled above and the student answers below. After completing the question, the student clicks “Answer” to navigate back to Figure 4, the overview. After answering the question, the “Answer” button changes to “Edit” as shown in Figure 4.
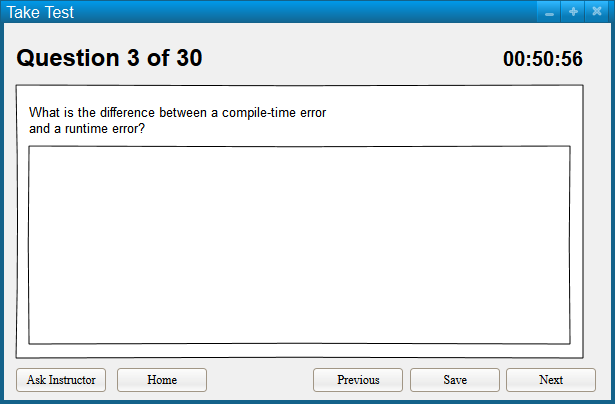
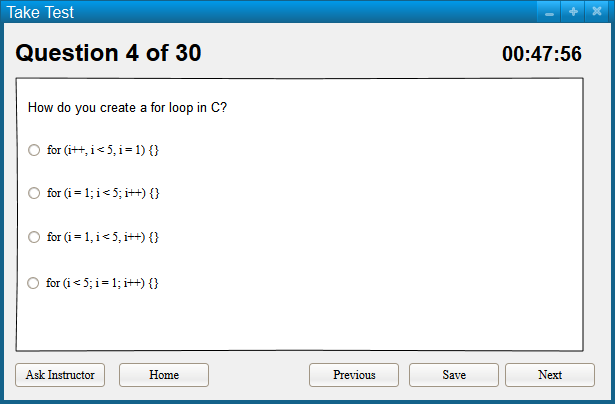
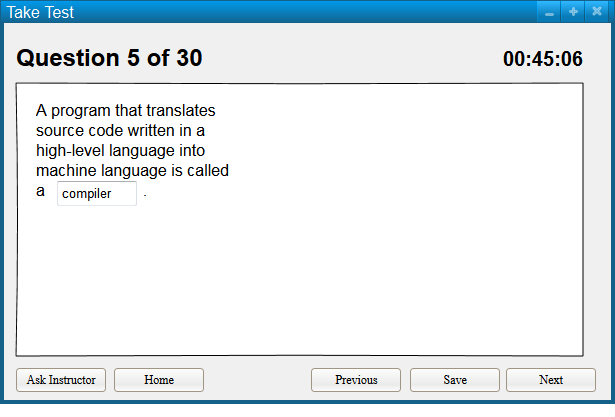
Other types of questions:
Figure 6: True/False Question
Figure 7: Short Answer Question
Figure 8: Multiple Choice Question
Figure 9: Fill-in-the-blank Question
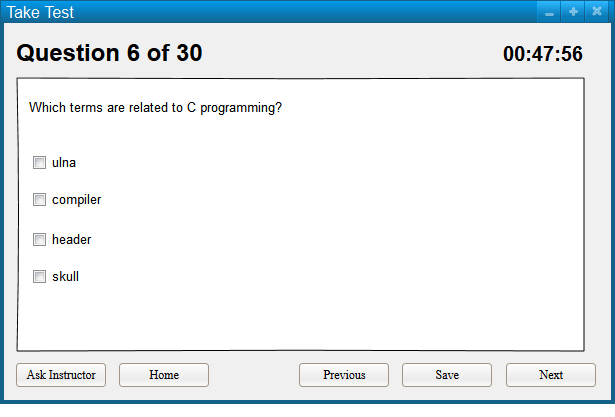
Figure 10: Multiple Response Question
Figure 11: Long Answer Question
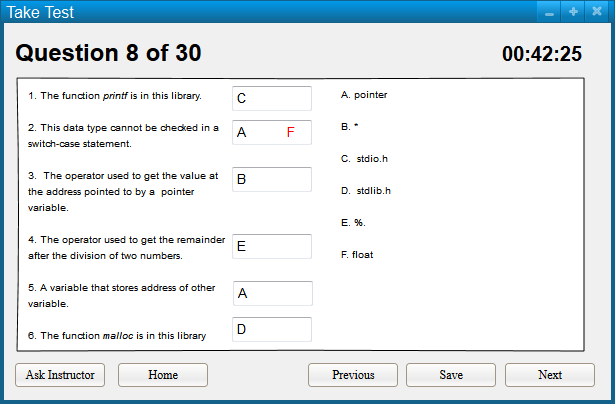
Figure 12: Matching Question with wrong answer
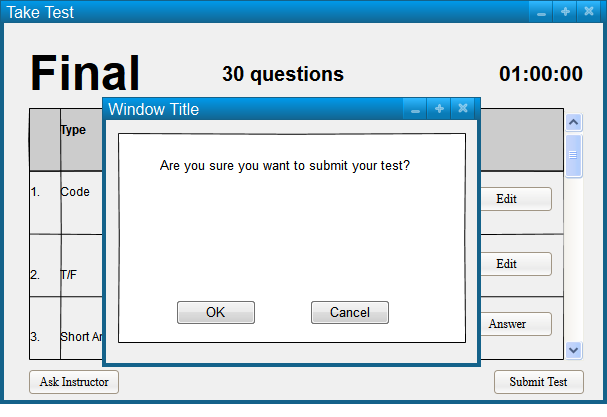
After pressing the submit button at the bottom, the system responds with a confirmation window, asking the user to confirm the submittal. This can be seen in Figure 13.
Figure 13: Submitting a test
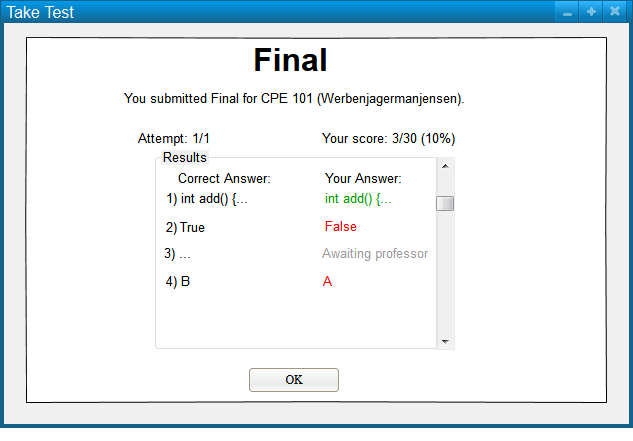
Figure 14: Immediate results
A professor can choose to let students see their performance immediately after submitting a test. However, there are some questions where automatic grading is not possible or accurate, such as #3 (a short answer question) in the figure above. Additionally, if a professor doesn’t allow the student to see his or her score, the results box is omitted as well as the score.