When the user selects the 'Item Explorer' item from the View menu shown in Section 2.1, the system displays a dialog of the form shown in .
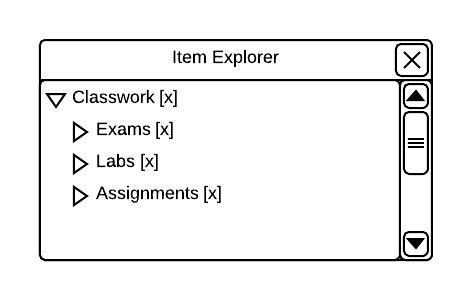
Initial Item Explorer View.
This dialog provides a tree-style explorer with all items collapsed except the top level. To expand any item's sub-items, the user clicks the triangle on the left side of the item's name in the tree. shows a item tree after the users fully expands it. Items that do not have sub-items are marked with page icons instead of triangle icons.
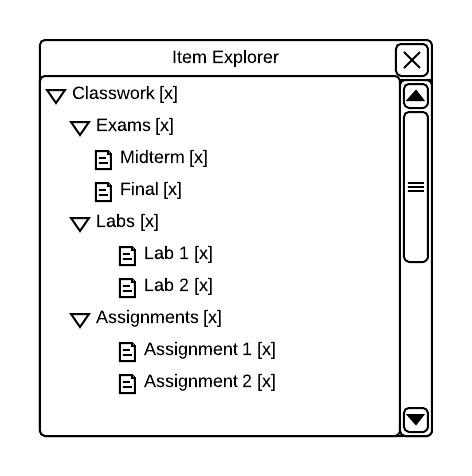
Expanded Item Explorer Tree.
Instructors double-click any item name to launch the Item editor for that item. Non-instructors double-click any item name to launch a non-interactive view of the Item editor for that item. To display an item in the main view, the user checks the box on the right side of its name. indicates all items and sub-items are displayed in the main view as shown in .
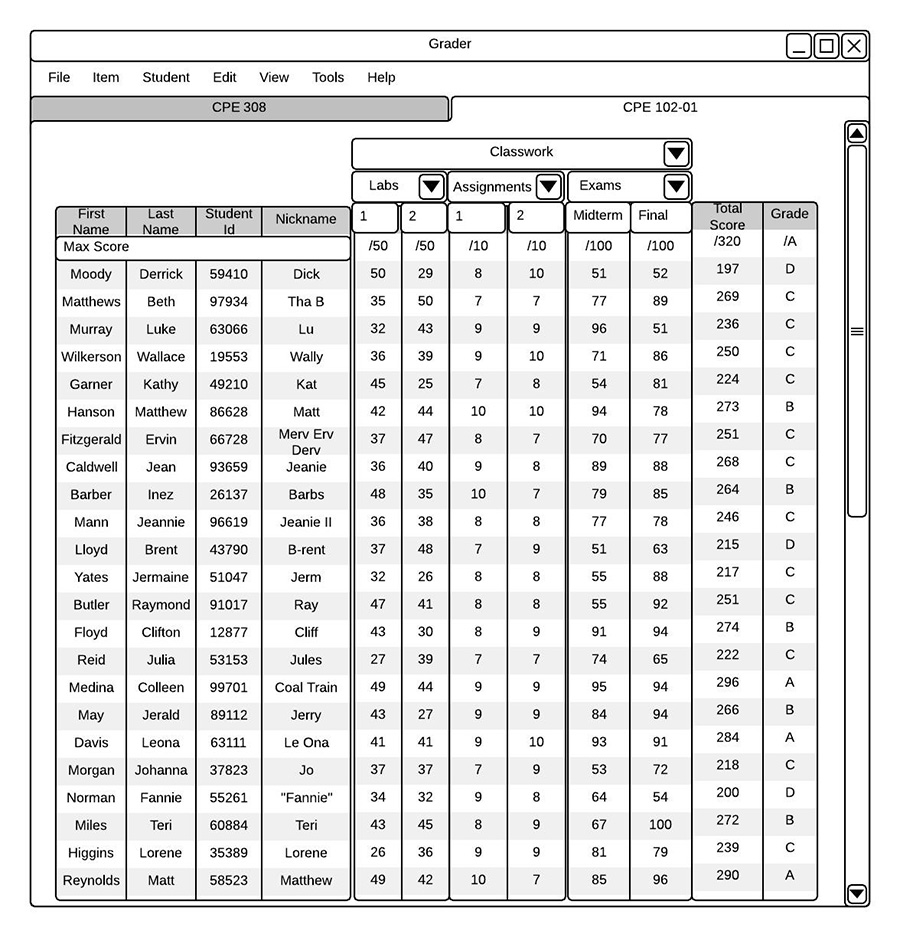
Main View with all Items Displayed.
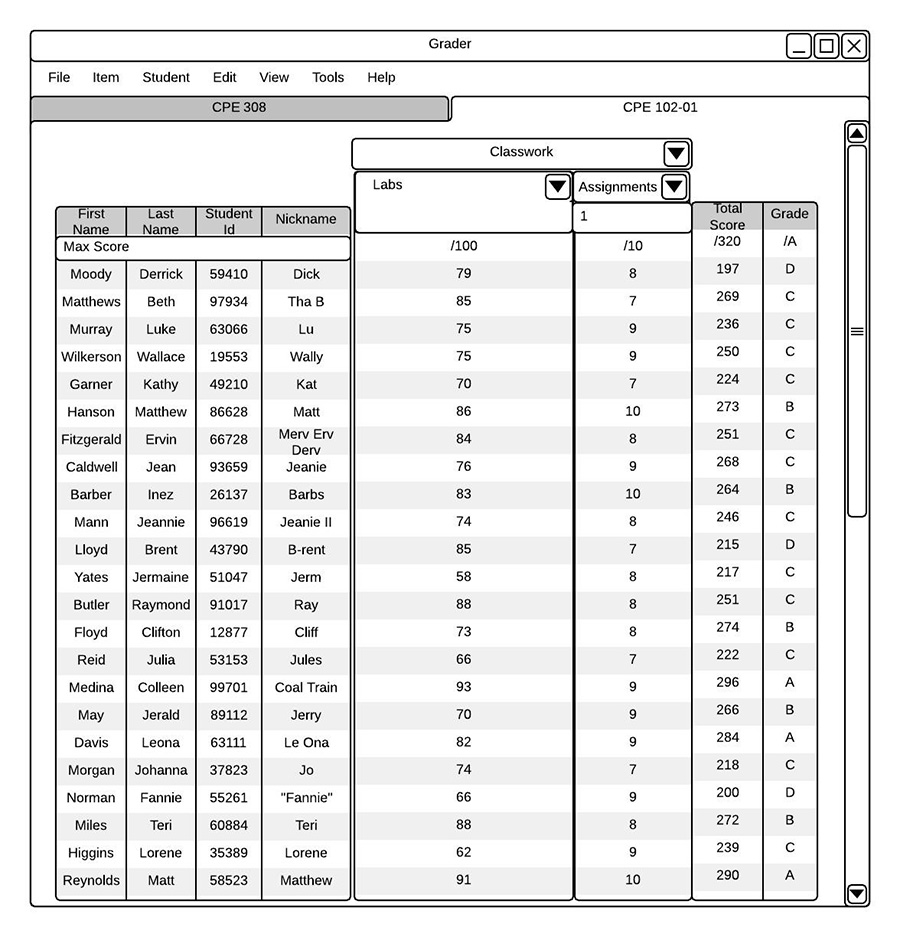
To hide an item, the user unchecks it. Checking or unchecking a item's box automatically checks or unchecks all of the item's sub-items. However, if all an item's sub-items are unchecked, the item itself will remain checked and will display total data calculated according to relative weights of its sub-items. For more information on the relationship between an item's data and its sub-items, please see section Section 2.4. shows a user having hidden all exams by unchecking the Exams item, hiding an Assignment individually, and hiding all individual Labs.
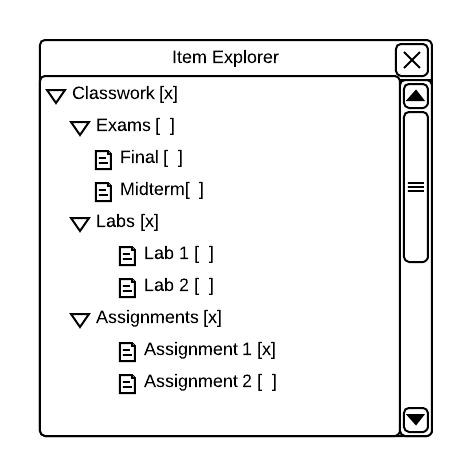
Hiding Items with Item Explorer
The system saves the user's selection of hidden/shown items in real time and reflects it in the main view as shown in . When the user is finished using the Item Explorer, he or she closes it by clicking the X on its title bar.
Main View with Select Items hidden.