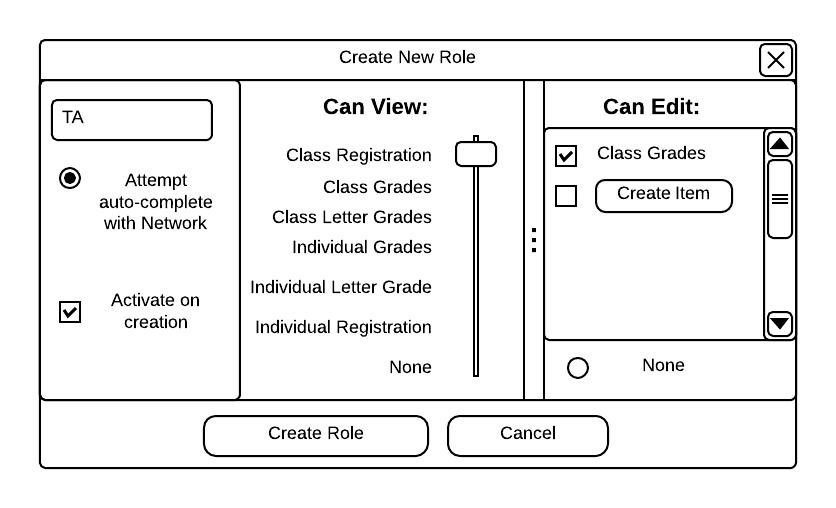
To create a new class role, the instructor chooses the 'Create New Role' button from the Initial Create Class dialog screen shown in Section 2.2. In response, the system displays a dialog of the form shown in .
Initial Role Creation View.
The instructor defines a role by specifying three aspects. First the instructor enters a non-empty free-form string in the role name field. Second, he or she specifies the role's viewing privilige with the "Can View" slider. Viewing priviliges include:
The instructor sets the auto-complete feature by checking the 'Attempt auto-complete with Network' option. This feature set the view and edit permissions from a role defined remotely. For this feature to work the role name must match a role recognized by the external system. Lastly, to make the role be effective upon creation, the instructor checks the 'Activate on creation' option.
Setting up the Network Connention.
Once the instructor finishes defining the role, he or she creates the role by choosing the 'Create Role' button. In response, the system saves the role to the active class's file.