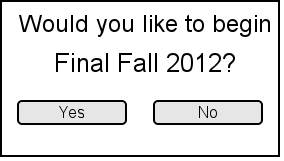
This scenario illustrates what the students will see when they are taking the test.
prompt.


This window will be seen by students while they are taking the test. To the right of the test taking area,
there is a numbered list of the all the questions in the test as well as a symbol to determine if the student has provided
an answer to each of these questions. The red X denotes a question that does not have an answer yet, and a
green check mark to denote that a student has provided an answer for that questions. If a student clicks on one of these
numbers, the test will immediately jump to that question in the test. There is also a scroll bar so that
students will be able to scroll between questions on the test.
There is also a time limit located in the bottom corner of the window
that displays the amount of time the students have to complete the test.
The types of questions displayed here are Multiple Choice for number 1, Fill in the Blank for question 2,
and a True/False question on number 3.

This image displays the various question types with their answers filled in.

Questions 4 and 5 of this sample test are both short answer questions that have a text box below each question where the student
can fill in their answers. These questions will be graded by the teacher instead of automatically.

Question 6 is a sample programming question. Students will have opportunity to use whatever IDE is specified by the teacher to
create, run, and compile their code. They will then submit their file(s) to the test and the teacher will manually
grade their responses.

This is the final window that will appear before a student submits their test. It has the 'Submit' option to continue with
the test submittal, and the 'Cancel' option to cancel submission and return to the test. If there are any questions that the
student failed to answer during the course of the test, this dialogue box will display those unanswered questions.