2.8 Server Administration
The database server storing all of the scheduling information can be maintained in the "Server Administration" interface. An administrator can import existing schedules or backup schedules that they want to save. Other features include user account management as well as a database cleanup tool.
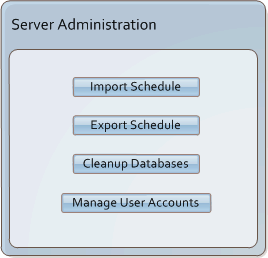
Figure 2.8-1: Server Administration Operations
To view the Server Administration window of the Scheduling Tool, the user selects "Server Operations" from the Admin menu.
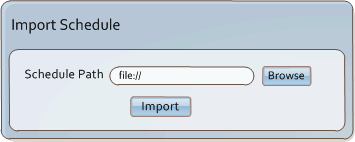
Figure 2.8-2: Importing a schedule
To import a schedule, the user clicks on the "Import Schedule" button. The Scheduling Tool displays a new dialog where the user specifies the path of the schedule that they wish to import. Once the path is filled in, the user clicks on the "Import" button, and the schedule is loaded into the program.
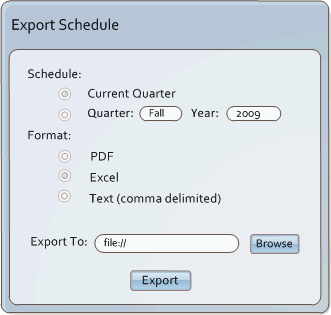
Figure 2.8-3 : Exporting a schedule
To export a schedule, the user clicks on the "Export Schedule" button. Next, they choose to export the current quarter's schedule, or one from a previous quarter. The user may choose to output the schedule to PDF, Excel, or text formats. Finally, the user specifies the filename to export to, and clicks "Export".
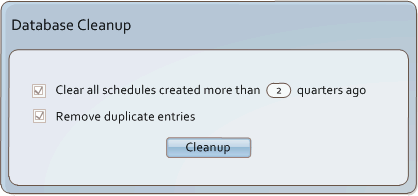
Figure 2.8-4: Database Cleanup
To clean up the database, the user selects the "Cleanup Databases" from the "Server Administration" dialog. They have the option to clear old schedules generated a specified number of quarters in the past, as well as the option to remove any duplicate entries existing in the database. These changes take effect when the user clicks on the "Cleanup" button.
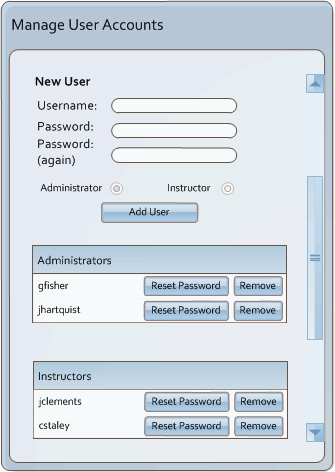
Figure 2.8-5: Account Management
The Scheduling Tool provides administrators with the ability to manage user accounts. Clicking on the "Manage User Accounts" button brings up the dialog shown in Figure 2.8-5. The admin may remove or reset the password of any other administrator or instructor.
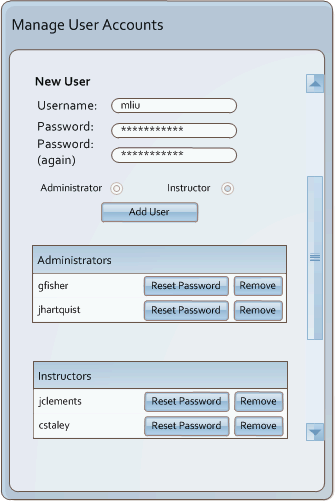
Figure 2.8-6: Adding a user
To add a new user to the Scheduling Tool, the administrator specifies the username, and password for the new user, and selects between administrator and instructor. To finalize the process, the user selects "Add User". The "Manage User Accounts" dialog immediately updates the list of users with the newly created account.
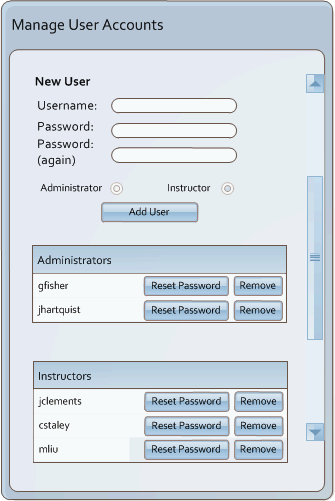
Figure 2.8-7: Adding a user
Prev: Administrative Functions
| Next: [none]
| Up: Functional Requirements
| Top: index


