2.5.1 In Class Proctored
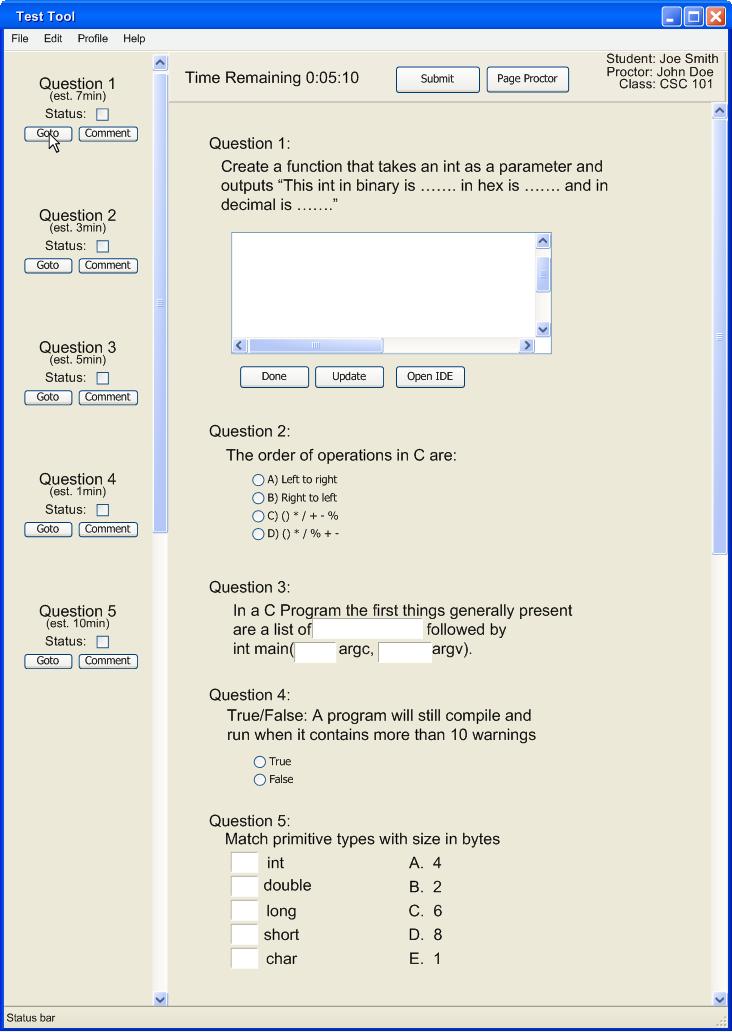
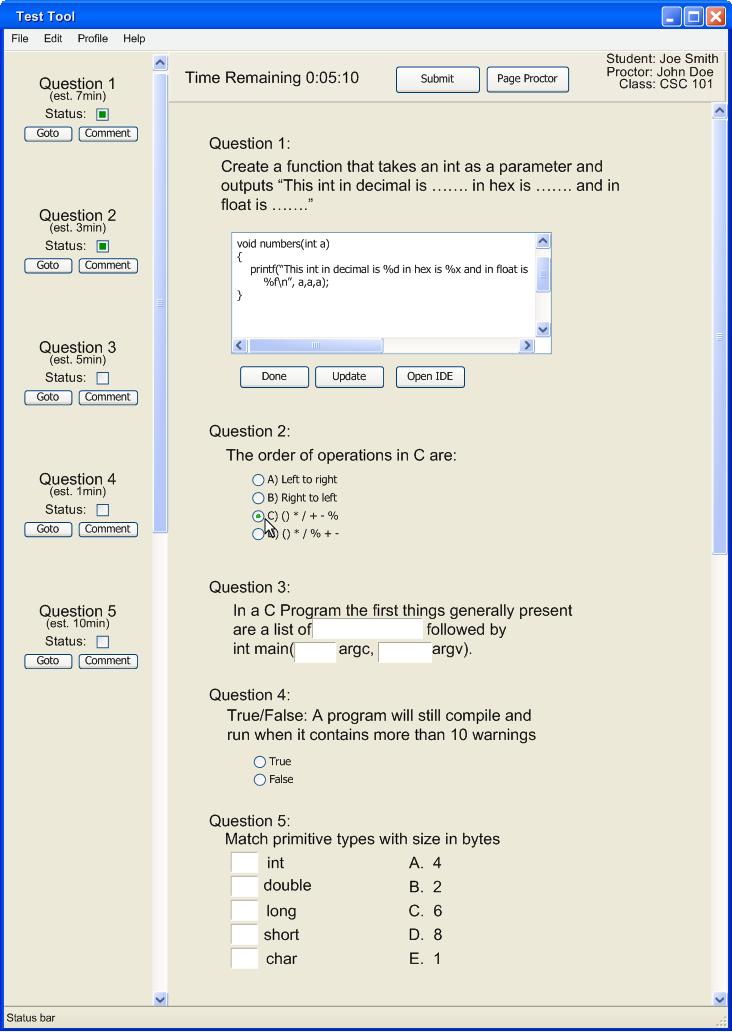
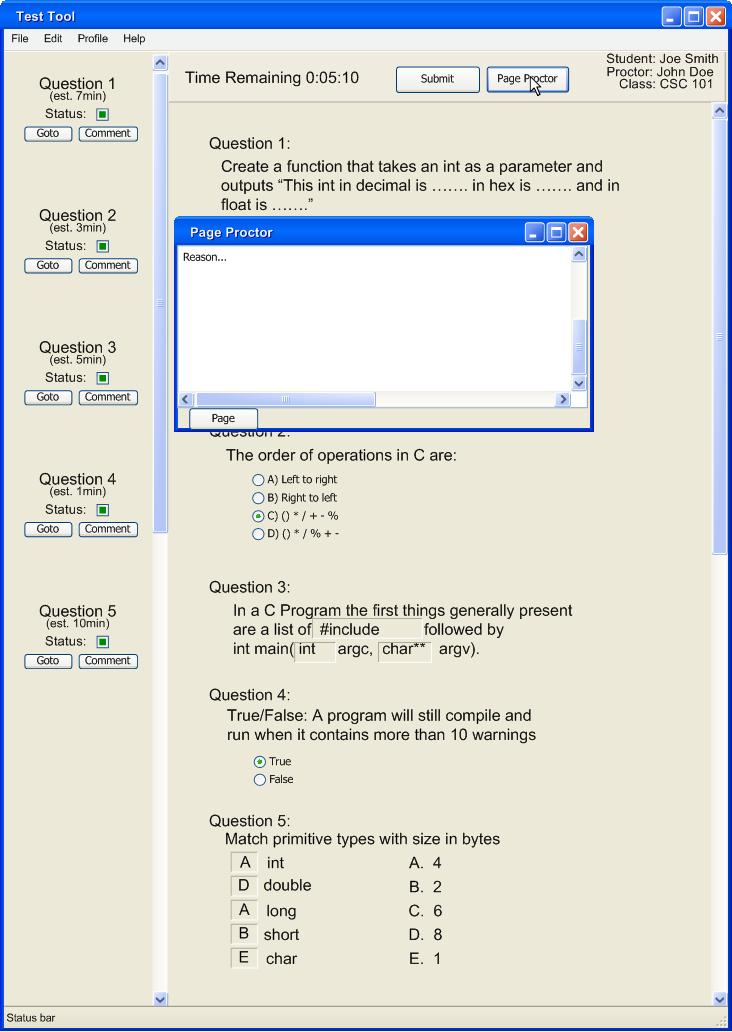
The student begins taking the test, and as one can see the
window is split up into two sections, the questions abbreviated on the left and
the full questions on the right. The student can also have the time
remaining for the test displayed at the top. An extra option, if
selected, displays the recommended time for each question and how long the
student has spent on it. In the left window the student can jump easily
from question to question. Each question has a Goto
button and a Comment button as well as the Status and the questions estimated
time. The Status box fills in with a certain color, each color
corresponds to how complete the problem is. The three statuses are
complete, still working on, and have not started. All these features will
help the student easily navigate and actually take the test.

The questions in the test come in a variety of types, as
well as different question layout. The student can choose to view one
question at a time, or have one continuous stream of questions presented to
them. The student may face true or false questions that they can click to
fill in the appropriate bubble (question 4). They may also face multiple choice
(question 2), fill in the blanks (question 3), or matching (question 5). An
interesting addition to the normal test taking is the ability to do long answer,
as well as code related questions. There is a text box (question 1) where the
student writes out the answer or code, below this box however is the ability to
do a few things. A student can save their progress and come back to the question
later, declare it done, or open up an IDE of their choice. The student selects
their IDE of choice by pressing profile->settings. If an IDE is not selected, when the student selects Open IDE the testtool displays an error message "Please Select an IDE".
2.5.1.0 Test Begins
Once the proctor hands out the test the student may begin. Here is a walk-through
of a student taking a test.
2.5.1.1 Goto Button
The Goto button is always a helpful tool as the student navagates the test. The Student presses the Goto button and the test jumps to the question the Goto button was pressed on. This function is
especially useful on longer tests.
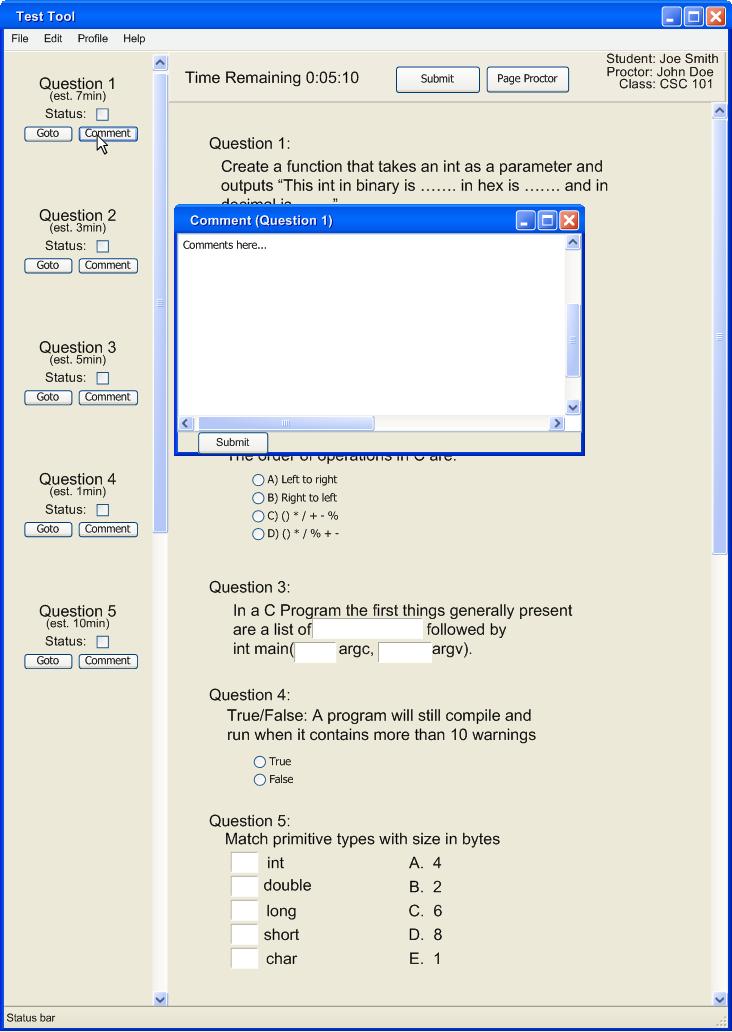
2.5.1.2 Comment Button
The Comment Button is another useful tool, for both the student and the professor. The student presses the Comment button next to the question he wishes to comment on, and a comment box appears. The student writes his question comment in the provided box and presses the Submit button, this attaches a comment to the question when the professor recieves the test.
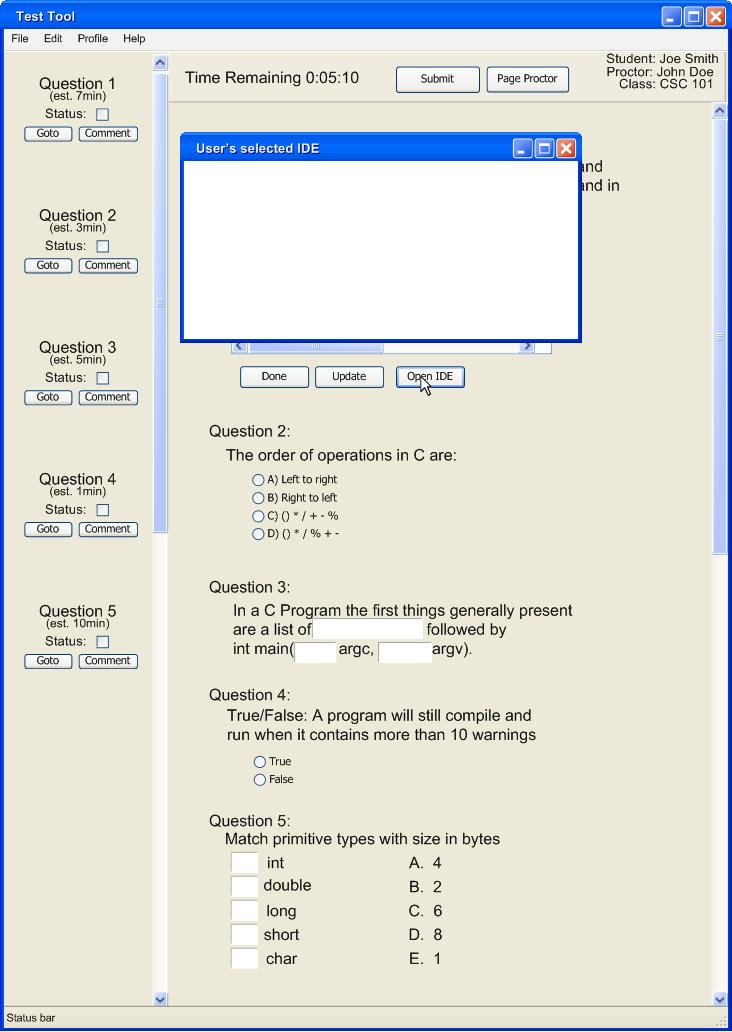
2.5.1.3 Long Answer/Coding Question Buttons
The student reaches the first question on the test, it is a coding question. If it is a simple
question the student just fills in the text box, but in some cases, the student may desire a
developement environment. When the student presses the Open IDE button their IDE of choice appears
for the student to work in. The student copy/pastes the code into the box, then the stdout. The stdout must be surrounded by the output identifiers /*out (stdout here) /out*/ or the grader will not recognize it as output.
Once the student thinks he is done, he may press one of two buttons. First, if the student is
unsure of their answer the he presses the Update button, this saves the work and changes the
status of the question to revisit later.
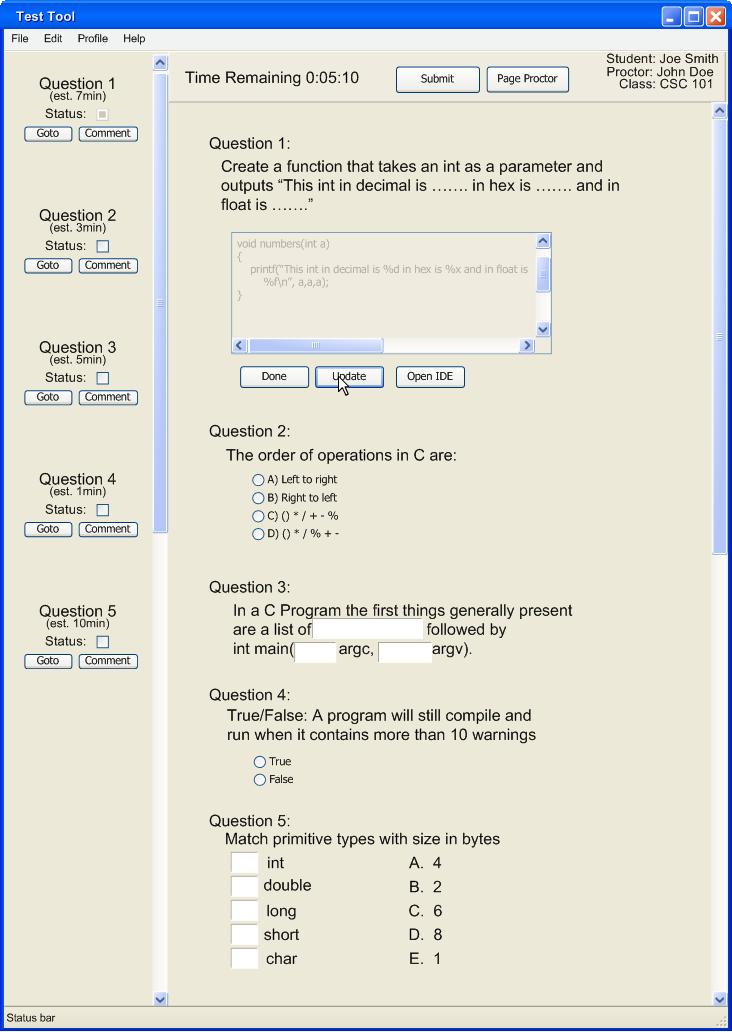
However, if the student has confidence in their answer, he presses the Done button and this will
save the answer, and change the status to complete. This does not mean the student can not later
make changes to the answer, just that it is done.

2.5.1.4 Multiple Choice Question
The student continues with the test and reaches a multiple choice question. The student chooses between the four available options. In the end, the student decides on C as the correct choice. He presses the bubble next to C and it fills in. This also sets the questions status to complete.
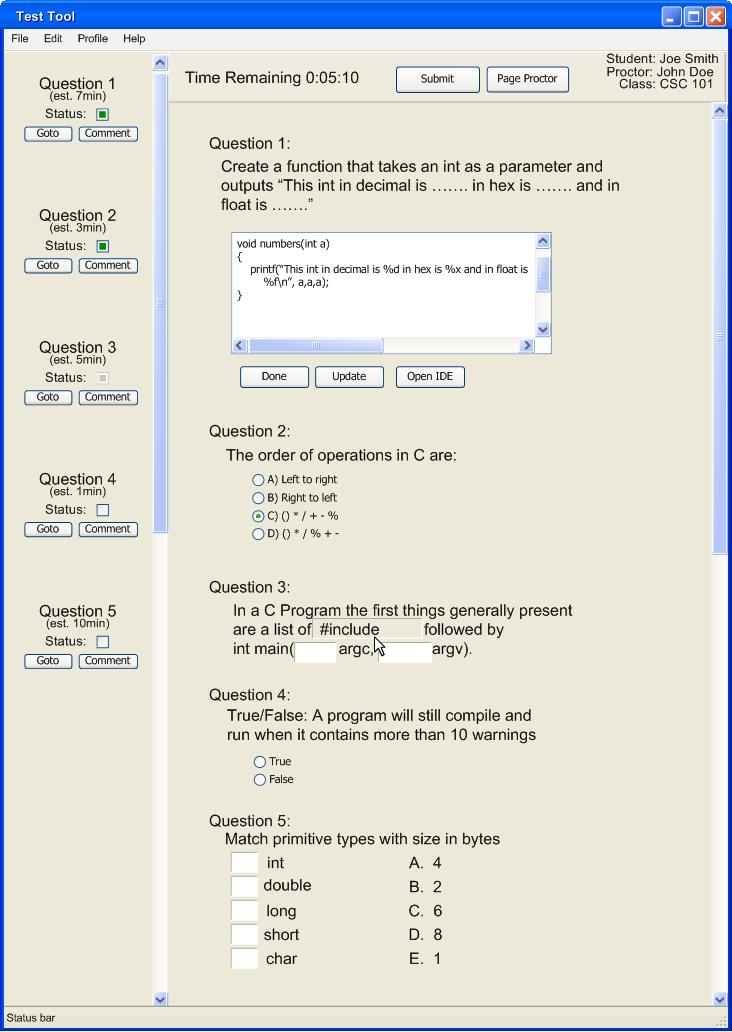
2.5.1.5 Short Answer/Fill-in Question
As the student progresses through the test he reaches a Fill-In question. The student clicks on the box he wishes to fill in, then types his answer. The questions status color will change from not attempted to revisit and stay that way until all portions of the short answer question are completed.
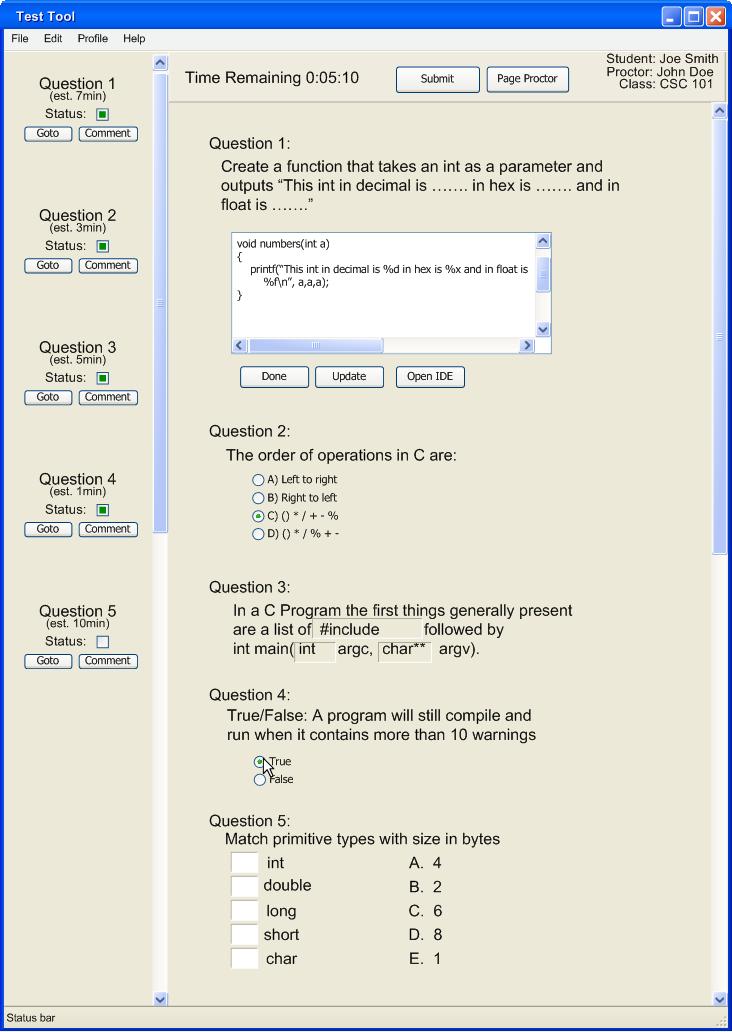
2.5.1.6 True/False Question
Next on the test is a True/False question. The student decides True is the correct answer and clicks on the bubble next to True. This fills in the bubble and changes the questions status to complete.
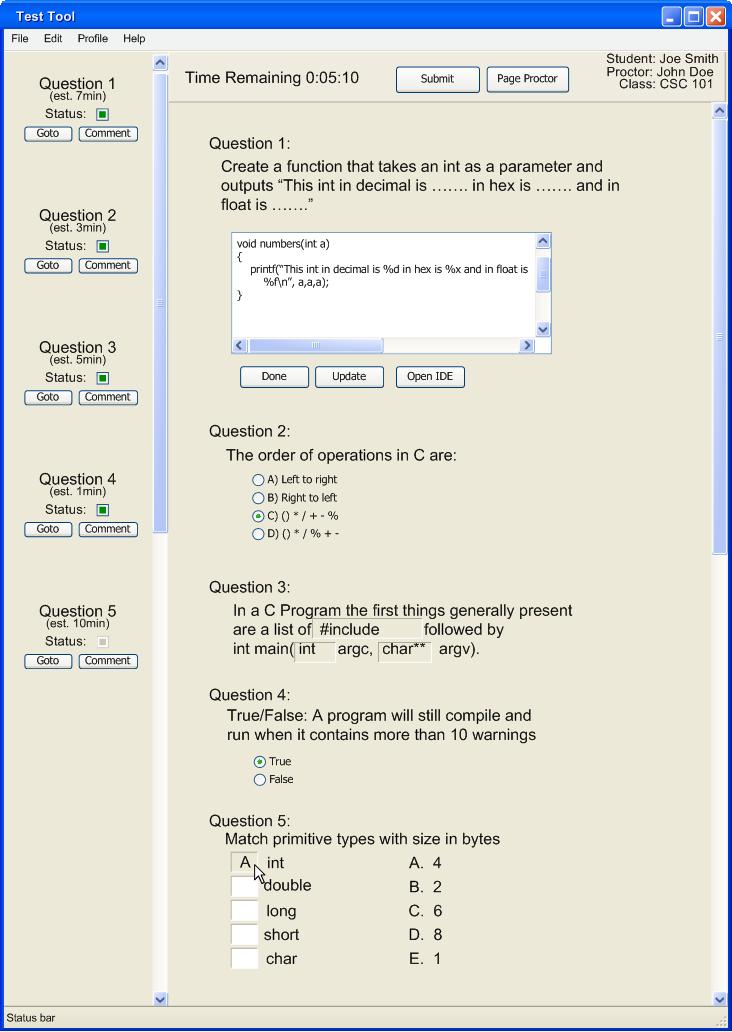
2.5.1.7 Matching Question
The last question the student reaches is a Matching question. The student must match the right side to the left, and fill in the appropriate letter in the text box. Again, the status changes from not attempted to revisit and remains that way until all parts are matched. Once the student finishes matching the status will change to complete.
2.5.1.8 Page Proctor
The student needs help deciphering a certain question, while he is checking his answers. The student presses the page proctor button, and a text box appears. The student then fills in this text box with the reason for paging the proctor and presses page. The proctor is alerted that a student has paged him, as well as the reason the student pressed page.
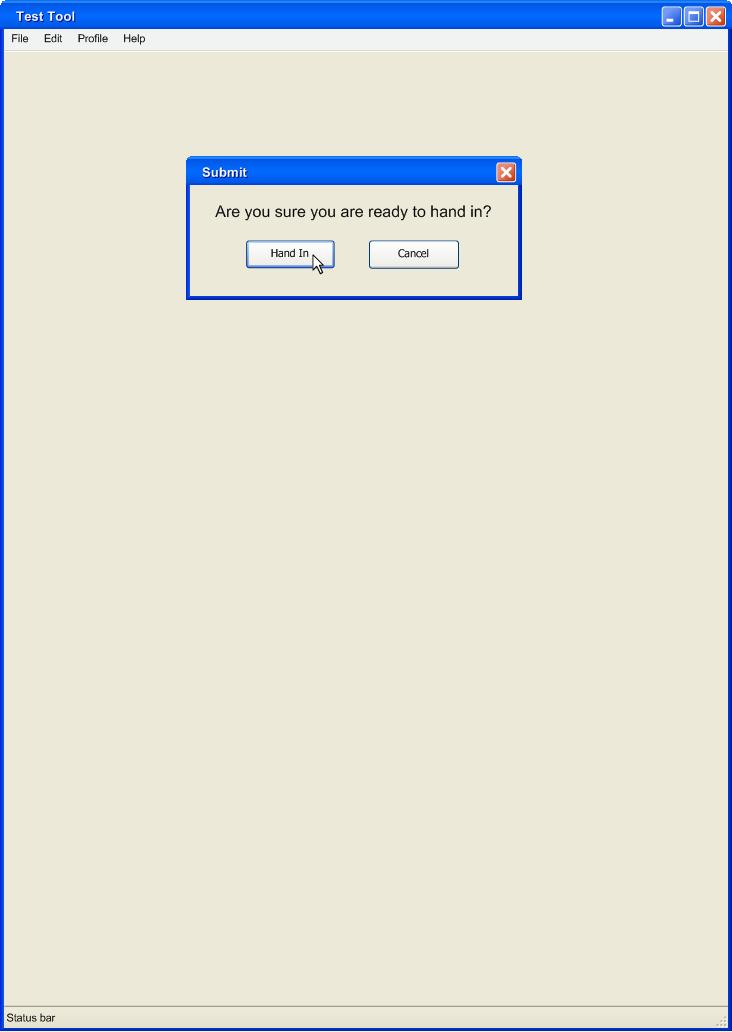
2.5.1.9 Submit
The student completes the test! He presses the Submit button when he is ready and is prompted with a box confirming he really wants to submit the test. He may either press the Hand In or Cancel button. The Hand In button will send the test to the proctor computer and remove it from the students, the Cancel button will allow the student to continue working on the test. The student may only submit a completed, Proctored or TakeHome test, otherwise the box is greyed out.

Confirm Hand In test forwarded and removed. The proctor recieves the test from the student and it saves on the proctor's side, this process is explained in section 2.1.2.
Prev: Test Taking
| Next: Out of Class Take-Home
| Up: index
| Top: index