
Part I: Basic Game Elements
Avoider Scenario
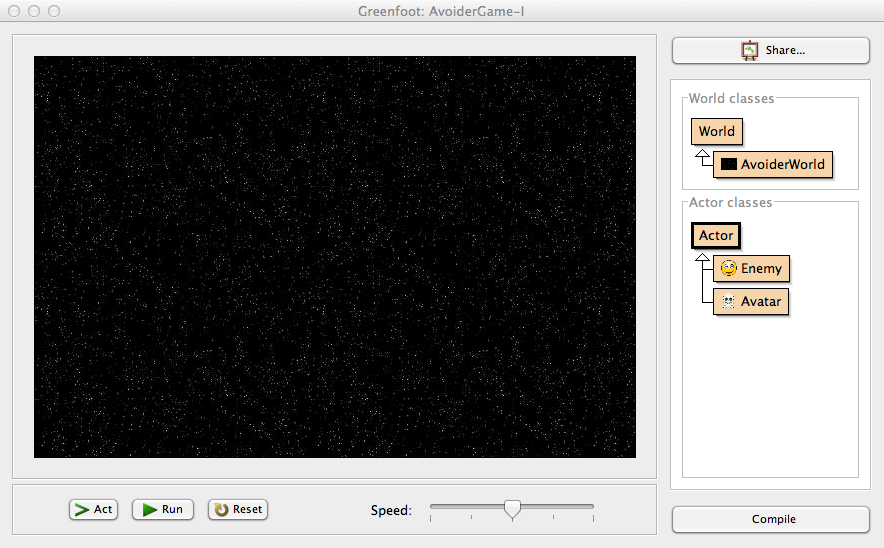
Start Greenfoot and create a new scenario by clicking "Scenario"->"New...". You'll see a window like this:
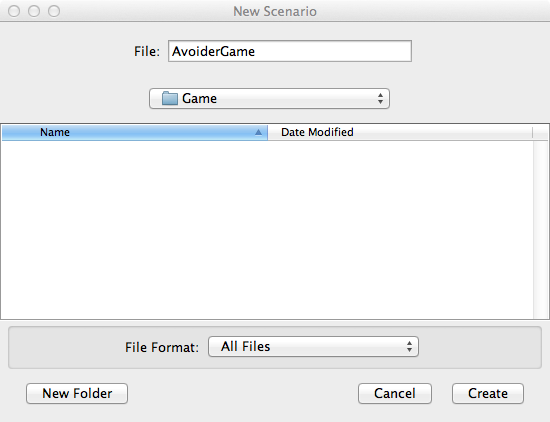
Name the scenario "AvoiderGame" and then hit the "Create" button.
The Final Frontier
Next, we need to create a world for our game. We do this by right-clicking the World class in the scenario window (see picture below) and choosing "New subclass...".
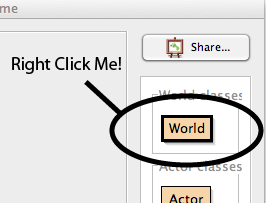
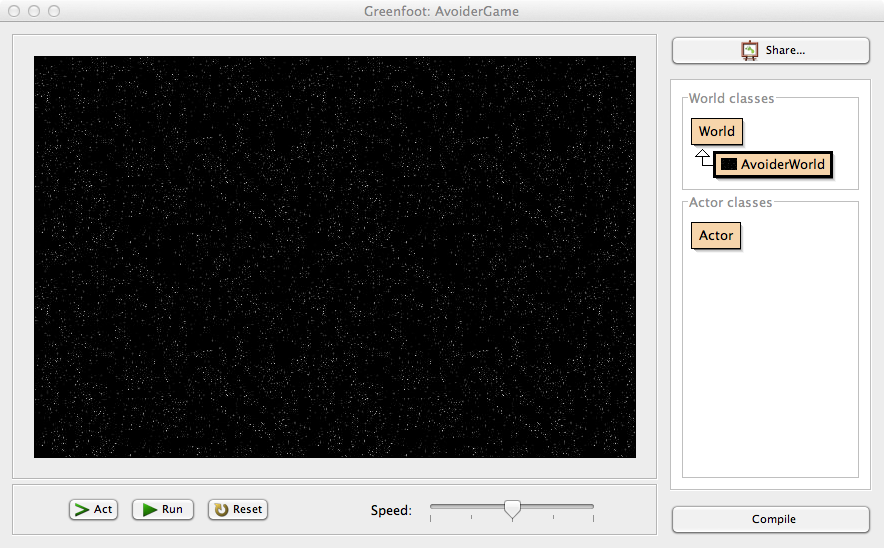
In the "New class" popup window, name the the class "AvoiderWorld" and select the "backgrounds->space1.jpg" as the new class image. In the main scenario window, hit the "Compile" button. You should now have a scenario that looks like this:
NOTE:
In Part II of this tutorial, I require you to create two additional world classes. Those instructions will be abbreviated and you should refer back to this section for detailed instructions.
Our Hero! (and one enemy)
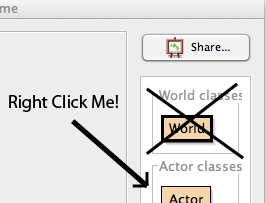
Let's create the character our players will control when they play our game. Greenfoot make this really easy. We will basically just follow the same steps we used to create a world class in the section above. Start by right-clicking the Actor class in the scenario window (see picture below) and choosing "New subclass...".
In the "New class" popup window, name the the class "Avatar" and select the "symbols->skull.png" as the new class image. In the main scenario window, hit the "Compile" button.
Now, to create an enemy you do the same steps you just did for the hero, except choose "symbols->Smiley2.png" as the image and "Enemy" as the class name. Again, hit the "Compile" button when done.
You should now have a scenario that looks like this:
Controlling our Hero
Let's add some code to the Avatar class that will allow us to control its movement using the mouse. Double-click on the Avatar to pull up the code editor (Note: you can also right-click on the class and select "open editor"). You will see a screen pop up that like this:
![]()
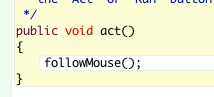
You can see the act() method we discussed above. Because there is no code in it, our Avatar will not move or display any other behavior when we run our scenario. What we would like is to have the Avatar follow the mouse. Wouldn't it be nice if there was a "followMouse()" function we could use? Let's pretend there is! Inside the act() method, type the following code: " followMouse();". Your act() method should look like this:
Just for fun, let's compile this and see what happens. What do you think will happen? Click the "Compile" button to find out. Did you see something like this?
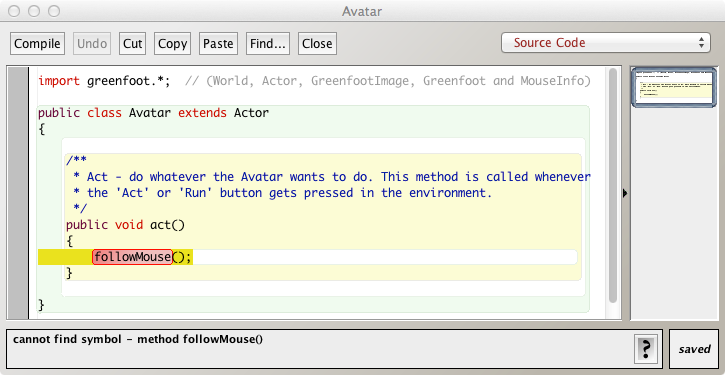
If you look at the bottom of the window above, you'll see that Greenfoot has provided us a useful error message and has even highlighted the code that has the problem. As we know, we were pretending that the function followMouse() existed. Of course, it doesn't. We will, however, write it soon. Throughout the course of this manual (and during any Java coding) you are going to make errors. Sometimes you'll make a "typo" and others you'll use a symbol that doesn't exist (like we did above). There are other common errors you will make as well.
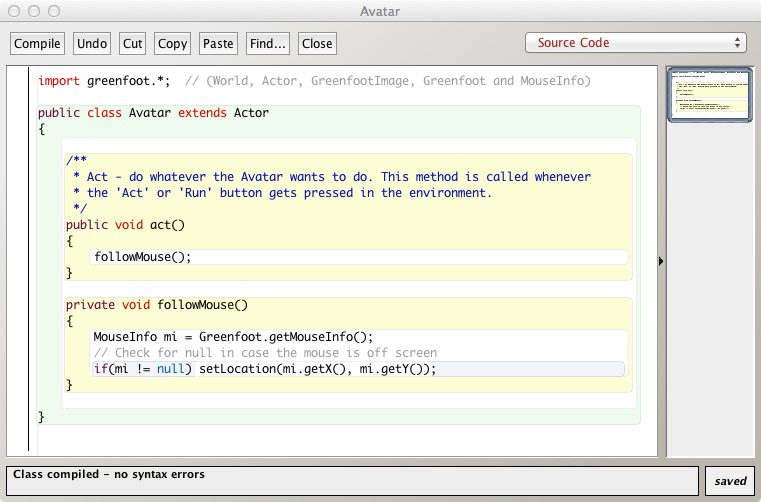
Ok, back to our hero. We last left our hero (the Avatar class) with an error because there was actually no followMouse() function. Let's fix that. Add the code as depicted in the picture below:
That's it?? Yup, compile and try the code out... The picture of the skull should follow your mouse. If something went wrong, look closely at what you typed in. You can also follow the debugging tips above.
Hey wait!!! How did you come up with the code for the followMouse() function? Where you born with that information? No, I actually just looked over the Greenfoot documentation and saw there was a class named "MouseInfo". I clicked on that and read about all of its methods (aka functions). I also Googled and referenced my Greenfoot book. In general, everything I have shown you and will show you took me some time to learn.
Let's break down the code in the followMouse() function. First, I get access to an object that represents mouse data via "Greenfoot.getMouseInfo();" I then use that object to get the location of the mouse and then set the X and Y location of our hero using "setLocation(x,y)". How did I know to use setLocation()? Again, I read the Greenfoot documentation on the Actor class. It's a method Greenfoot provides for all actors. Last, I had to include the "if(mi != null)" part because if you accidentally move the mouse outside the Greenfoot window, there will be no mouse information so trying to access it will cause an error (see the comment in the code above).
Let's not forget our enemy
And now let's make an Enemy move. Double-click on the Enemy class and change its act() method to look like this:
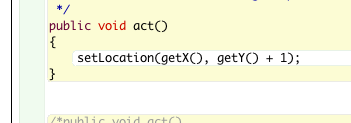
Remember using setLocation() above in the Avatar class?
Save, compile, and place an Enemy on the screen. When you run the scenario, the enemy should move downward.
Happy, Shiny Enemies...
One enemy who slowly moves off the screen is not that exciting. Let's make a never ending army of enemies attack our hero. OMG!! Nooo!! I thought I was nearly done with this tutorial and now we have to make an army of ememies???!!! No worries. It's easy -- only about 3 lines of code. Double-click on AvoiderWorld to open up the code editor. Add this act() method:
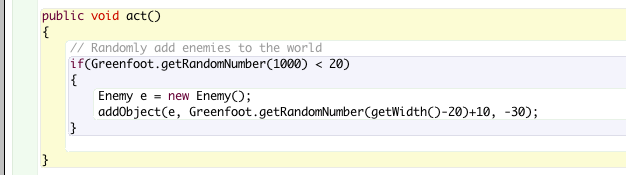
Compile and run the scenario, you should see a continuous stream of enemy horde moving down the screen.
(Where do all those enemies go? We'll deal with that later in this tutorial.)
Your Assignment
Learning is not passive and you really need to engage in the process. Before moving on to the next part of the tutorial, you should accomplish the following two things:
- Remove our hero from the game if it touches one of the enemies. A prerequisite to this tutorial is that you have completed these short Greenfoot Tutorials. The third one tells you how to do what I'm asking you to do here. However, instead of using the method getOneObjectAtOffset() use the method getOneIntersectingObject();
- Animate the enemy's face. Let's change the Enemy face to a sad one if its Y location is greater than 300 (after all, it's not likely at this point that the enemy will capture our hero). You can change the image of an Actor using the setImage() method (look it up in the documentation). Initially, we assigned "smiley2.png" to our enemy. Let's change it to "smiley3.png" when it is far enough down the screen. (Note: You will need to find where "smiley3.png" is in your Greenfoot installation and then copy it to your scenario.)
- Do your enemies collect at the bottom of the screen instead of pass through? If so, you need to fix this. Look at the Greenfoot documenation for the World class, specifically the "Constructor Summary" section. Something there will help you!
Next...
Great work so far! We have built the basics of our game and will next add some things to make it look and feel more like a game.
This completes Part I of this tutorial. In Part II, you will add an introduction screen, a game over screen, and a score.