Lab 7, CSC 203 - depth first search
This lab explores recursion through the implementation of a depth-first search on a two-dimensional grid (a simple graph).
Objectives
To implement depth first search
Practice thinking about trajectory planning on a 2D grid structure
Overview
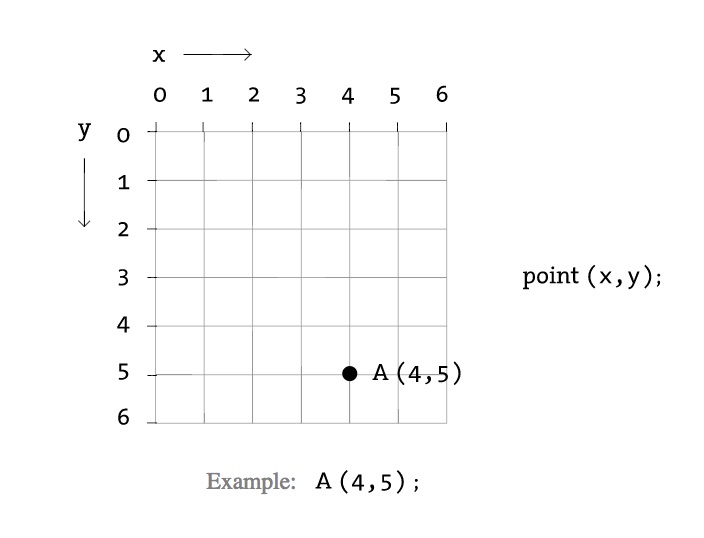
Begin with the base code. Note that this code represents the world as
a 2D occupancy grid. Note that Processing, the tool we will use for visual
disply of the 'world' and 'path', uses a 2D coordinate system
(sometimes used to represent images), where {0, 0} is the upper left corner.
This means that as the y value of a coordinate increases, the point is lower in the screen/world. This image shows the general structure.
The project we have been working with this quarter is using a similar data structure. This code is just a very simplified version of the virutal world.
Your code will need to use the Processing jar (again similar to the larger project being worked on this quarter). You will need to make sure the .jar for Processing is included in your CLASSPATH. For example, you can edit your
.mybashrc file in your home directory to include not only junit and hamcrest, but also Processing. In which case you might have a line in your bash file that looks like:
export CLASSPATH=/Users/cscadmin/public/junit-4.12.jar:/Users/cscadmin/public/hamcrest-core-1.3.jar:/Users/cscadmin/public/processing-core.jar:${CLASSPATH}:.
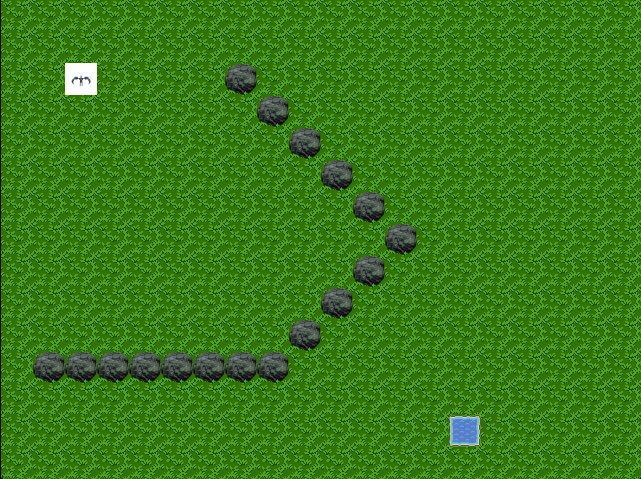
Or see Program 1 for a reminder about getting the Processing jar to work in IntelliJ. Test to make sure the base code works for you. When your program starts it should look something like this - where the goal is for the wyvern to find a valid path to the water, only traversing the grass and not the rock obstacles:
Getting started - Background
Open the provided Java file and read through the code. This code is written in a very simple style to conform to the requirements of and to illustrate some features of the Processing library. You will adapt this code to the project in an assignment.
Use of the Processing library begins with the definition of a class
that extends PApplet and that includes a main
method like the following to create an applet using the specified
class.
   public static void main(String[] args)
   {
      PApplet.main("PathingMain");
   }
This class overrides two important methods: setup and
draw. The setup method is run once when
the, in Processing terminology, "sketch" is created. The
draw method is called repeatedly (by Processing) and
will contain the control logic of the "sketch".
You will also see that the code includes
a two-dimensional array to represent the "world". This grid
should be 20x15. For this lab, you will use this grid to store
background tiles, obstacle tiles, and a goal tile. The code uses
integer values to represent these different types of tiles, via
an enum, specifically:
private static enum GridValues { BACKGROUND, OBSTACLE, GOAL, SEARCHED }
There is a keyPressed() method that can be used to activate your depth-first search. As it stands, in the base code, the pathing only traverses one neighbor, which you want to replace. The code is there to give you a good example of working with the grid data structure.
Step 1

Step 2
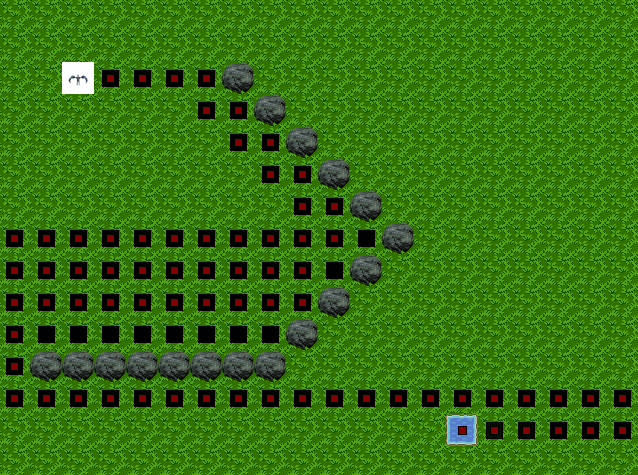
After the search completes, make sure that the code in place to display the visited tiles works (press 'p'). If this doesn't work, make sure you understand how cells are being added to path (and how the path is represented). In the below example image, all the cells with a black square have been visited, but the grid cells that make up the path is shown with red.
Demonstration
Once you have completed the above steps, demonstrate completion of this lab to your instructor.