Description
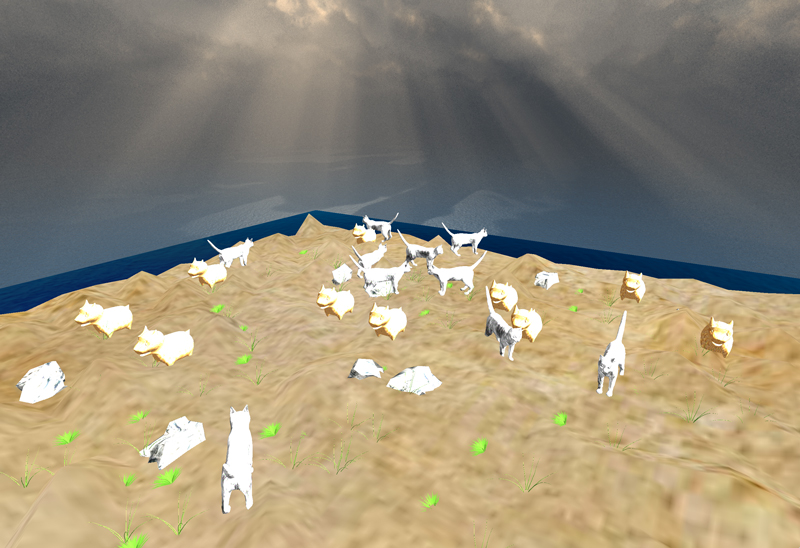
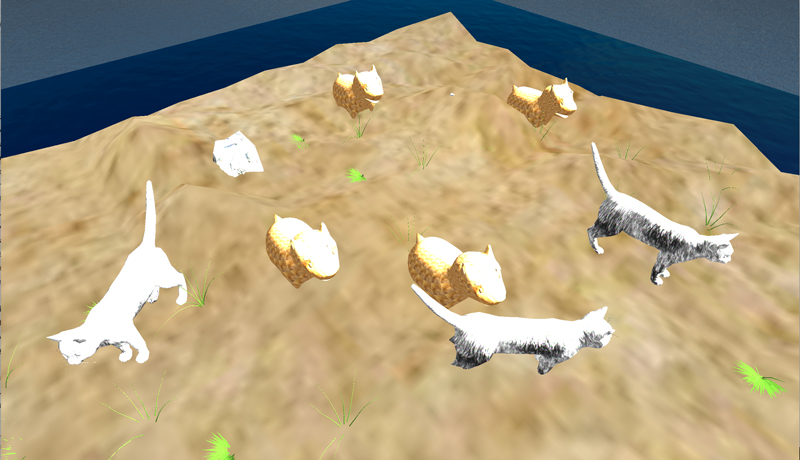
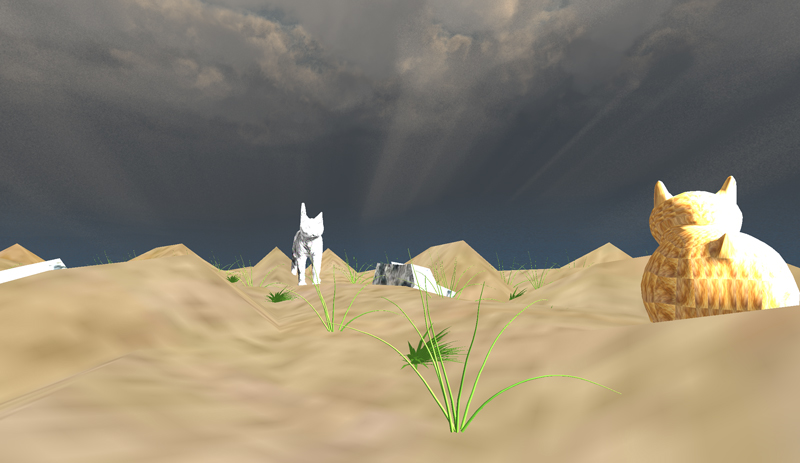
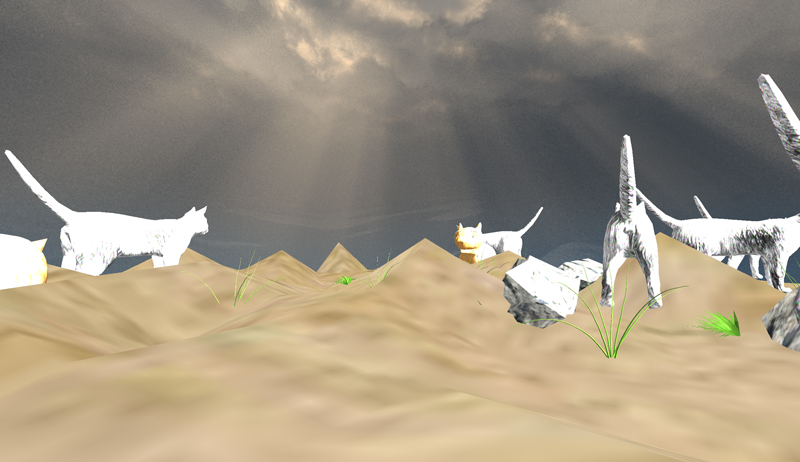
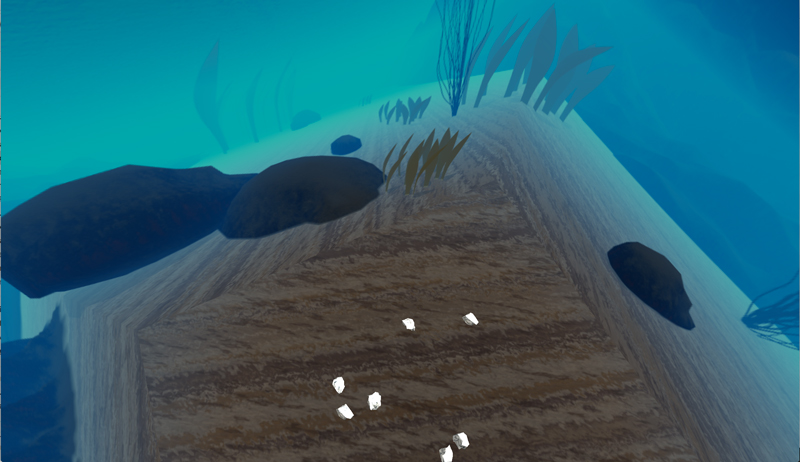
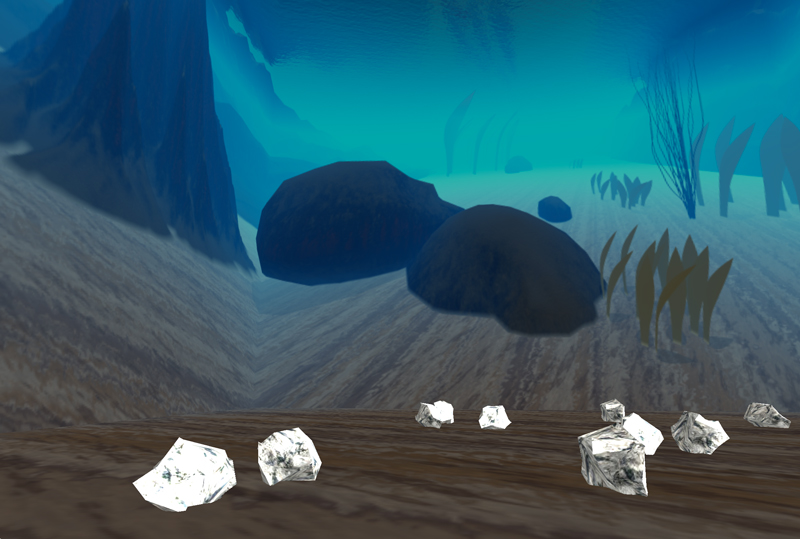
For my final project I made a simple scenery that the user can explore around. In the scenery there is a colony of cats and dogs stuck on an island. There is also an underwater area where the user can see by literally looking down and walking down pass the island.
Graphic Techniques Used
The main graphic technique I used for this project is using a heightmap for my terrain. Initially I wanted to make a heightmap that involves using an image that created the heights of the terrain. This is demonstrated by this tutorial that I tried to follow. However, despite following the tutorial I had a hard time implementing the heightmap and due to different base codes and also time constraints.
For my terrain, I made a simple heightmap where I first implemented an array of vertices (x, y, z). Each quad of the terrain are made up to two pairs of vertices or two triangles. Hence, the terrain is filled with triangle strips instead of quads. Then I converted the vertices into normals and indices that were stored in their own buffers to send to the GPU. I mainly learned how to make my terrain by using this tutorial. Though, I decided to make an array of random heights within a range (stored in the y of each vertex) since I thought it would be one of the simplest ways to put some height into my terrain.
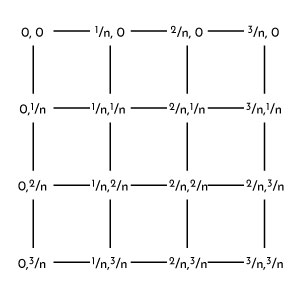
Another graphic technique I used is texturing my terrain and object. In my experience, it was easy to implement textures to meshes since there was a given code through our texturing lab. Though, since I had manually put a vertices, normals, and indices in the CPU, I had to assign each vertex a texture coordinate (n is the number of vertices in each direction). The texture coordinate system looks something like this:
The last main graphic technique was using skyboxes. In my case, the way I implemented my skyboxes is by plugging cube coordinates into a buffer and assigning each side of the cube an image from a skybox image pack. Here is the tutorial I used for my skyboxes.
Image Results
What I Learned
One of the interesting lessons I learned in this project is that order really matters when it comes to rendering. In my case, in my render, I first rendered my scene in this order: the terrain, the skybox, the underwater "skybox", and the objects in the scene. I could not see my objects I drew in the scene when I rendered the objects last. Eventually I figured out the order of my renderings which was: the skybox, the terrain, the objects, and the underwater skybox. This made sense since the skybox holds the whole scene, the terrain holds all the objects and the underwater is under the terrain (which should be last to render).
References
- http://www.mbsoftworks.sk/index.php?page=tutorials&series=1&tutorial=24 -- HeightMap
- http://www.mbsoftworks.sk/index.php?page=tutorials&series=1&tutorial=8 -- Terrain Indexing
- http://www.learnopengles.com/tag/triangle-strips/-- Indexing Buffer for Triangle Strips
- https://capnramses.github.io/opengl/cubemaps.html-- Skyboxes Tutorial
- http://www.opengl-tutorial.org/beginners-tutorials/tutorial-5-a-textured-cube/-- Texture Tutorial
- http://outerra.blogspot.ru/2012/11/maximizing-depth-buffer-range-and.html -- Depth/z-buffer
- http://tf3dm.com/ -- Free Object Files
- https://93i.de/p/free-skybox-texture-set/ --Free Skyboxes
- http://www.custommapmakers.org/skyboxes.php -- Free Skyboxes