Deferred Shading
471 Final Project
Paul Armer - parmer
After doing lighting in 2 other final projects, I found myself once again doing a Zoë final project dealing with lighting. But this time dealing with real time. My project was to implement a deferred shader.
Overview
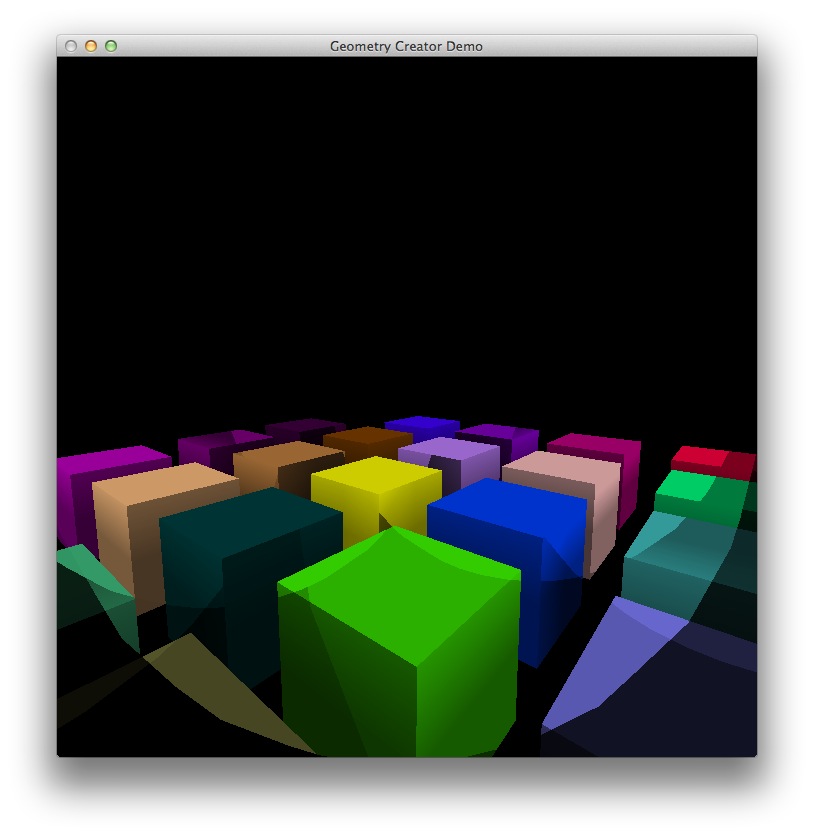
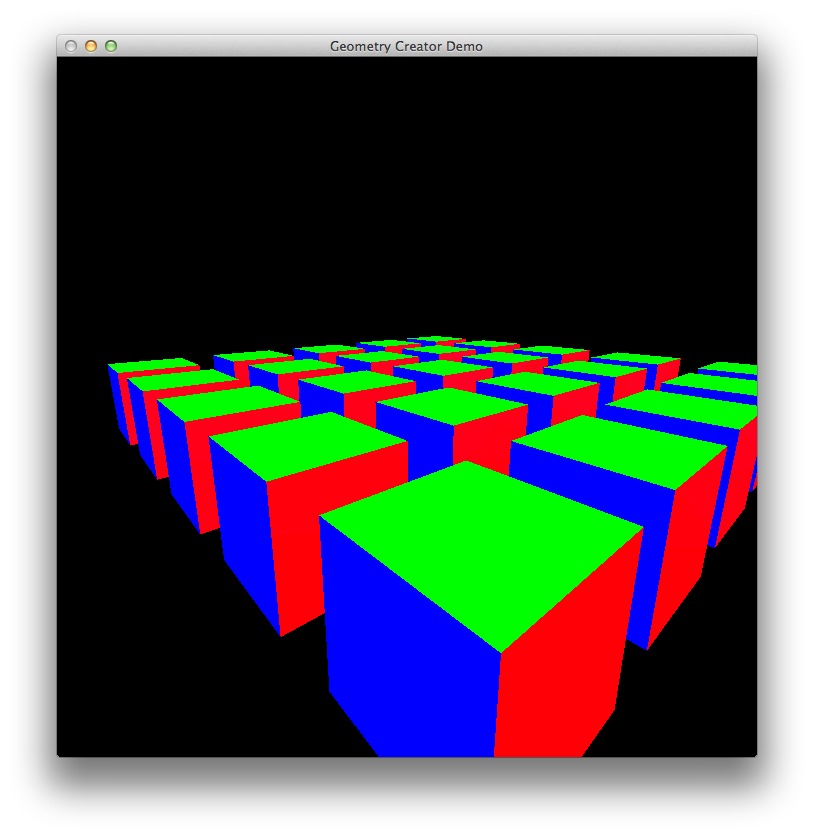
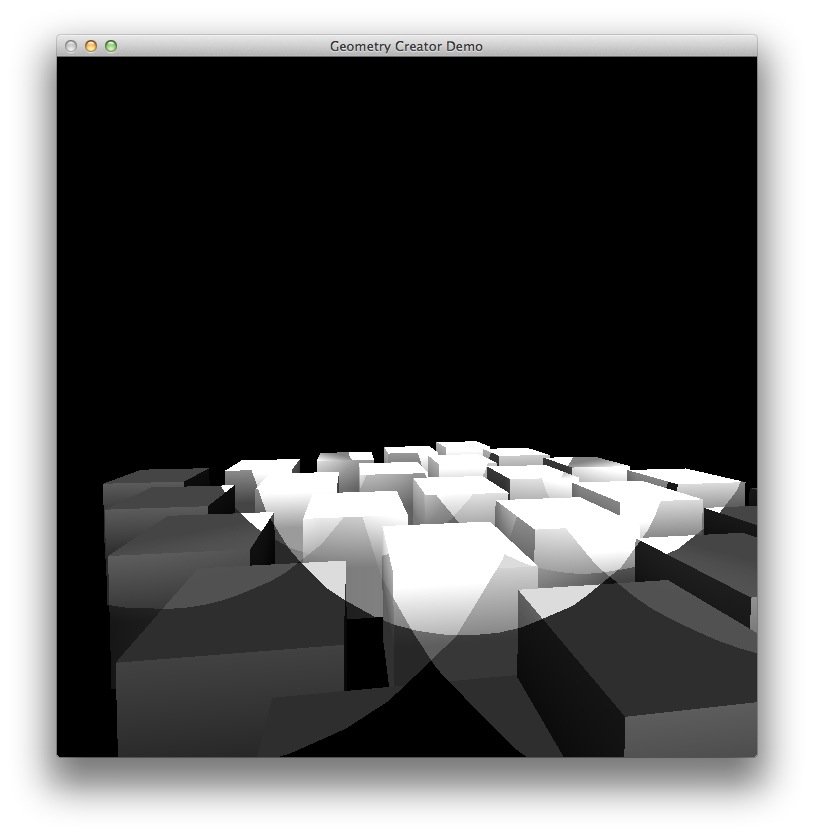
Deferred shading in theory is relatively simple: First write the flat color, the normals, and position of the scene geometry to 3 different back buffers. Then in a second pass, find the light's influence on the scene, and out put this to another buffer. Finally, you can blend the color and the light buffers together and output them to the screen.
Normally for a scene with n objects and m lights, the process called Forward Rendering would be
O(n * m)
However in deferred shading, you perform the lights influence on a per fragment basis and so the time it takes to render the frame is
O(n + m)
This means for every new light (or object) you add to the scene, you will only experience a constant addition instead of an exponential one.
Technologies
This project had me explore a couple of new technologies.
Frame Buffer Objects
In OpenGL normal Forward Rendering writes to the default Frame Buffer Object (FBO) and to display what you shaded you swap the 2 textures. You can instantiate new FBOs and attach textures to that so you can write to those textures instead of the main back buffer. Since they will not get displayed, you can use them however you please as data or for actual colors.
Note: You still should clear those textures each frame otherwise you get weird build up of colors and other data. Also write something to every fragment, otherwise you'll get whatever garbage is on the GPU at run time.
Generated Textures
While strongly tied to the use of FBOs, you can use textures in 2 contexts: reading and
writing. You can allocate a texture on the GPU using OpenGL and then write to each fragment
using the gl_FragData[i] depending on what GL_COLOR_ATTACHMENTi
you attach it to. You can then read from that texture by attaching the texture as a
sampler2D texture in the next FBO.
Pictures!

Pitfalls
For some reason light attenuation just wouldn't work. It really shouldn't be that hard, but performing light attenuation just never worked out. So in my images, you'll see hard edges of where the light ends and another one starts. I hope to fix this over the summer since I really would like to use this for my senior project.
References
- OpenGL Modern Graphics Tutorials - Terrible website design, but has some great tutorials
- Leadwerks Deffered Lighting - Use this document for help with translating from world to screen space and other tips
- SlideJS jQuery Plugin