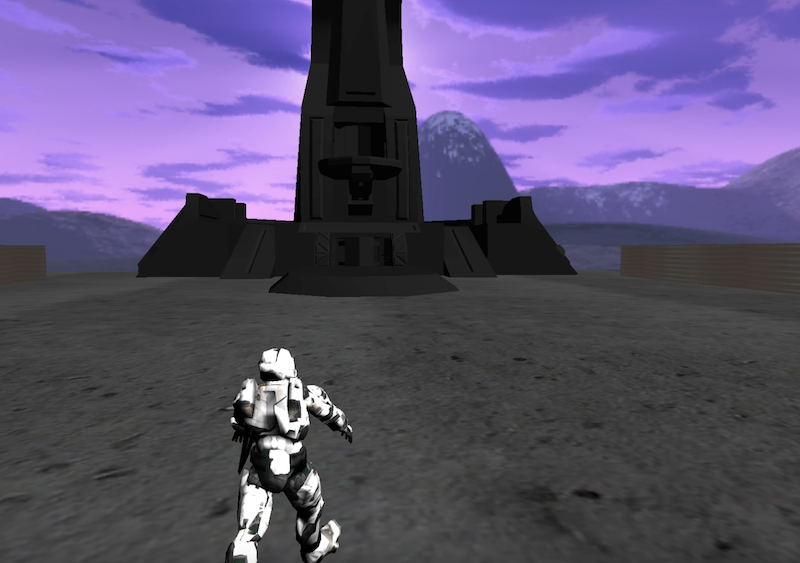
An animated video game player which can be played in either first or third person mode. I took an obj file found online and rigged and animated it using blender, then used Assimp and OpenGL to display the animations.
OpenGL + Assimp animated model from Daniel Kennedy on Vimeo.
Skeletal animation is a two part process. First, you have to rig your mesh with bones and create animations using a software like Blender. Bones are non-visible hierarchically structured entities which have influence on the mesh. How much each vertex is influenced by each bone is stored as a weight value. Animations are different bone poses at different times, stored as an array of KeyFrames. The mesh, bones, and animations can be saved in a Collada file.
Once you have your Collada file, you have to import it into your OpenGL project using a Collada parser or a library like Assimp. For your model to animate in your OpenGL project, you have to map each vertex to the bones which influence it, then calculate how much time into your animation you are. Since you know which poses the bones should be at at each KeyFrame, you can interpolate between the two KeyFrames between the current time of the animation to get the actual bone locations. Finally, you use the current bone transform and how much each bone influences each vertex to properly transform the mesh vertices in the vertex shader.

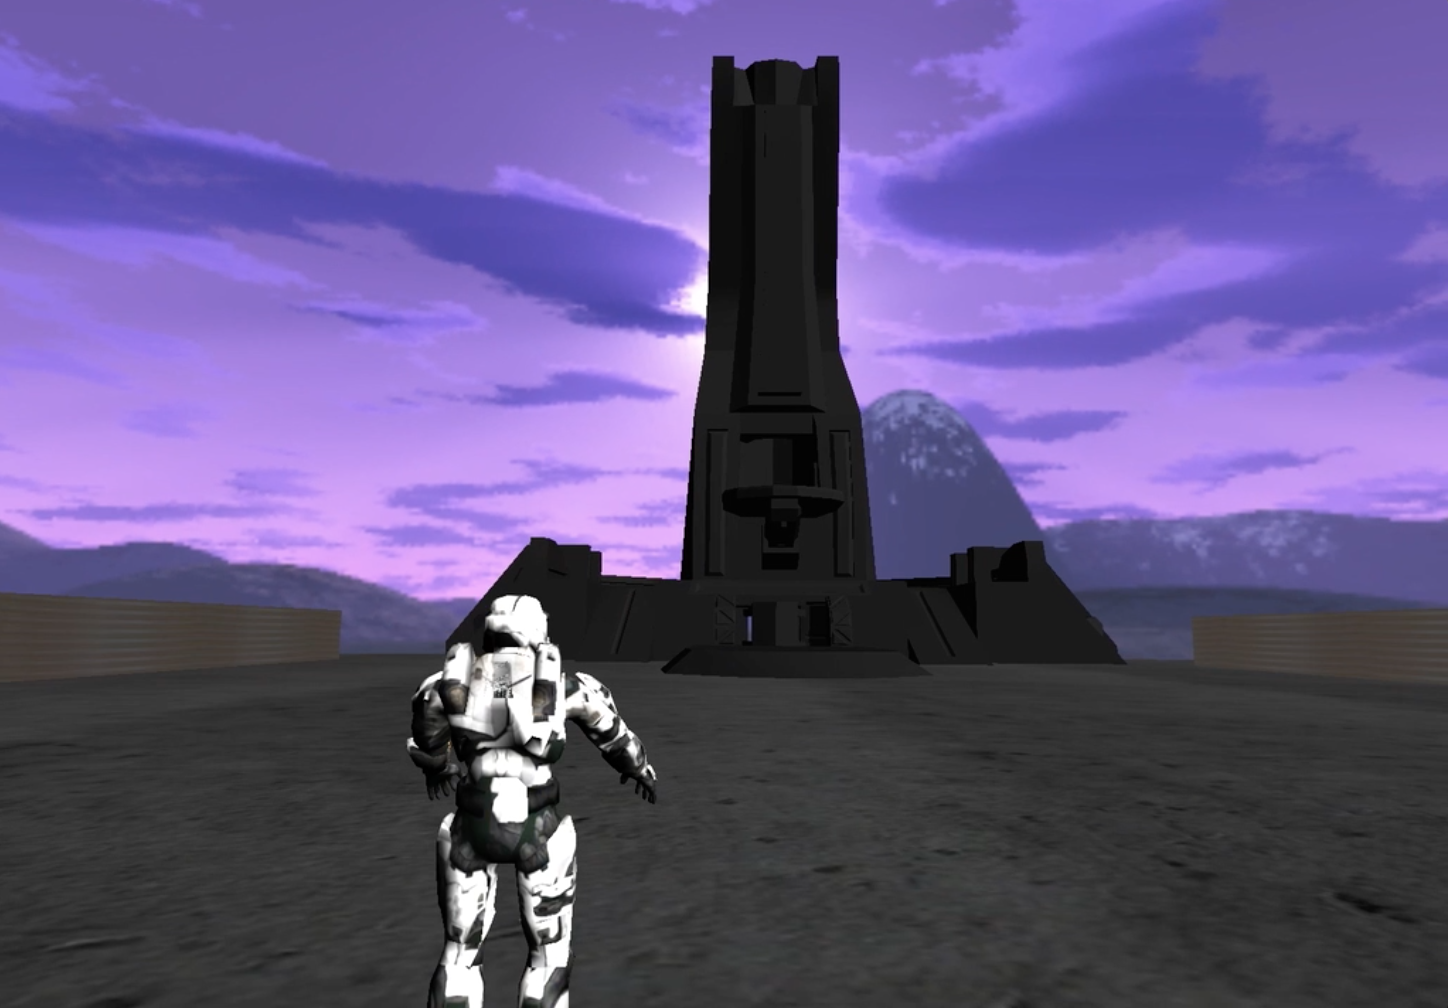
To have the camera seem like it is following the player, you actually have the player and camera in a fixed location and move the rest of the world around them. For the first-person view, I just had the camera slightly in front of the player. For the third-person view, I had the camera a strafe distance right of the player, a vertical distance above the player, and a fixed distance behind the player.
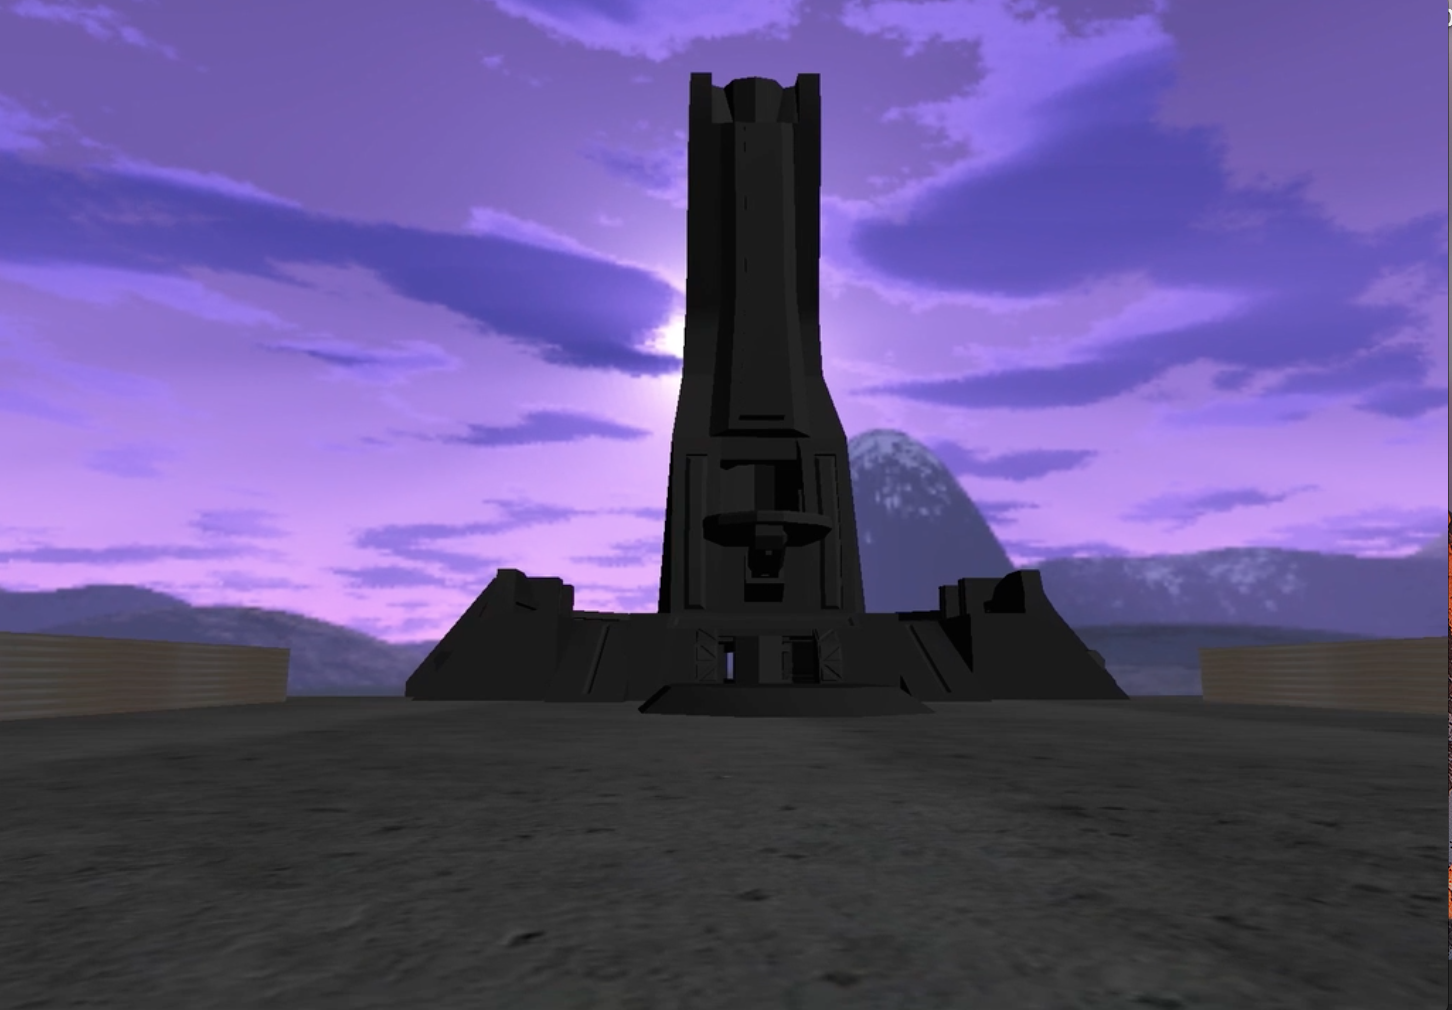
To simulate the sky, you create a big cube or sphere mesh which engulfs the player/camera. This mesh is then textured on the inside with images that make it appear like it is the world. Unlike the rest of the items which are rendered, this Skybox mesh is fixed around the player, so the player can never reach to edge of the mesh.
Texture mapping allows for a mesh to be wrapped with images. To achieve this big textured floor, you create a big plane, and select a smaller image to repeat over the whole plane. This is a efficient strategy because you only have to pass in 4 vertices for the floor and it doesn't look bad since the image doesn't have to be stretched.