Map OBJ
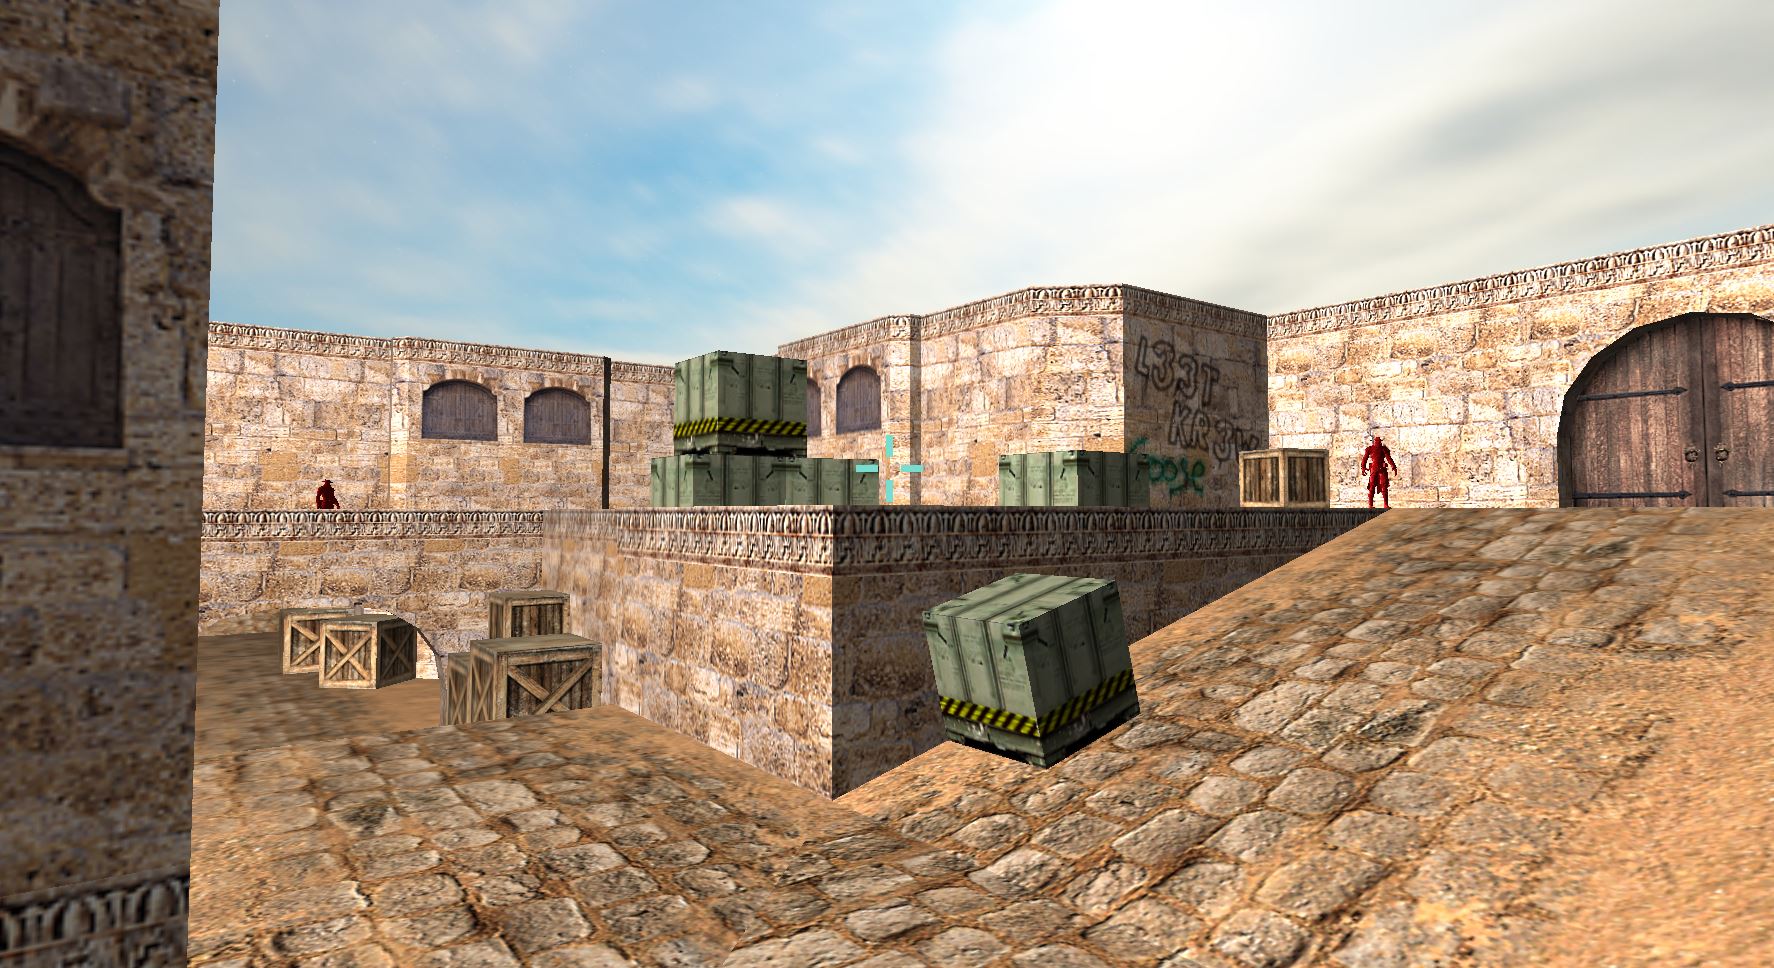
A large portion of my time went into working with a giant map OBJ file.
The map consists of over 1000 shapes and uses 34 materials. The shapes vary in size, shape, and orientation. Various geometry
exists inside and outside of the expected player region. Many manual checks were necessary, but I simplifed the process by checking
the normal buffer of each shape. A greedy check determined if the shape was a floor or ground (checking if normal = up vector) to which the shape was stored in a dictionary. From there, I used a
debugging process that textured the current floor white and spit the name to the console. I could exclude/modify boundaries from consideration as needed from there. Differences in
elevations (sloped shapes) posed a problem. I'm sure you could use the position buffer so calculate the plane equation and thus derive ground location, but seeing as there
were only a handful of sloped shapes and limited time, I opted to use an interpolation function to approximate ground location for each major "ramp" object. The dictionaries
along with these interpolation calculations are used in conjunction with player and arrow update/collision functions. There were plenty of bugs but overall I was happy with
the interactions I was getting. (More specifics described below)
HUD and UI
Title and Win screens were created by locking user input and placing the camera inside a cube. The text is simply composed of a couple obj files I created
in blender and changing material. Win screen shoots fireworks, yay! glfwSetInputMode() and glfwSetCursorPos() upon left clicking into the game window helped create
an interactive feel with the user. This simulates a menu screen and hiding the cursor is common in most FPS games.
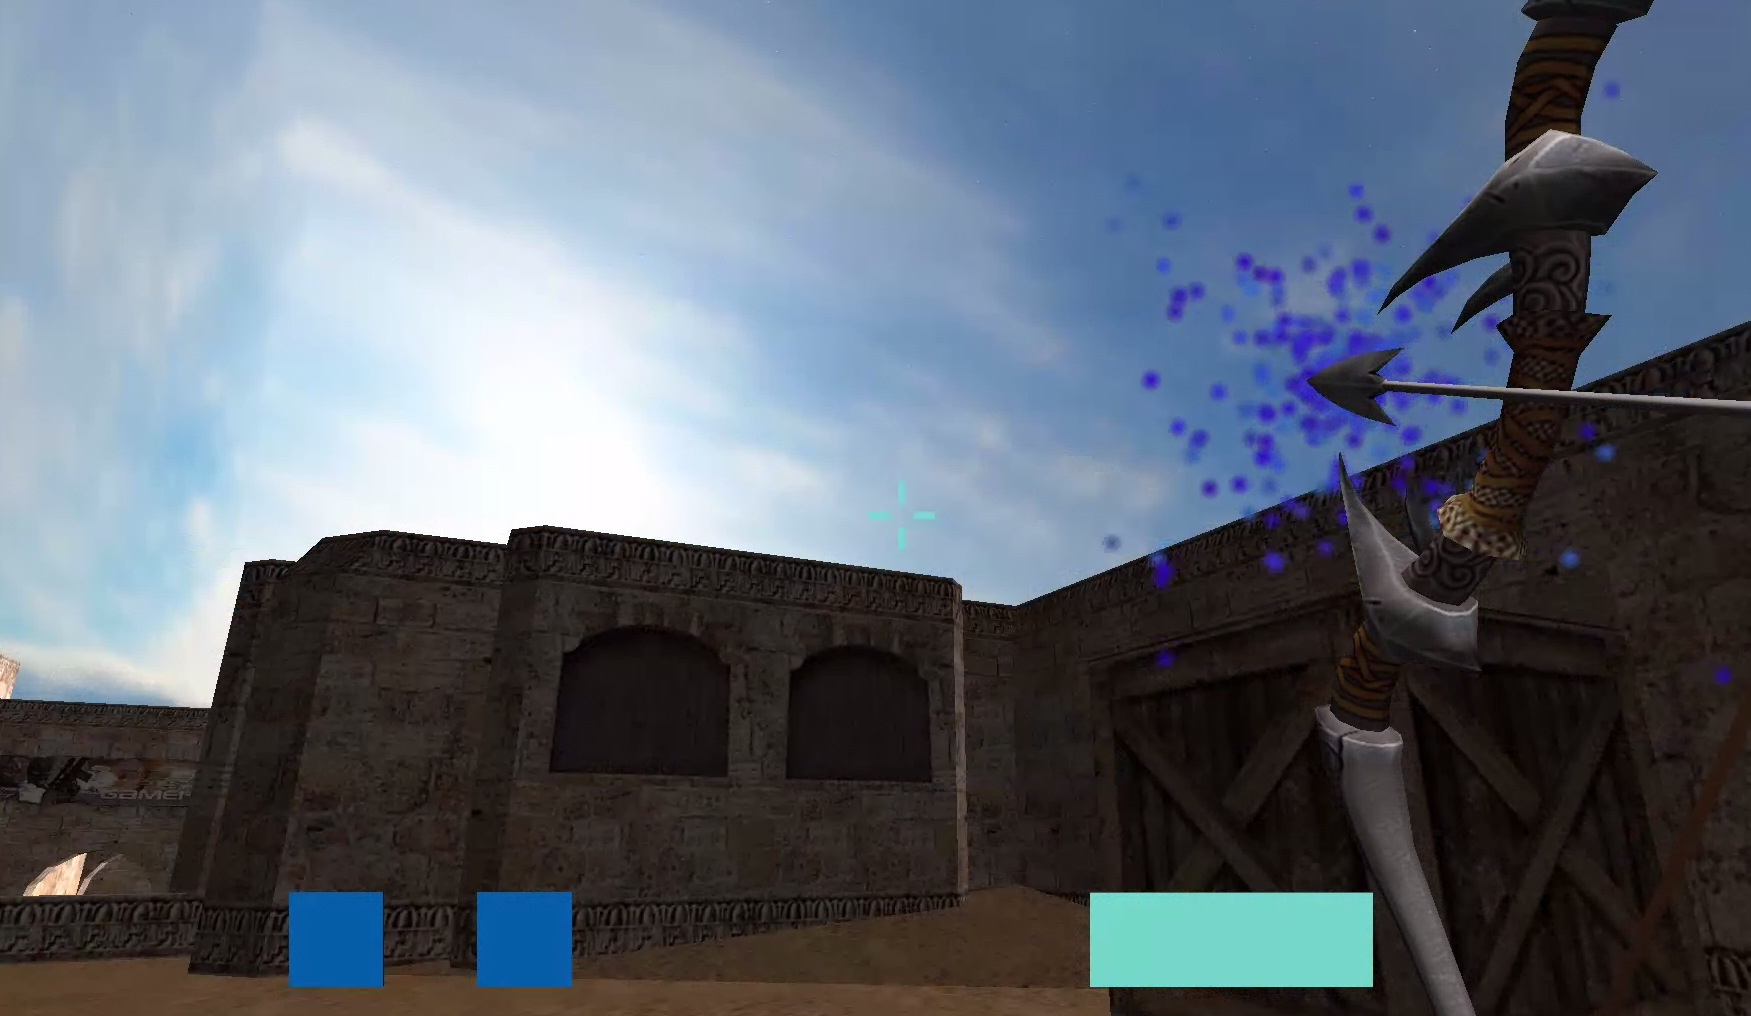
Third person mode (activated by pressing 3) and HUD (such as crosshair, arrow charges, and arrow charge) were simulated by using a separate View matrix
translated just past the Projection "near" range in the Z direction. Projection "near" range is just far enough to avoid rendering the inside of the player's
head when in first person (default). The two boxes on the left are rendered by checking number of charges (player.arrow.charges) and have their Z dimension
scaled to almost 0. The box for charge (ligher blue on the right) was created by making a cube in blender and setting the axis on a face of the cube rather than
the center. I then scaled in the X-Dimension by passing holdTime into an interpolation function, while capping the scale factor to 3. The crosshair uses these
techiques but is static obviously.
Gravity and Arrow Ability
An overall good basis is to have flags that keep track of 'instantiation', 'shot', and 'landed'. This way you can easily determine if gravity is in effect and if the arrow should be draw
at landed position or in the player's hand. It allows for interactions such as picking up the arrow. Gravity is only in effect when needed. The only two instances of this are when the player is jumping or an arrow has been shot.
In the case that gravity is in effect, I simply use vf = vi + g * t. To avoid jumping up walls and invisible boxes, a localGround is established at all times. This is useful in collision detection since I keep track
of each shape I am within (excluding the y range) and determine localGround of next position to be the y-value of the shape with the closest max.y value to my current localGround. Edge cases include slopes and tunnels
which required these calculations to be made. Without this, the program would have a hard time determining which ground is correct (tunnel road vs tunnel underpass ground). Again, hard coded
cases for ramps, which require interpolation, were made as needed.
The arrow was a project in itself. This aspect of the game probably took the most time and provided the least impactful result. Calculating position over time is very simple, the challenge
is determining orientation. If you are going to attempt this, please do not waste your time with Eulerian Angles. I tried to force this to work with a ton of check and interpolation functions
(ex: if lookAt is within this range, interpolate y rotation from 45 to -45 degrees and interpolate x,z rotation from 20 to 120 degrees)... Long story short, research Quaternions and use that.
I ended up cheating the math and just interpolating from 20 to 120 degrees [about the x-axis if looking in +,- Z axis] [about z-axis if looking in +,- X axis] and calling it good. I also cheated
the time aspect of the interpolation. To determine where in the arc you are, you need to know total time it will take. I thought this would simply be 2 * (vi.y / g) but I was getting bad
results. This is certainly partly due to the fact that I did not account for a starting height=2 but.. yeah. So to cheat this I set totalTime = 1.6s * scalar where scalar is in refernce to how long
the user held down left click.
Gun Ability
The gun ability is fairly straight forward. It has a vector of Bullets (a subclass) where a bullet is spawned upon a left click. I created a small threshold waittime so that
the user does not spawn hundreds of bullets in a matter of seconds. The address of the array of enemy positions is passed and if the bullet enters an enemy position (+- a hitbox epsilon)
then I delete the bullet and enemy position from their respective arrays. Render appropriately handles the rest. Bullets are also despawned at certain x, y, and z boundaries.
This all can certainly be optimized.
Particles
The position of the arrow, bullets, and end screen are all known, so placing the particles in the appropriate places at runtime is simple. One optimization I found was to pre-render the particle
systems under the map. Otherwise there is some lag time in their spawn time. I also updated the particle code to take in RGB, scale, and count parameters so that I could have
different particle interactions for different objects.
Tips
(1) Make helper functions for render and your init functions. This gives you the freedom to add/remove OBJ files and utilize states (ex: player.arrow.instanced = true) with ease.
(2) Create separate classes to approriately separate variables and give you peace of mind. I can't tell you how much faster I could debug and test features
once I had a player, arrow, gun, etc class where each handled its own operations.
(3) It is a good idea to account for framerate if you use 'frametime'. This tripped up some presentations during finals.

