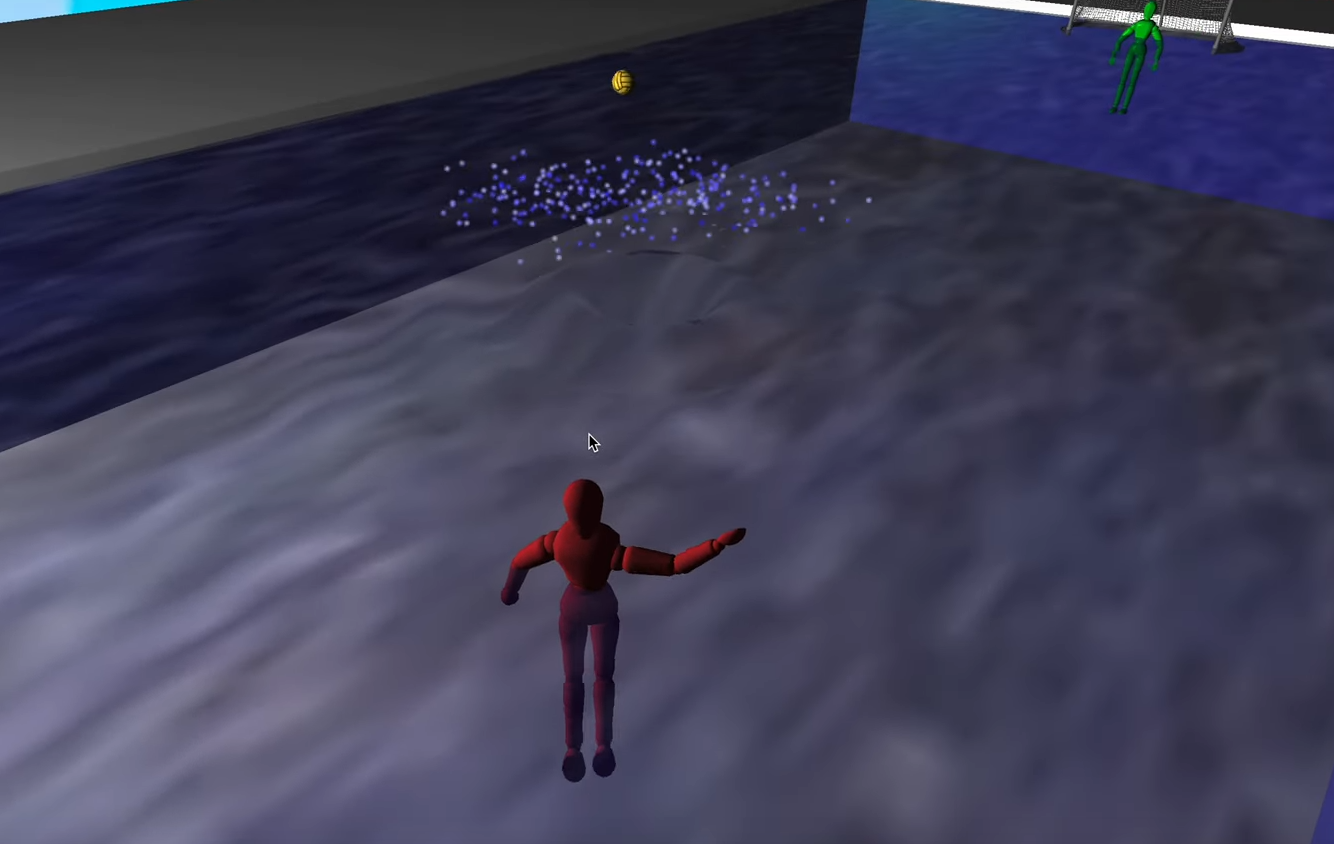
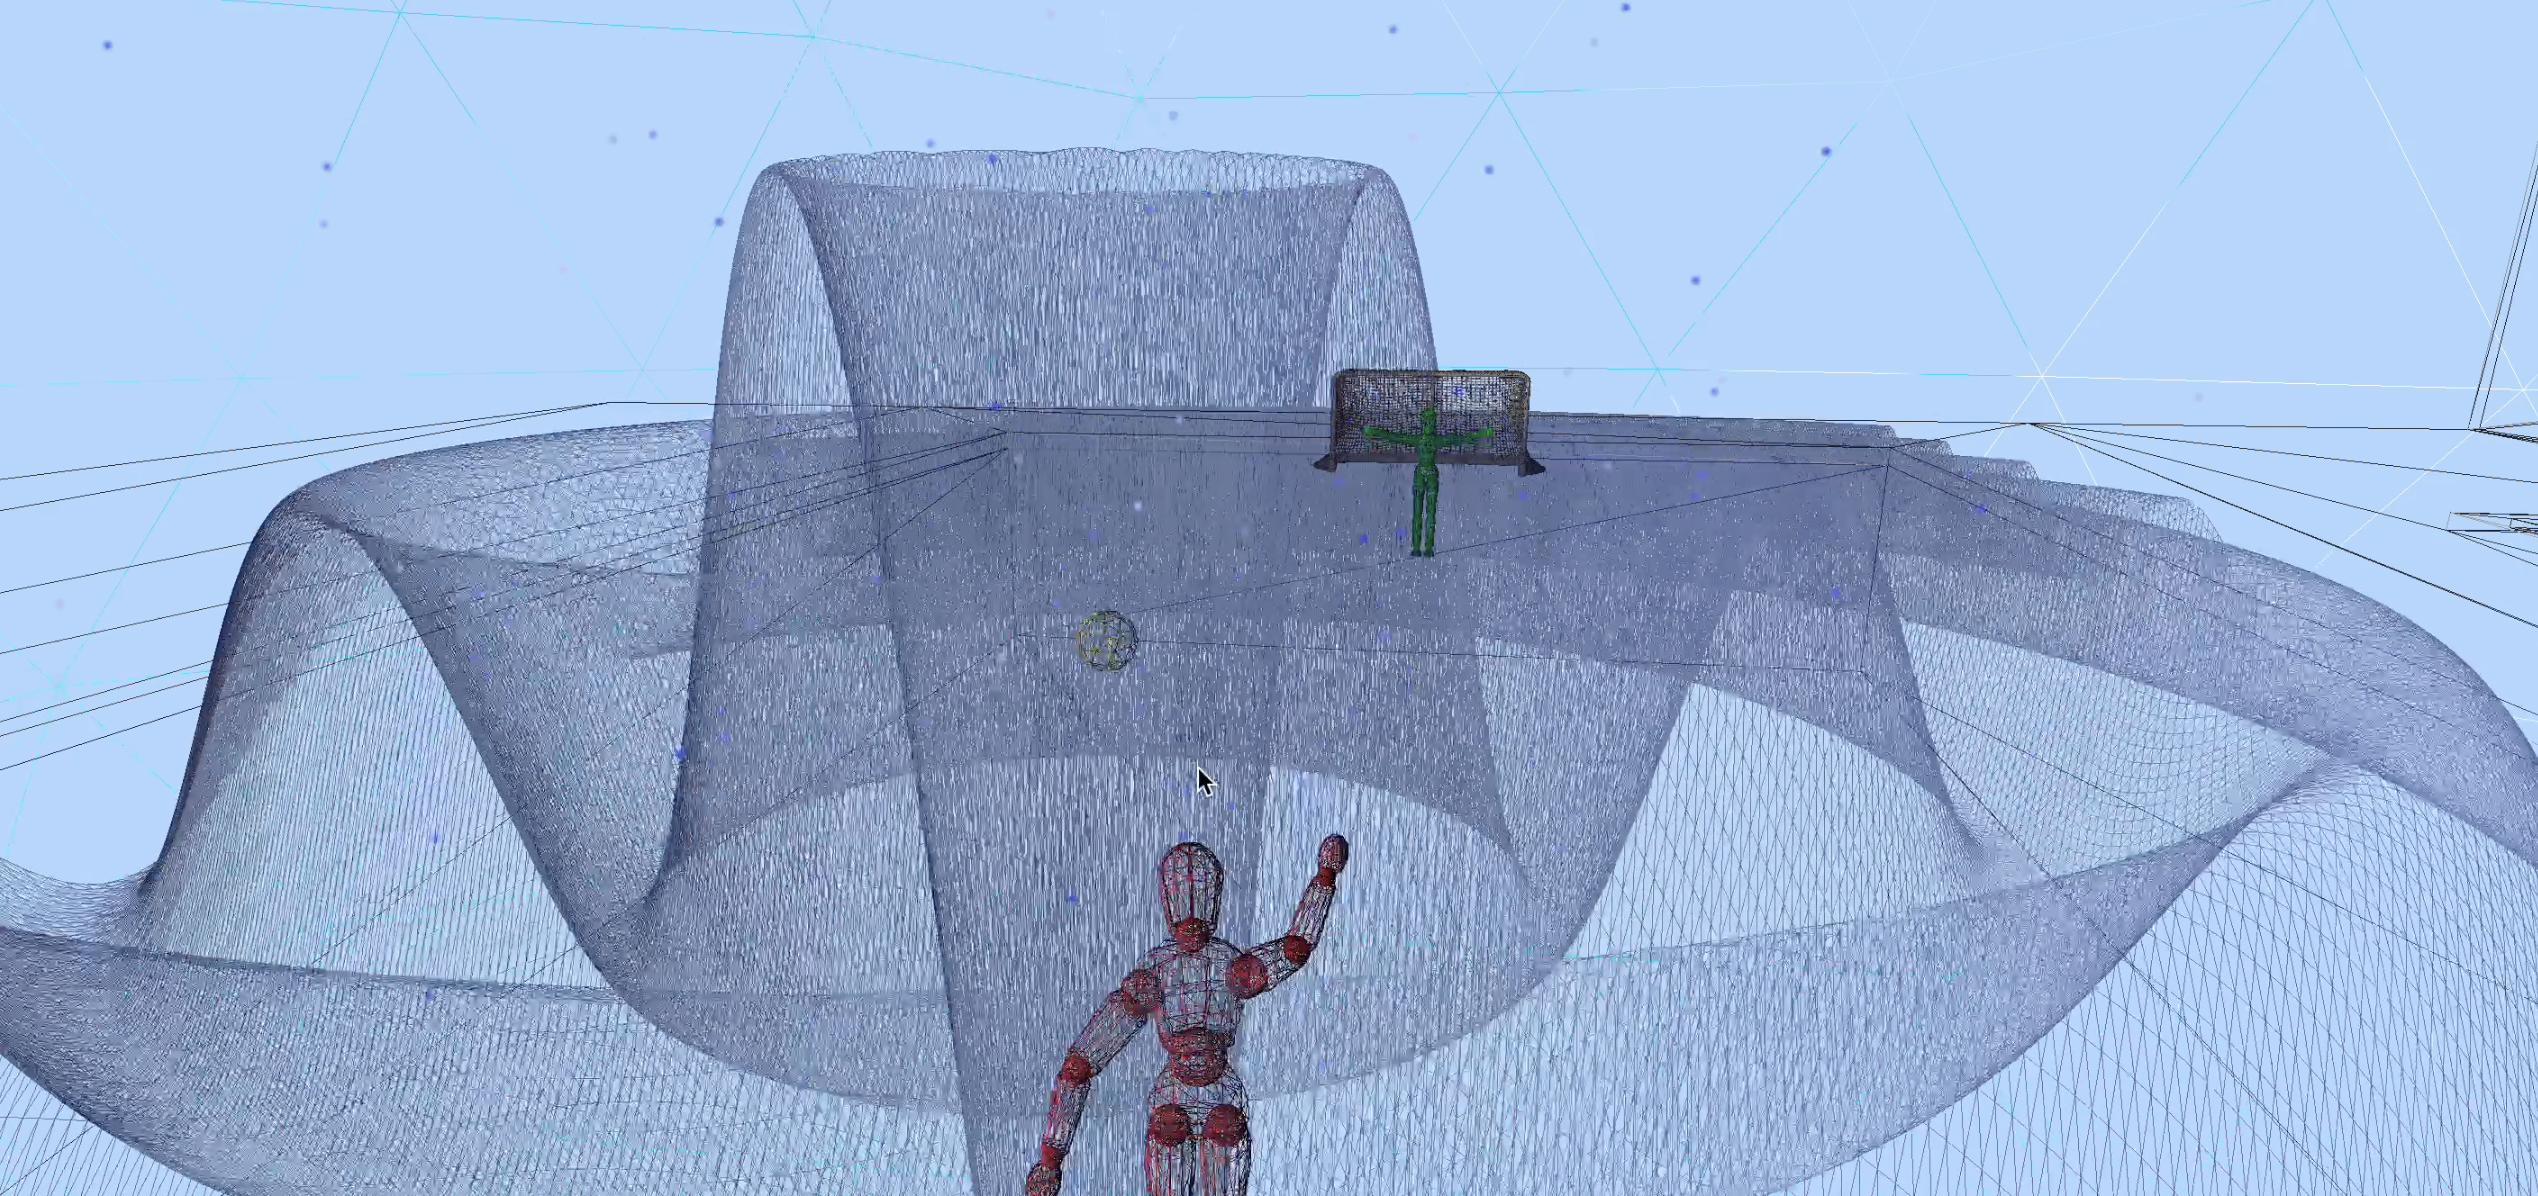
It's a third-person game where you are swimming in a pool, holding a water polo ball. You can throw the water polo ball by left or right clicking, and observe some fun physically-based effects between the ball, the water, and the borders of the pool. There is a goal and a goalie, but they are largely just scenery for the real fun, which is the wave propagation.
Everything in this project that moves, except the splash particles, is animated with a sinewave function at some point or another. The shooter, the goalie, the ball(sometimes), even the waves: it's sinewaves all the way down. It's helpful to use something like Wolfram Alpha to visualize something that does the thing that you want.
This used a third-person camera. Like the first person camera, it also kept track of the change in x and y mouse movement to get an x and y rotation. Now, the eye position is determined by moving up 1 in the y direction from the unmoving hips, and then moving back 1 in the gaze direction, directly away from the direction the player is currently looking. This allows you to rotate the camera, and the dummy, without changing the position of the dummy in the world. Translating the camera with the dummy is now as simple as adjusting camera position at the same time as dummy position and eye direction. OpenGL's sampling of keyboard events is a little too jerky to be used for smoothly moving the camera and the dummy around. Try holding down a key in a text editor, and you will see the same behavior: one letter, a pause, and then a letter every few fractions of a second. In order to get something smooth enough for a game, you should keep track of whether a key is held down yourself, by setting a variable per-key when a press is detected, and only unsetting it when a release is detected.
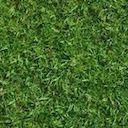
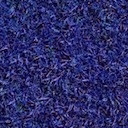
I used a mix of textured and non-textured (Blinn-Phong material) objects. The water was actually a given grass texture, color shifted towards blue. I highly recommend paint.net on Windows for fooling around with flat textures.
I used Blender, free and open source software, to create a texture atlas that fit onto my water polo ball. I also used the linked tutorials, which got me there with no previous Blender experience.
Basic Texture Painting in Blender 1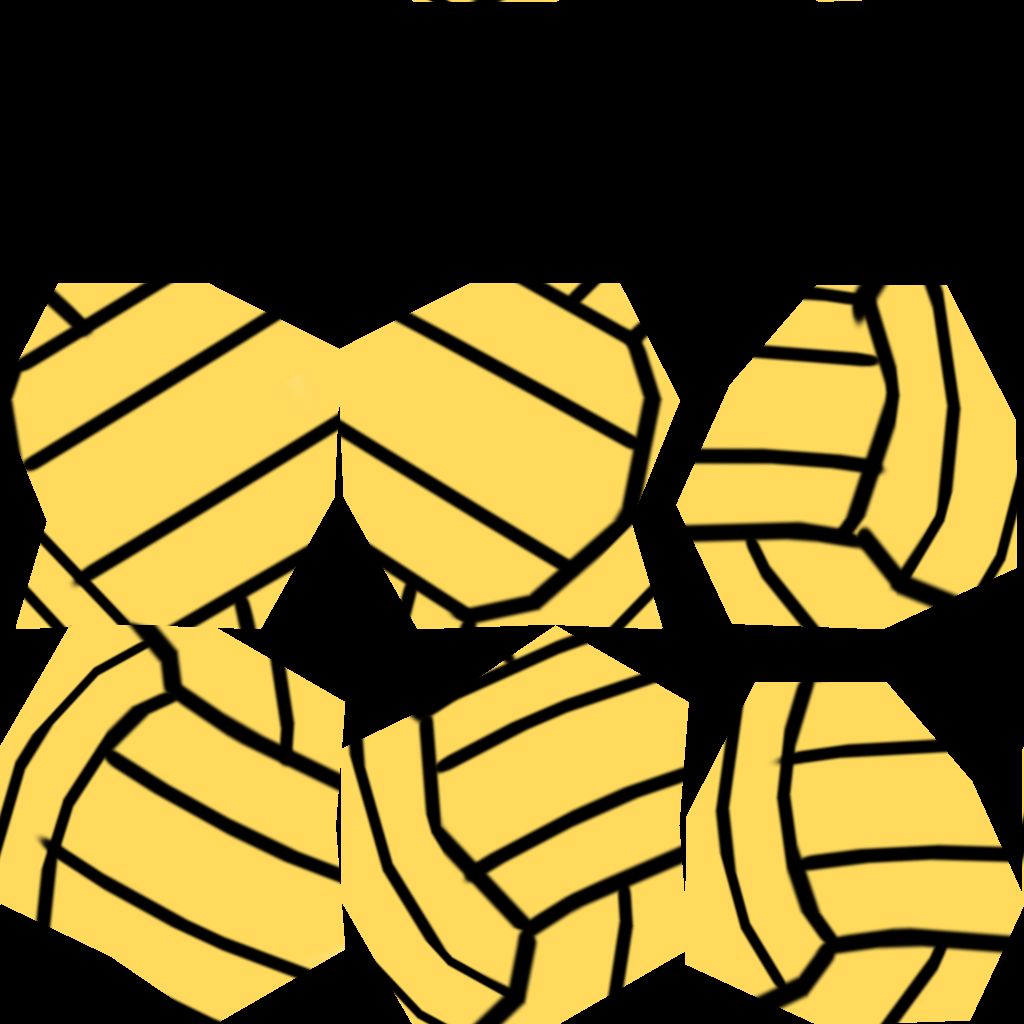
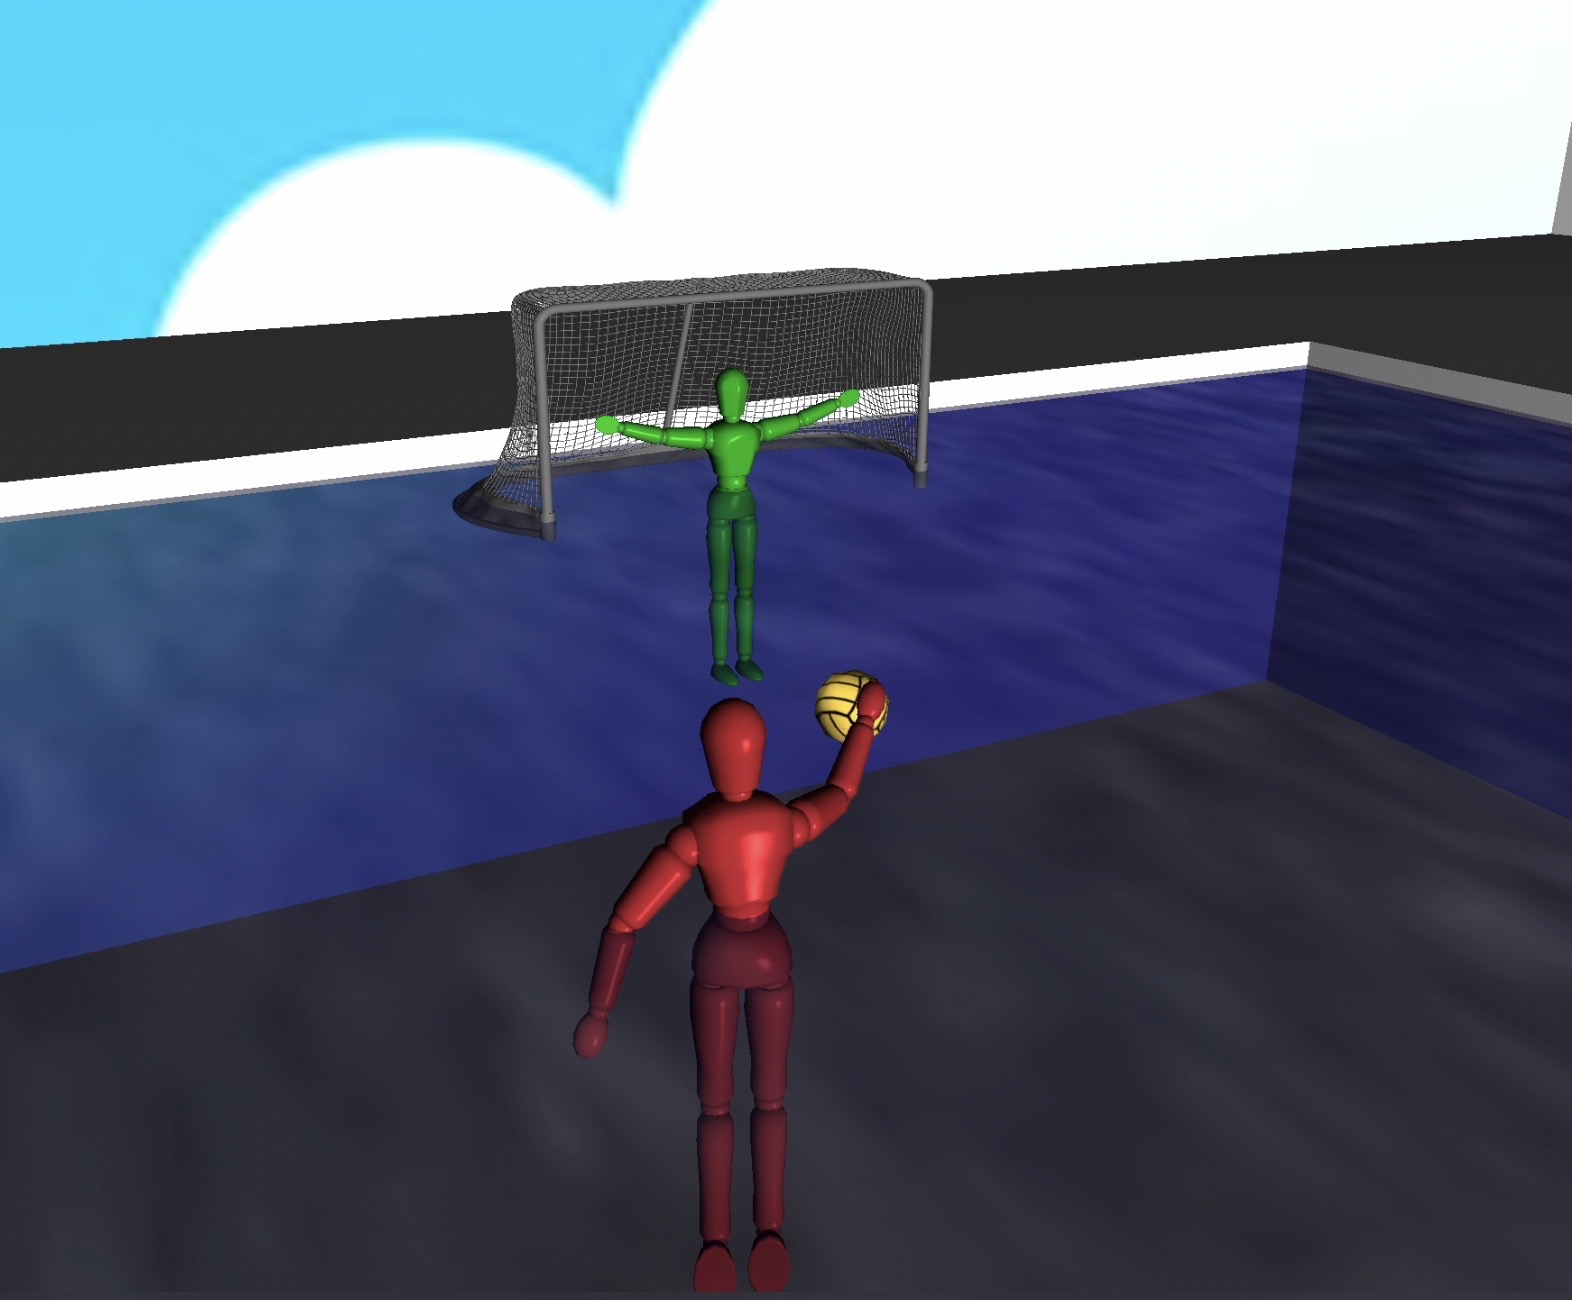
Both the goalie and the shooter (as well as the ball) implement some form of hierarchical modeling.
They are both animated based on sinewave functions (a common theme of this project).
The goalie simply moves up and down, while its shoulder joints slightly translate around their original position,
to give the illusion of less rigid motion. The arms also move up and down, with the hands rotated to block a shot.
The shooter has quite a bit more moving parts. The "base shape" talked about in the "How does this work?" section
is the hips. The dummy loads in at an odd angle and size.
From there going down, each thigh rotates around the respective pelvis, and each calf rotates around the respective knee.
The feet are sharply pointed, and stay in that position. Moving up, the dummy's torso rotates from left to right,
and slightly forward and backward, to pump-fake the ball. The left arm barely, imperceptibly rotates, but largely just
stays attached to the torso, in a preconfigured position. The right arm moves forward and back: the upper arm moves inward
while the lower arm moves up and down. The hand moves in such a way as to mostly reverse the upper arm's rotation: it mostly keeps
the ball between it and the shooter's view. Finally, the neck and head reverse the rotations of the torso, so the "front"
of the dummy head stays looking forward, and looking upright. There are separate animation speeds for the upper and lower body.
The ball, being a different mesh, was the most interesting part of this hierarchy. What i did for that, was save a copy of the matrix stack
just before rendering the right hand. Then, when it was time to render the ball in the shooter's hand, I reloaded the copied matrix stack,
and made a small translation to place the ball in the hand.
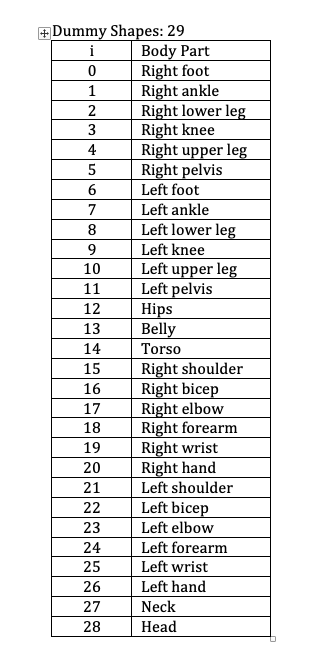
The dummy.obj model is especially well built for this, as each shape that makes up the whole dummy
is pre-positioned into the classic T-pose, and there are convenient pivot points around the spherical
joints, such as the belly, knees, elbows, ankles, wrists, and neck.
Each shape can be modified (rotated,translated,scaled,etc) by a model matrix. You can apply multiple model matrices to a single shape. You can define a base shape, and then define all other shapes in relation to that shape. Using a stack of matrices is the preferred way to do this: push your base model matrix (for the base shape) onto the stack. Then, define another model matrix for an shape directly connected to that base shape. You can push this matrix onto the matrix stack, and draw by applying the base model matrix, and then the next model matrix. Now the "center" can be defined based off of a pivot point of a shape higher up in the hierarchy. Returning to a lower level of hierarchy is as simple as popping matrices off the stack.
This project has 3 main shapes that register collisions in some way: the shooter, the ball, and the water.
They are determined by extremely basic point-to-plane calculations.
The rules are as follows:
Also worth mentioning here is that the dummy moves with respect to its gaze vector's x and z components: zeroing out the y component means that you do not move up and down in the water. It also means that looking straight forward is the fastest means of travel, and looking up and down reduces your speed. You could fix that by rotating the vector into the X-Z plane. Moving diagonally also means that you move √2 times faster, as both your dolly and strafe variables are updating.
How does this work?
The extremely simple collision detection I used was point-to-plane, which asks: which side of the plane is this point on?
Another method for simple collision detection can be done by calculating a bounding box or a bounding sphere
and checking to see if any bounding boxes/spheres intersect. You can also load a simpler geometric representation of your object, and do
a per-mesh check, although that is both more complex and more computationally expensive, so some graphical cheating is encouraged.
Purely elastic collision bounces are pretty easy. If they are along a world axis (xyz) you can just reverse the respective component direction.
Purely elastic collision bounces along any plane can be either done manually, or with the glm::reflect() function, taking in a vector and a normal,
returning a vector which represents the vector reflected along a plane represented by the normal. You might need to reposition this returned vector.
Inelastic collisions can be a bit tricky. If you are experiencing "sticky" collisions, try slightly moving your object away from the collision area after a collision.
There are surprisingly few forces at work here. All of them act on the ball, and gravity acts on the particles. A good way that I found to model them is by giving the ball its own position vector and velocity vector, and modifying them.
There isn't much to talk about the ball's collisions with the sides of the pool area, other than it loses 30% of its total speed when it does collide, and it moves a small amount away from the colliding surface,
to stop the "sticky" problem earlier from happening, at the cost of some physical accuracy. You could also have advanced its position along the new velocity vector, but I didn't think of that in time.
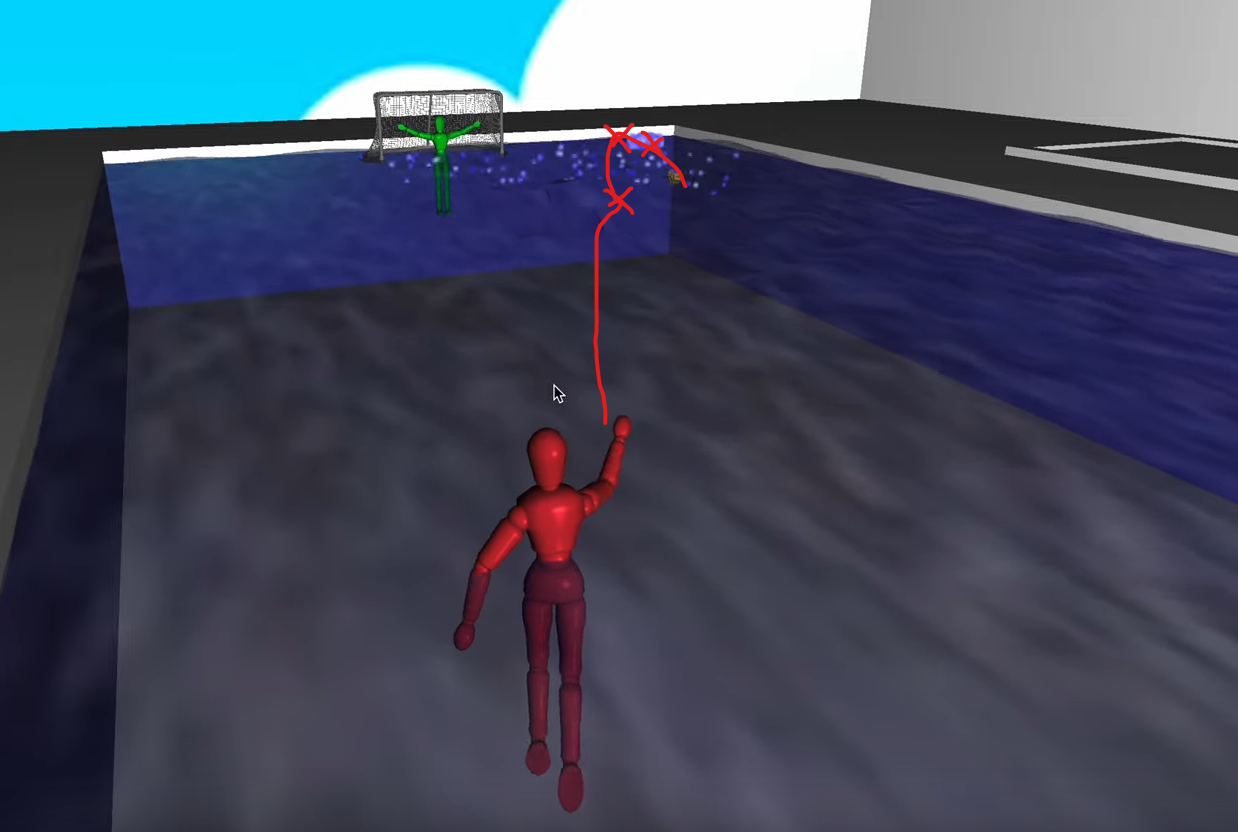
There are different initial velocities depending on a left click vs. a right click. Right click is a lob, with a slower initial velocity and slightly higher arc, meaning it's less likely to skip, but it still splashes,
unless you bounce it off too many walls beforehand.
The ball has:
How it works is this:
Every frame, the ball's new velocity is equivalent to its old velocity, plus all of the forces acting on the object (our ball).
Then, the ball's new position is equivalent to its old position, plus the velocity vector. That's really all there is to it, for this simple kinematic system.
It gets far more complicated for connected, multishape objects such as the dummy, or if your objects have odd centers of mass, that can't just be calculated from the vertex average.
Think about character models with dense facial vertex data, and sparse data for other parts. You'd likely want custom centers of gravity for each shape.
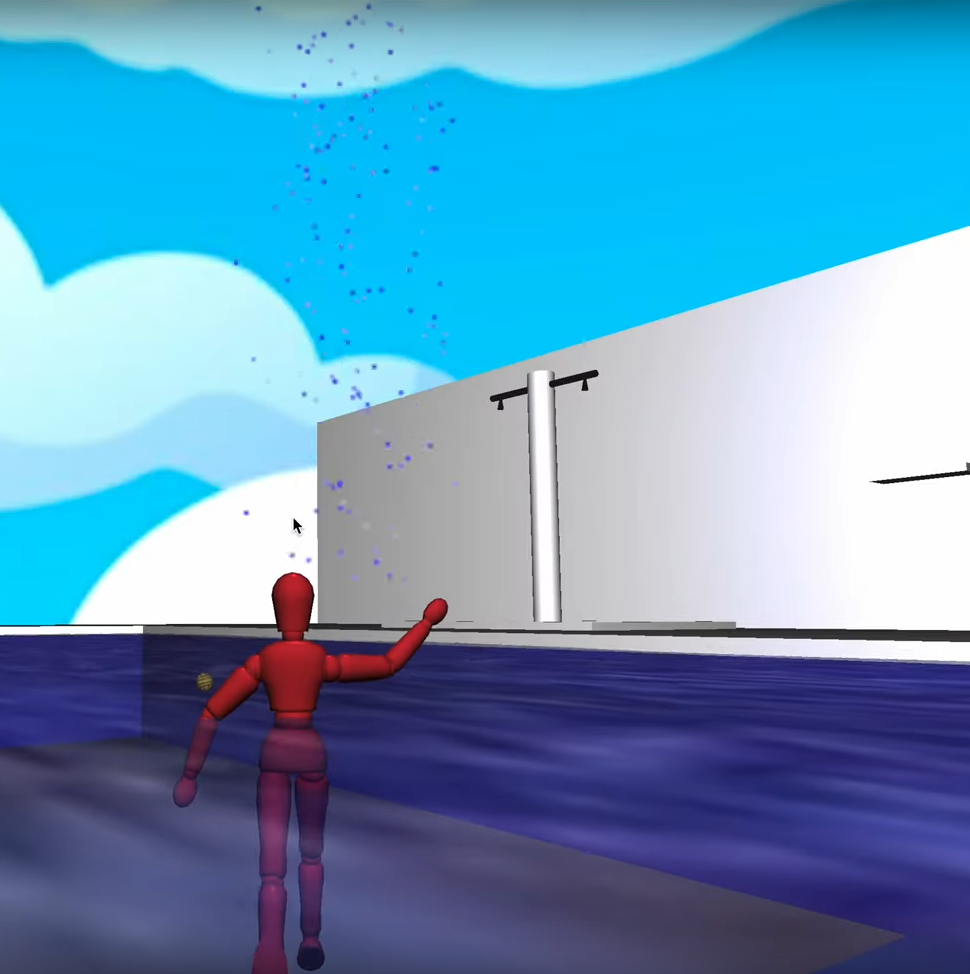
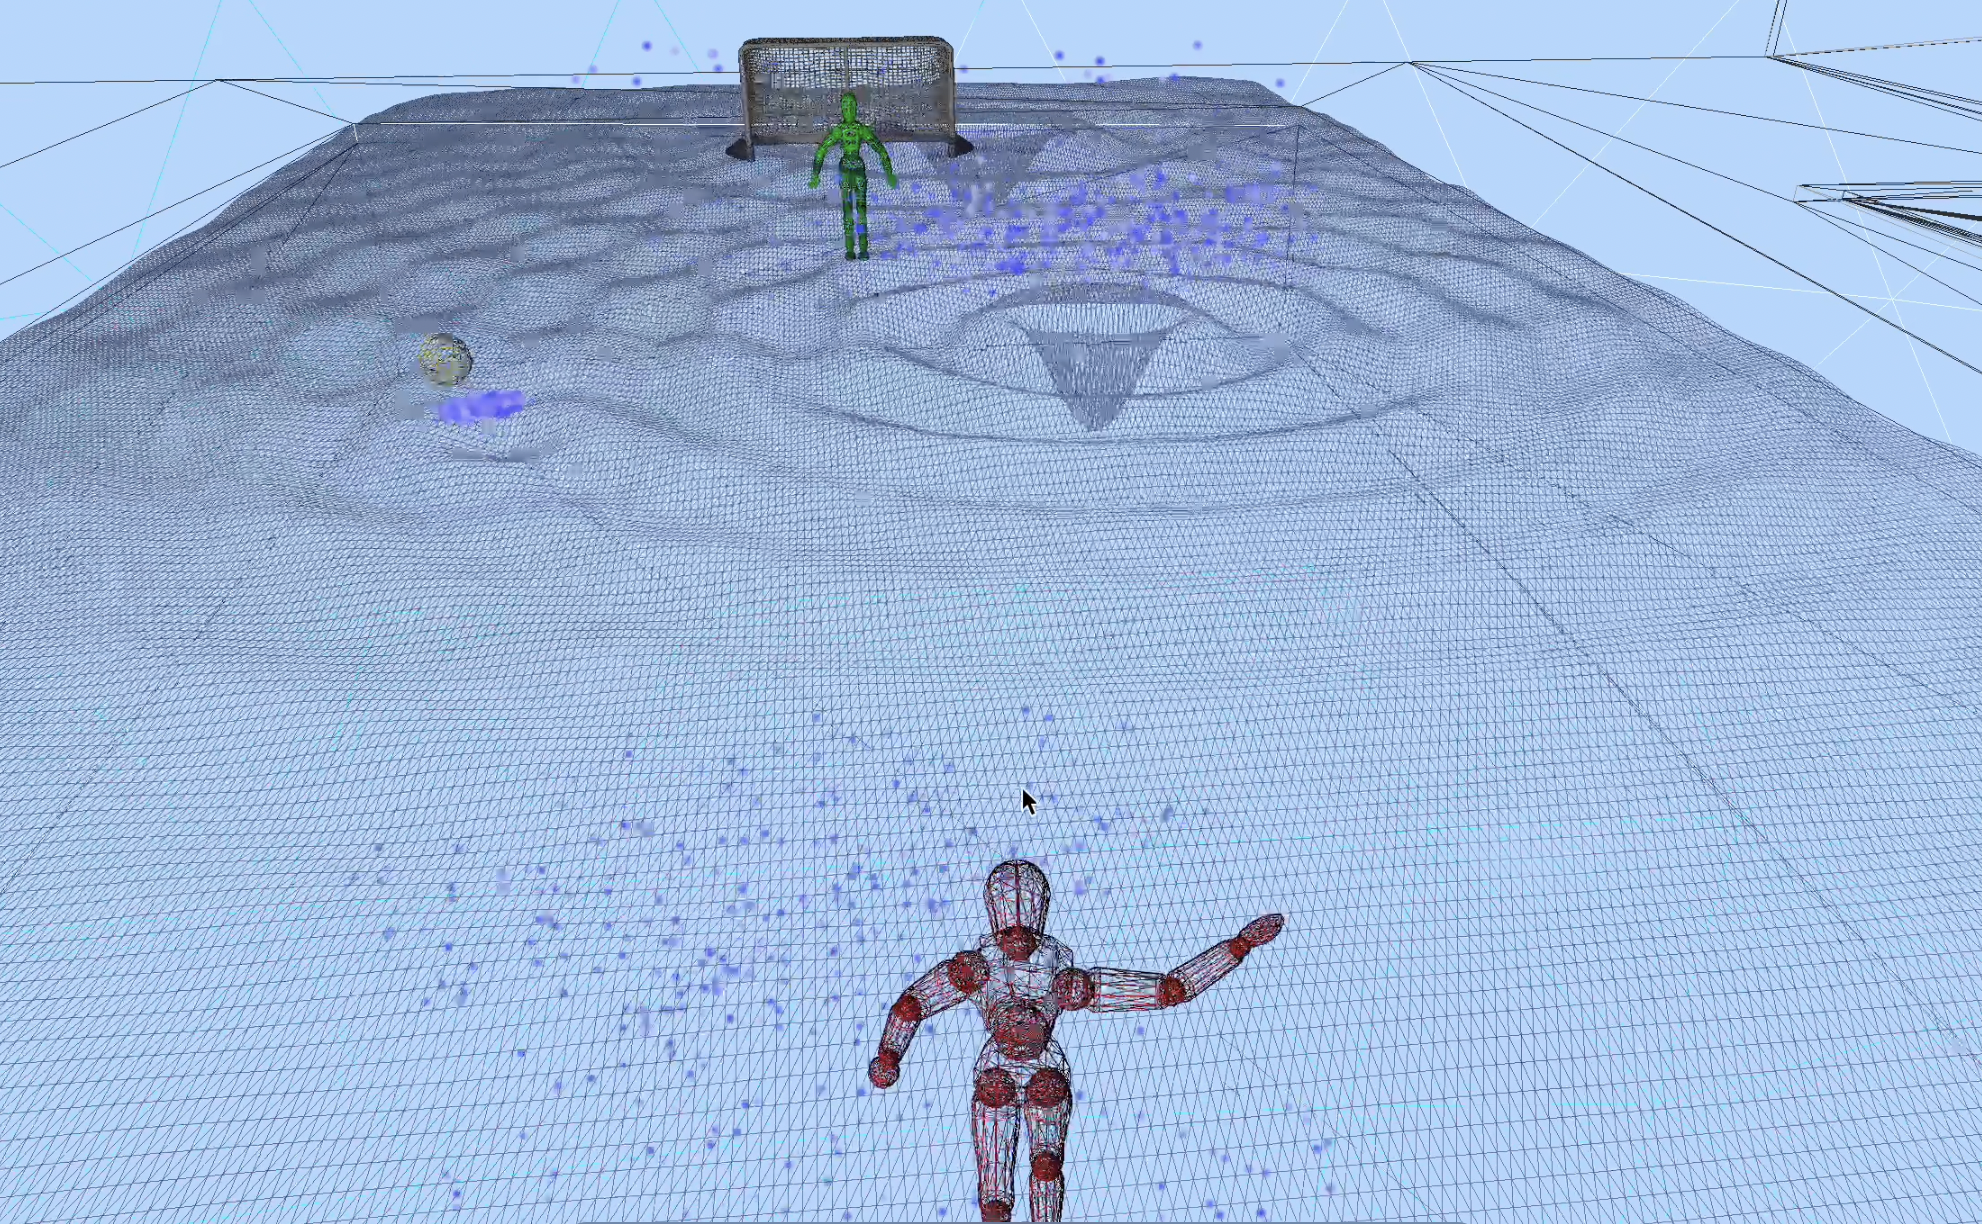
The particles used in this lab were actually 5 different particle systems. I maintained a circular array of size 5 of the positions of where each splash (where the ball passed through the water plane with sufficient total velocity) occurred, and stored the ball's velocity, (and the time when it occurred, for use in the wave deformations) They had a set-in-stone blue value, and their red and green values varied each frame to create a sparkle effect, but stayed equivalent to each other to keep it in shades of blue. Each particle's initial velocity was determined by multiplying the ball's x, negative y(to splash up with a downward-falling ball) and z velocity with a random factor for each particle Then gravity was applied, in exactly the same way as the ball's gravity implementation. Currently, the particles continue falling down into the infinite void until they are repositioned for a new splash, but as long as you don't press Z, you'd never know. Except for my poor Raspberry Pi's framerate. It knows. I think instancing the particle systems somehow could have helped a lot with that. Another thing that's almost imperceptible, but still wrong, is that if particles from different particle systems intersect, they often get drawn in the wrong order. This is because while each particle system sorts the particles in its own system, they don't talk and play nice with the other particle systems. It's probably a good idea to either have one master particle system, or at least one particle system for every group of particles that could possibly intersect in pixel space, and just define different behavior for subsections of that master system.
How does this work?
Particles are just textured quads: four interconnected vertices, with a picture drawn on them.
These particle effects can exist in 3D, with different rotations, they can all face the camera using the view matrix, or they can be "billboarded" onto any given plane.
Playing around with different particle organization can give you some ideas.
Particle systems are a way to organize the behavior of many particles to get an effect that makes sense
for a particular scene. Adding in some randomness helps. One thing I've learned from playing music is that people like finding and identifying patterns, which is good up to a point, but what makes music fun
is its unpredictability. Our brains actually crave being pleasantly surprised. For more on this, see this study,
and studies about unexpected chord progressions in music in general. This response to unexpected behavior in sound can also be triggered by unexpected behavior in light, through adding randomness to a scene.
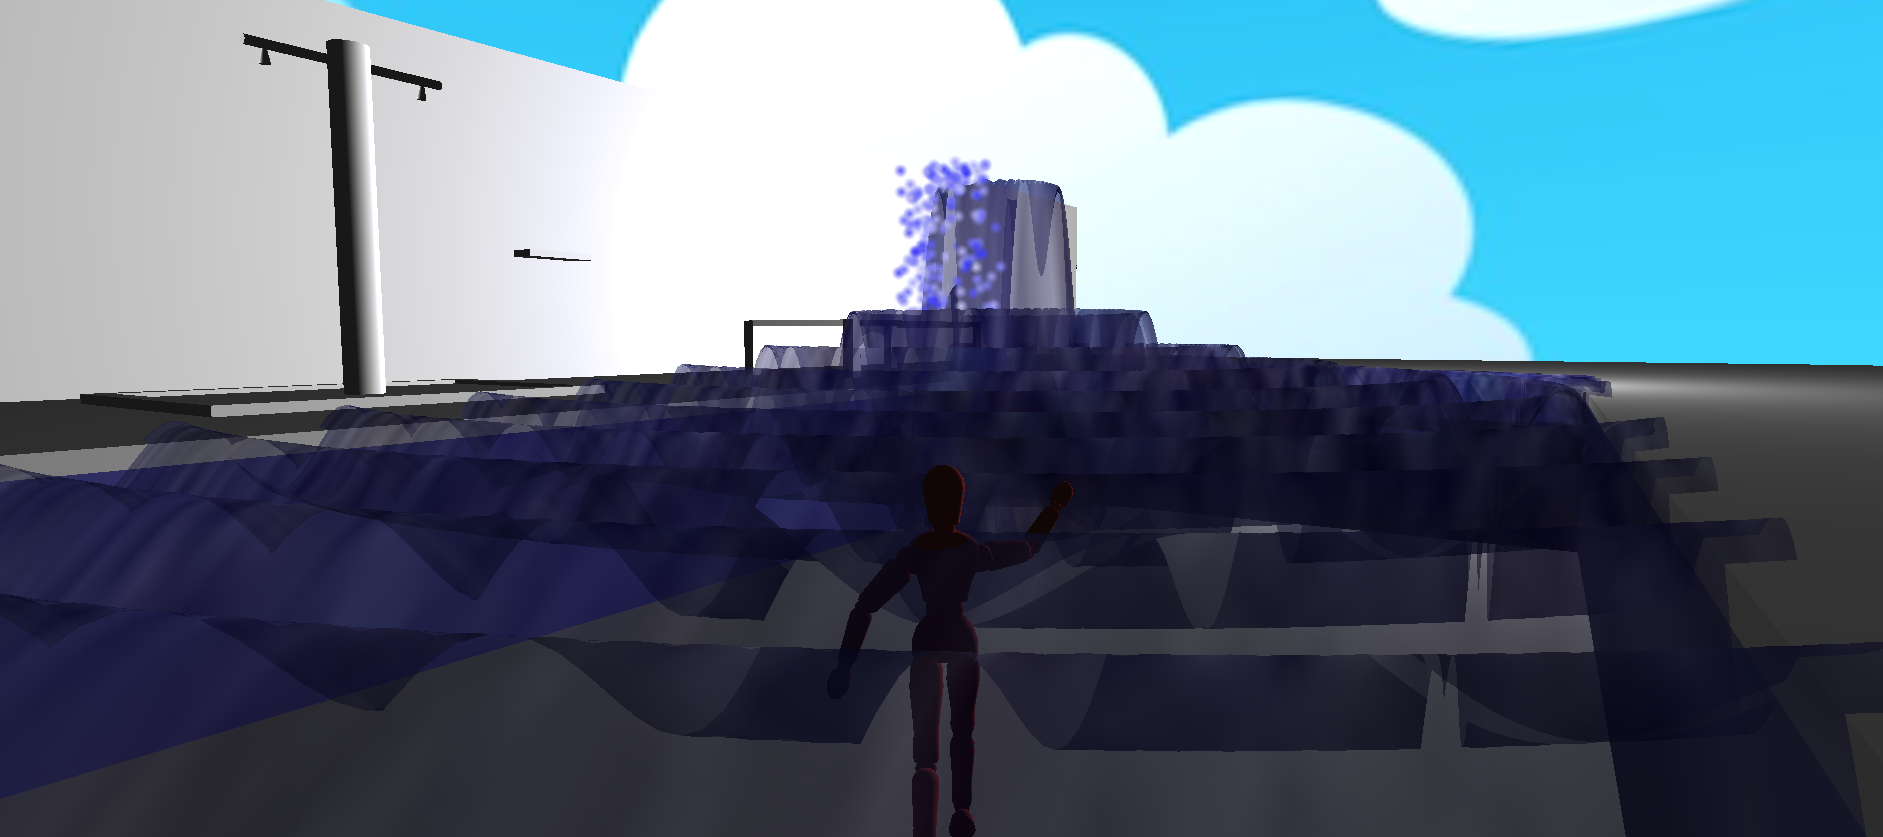
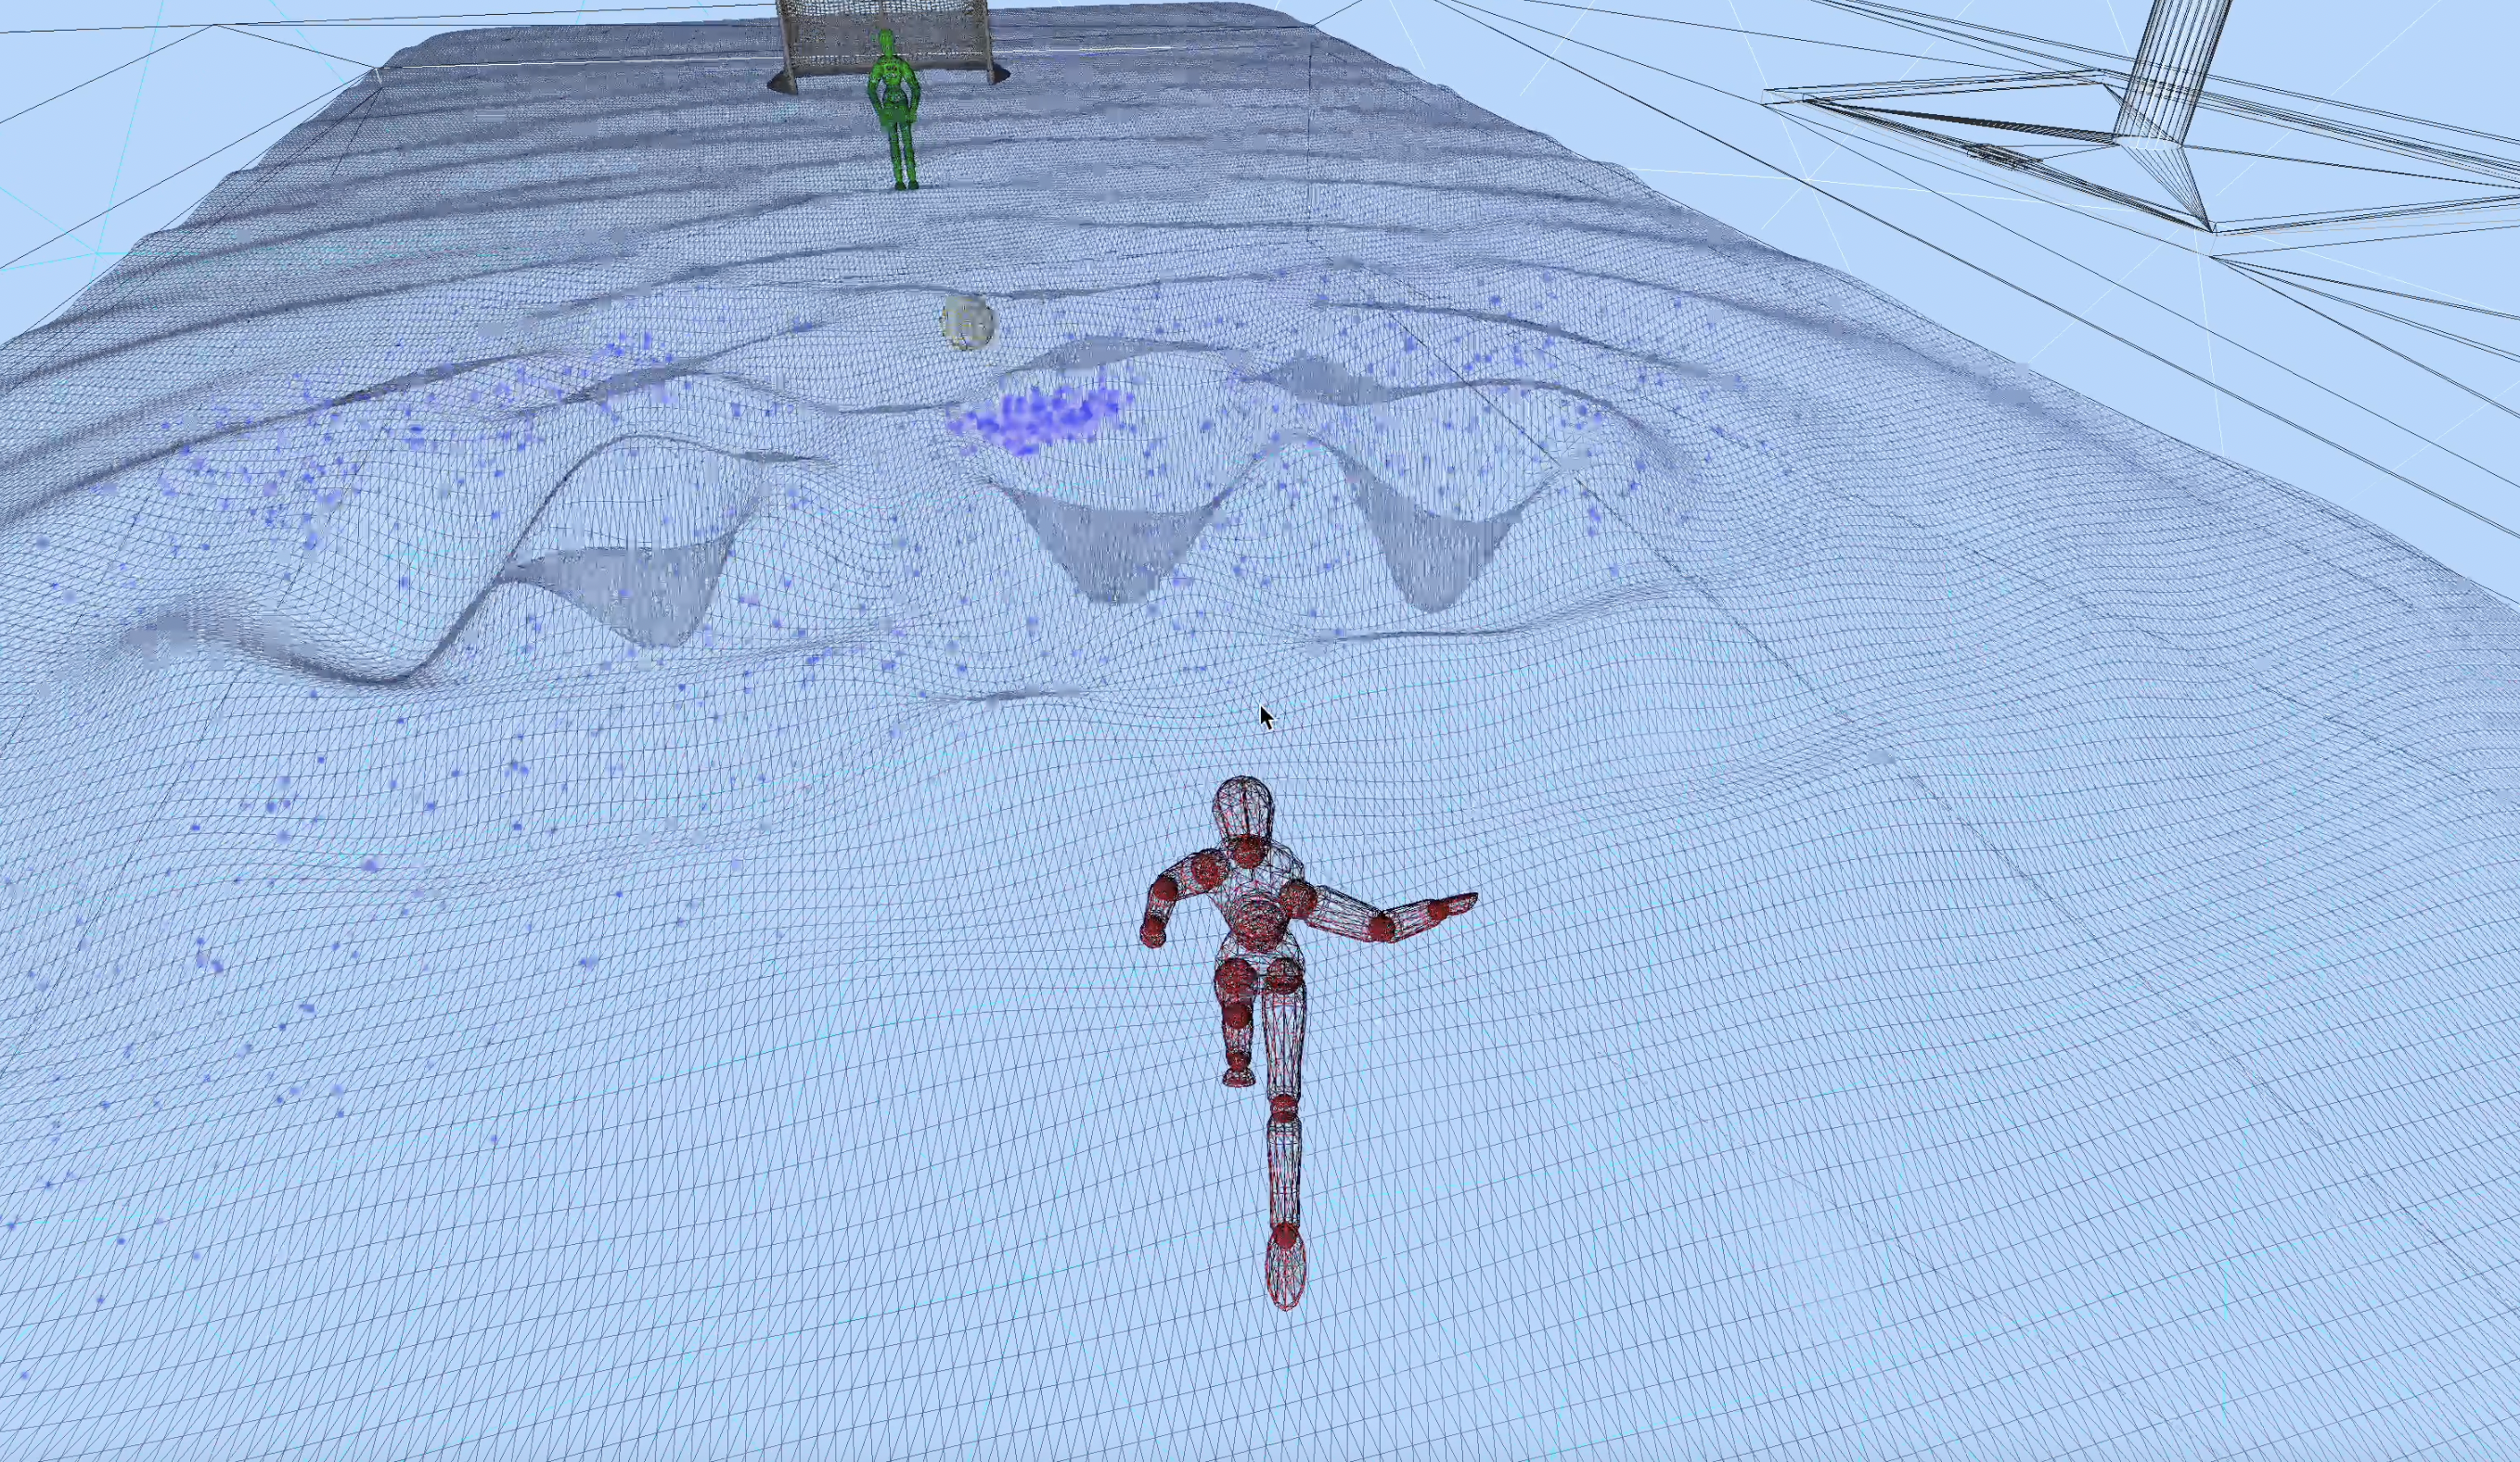
This was probably the most visually impressive part of the project, and the most fun to work on.
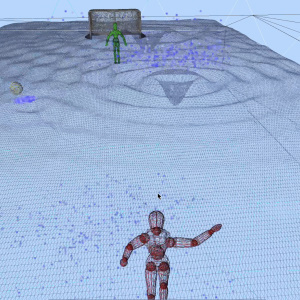
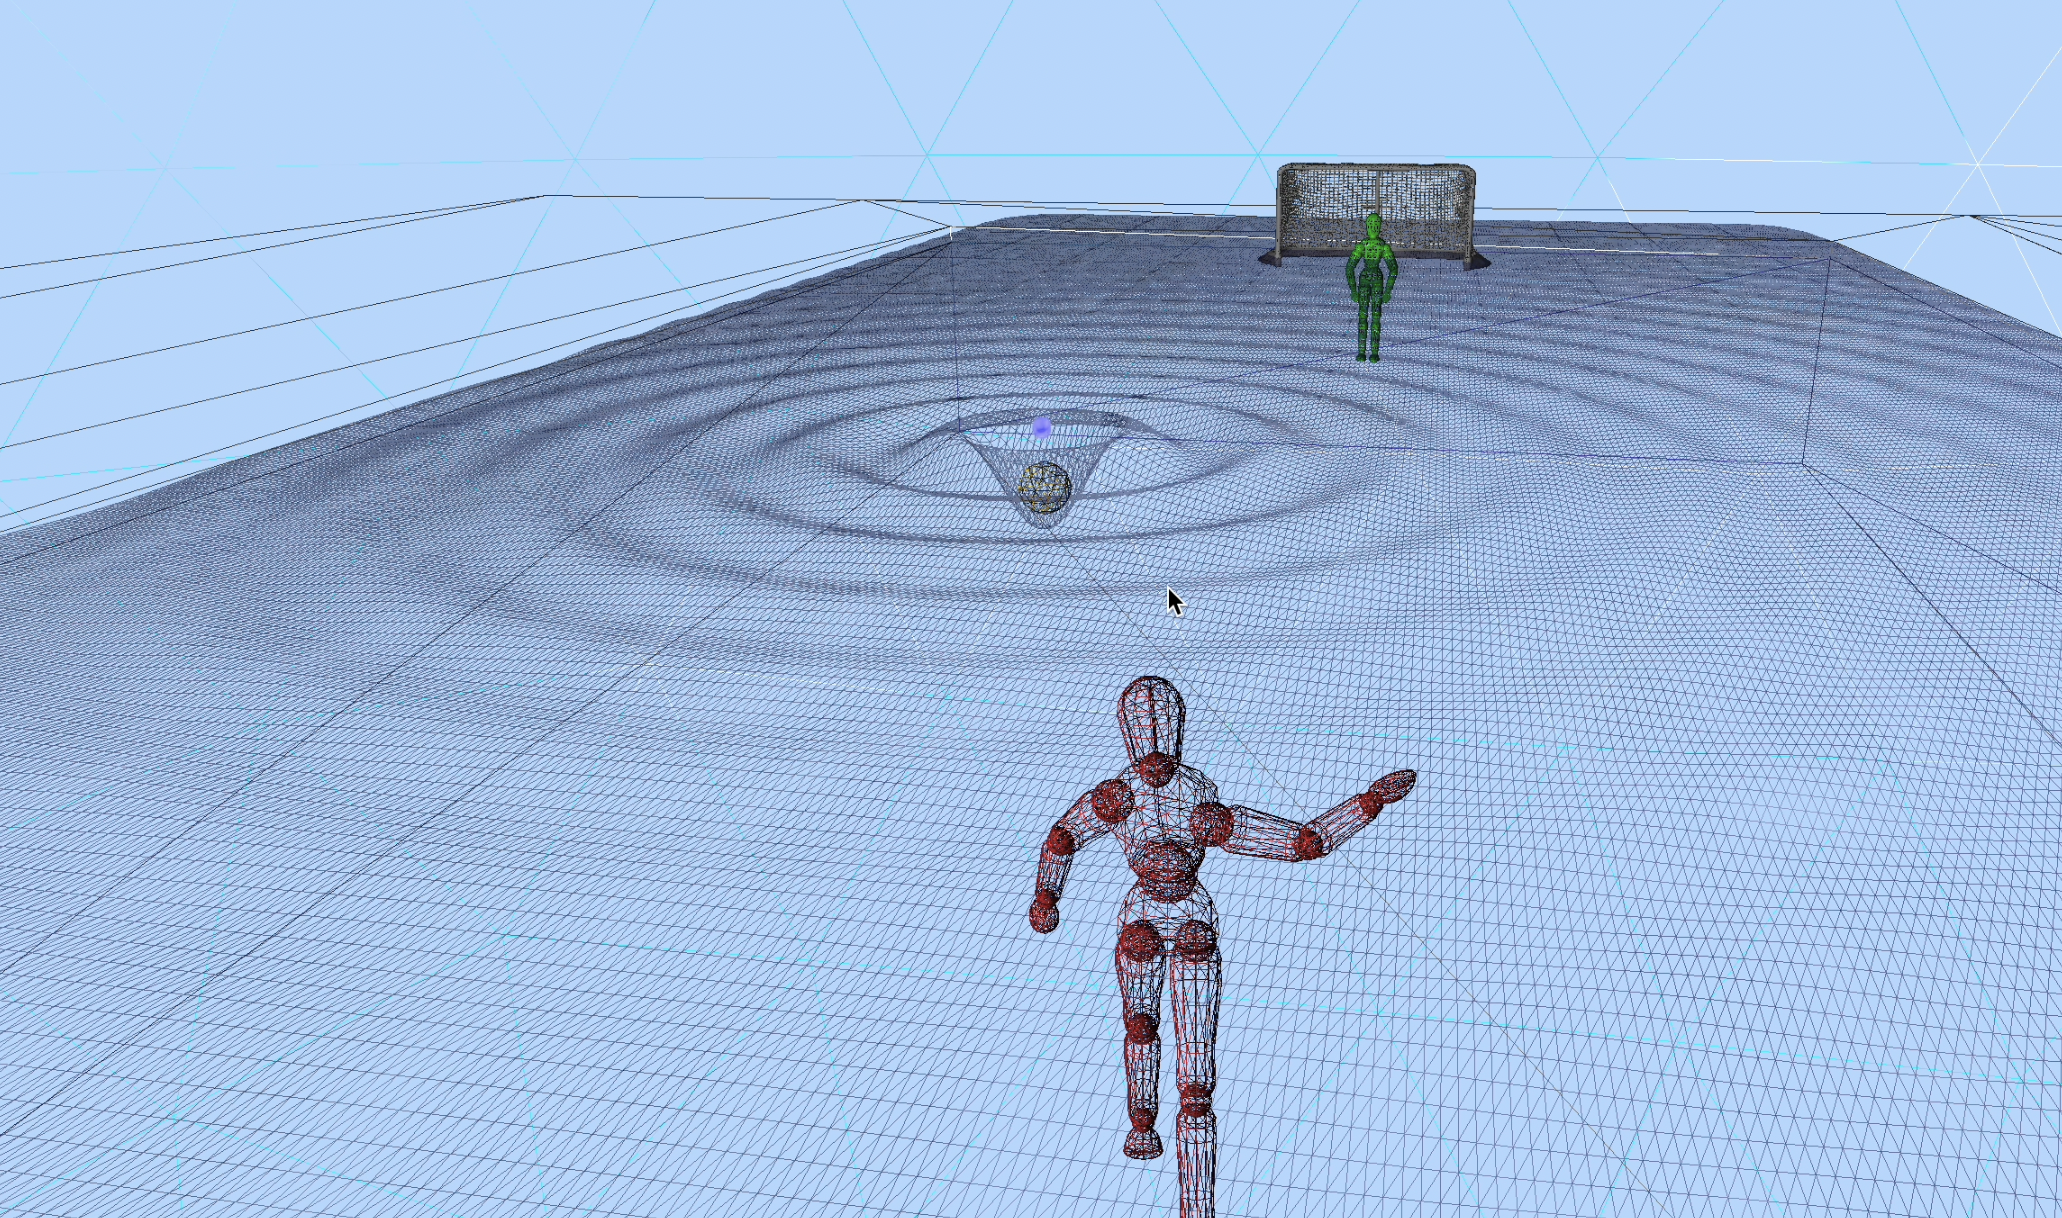
I used Blender to generate a quadmesh plane of 1000x1000 vertices and scaled it to roughly the edges of the pool.
Mentioned above, I maintained a circular array of the last 5 splash positions, the total velocity of the ball when it splashed, and the time of that splash.
I sent this data, the current time, as well as an adjustable uniform for wave height, over to a specially-made vertex shader, which adjusted the y coordinate of each vertex based on this data.
It took a few tries to get the look right, with a few interesting bugs that I sadly don't have any clips of.
They included:
You could do more interesting things with combining the splashes, or even start adjusting some of the meshes X-Z values based on the same data received, but the additive Y-deformation was enough to get the point across.
One thing that made it into the final build that could cause a confusing bug, if you had any lottery winners testing your code, is the propagation adjustment calculation. In the grand scale of things, much like atoms, there really arent that many vertices in a mesh of 1000x1000 vertices. It's really, really hard to throw the ball in such a way that the distance between a vertex and the ball's center is 0, but if you managed to do it, the program would crash, with absolutely no explanation. Fixing that was as simple as adding a min(FLT_MIN, distance) to the equation.
One last oddity that could have been fixed was the blending mode. When a sufficiently fast ball causes a sufficiently large splash, the color of the point of impact becomes very dark.
Why? because that's what I told it to do, of course. That's kind of how computers work.
Playing around with a different blend mode (definitely possible, might fix it) or sorting the vertexes/fragments to render in a certain order (maybe possible/very expensive with moving vertices, would probably fix it)
could fix this visual bug.
the gl_Position in the vertex shader is the outputted position of the vertex that gets sent, interpolated, to the fragment shader in order to render a color by-fragment.
It has an x, y, z, just like any other vector. It even has an extra homogenous component. There's no reason you can't adjust it. The worst thing that can happen is you get a funny bug.
Sinewaves are great for things like water and cloth, they can mimic complex physical interactions with things in a way that's good enough to fool our brains into thinking it looks right.
links to useful resources, such as
Zoe's website
Link to full YT playlist
Pool model
"Water Polo" goal model (actually a resized hockey goal)
the grass texture used for water
the final water texture
The reference chart for the dummy model
the dummy model itself