Accurate water simulation is an interesting topic in computer graphics as there are many ways to go about it, each with their own level of computational and mathematical complexity. Having fluids that can flow can make a world much more interesting than one with static water. In this project, I will be implementing the smoothed-particle hydrodynamics approach to simulating fluid bodies. This method is valuable because it is both impressive looking and computationally cheap enough for real time simulation.
In smoothed particle hydrodynamics, each particle in the system is interacted on by its neighbors
, any other particle within a predefined distance. The particle is also interacted
on by external forces such as gravity and interactive forces. During each render pass every particle in the system undergoes the following steps in this order:
The particle first gets its velocity modified by gravity, and the interactive force which is explained later in this report. Then the viscosity of the system is calculated, which in essence means the the velocity of one particle is influenced by the velocity of the particles near it. This allows the simulation of different types of fluid, from thick fluids such as honey to normal flowing water. The velocity calculated in these stages are then used in the advection step, which moves each particle according to its velocity. This step also saves the position it occupied before moving as its previous position because velocity is not the only way particles move. The movement done in the displacement step is not based on velocity, and is the key component to achieving a fluid like motion.
In the density step each particle sums the lengths from itself to each of its neighbors, the result of this function can range from 0 meaning it has no neighbors, to theoretically the number of particles in the system however this can only occur if every particle occupies the same space. The density is used to calculate the pressure for each particle, it is compared to the predefined ideal density. If the current density is higher than the ideal then the particle will push on its neighbors, trying to lower the density. If the current density is lower than the ideal it will pull on its neighbors in an attempt to raise the density. This push and pull occurs in the displacement step, where the calculated pressure is used to move the particle and its neighbors either closer or further apart. This project also contains a near density and near pressure, which is used to prevent particles from overlapping by providing a pushing force at all times when particles get too close (Hence the name near pressure and near density).
Finally in the velocity step the previous position calculated in the advection stage is used with the particle's current position to calculate its new velocity. In the collision stage the current position is checked to see if it lies outside of the bounding box. If it does its position is reset to the nearest spot inside the box and the velocity is reflected, providing a slight bounce.
This project also includes an element of interactivity, in order to control the push/pull functionality of the force node the following keys are used:
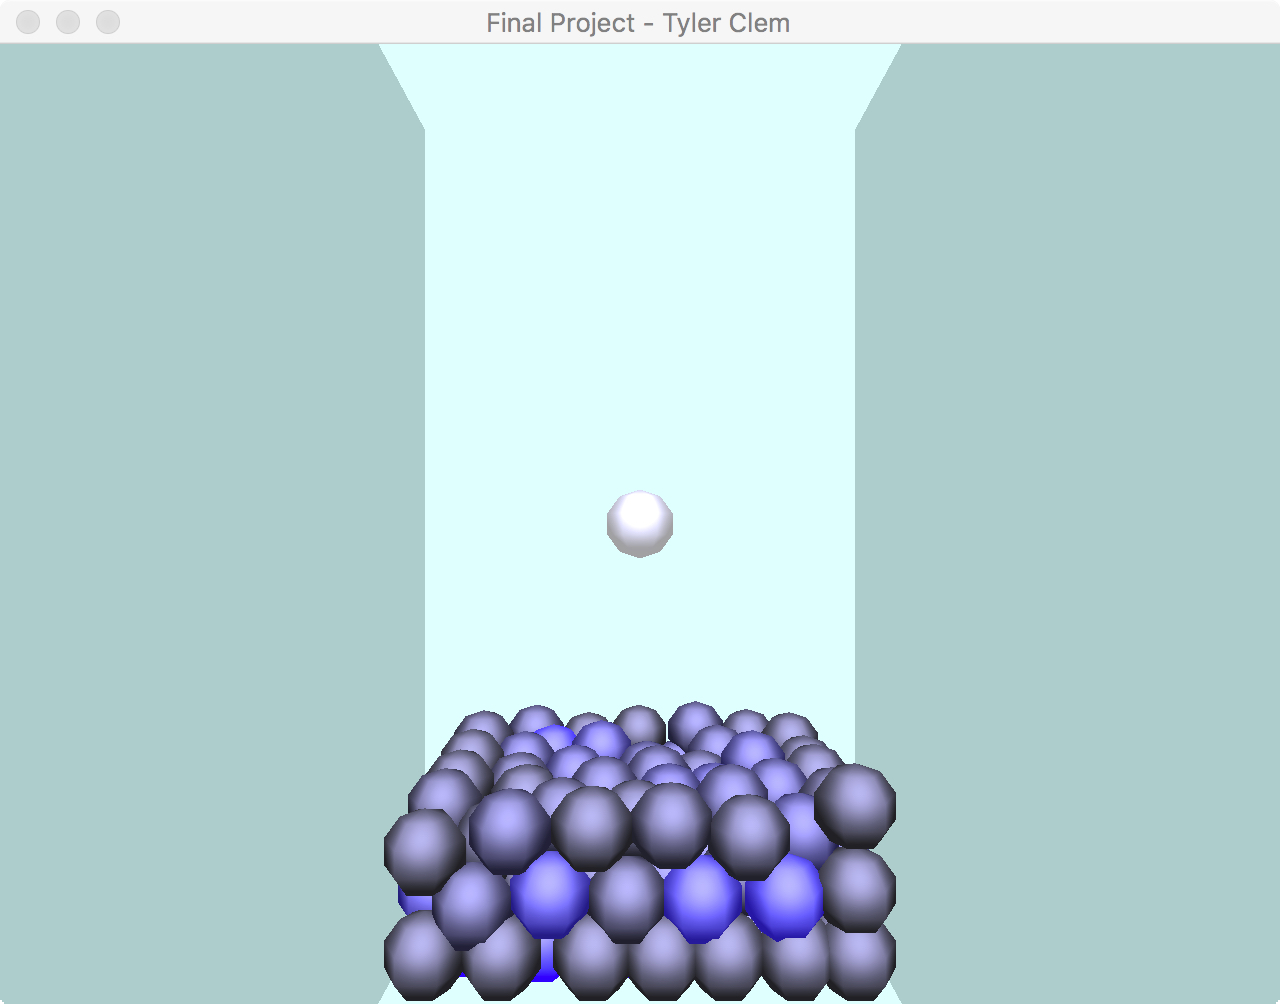
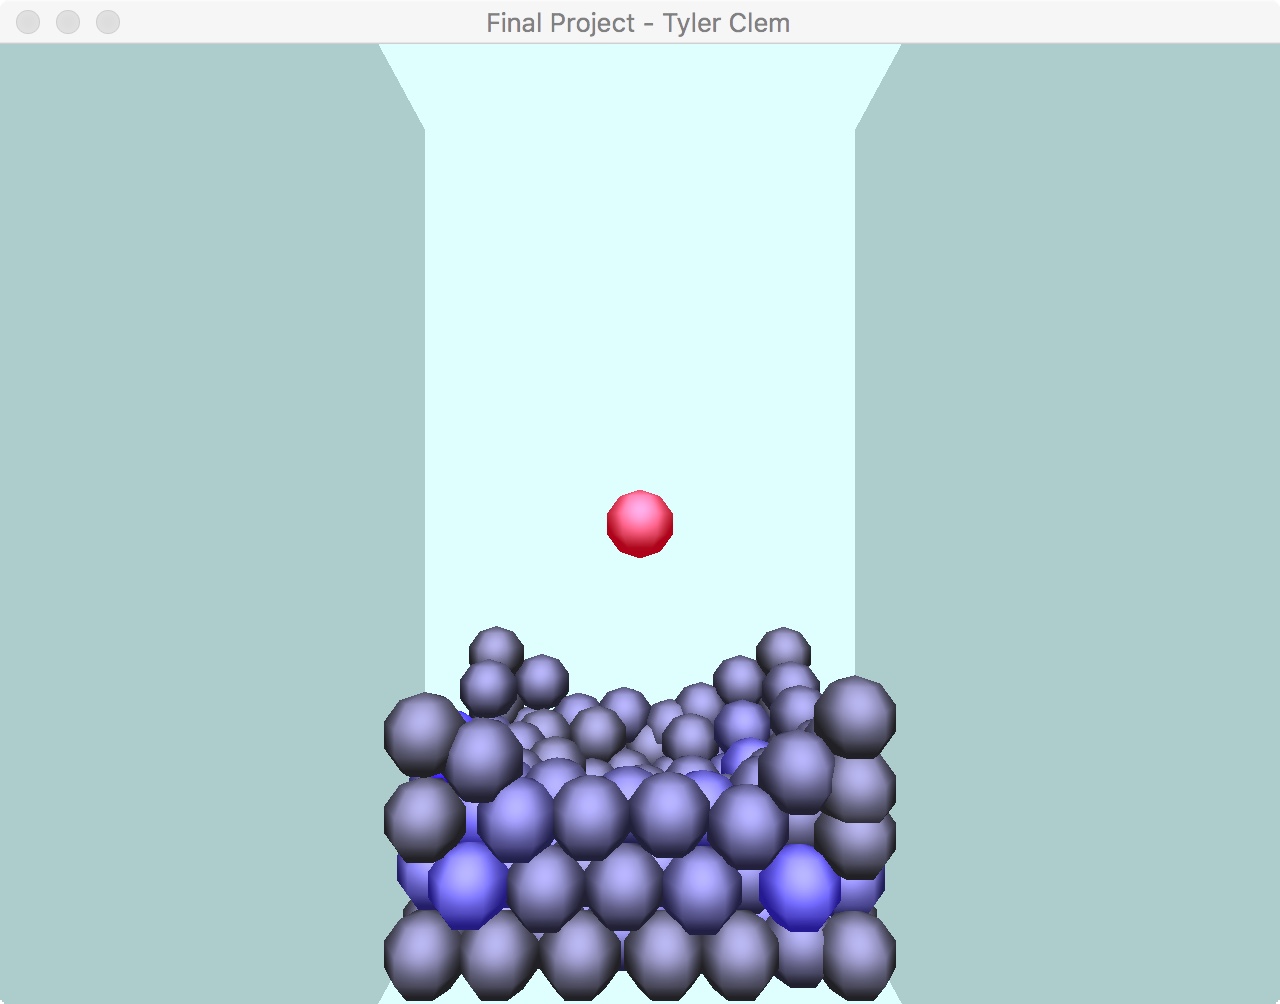
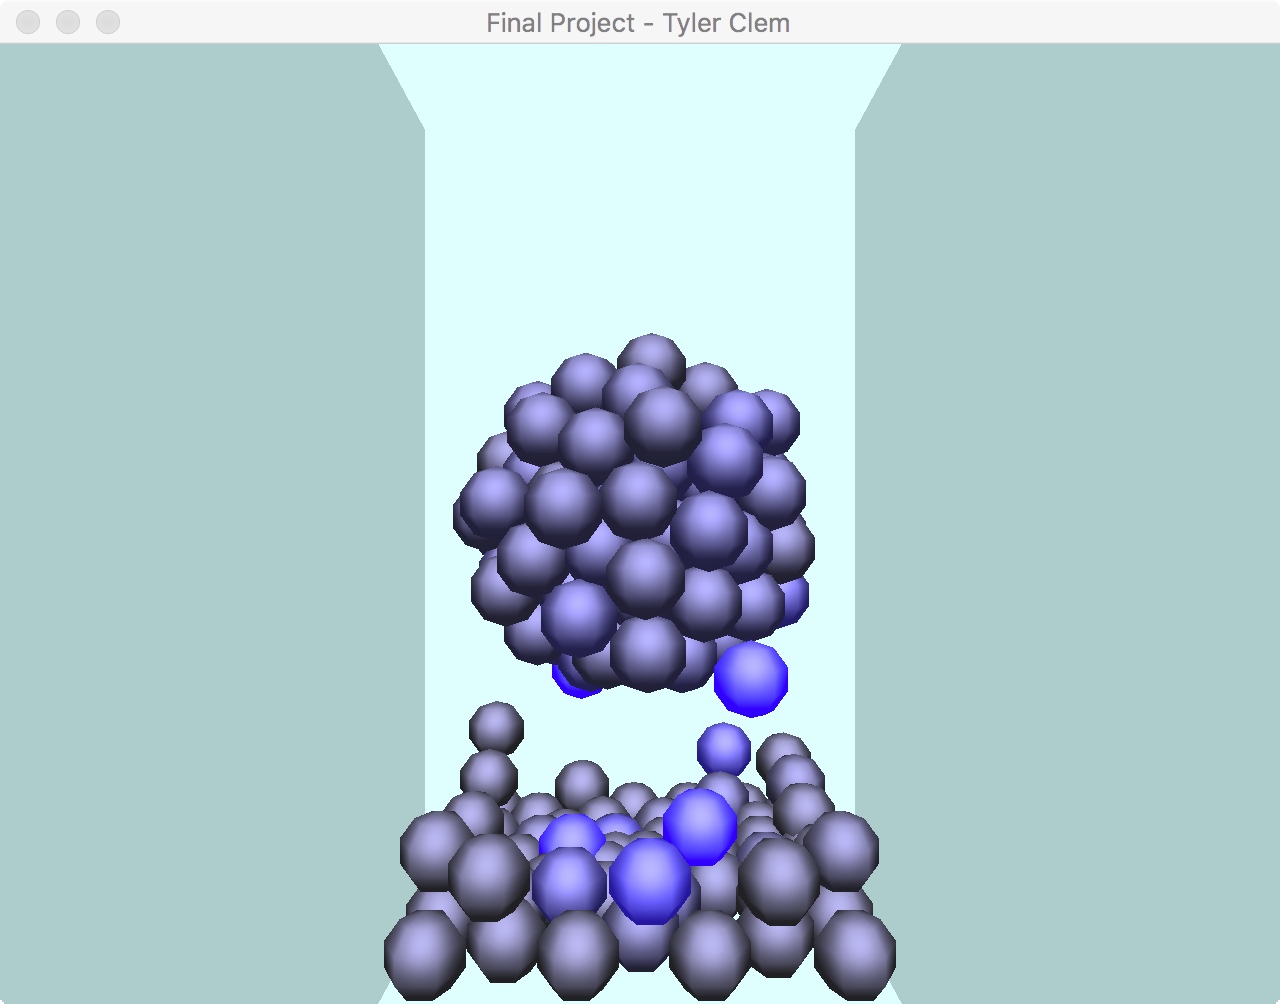
The push and pull forces are applied to the particles during the external forces stage of the render calculations. The node changes color based on its current setting: white means no push or pull is occurring (This is done so the user can see it while moving the node around), green indicates the node is pulling, and red indicates the node is pushing.
The pull is a lot easier to see in the screenshot, however the push is working as indicated by the particles divoting in the middle and rising up in the corners. This is because as the interactive push moves the particles closer together they themselves push on each other harder. The push can be best seen after using the pull to gather particles to the center as an explosion effect is achieved.
The particles and interactivity node use phong shading to increase the visual appeal of the project. The particles also contain velocity sensitive lighting, turning more blue the faster it
moves. However, it is possible for particles to Move
without having any velocity due to both viscosity and advection so not all moving particles will be blue as nearby particles are moving
them, not velocity. Finally, the walls are done with simple colors and planes with the floor, back wall, and ceiling being brighter to make the shape stand out.
Overall, I am impressed with how my implementation of smoothed-particle hydrodynamics turned out however there are elements that can be added through future work. To begin, creating a semi transparent container to hold the particles may be an improvement to my simple plane container, allowing for camera movement around the container rather than a static view. The bounce can also be improved, currently particles can only bounce off the walls not each other so splashes are not easily visible. Finally, with this system in place the density function can be used to create water shading, using the particles with the smallest density as the outer edges. However, as it stands I am quite pleased with the results I was able to achieve in the current time frame.
These papers served as strong guides for me during this project, I recommend them to anyone wanting to learn more about smoothed-particle hydrodynamics.
https://nccastaff.bournemouth.ac.uk/jmacey/MastersProjects/MSc16/13/thesis.pdf