The Driving Range!
Reed Bowling
CSC 471: Spring 2019
About
I've been playing golf ever since I was 6 years old. So I thought it might be fun to make a golfing game for my final project. Originally I was going to make a game where you play through and entire hole and could choose different clubs and whatnot, but I determined that would be a lot of work so I scaled it down to what you see here: The Driving Range!
Features
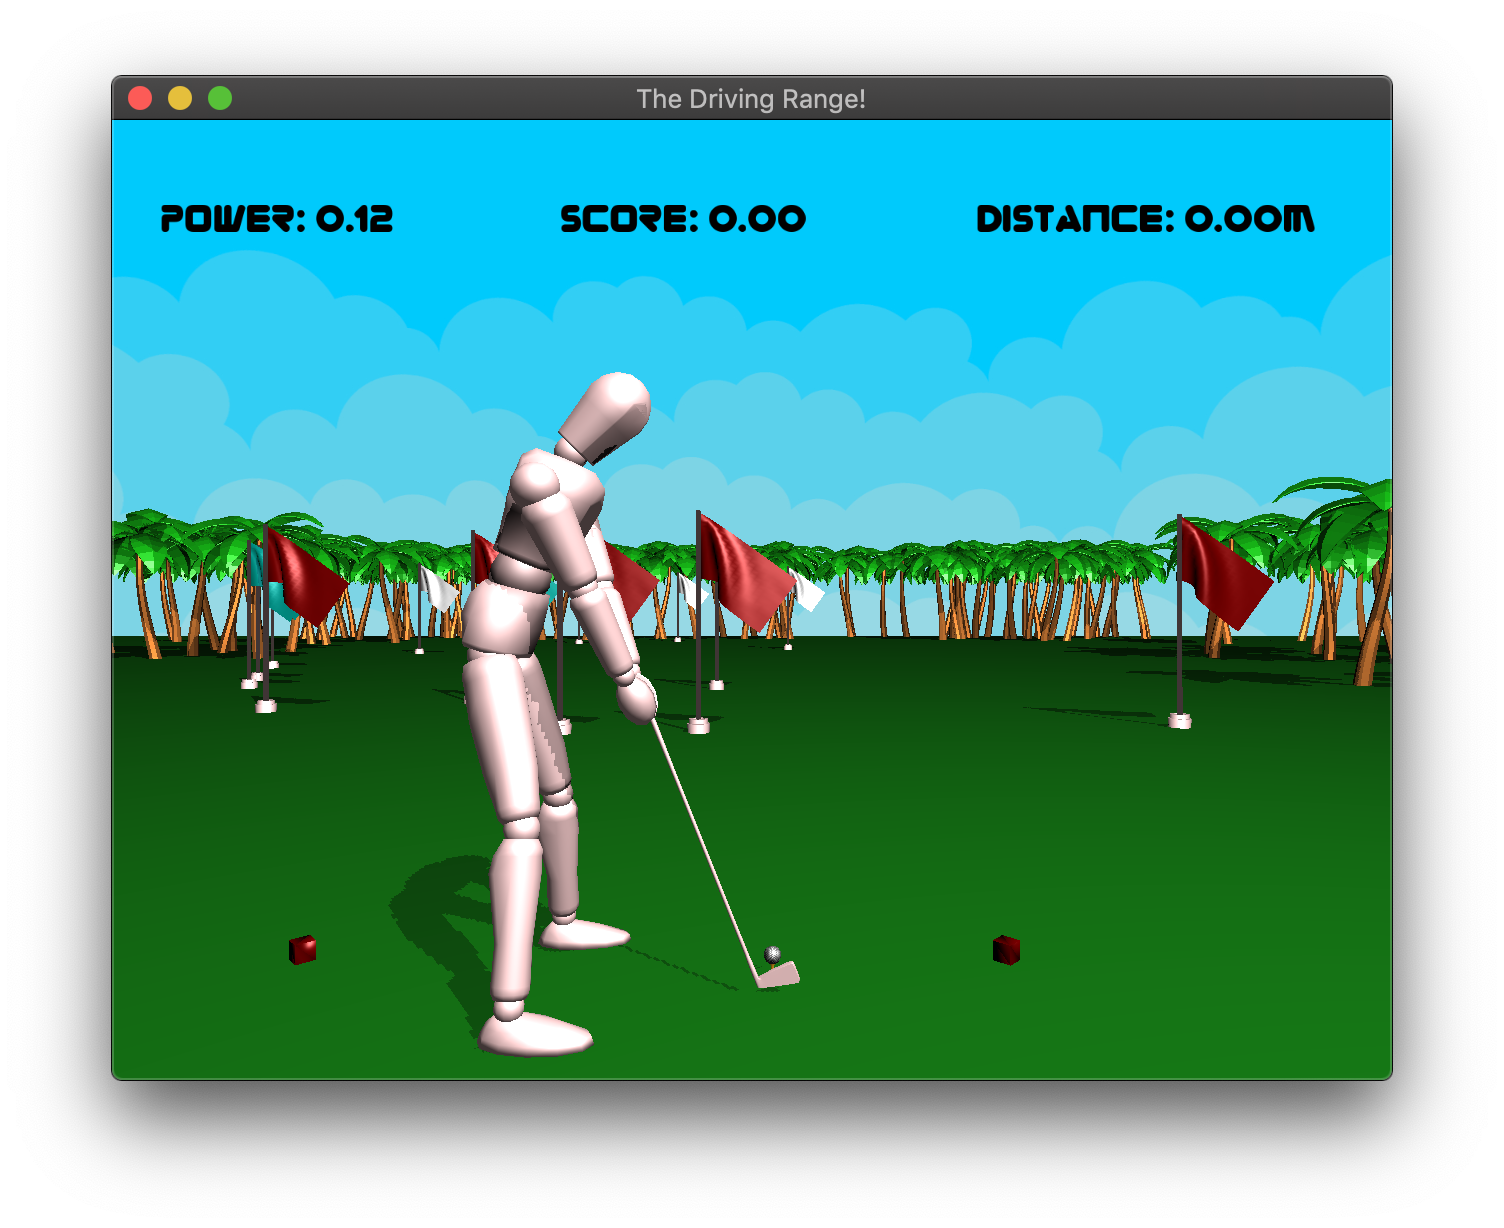
Hierarchically modeled golfer with golf swing animation
Blinn-Phong shading
Shadow Mapping
Text Rendering
Simulated ball physics (kinda)
Textured skybox
Various camera views
Fun, engaging gameplay?!
Controls
| Action | Key |
|---|---|
| Turn left | A |
| Turn right | D |
| Hit Ball | Spacebar |
| Reset Ball | R |
| Toggle shadows | N |
| Increase shadow resolution | UP |
| Decrease shadow resolution | DOWN |
| Move light source left | Q |
| Move light source right | E |
| Cycle Golfer Material | M |
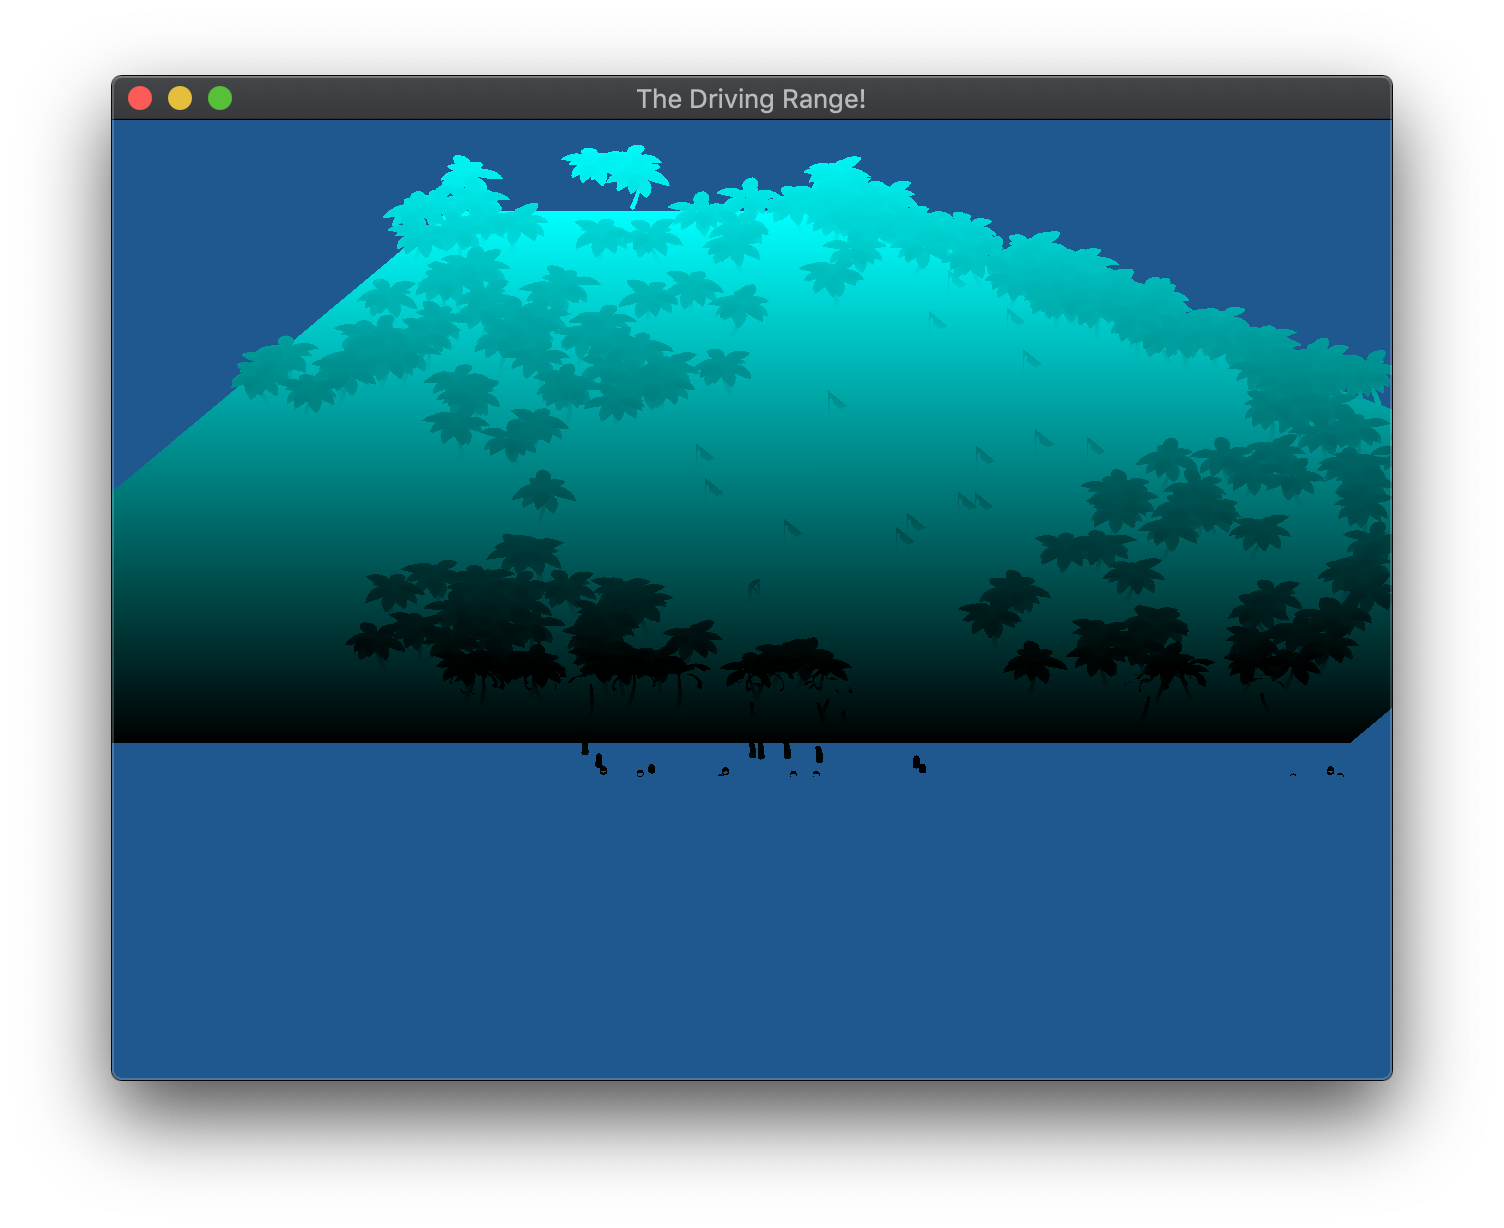
| Enter Light Debug View | L |
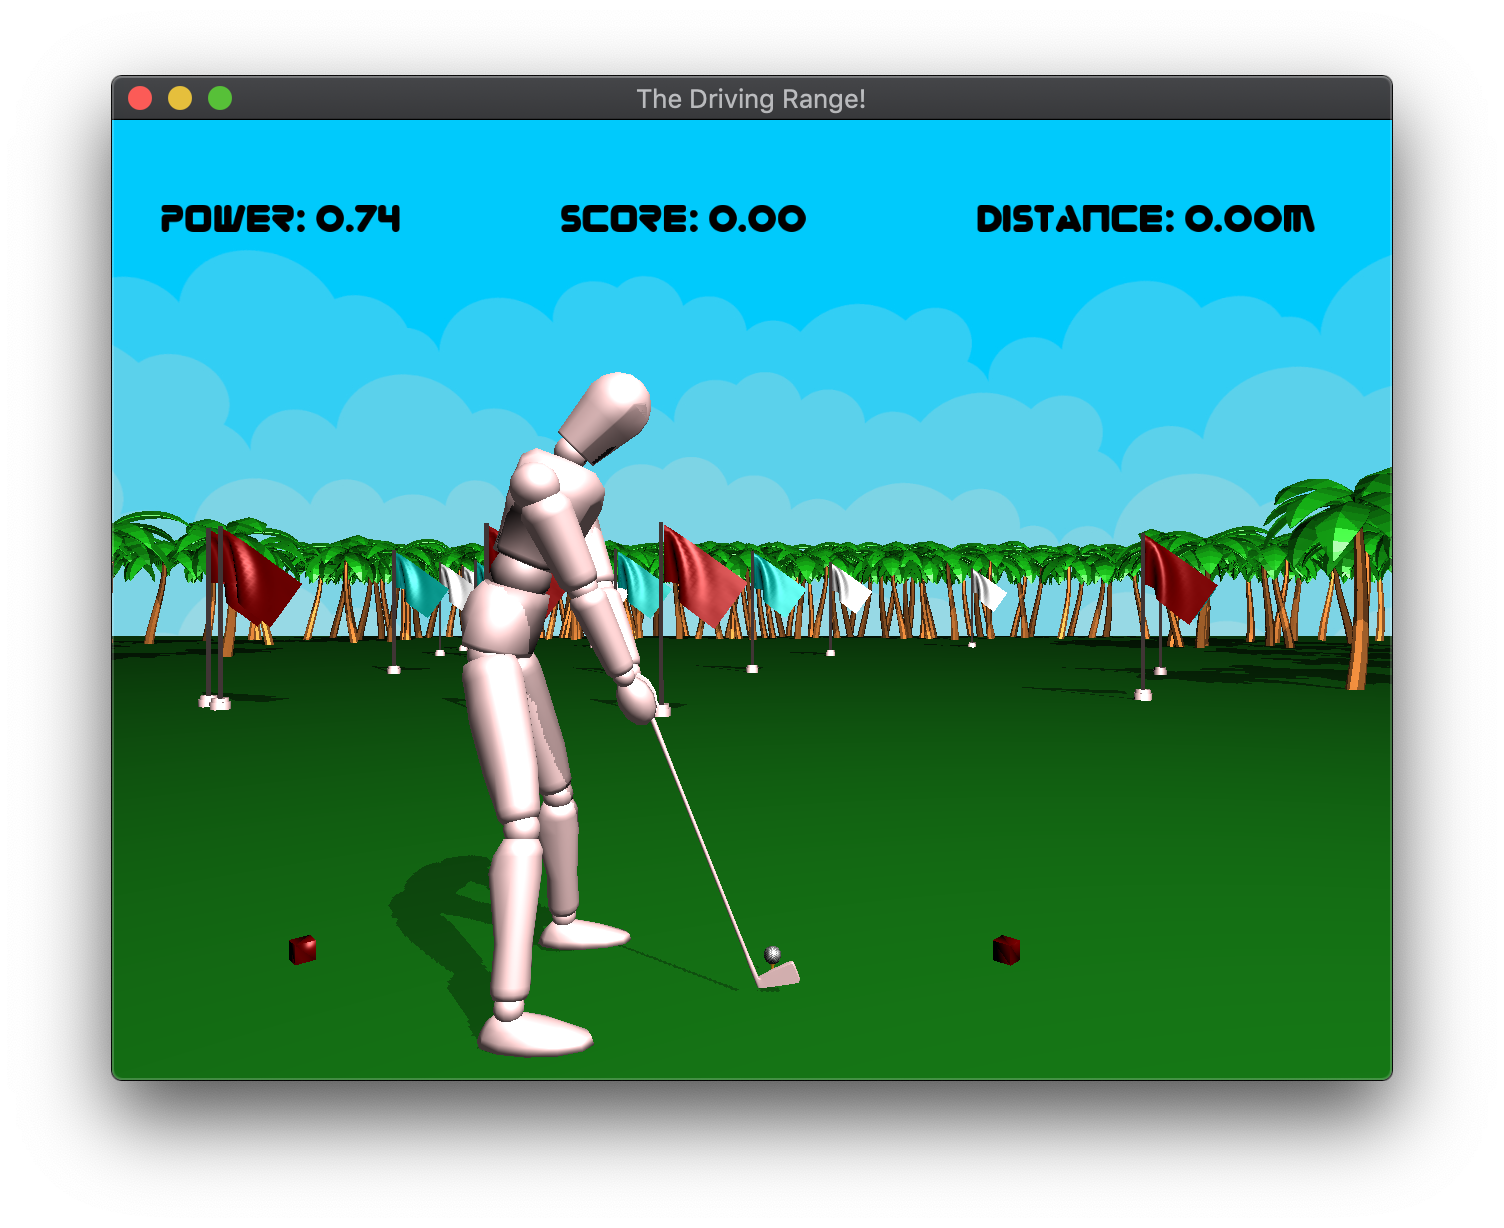
The power (displayed in the top left corner) is constantly changing between 0.0 and 1.0. When you press your spacebar, whatever value the power is at is locked in for that hit.
Physics
I simulated the golf ball physics very roughly. The ball keeps track of its current position (of the bottom of the ball) and its current velocity, and every loop it calculates a new velocity by adding an acceleration due to gravity to its current velocity. This creates the nice parabolic arc the ball takes.
For simulating the bounce on the ground, I check if the ball's current position has a y value <= 0. If so, I calculate a new velocity by inverting the y-component of the velocity and multiplying it by 0.4 and setting that as the y component of the new velocity, and taking the old x and z components and multiplying those by 0.6 for the new x and z components. This, while not completely accurate, simulates a bounce well enough for my purposes.
For hitting the ball, I apply an impulse with a magnitude determined by the power (displayed in the top left corner).
Hierarchical Modeling
I have 3 hierarchically modeled meshes that I use: the golfer, the tree, and the flag. The golfer is the only one that does something interesting, since I animated a golf swing positioned him in a golf stance. I edited the dummy model to put the golf club in his right hand to create the golfer model, and then took a few hours tweaking joint rotations until I got him in a golf stance. From there I spent another few hours figuring out which joints to rotate in what way to get a decent-looking golf swing. To do all this, I read through the .obj file and figured out which of the 30 parts of the model were which and created a large enum so that I could access individual parts of the dummy by indexing with an enum (golfer[head] would give me the head, golfer[left_shoulder] the left shoulder, etc.)
Shadows
In order to simluate shadows, I used a technique called shadow mapping. How this works is I render the scene twice each frame: first from the viewpoint of the light source where I save the rendered scene to a Framebuffer Object as a depth map, and then on the second render I use my normal blinn-phong shaders but I also use the depth map from the FBO to test whether or not I should render a shadow (by not applying the ambient lighting in the lighting calculation).
Due to the large size of my scene, the default FBO size of 1024x1024 creates somewhat pixellated shadows. I can combat that somewhat by increasing the size of the FBO, however that also makes the game run slower because it takes much longer to render the depth map.
Here you can see the shadows are much better, however the game runs much slower when they are at this resolution.
Text Rendering
One of the things I knew I wanted was the ability to keep track of your score and display it somehow. So I knew I would need to display text. To do this, I used the FreeType library to handle all the font textures, and then followed a tutorial (linked below) on how to then render text to the screen.
Scoring
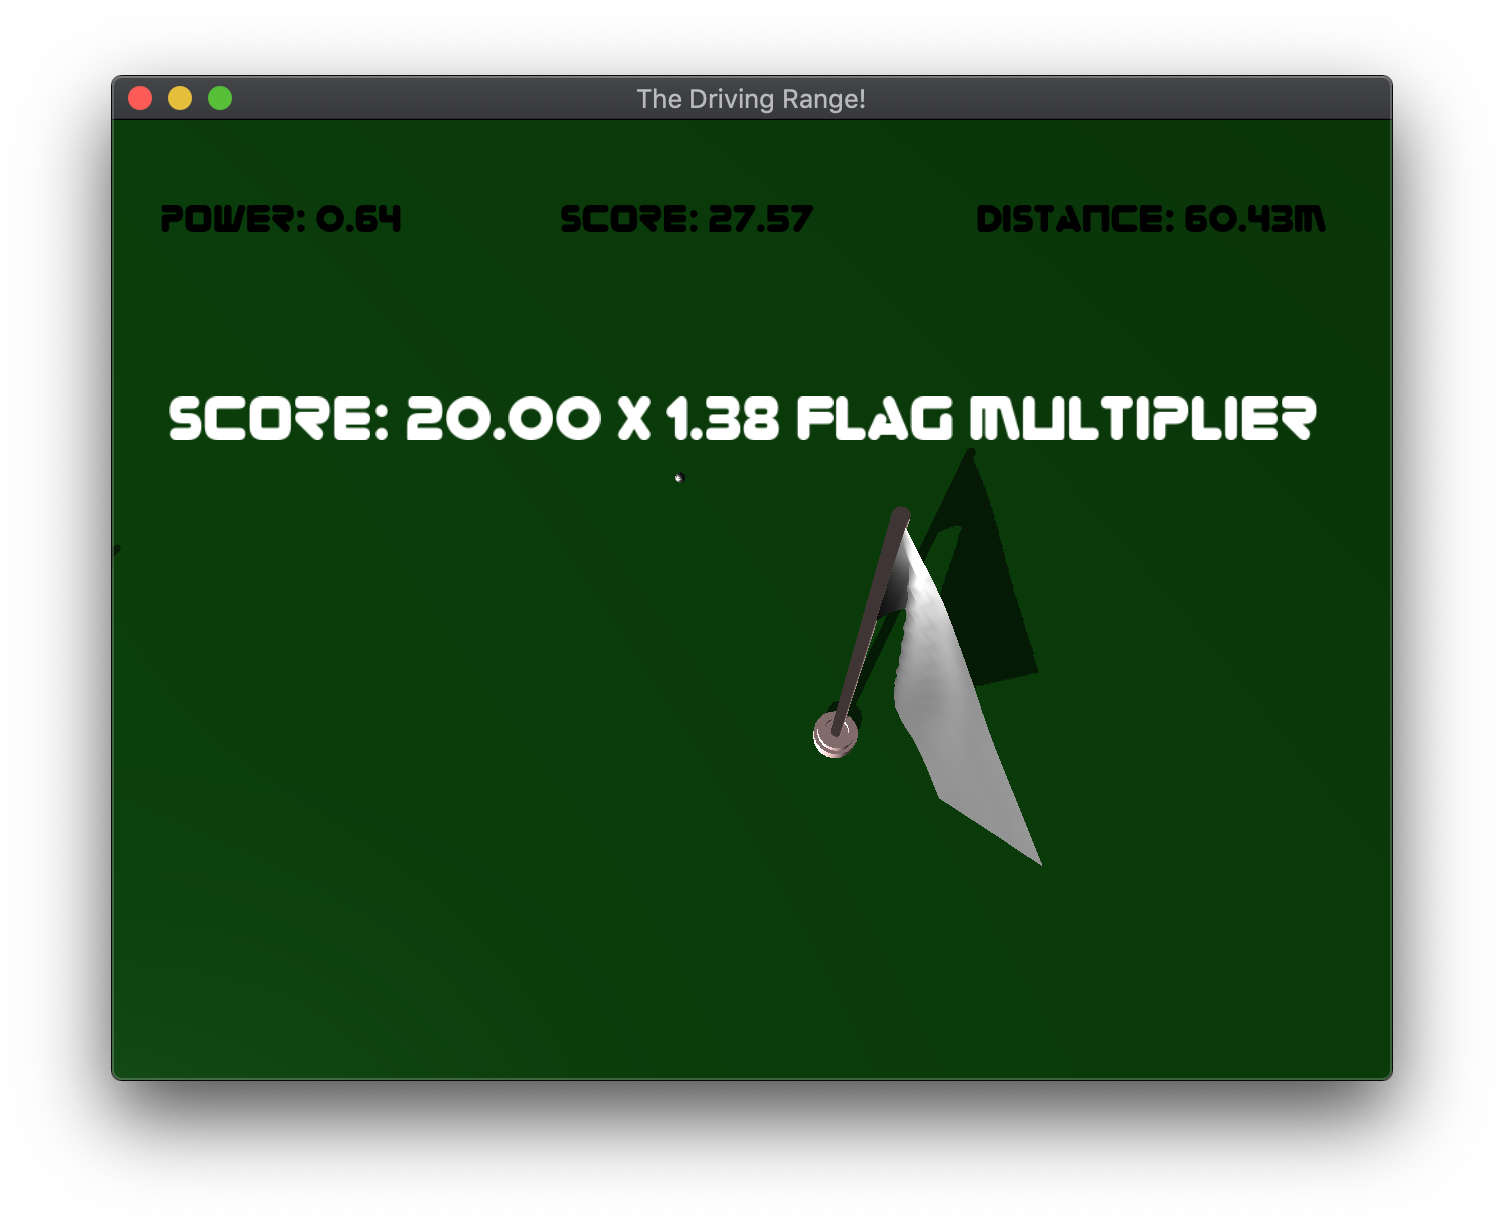
I wanted players to be rewarded both on distance hit and distance from a flag. So, I assign each flag a base score based on how close they are to the player:
| Color | Value |
|---|---|
| Red | 10 |
| Cyan | 15 |
| White | 20 |
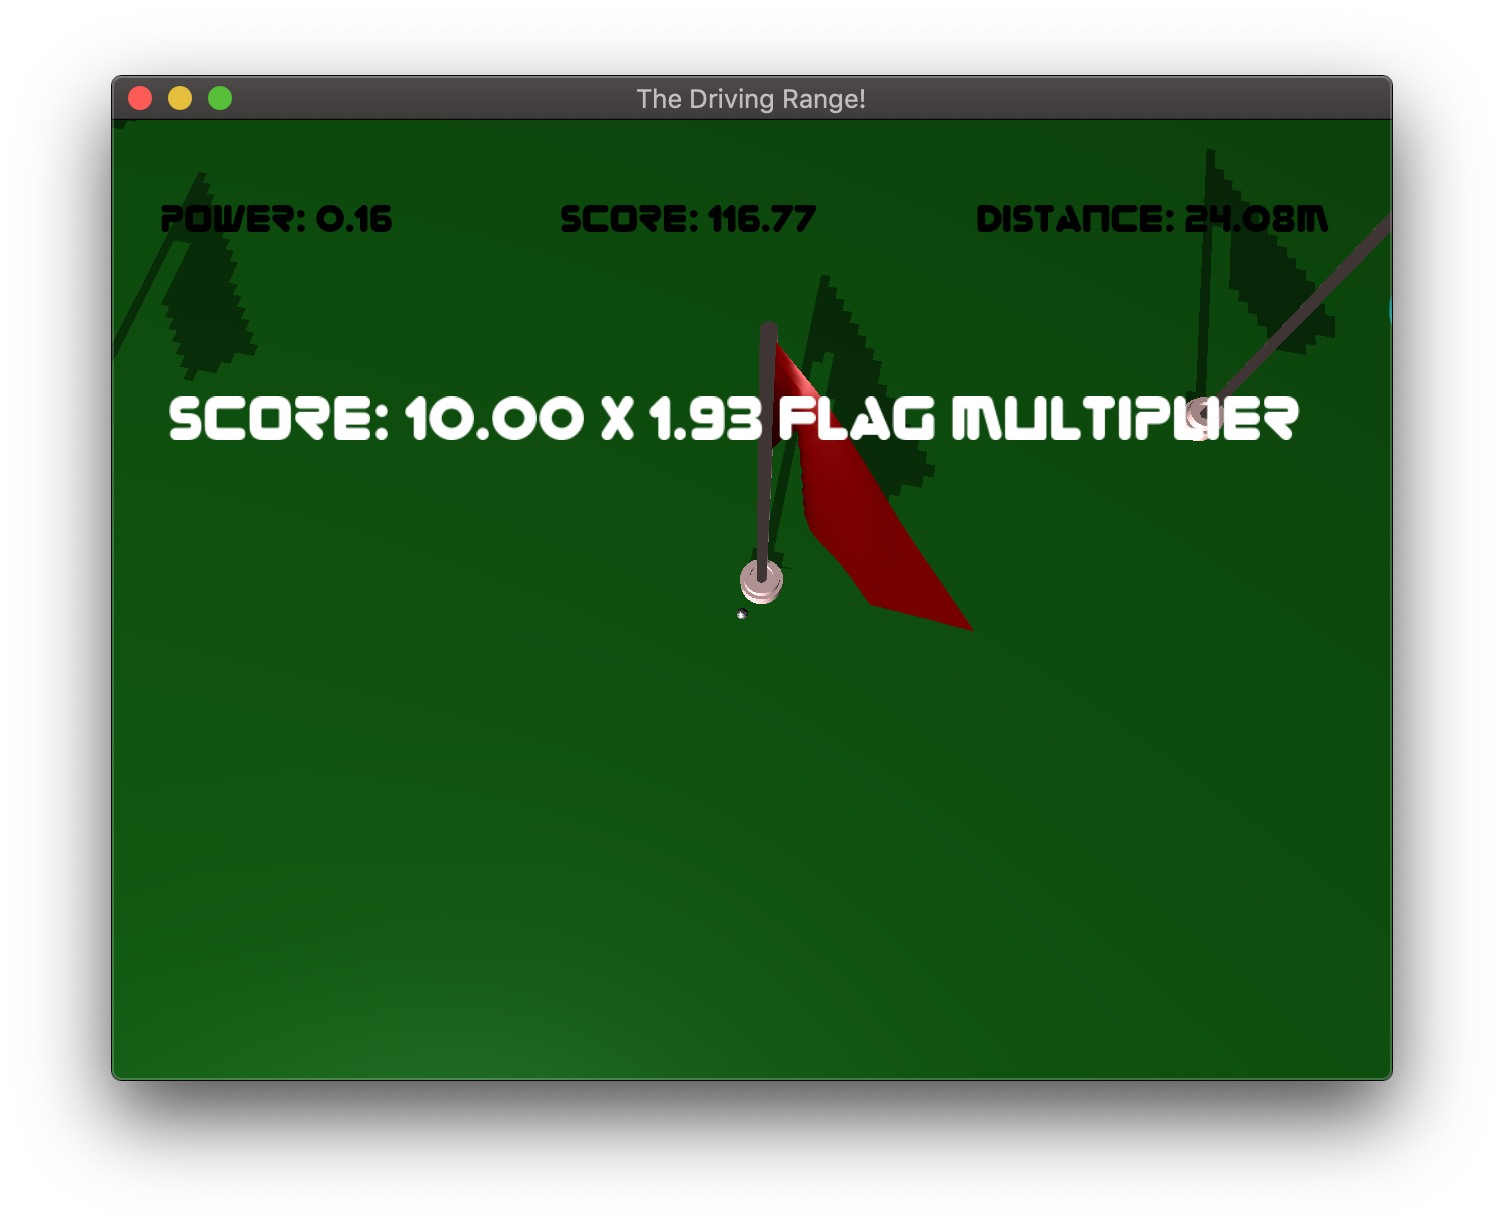
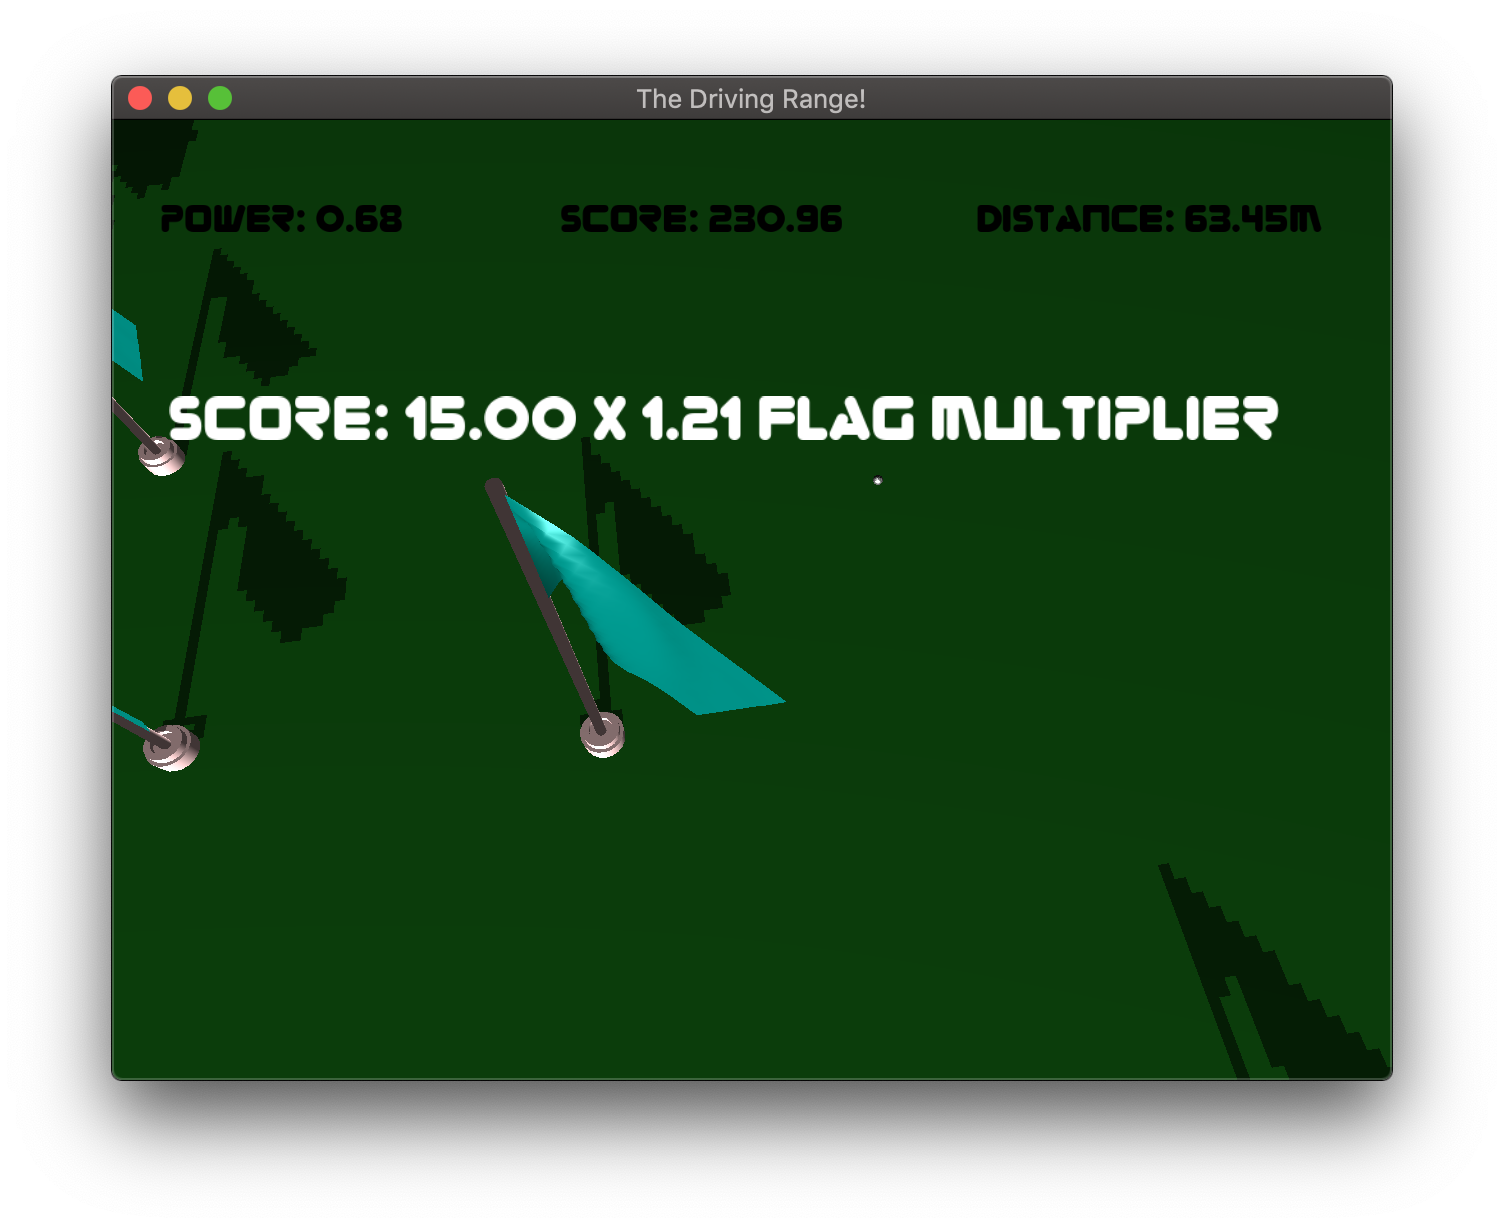
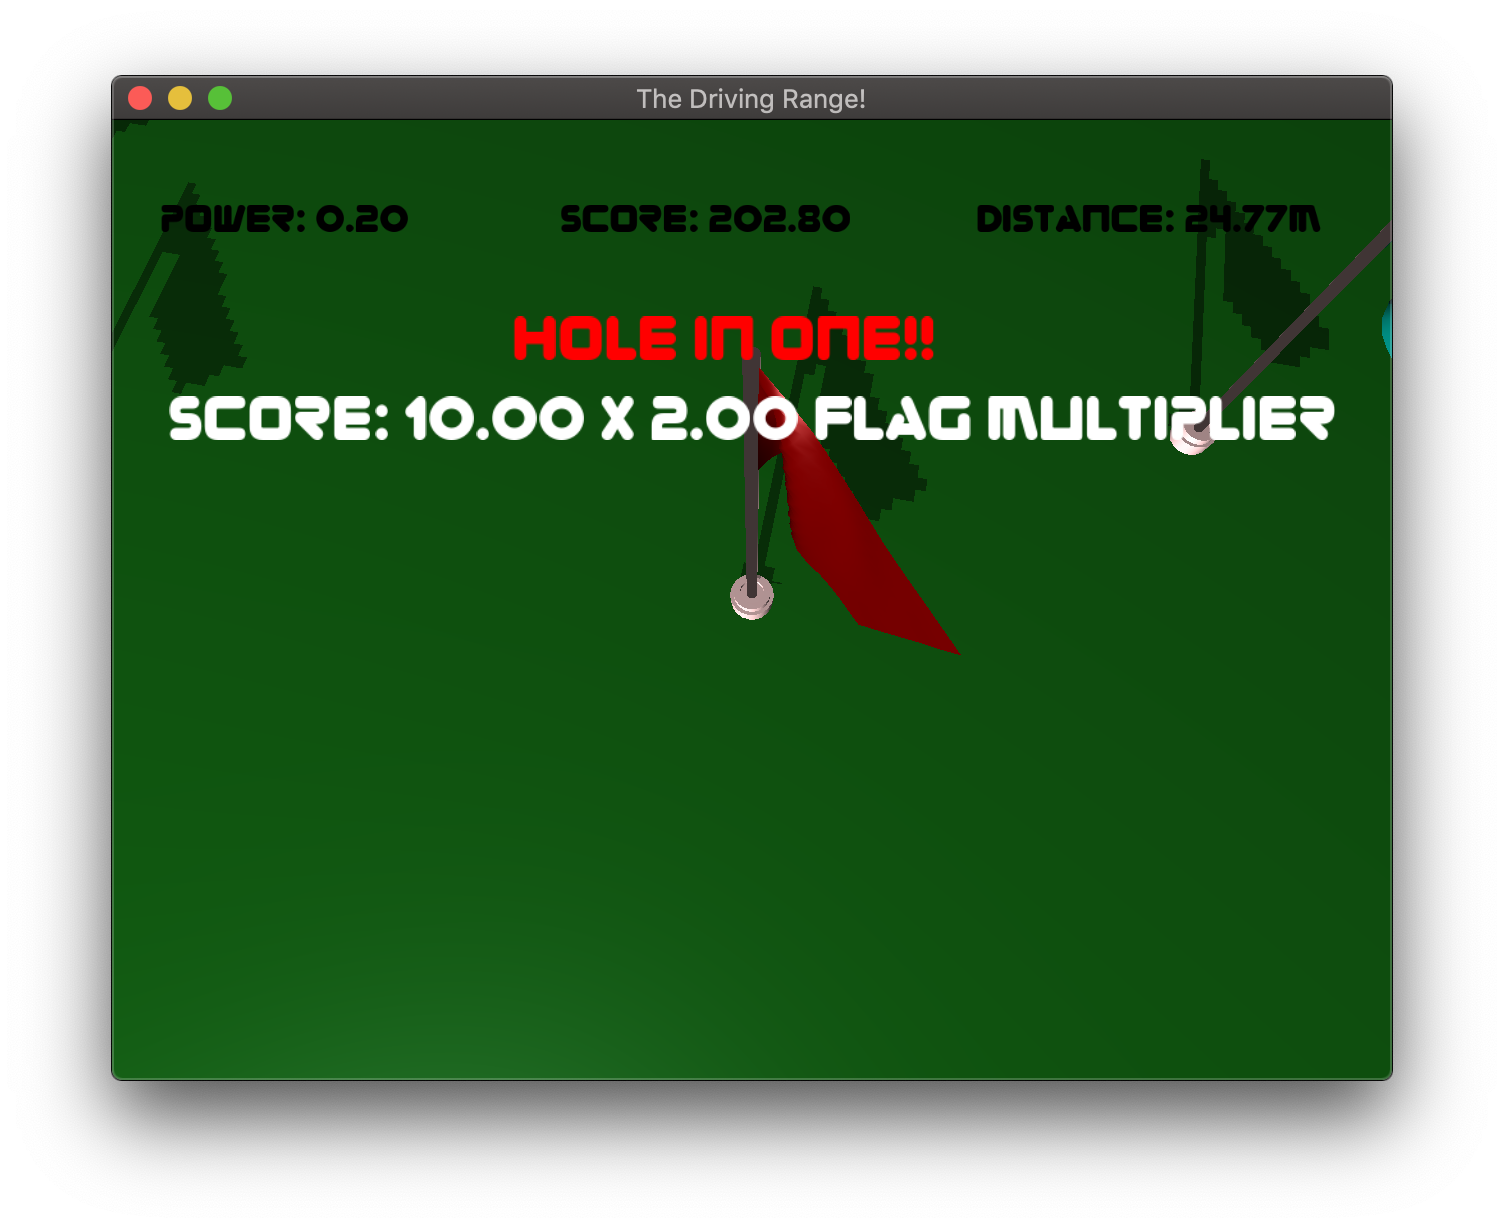
That takes care of the distance part of the score. Then, I multiply that base score by a multiplier that I calculate from the following formula:
multiplier = 1.0 + max(0.0, 1.0 - (distance_to_closest_flag / max_distance_for_score))I currently have max_distance_for_score set to 10.0. Thus, if the closest flag is 11 units away from the ball, you won't receive any bonus multiplier. But, if you manage to get your shot 5 units away from a flag, you'll get a 1.5x multiplier! This goes up to a 2x multiplier if you manage to hit a hole-in-one!
References
Text RenderingShadow Mapping
My roommate, Connor Virostek