Brandon Cooper
Introduction to Computer Graphics Final Project
Modeling the Solar System
In this project, I wanted to model the solar system and explore post-processing lighting effects. To do this I needed to research deferred shading to figure out how to render off-screen, process the pixels, and render again to the screen. The primary way to render off-screen in this way is to use framebuffer objects.
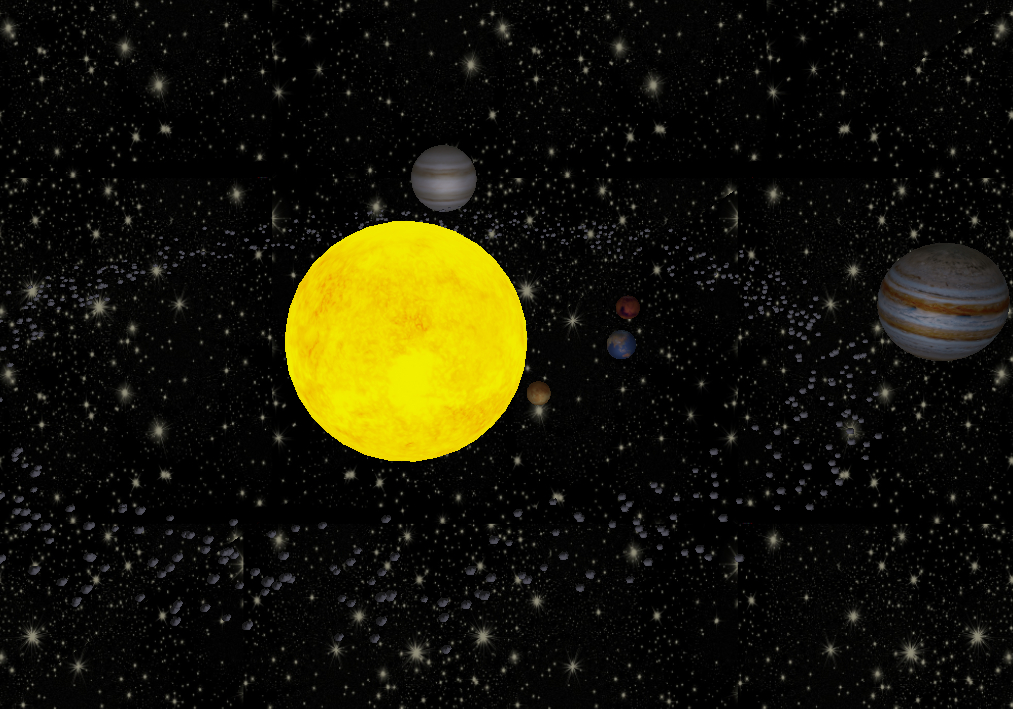
Table of Contents
Framebuffer Objects
One of the primary OpenGL technologies I explored was the use of framebuffer objects (FBOs) to render to an alternate buffer off-screen, whose contents can then be sent through a different shader program to be processed to create different visual effects. By default, the the framebuffer which is is read to the screen is bound (framebuffer 0), and contains space to store the RGB values along with alpha/depth values.
Creating and binding a new framebuffer allows you to attach textures to the FBO as targets for your shader program's output. FBOs created in this way contain no actual storage, but essentially act as a central identifier to attach textures or other buffers to handle color, depth, and other data. There are several types of attachments for FBOs, but I mainly focused on color attachments and a depth attachment (although I wasn't able to get the depth attachment to work correctly).
In my program, I used an FBO with two textures attached: one to render my image to, and another to create a map of the brightest parts of the screen, shown below.
For more information about framebuffers and rendering to a texture
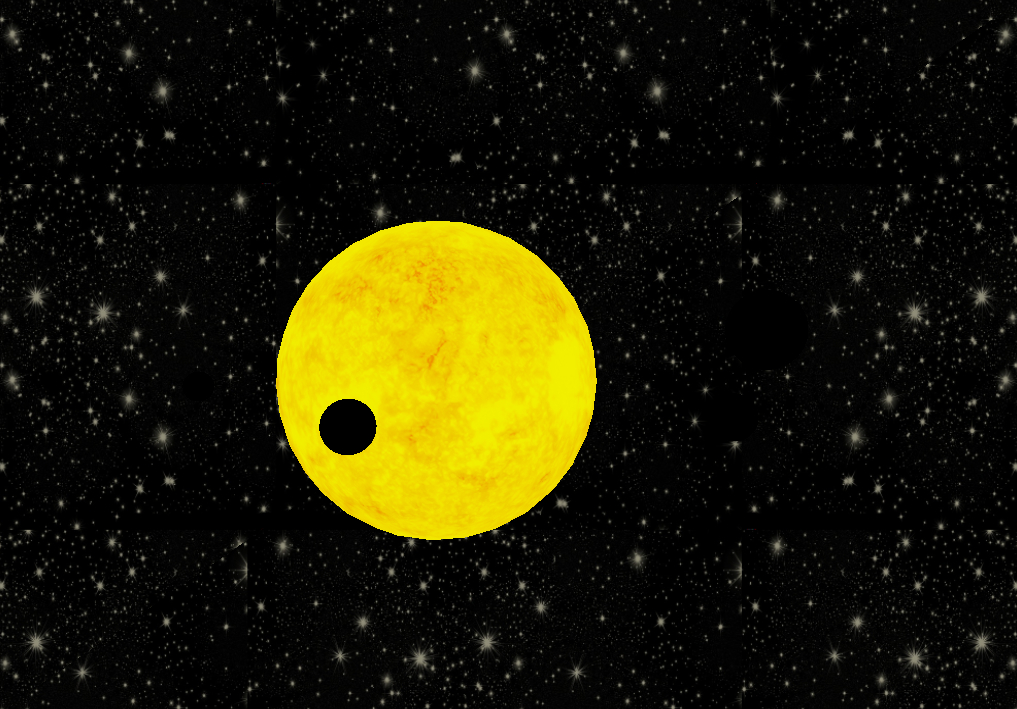
Light map of the solar system.
After creating the light map, I then had to apply the light bloom to the image.
Bloom
Light bloom is a fairly simple post-processing lighting effect that is commonly used in video games to make lights appear brighter. The basic implementation strategy is to blur the bright spots on the screen to give lights a radiant glow. What this means in practice is blurring the light map shown above, and overlaying the resulting image ontop of the original solar system image.
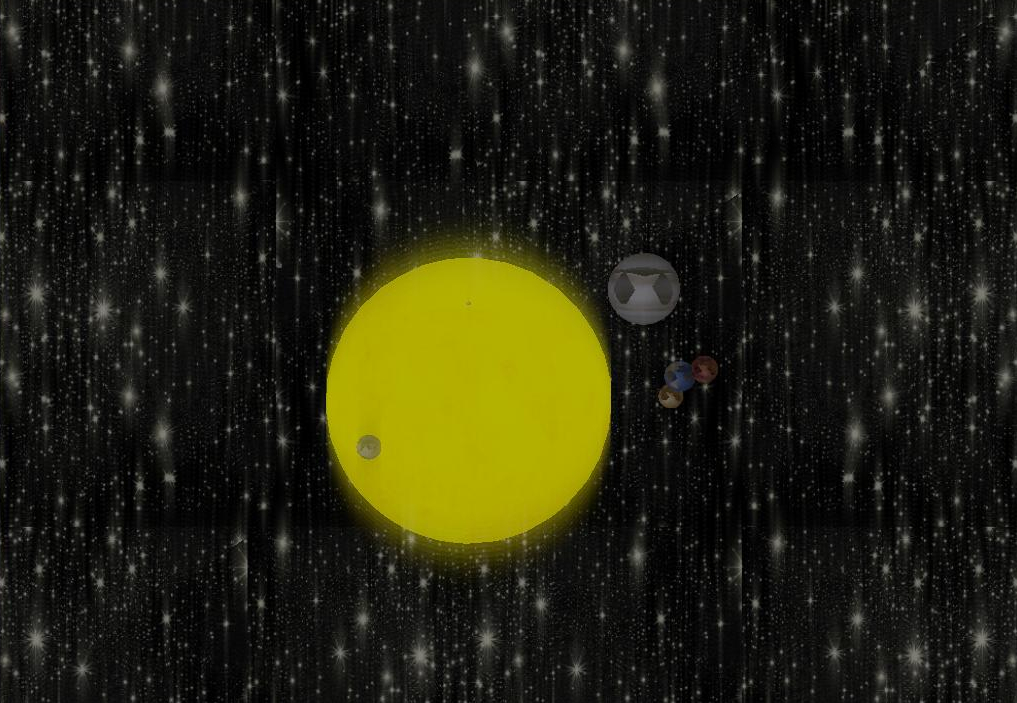
To do this, I sent my light map to a shader program to apply a Gaussian blur to the image. In order to amplify the effect, I re-sent the resulting texture back through the same shader to blur the image more, until I achieved the light bloom around the sun pictured below.
Concluding Thoughts
Although I didn't quite achieve the quality of bloom I wanted in my program, but through much research and debugging, I learned quite a bit about how framebuffer objects work, and how to use them to implement post-processing effects to entire images. As you may notice in the image above, I also was not able to correctly attach a depth buffer to my framebuffer, resulting in some clipping with the planets. I spent some time exploring depth attachments, but ultimately most of my time was eaten up getting the framebuffer to work with a color attachment alone (but I'm fairly confident that with a little more time and research, I could fix this issue).
Some resources for more information about depth attachments
Installation
Project GitHub repositoryIn a terminal from the project base directory:
cmake .make- To run:
./solarSystem - Run with disabled bloom:
./solarSystem --no-bloom
Controls
- Move the mouse to control the camera direction
- W, A, S, D - move forward, left, backward, and right respectively
- Tab - Disable and re-enable mouse camera mouse control
- Esc - Exit the program