For my final project I decided to investigate some more advanced graphics techniques. The primary goal was to implement deferred shading, a technique where lighting calculations occur in a separate shader after the geometry. This improves performance because lighting is only calculated for fragments visible in the final scene.
In addition, I implemented
This report will outline the main ideas and difficulties I had throughout the project.
The most straightforward lighting method that we've been using is Forward Lighting, which involves processing geometry and lighting in a single shader. This method is relatively easy to implement, but it can struggle with performance when more lights are introduced to the scene. A large issue with Forward Lighting is the need to compute lighting for every possible fragment, which includes fragments that will eventually be overwritten later due to depth testing. Deferred shading addresses this issue by separating the geometry and lighting into two different render passes. The main idea is to render the geometry first, without any lighting calculation, into a framebuffer, generally called the geometry buffer, or gBuffer for short. Then, in a separate shader, the gBuffer is used to calculate lighting. This way only the final fragments that will be output to the screen have lighting calculation performed. The main drawback to deferred shading is the need to store data between these two passes.
The first hurdle when implementing deferred shading is the task of setting up the gBuffer. So far we haven't messed around with more than just the default framebuffer, which is implicitly created by OpenGL, but many graphics techniques require the programmer to use multiple framebuffers. One can think of a framebuffer loosely as a collection of buffers (often these buffers are actually just textures) in which OpenGL (and shaders) can write to. In OpenGL, a framebuffer object (FBO) is created by calling glGenFramebuffers() and bound with glBindFramebuffer(). This is very similar to how one creates and binds a Vertex Array Object. Once the gBuffer FBO is created, we need to attach buffers so that we can actually write to it. The data that needs to be stored into the gBuffer is anything that will be needed for the lighting calculations and final scene. A simple gBuffer setup is:
For the first 3, the buffers are created just like a normal 2D texture using glGenTextures(), glBindTexture(), glTexImage2D(), and glTexParameteri(), with the only extra step being to actually attach the texture to the FBO by using glFramebufferTexture2D(). When attaching the texture to the FBO we specify a GL_COLOR_ATTACHMENT, which lets us access each of the textures in the fragment shader by using the familiar layout (location = <attachment #>) in <data type> <name> syntax. For the Depth buffer we can use a renderbuffer object instead of a texture. The syntax for creating a renderbuffer object is similar to that of the framebuffer object. The reason for using a renderbuffer instead of a texture is optimization: OpenGL can optimize the data format of the renderbuffer since the data doesn't need to be sampled in a shader like the textures do.
Now, the geometry pass shaders can fill the gBuffer with data to be used by the deferred shading pass. The fragment shader for the deferred shading will essentially just be the lighting code (Phong shading), but the positions, normals, and color values will be sampled by using the built-in GLSL function texture().
The last piece of the puzzle is where does the deferred shader actually render. The answer is simple: a plain old quad. If you think about it, the gBuffer is holding textures that we use in the deferred shader: so we need something to paint the texture onto. If we treat the quad as our screen, we are basically just texturing the screen with our results. We don't even have to worry about model or view transforms in our vertex shader; all we need are the texture coordinates.
If you followed along with those directions you'd probably run into the problem I struggled with for a bit: depth. We have the depth values stored in the gBuffer, but we never transferred that information along. We need to copy the depth information in the gBuffer to whatever buffer the deferred shader is rendering to. In the most basic case, this is the default framebuffer. Fortunately, OpenGL provides glBlitFramebuffer(), which can be used to copy data from one framebuffer to another. Once this is done, the depth information will be saved and we won't get any funky depth problems.
Another technicality of Deferred Shading is that the lighting will be done in view space, so I had to change a few things in the geometry pass shader and deferred shading shader to incorporate that. This also means the point light positions need to be in view space, which was a problem I ran into and took a little while to figure out.
Bloom is a post-processing effect which greatly enhances bright parts of a scene. It causes brightly lit areas and lights to appear to glow. This makes it look like these objects are actually emitting light.
Implementation involves two main steps: determining 'bright' areas and then creating the glowing effect. The first step is achieved by calculating a 'brightness' factor and then placing all fragments that are greater than some predertimined number in a buffer. This buffer is then blurred multiple times and additively blended back with the original scene. This produces the glowing effect.
The top image is with bloom off and the bottom image is with bloom on. You can clearly see that the bloom brightens up the light cube and applies a blur to it.

Generally, we assume that the color components produced from our shaders are between 0.0 and 1.0. This limits our color output to being in a fixed range, no matter what the scene is composed of. This means that in very bright or very dark scenes a significant amount of detail can be lost, since we simply aren't allowing the shaders enough freedom to output an accurate color. High Dynamic Range (HDR) is a technique which allows the color components to take on values greater than 1.0 and, later on, maps this larger range back into the normal range of 0.0 to 1.0. The mapping can be customized to suite the brightness of a scene to balance out the various brightness levels and still keep detail.
HDR was definitely the easiest and quickest feature to implement. Since the color output of the geometry pass was stored in the gBuffer, all that needed to be done was change the type of the color buffer to GL_RGB16F, which is a floating point type. Then, the mapping function was implemented in the last render pass to scale the values back down to the range 0.0 to 1.0. HDR pairs very well with bloom since it allows brighter areas of the scene to have values greater than 1, which makes extracting the bright parts of the scene easy.
Another quick adjustment I did along with HDR was gamma correction. The idea of gamma correction is that a computer monitor displays color brightness in a linear fashion, but humans perceive brightness non-linearly. So gamma correction attempts to fix this discrepancy by raising the color to a power of (1 / gamma), where gamma is usually around 2.2.
The top image uses a low 'exposure' for HDR, which shifts the brightness down. The bottom image has a higher exposure, which brightens up the scene. In a more serious application, this value could be made artist-adjustable or be dynamically adjusted based on the scene.

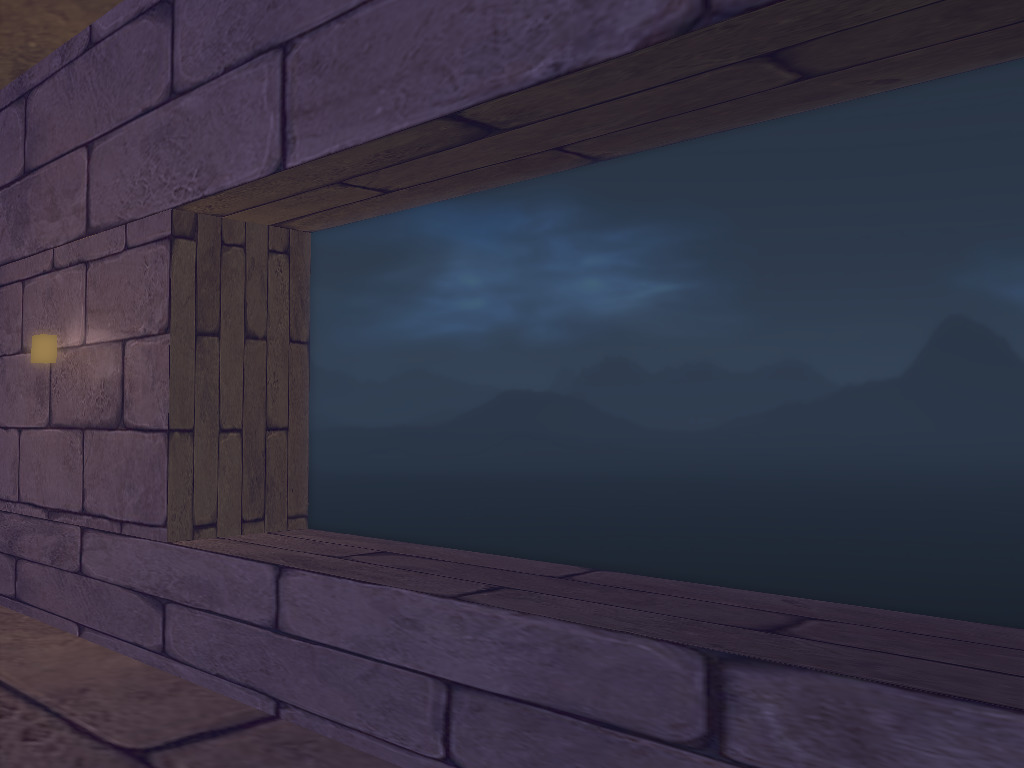
Previously, if no part of the scene covered part of the screen then the resulting color would be whatever glClearColor is. But that's not very interesting. A skybox can be used to make the user feel like they are in a large world by having some kind of imagery off in the distance. The skybox is essentially a cube with textures on the insides of each face. Then, the rest of the scene is placed 'inside' this scene, so that wherever you look you'll either see some part of the scene or the skybox.
To implement a skybox we can use a cube map, an OpenGL texture type that is comprised of 6 individual textures: one for each face of the cube. Creating a cube map is extremely similar to creating a normal texture, but instead of using GL_TEXTURE_2D as the texture target we use GL_TEXTURE_CUBE_MAP. Then, one must attach the textures for each of the faces, which are the usual GL_TEXTURE_2D type textures. To load the images, I used a library called SOIL, which is a lightweight image loading library tailored for use with OpenGL. In fact, SOIL has functions which can handle all of the OpenGL calls needed to generate and create both normal textures and cube maps, but I only used it to load raw image data since it was a better learning experience.
The shaders for the skybox are relatively simple, but use a couple tricks. The first trick is to keep the illusion that the skybox is infinitely far away. To do this, the translation component of the view matrix must be removed to keep the user from being able to move closer to the edges. Also, the depth component of each vertex is set to the homogenous component w in the vertex shader. This causes the depth value to always be 1.0, which is the maximum depth value in OpenGL. The only other tricky part deals with how the cube map texture is sampled. A cube map is not sampled based on x and y coordinates like other textures; instead, it is sampled using a direction vector. Whichever part of the cube the vector hits is the sampled value. This allows us to use the positions of the cube to form the direction vector.
Including the skybox was a great way to improve the scene and required relatively little code. I did have one annoying problem though: some of the images in the skybox needed to be transposed and flipped in order to correctly line up at the seams of the skybox. I used ImageMagick's convert tool for this.
Below is an image showing part of the skybox.
So far our lighting calculations have been fairly simple and we only considered the light and the fragment being lit in our lighting calculations. We also used a fixed ambient lighting value to fake the scattering of light between different objects in our scene. Ambient Occlusion (AO) is a way to improve how ambient lighting behaves. The motivation is simple: objects close together should appear darker, since less light is able to reach these 'occluded' areas. This implies spatial testing to see if objects are close by, which we know can be a very expensive operation. A common method that is relatively quick and produces decent results is called Screen Space Ambient Occlusion (SSAO).
A high level overview of SSAO is to calculate an 'occlusion factor' for each fragment by sampling the depth values of nearby fragments, which is then used to scale down the ambient lighting component in our Phong model. While this doesn't sound too complicated, it takes a good bit of effort to implement this effectively.
The first task is to store the depth values in the gBuffer during the geometry pass. Since this is a single scalar value, we can just use the alpha component of the position buffer. The depth value of a fragment can be accessed by using gl_FragCoord.z. Note however that this value is in the range 0.0 to 1.0, and needs to be transformed out of perspective space (into view space).
With the depth value handy, we now need a method to sample the depth value. The approach used was to create random vectors in a hemisphere and then weight these vectors so that ones closer to the origin of the hemisphere had more of an impact on the occlusion factor. The vectors were also given a random rotation, which improves the quality of the SSAO. With these sampling vectors, the occlusion factor can be calculated and used during the lighting pass. For more details, take a look at the SSAO tutorial on learnopengl.com and the tutorial from John Chapman.
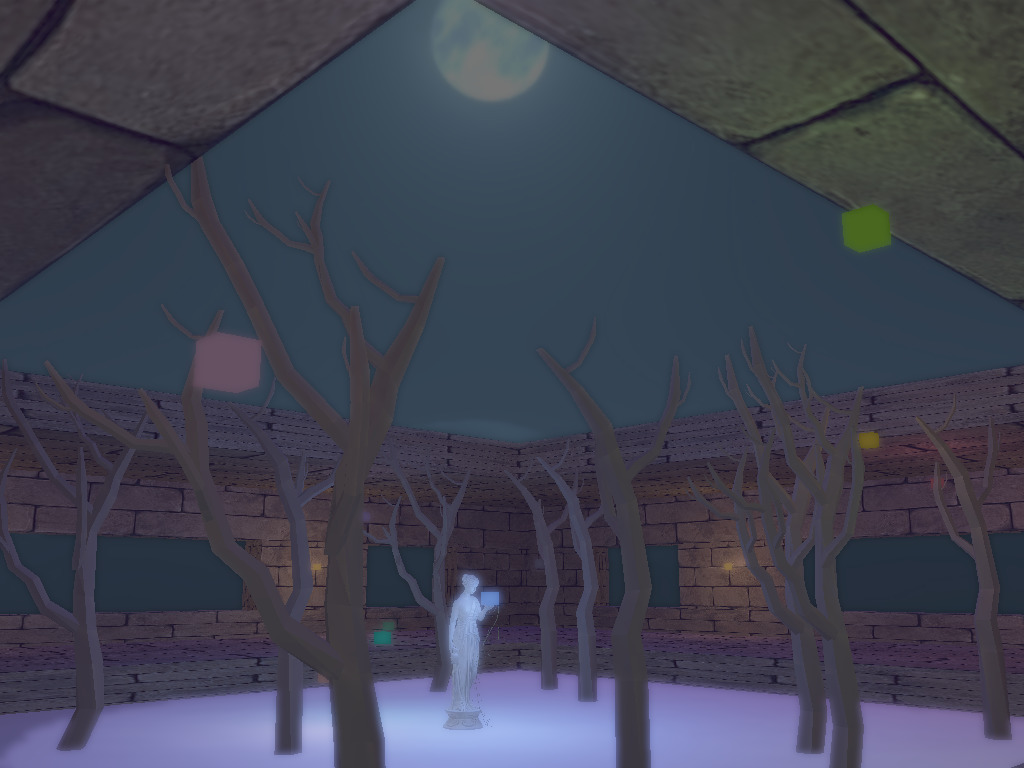
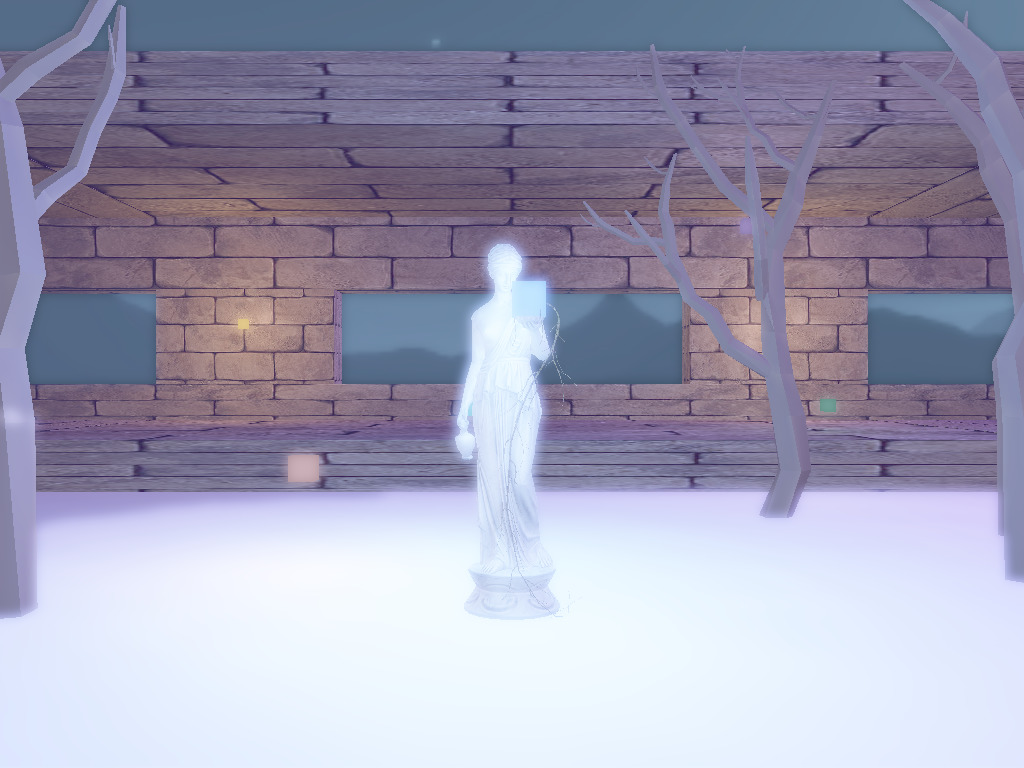
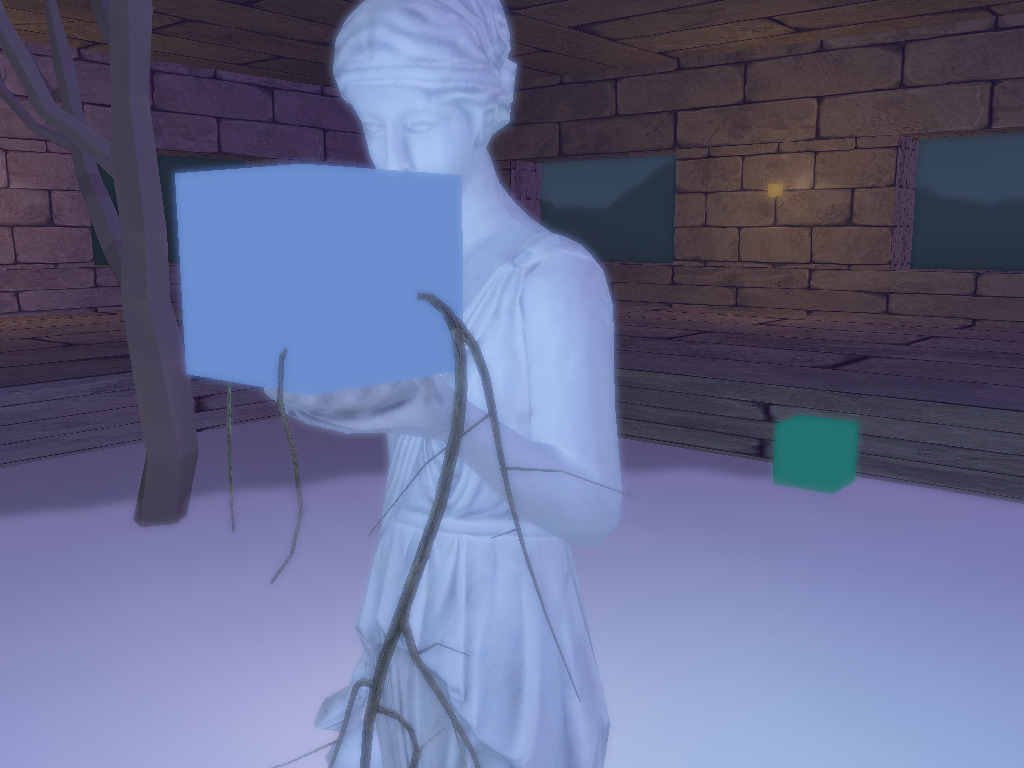
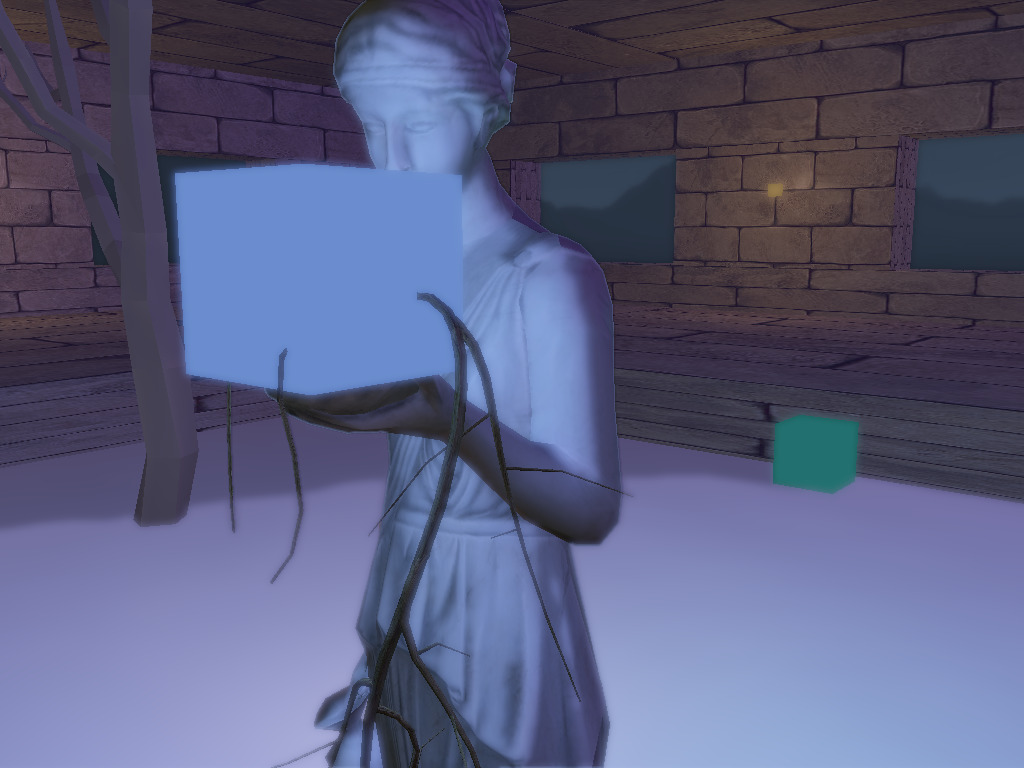
The top image shows the statue with SSAO off and the bottom has SSAO on. SSAO helps make the lighting more realistic by decreasing the ambient lighting on certain parts of the statue.
I really enjoyed working on this project. I had always been curious about these different graphics techniques when I was younger and now I can say that I understand how they work and how to implement them. Deferred shading and SSAO were tricky to implement but it was very satisfying to see the end result. The biggest hurdle to get over was proper handling of framebuffers and using the results from different passes as textures to the next set of shaders. If I had more time I would've tried implementing more things like normal mapping, shadows, anti-aliasing, and some kind of reflection. I also would've liked to optimize the deferred shading by subdividing the scene into tiles and then only calculating the lighting for fragments in nearby tiles to each point light.
Also I really need to clean up the code and abstract some parts away into other files or classes. Throughout most of the project I was testing things out in main.cpp and then once they worked throwing the bits of code into a function. This ended up with main.cpp becoming quite long and a pain to navigate through.
All of the references were incredibly helpful, especially learnopengl.com. Here are the other resources I used:
And a special thanks to Quaternius, who released the tree models I used in my final scene for free! The model for the statue came from tf3dm. Also the skyboxes came from custommapmakers.org. The theme for this website is from Kevin Burke.
Here is the library I used for loading images: SOIL.