Horror Simulation & Frame Buffering
CPE 471 Winter 2017
Professor Zoe Wood
Jack Wang
This project is comprised of two parts:
1) Horror Simulation - Player wakes up in a bed in the middle of the night, and finds he/she is paralyzed and unable to move.
2) Frame Buffering Effects - Player can toggle through various effects to view the world in.
Horror Simulation
I wanted to create a simulation that mirrors sleep paralysis - the player is stuck in the same position, unable to move but able to look around.
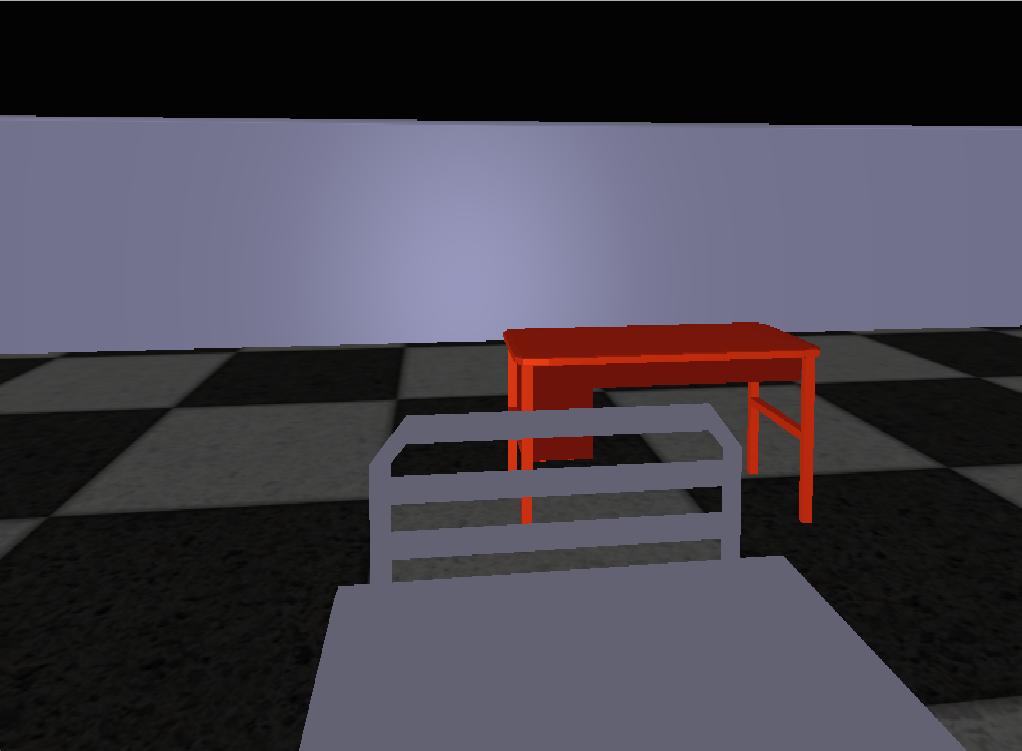
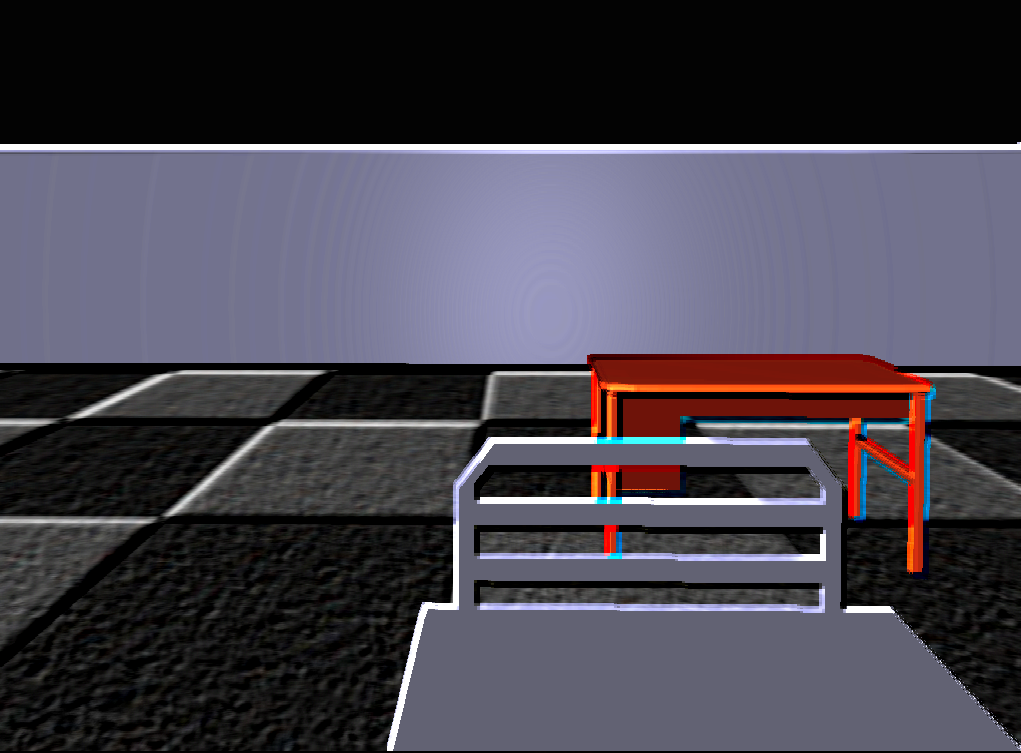
The entire scene is rendered with 4 different obj files - the monster, the bed, the table, and the walls.
The monster is textured using a green scaled skin texture, as well as back-lit using Blinn-Phong lighting to enhance the scariness. The monster is placed just slightly above ground, and is translated slowly over time towards the player at an angle to simulate gliding and floating.
Monster once it's next to the player:
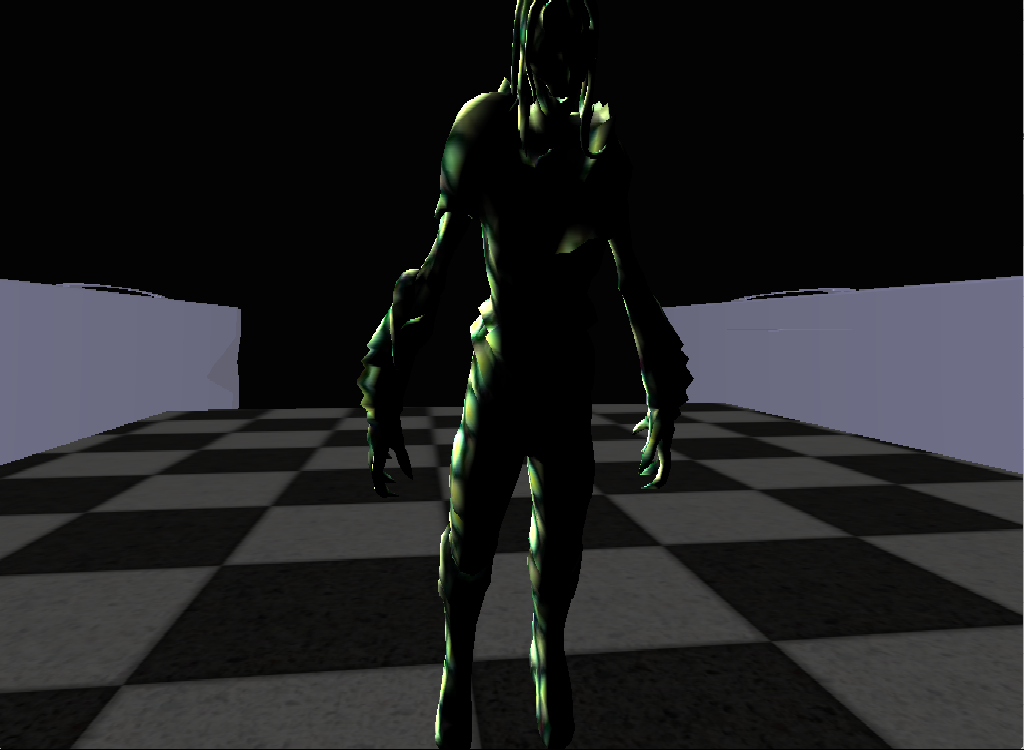
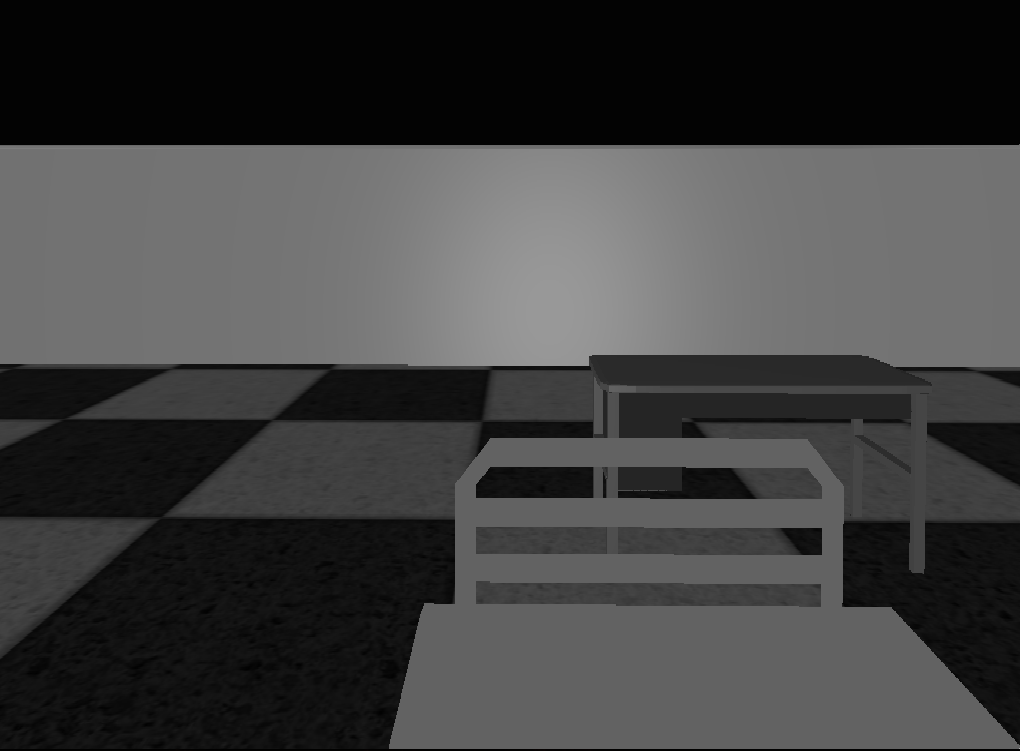
The table and the bed is lit with the same type of lighting as well, and the floor is textured using a tiled texture.
Frame Buffering
Frame Buffering was the main focus or use of graphics technology in this final project. I created 7 different effects (each number corresponds to what effect is trigger when that key is tapped):
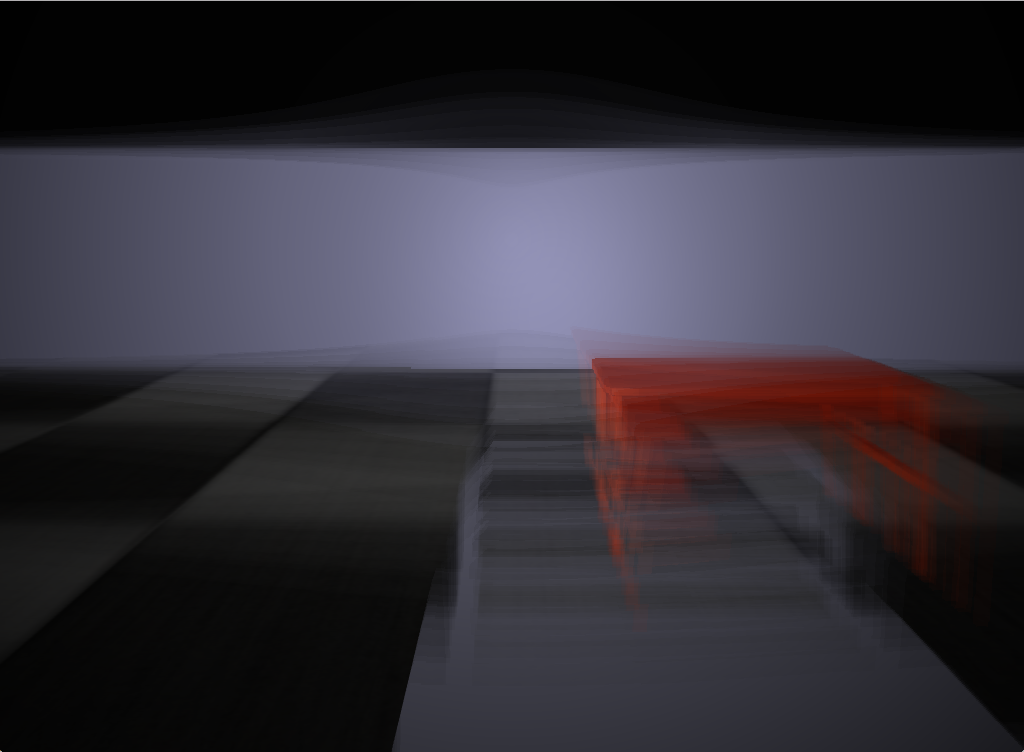
1) Motion Blur
2) Gaussian Blur
3) Grayscale
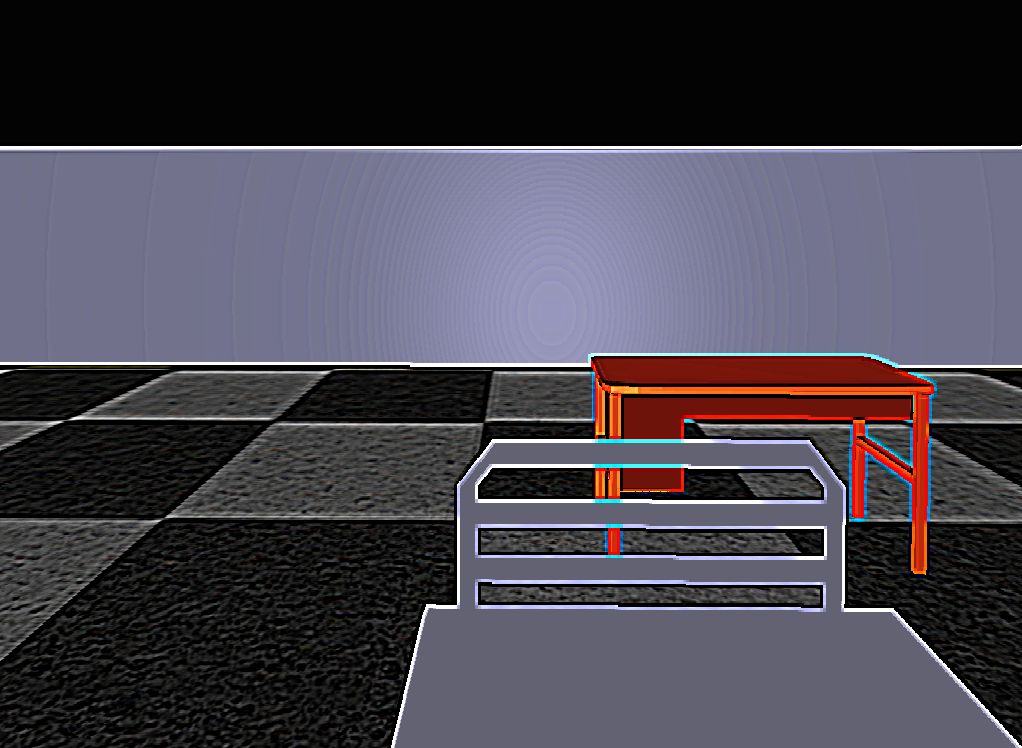
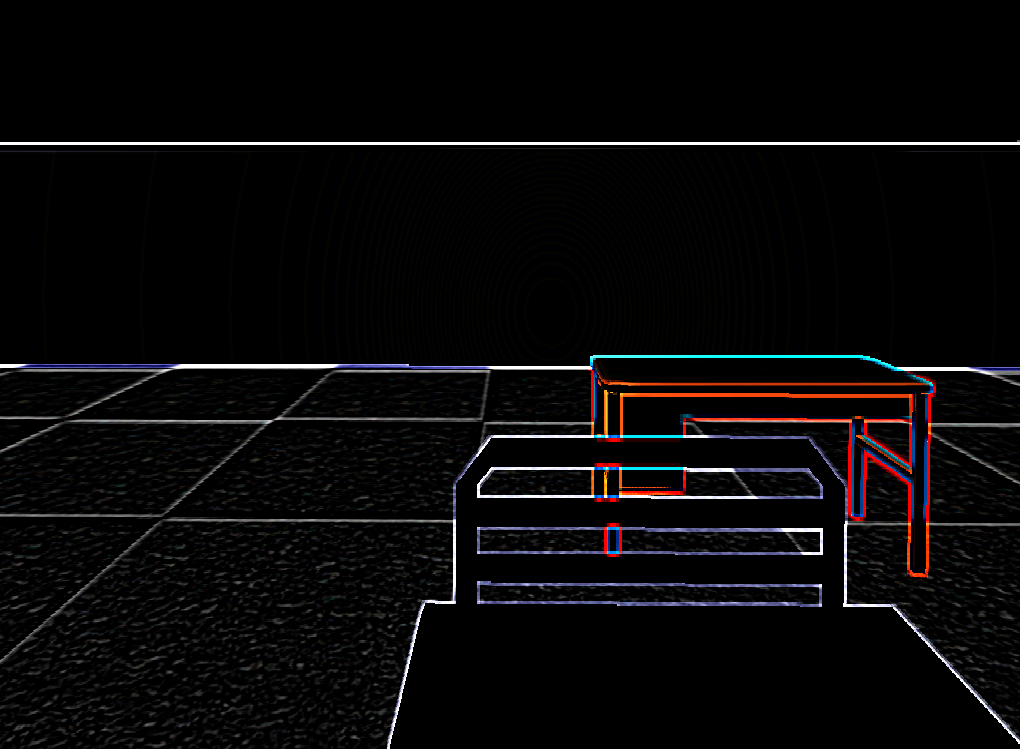
4) Highlight Edges
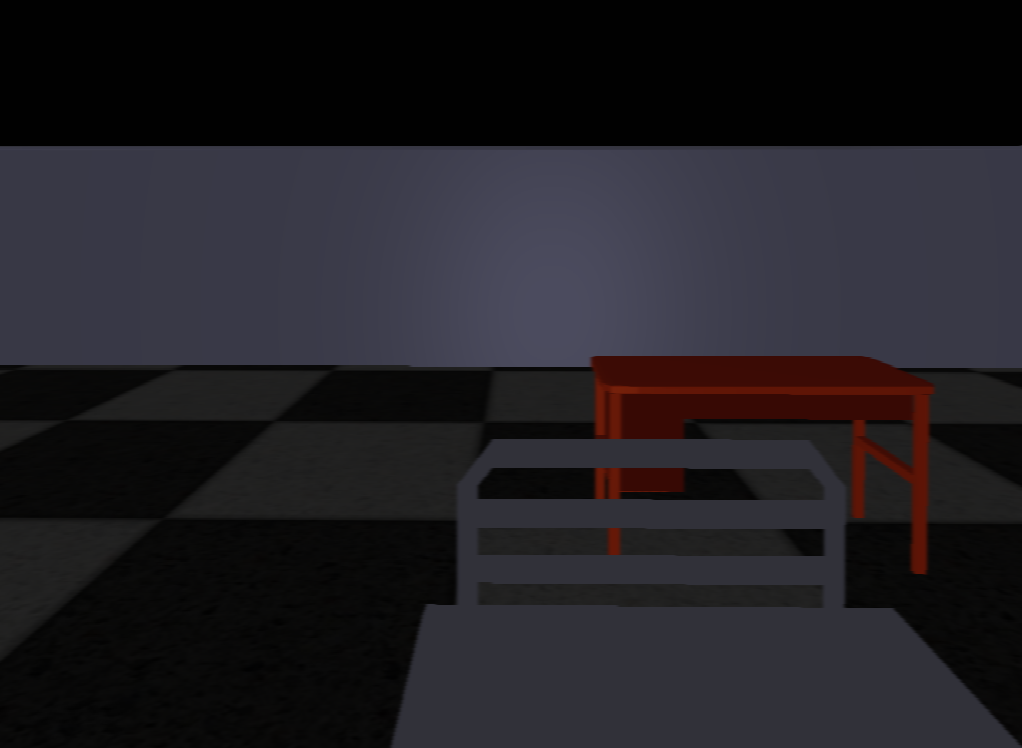
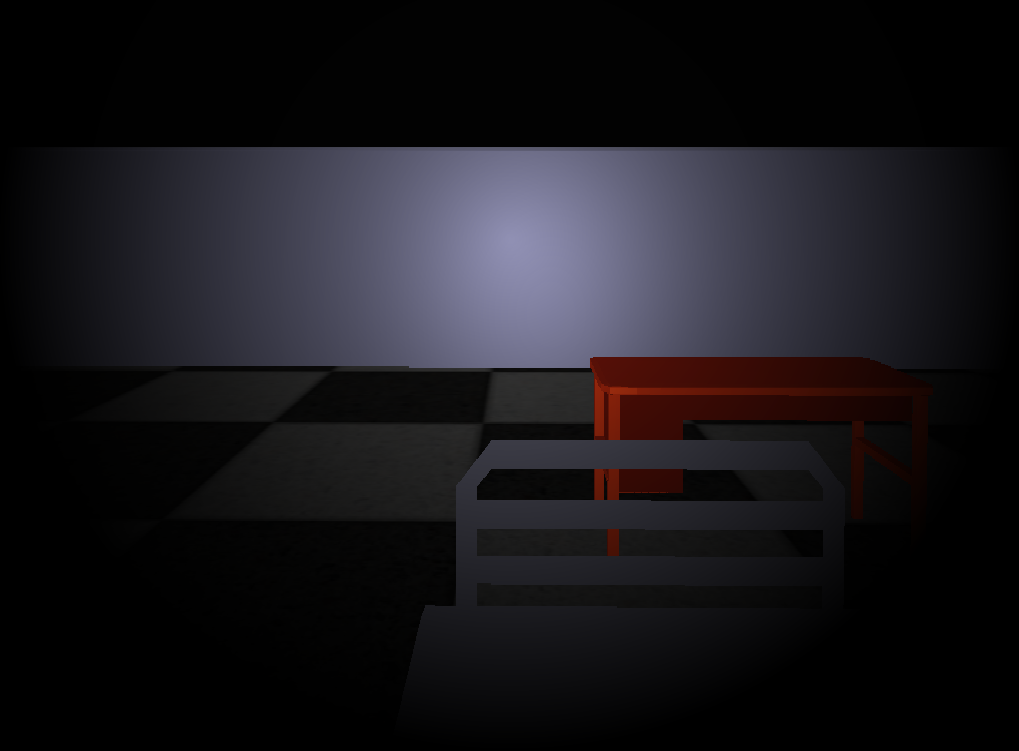
5) Vignette
6) Highlight Edges and Darken
7) Emboss
I employed two different frame buffering methods to apply these different types of effects: Modified ping-pong and kernel convolutions.
Modified Ping-Pong
For our joint lab with the parallel computing class we implemented a true ping-poing technique to apply a gaussian blur to a given image. Originally we use two frame buffers to pass the image back and forth to apply different levels of blur (horizontal and vertical). I modified it to use instead just one frame buffer, and it applies a motion blur by sampling itself using the center vector, so that the image is blurred more and more starting from the center.
Kernel Convolutions
To apply the highlight edges, darken, and emboss effects I used a technique called kernel convolution. Kernel convolution involves sampling color values from areas around a given pixel, and then combining them. A kernel is a matrix that displays a list of values surrounding a given pixel, so we can essentially add a small offset given a kernel. A lot of the kernel effects are doing work in the shader, which means it's much slower at rendering each frame, so the performance is noticeably slower.