Why a maze?
Well, I recently took up the hobby of drawing mazes when I am waiting for something to happen. Also, I really like solving mazes, especially the crazy 3D mazes.
Preparing to Make a Maze
This project is a maze that is generated from a simple ASCII file like the one seen to the right.
The character 'X' represents a wall in the maze, 'S' represents the start, 'f' represents the finish, and any other character represents an open corridor.
The file is read into 2 vectors, a 1D vector to create the maze and a 2D vector to do collision detection (more on that later). Due to the way the file is read in,
you could have a maze of any shape, be it a rectangle, circle, or bunny.
Making it Pretty
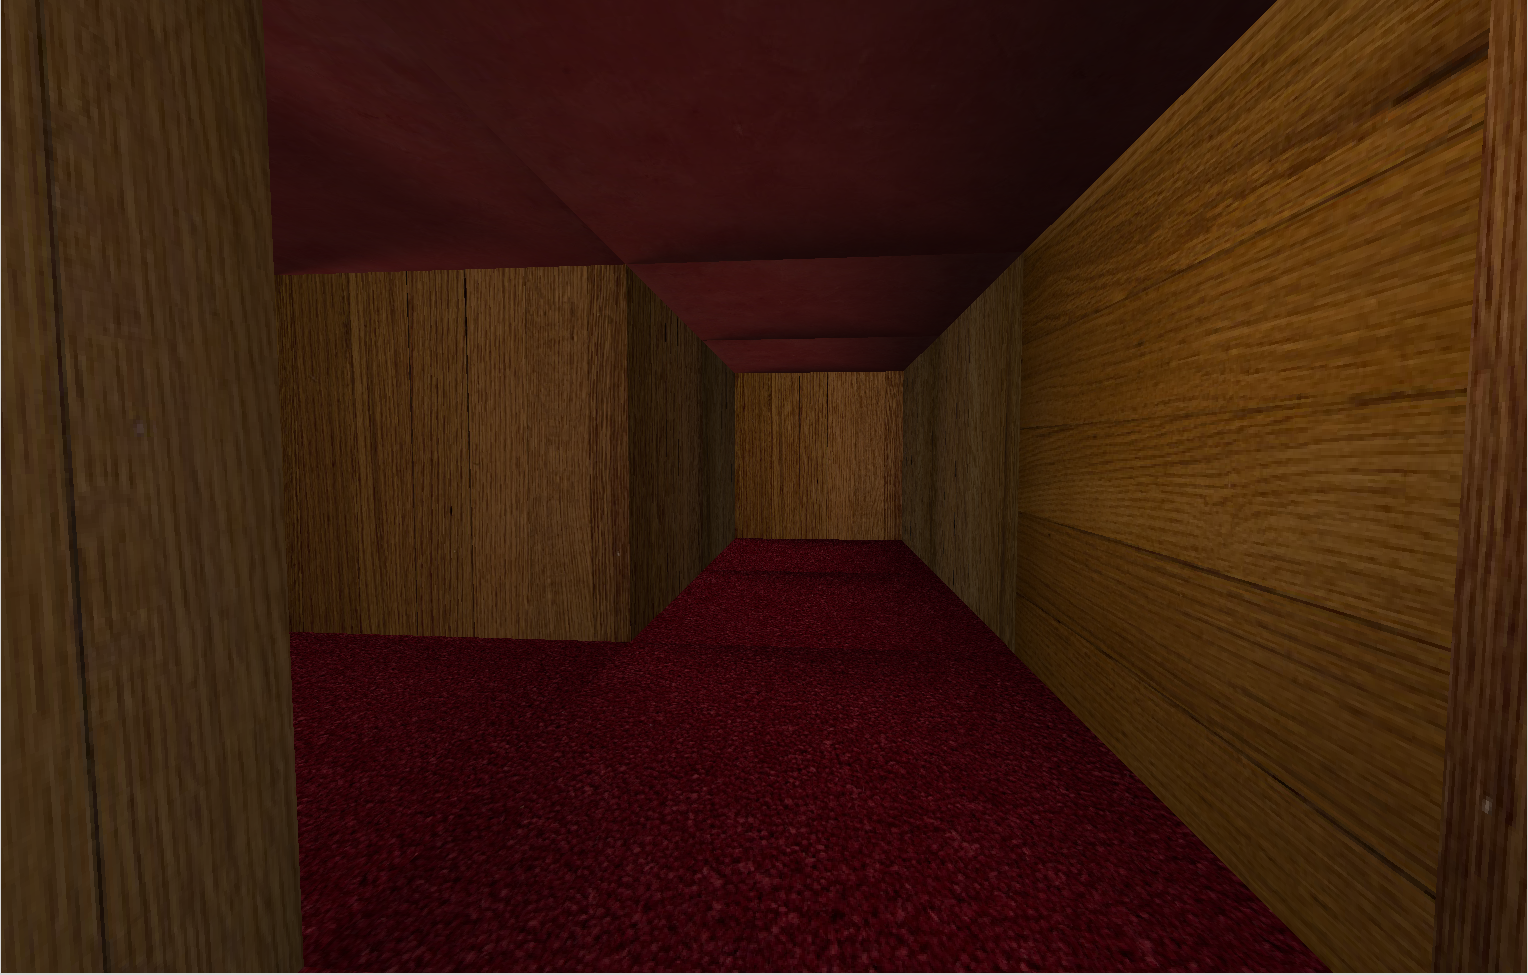
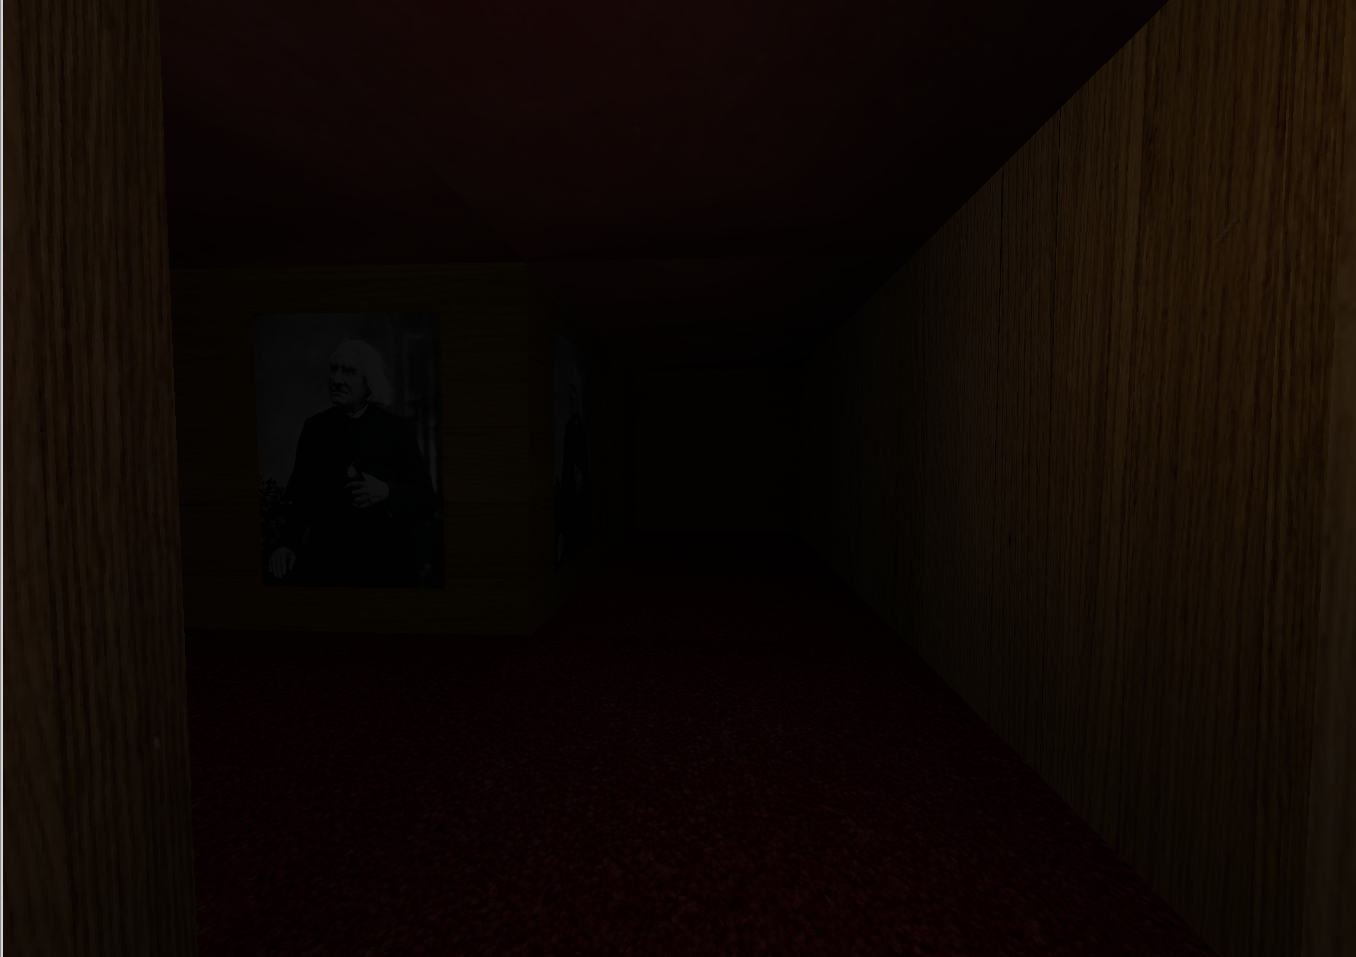
I knew that I wanted to give my maze a slightly creepy ambiance, but I had to decide on a setting. Eventually, I decided on a dark house with wood paneling for walls and a red floor and ceiling. In order to
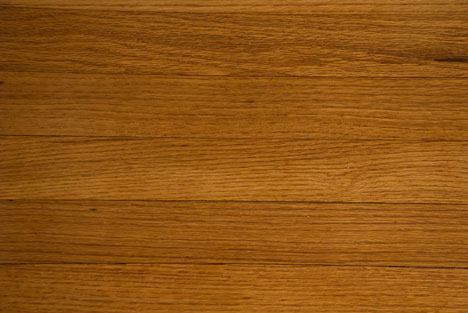
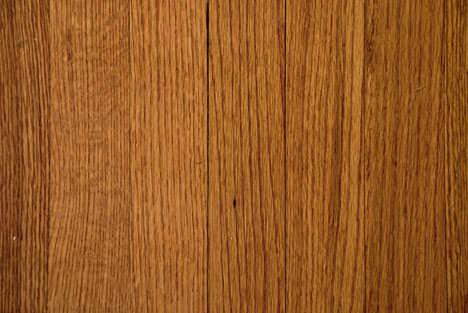
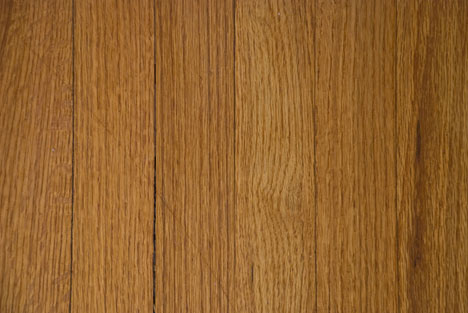
do the walls, I needed to include some textures. I initially had one wood texture, but having a single texture repeated all the way down a long hallway made me slightly nauseous. So, I found 3 textures
that were all slightly different.
Next I got textures for the ceiling and floor, red plaster and carpet respectively.
Now that I had these textures, I needed to put them in my maze. The ground and ceiling were easy, but the walls were slightly different. In order to avoid having to decide where each texture would be
placed, I just wrote a small function that would put a random texture on each wall.
That made for some nice variation in the walls, but it was very hard to find your way around without any landmarks. In order to solve this problem, I searched the web for some old
photographs that might add a little bit more ambiance as well as function as ways to keep track of where you are. After a bit, I found the Wikipedia article for the French
photographer Felix Nadar. His photographs exactly fit the kind of look I wanted and I loved the idea of
having Franz Liszt and Jules Verne grace the walls of my maze. I downloaded the ones that I liked the most and pasted them on top of my wood textures. I added the portraits to the list
of random textures but made them a bit more rare. There are 8 different portraits total. See if you can find all of them.
Lighting a Maze
Click on the image
for a larger view
for a larger view
The next step was to get the lighting set up properly. I placed the only light source almost at the same spot as the camera. This simulated having only only your natural (i.e. very poor) night vision.
At first, my maze was rather bright, but that didn't fit in with the ambiance that I wanted. After making everything much darker, I discovered that the walls at the end of long hallways were just as
bright as walls that were right next to the light. So, I implemented light attenuation.
Light attenuation means that the intensity of light decreases as it gets farther away from you. In this case, it meant that you couldn't see the end of the hallway anymore.
Mathematically, in the fragment shader, you find the distance between the light and position of the current pixel and divide the output color by that distance. You can change how far away your light reaches
by multiplying the distance by a fudge factor, with a larger number resulting in the darkness closing in on you. For a more interesting effect, I squared the distance, which gave me very bright light right
next to the light and caused the intensity to drop off very quickly.
Running into Things
Fun Fact: This is actually the name of my collision detection function
It wouldn't make much sense to have a maze where you could walk through the walls. Not only is it cheating, but you could actually get lost inside the walls if you entered at the wrong place. So, it was
rather important to implement collision detection. Remember the 2D vector I mentioned at the beginning? This is where I used it. My first attempts had very weird results: invisible walls in the
corridor while walking through the real walls, invisible walls in half of the corridor, one way walls, ect. It was quite a challenge. In my final solution, I made 3 functions. First, I made a function that
would figure out what square the user was currently in. Second, I wrote one to decide if the camera was about to move to another square and if so, in which direction. Finally, I wrote one that used
both of those to check if there was a wall in the square the user was trying to enter. All in all, it was an interesting bit of the project to create.
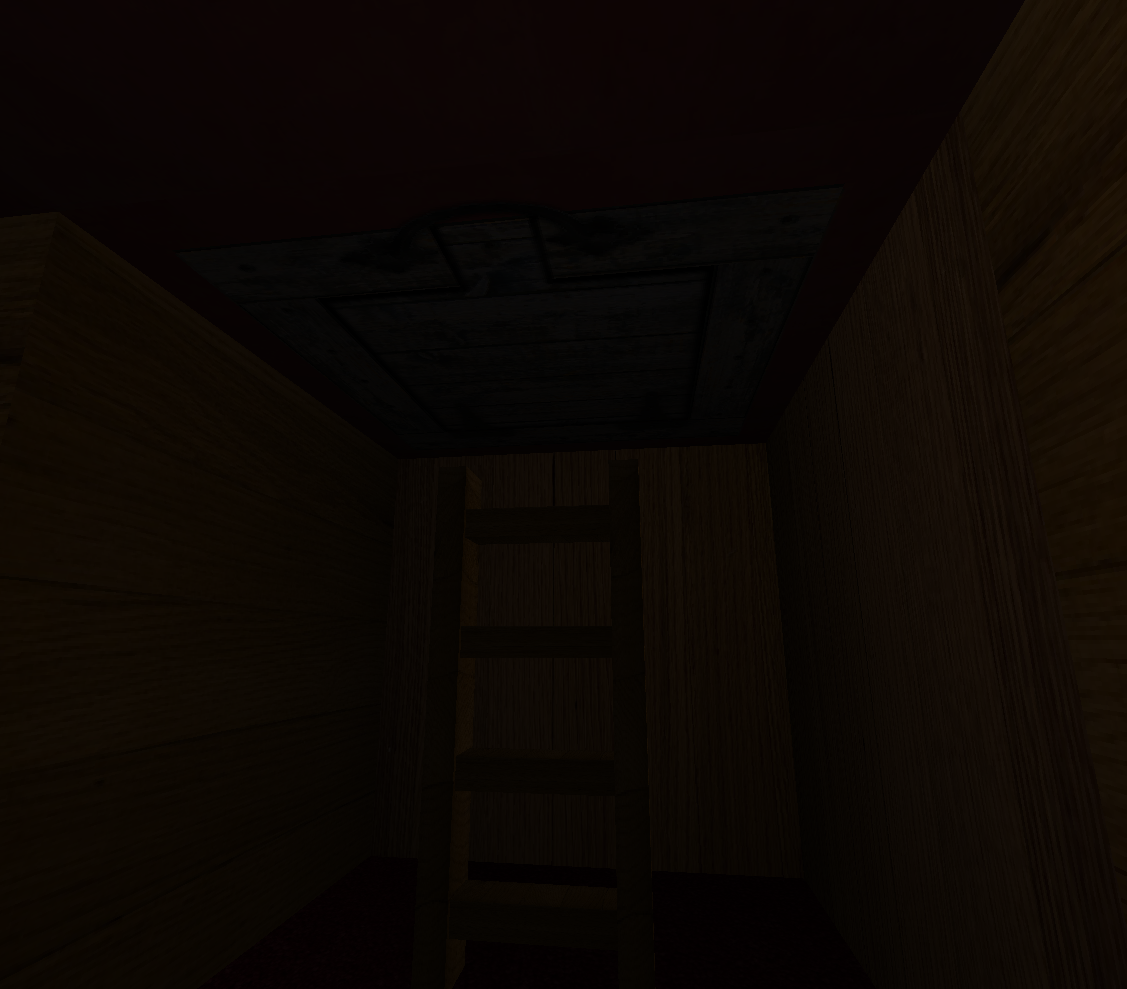
A Fine Finish
Click on the image
for a larger view
for a larger view
It would make sense that there should be an end to the maze. So, I made a textured and hierarchically modeled ladder, which led upto a (textured) trapdoor on the ceiling. The position of both the model
and the texture was tied to the position of the finish point as described in the original ascii file. When the user entered the square marked as finish, the game would exit and a
congratulatory message would appear in the terminal.
Summary of Awesome Graphics Technology Used
- Phong Shading
- Hierarchical Modeling
- Radomized Textures
- Collision Detection
- Light Attenuation
Controls
- WASD - Move forward, left, backwards, and right
- Left Click & drag - Rotate the camera
- z - Give up (quit the program)