| |
 |
|
| Raytracer Features |
The raytacer implemented for this final project in CPE 473 includes the following:
- Direct lighting with ambient, diffuse, and specular lighting
This calculation is done using the Phong model of light.
- Reflections and refractions with a recusion depth of 6
Reflection rays are generated using the direction of the incoming ray and the normal of the surface that was struck:
Vector reflected_ray = d - n * (2 * d.dot(n));
Refraction rays are generated using the same vectors, as well as applying snell's law.
d.normalize();
float N;
if(inside)
N = s->ior;
else
N = 1.0f / s->ior;
float cos2T = -n.dot(d);
float sinT2 = N * N * (1.0f - cos2T * cos2T);
if(sinT2 > 1.0f)
{//total internal reflection
return Vector();
}
float cosT = sqrt(1.0f - sinT2);
return d * N + n * (N * cos2T - cosT);
Soft shadows require using area lights. This is done by accumulating the light from multiple point lights and dividing the result by the number of point lights used. In my implementation, I used a volume light (for more resolution) centered around the original point light location. I did this with a 3-level nested for loop that changed each dimention of the light's location by a small value and rendered the direct lighting for each iterated point light. This is very computation intensive and adds at least 4^3 times as many shadow calculations.
This is where translucent objects cast a lighter shadow than opaque objects. However, an opaqe object and a translucent object might both be in the way of the light. In these cases, the smaller alpha (0 for opaque objects) takes priority in the shading.
- Quick intersections of complex scenes using both CUDA and Oct Trees
This quarter we teamed up with the parallel processing class to parallelize our raytracer. We used the CUDA environment, where masses of intersections can be ported to the graphics card to do hundreds of thousands of calculations at a time. In our CUDA implementation, we had the multiple threads in the graphics card each do intersections for one pixel, since the number of pixels will almost always beat the number of objects to intersect with.
In addition, we implemented an Oct Tree, which is a spatial subdivision method of dividing space into recursive volumes of 8 parts, 2 by 2 by 2. This improved our times dramatically.
- Texture mapping for spheres, meshes, triangles, and boxes
Texture mapping for spheres is very simple. Once an intersection is made, the object space point of intersection is used to create spherical coordinates relative to the center of the circle (in object space). These parameters are transformed into values between 1 and 0 for each x and y dimension pixels of an imported image for mapping.
For meshes, it is nearly the same. A *.m mesh is imported and the center of the mesh is calculated from the triangles. Each triangle is tagged as part of this union, given the center of the mesh, and connected with a texture. Then spherical coordinates as above are used with the center for the triangle being the center of its union mesh.
Triangle texture mapping uses barycentric coordinates. This is slightly complicated, but simply but, barycentric coordinates tells us how far we are from each corner of the triangle. These parameters are transformed into image coordinates (again 0 to 1) in both dimensions. In the POVray file, the image coordinates and be parameterized in a custom fashion (e.g. instead of including the whole image 0 to 1, include the middle half, 0.25 to 0.75).
Boxes are mapped exactly like spheres.
Complexity
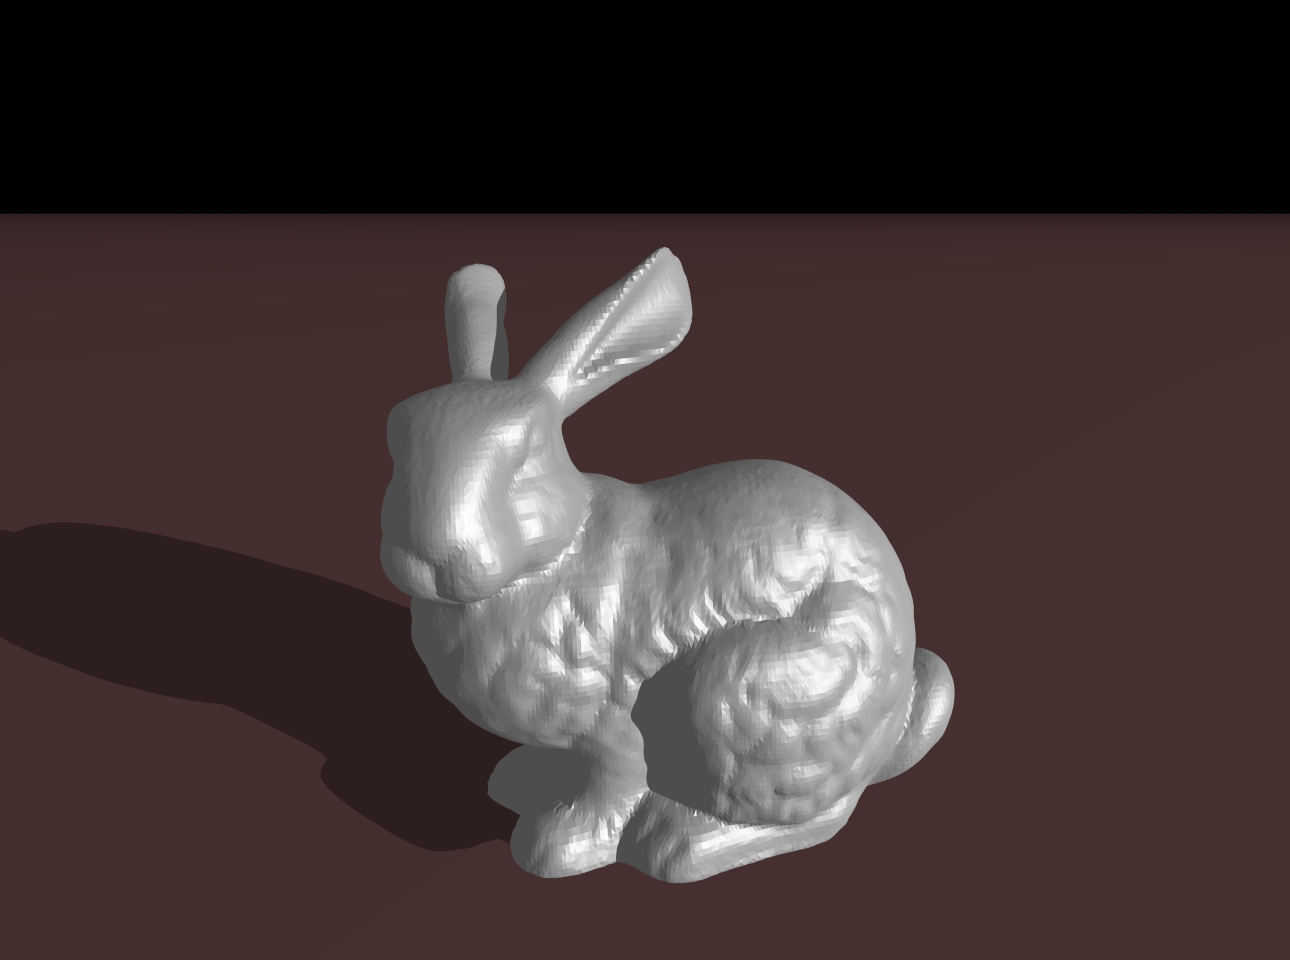
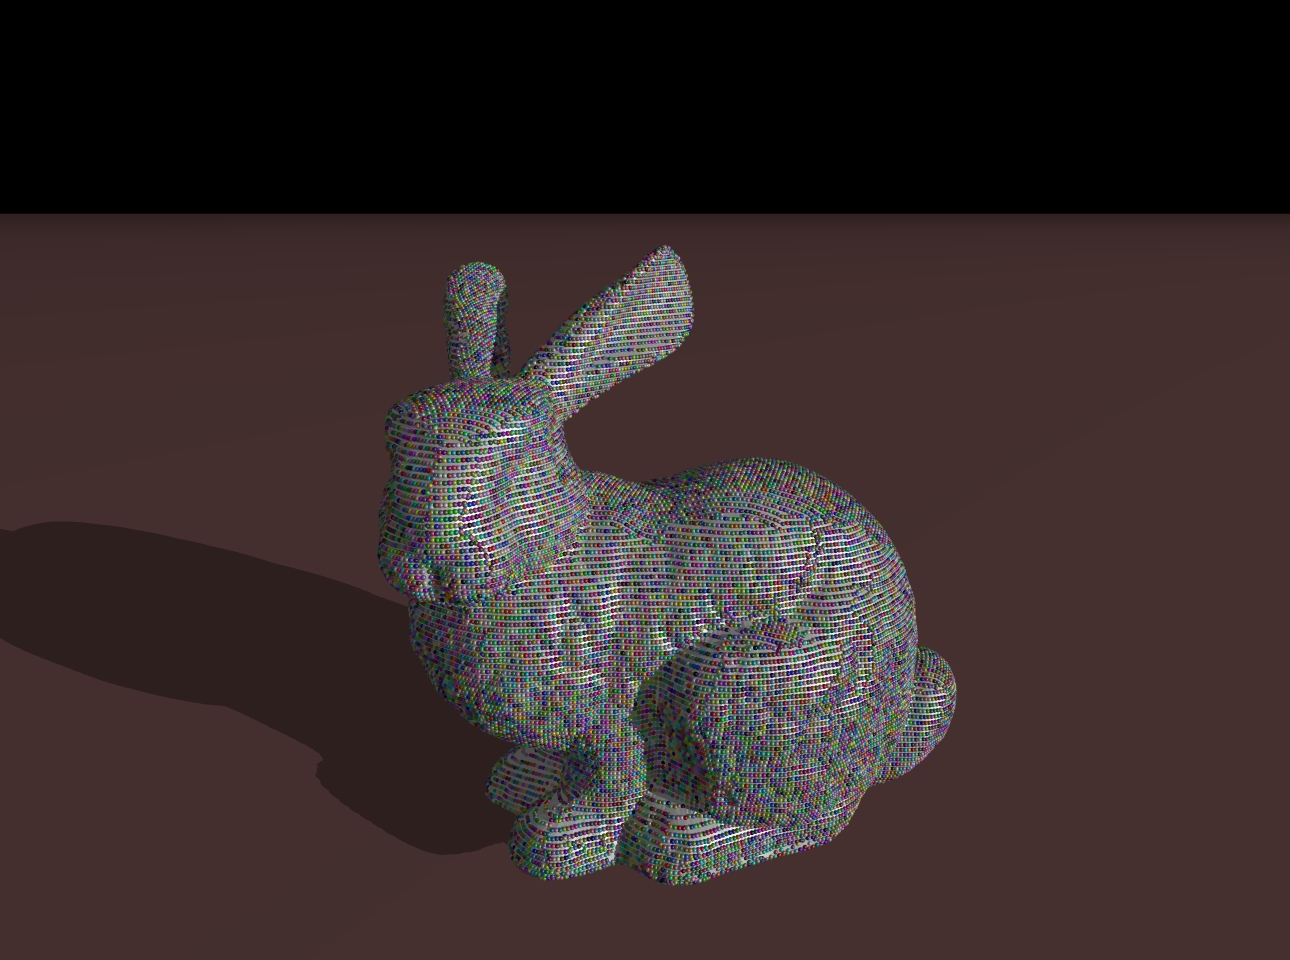
(note - all of the bunny images shown are anti aliased 4 x) 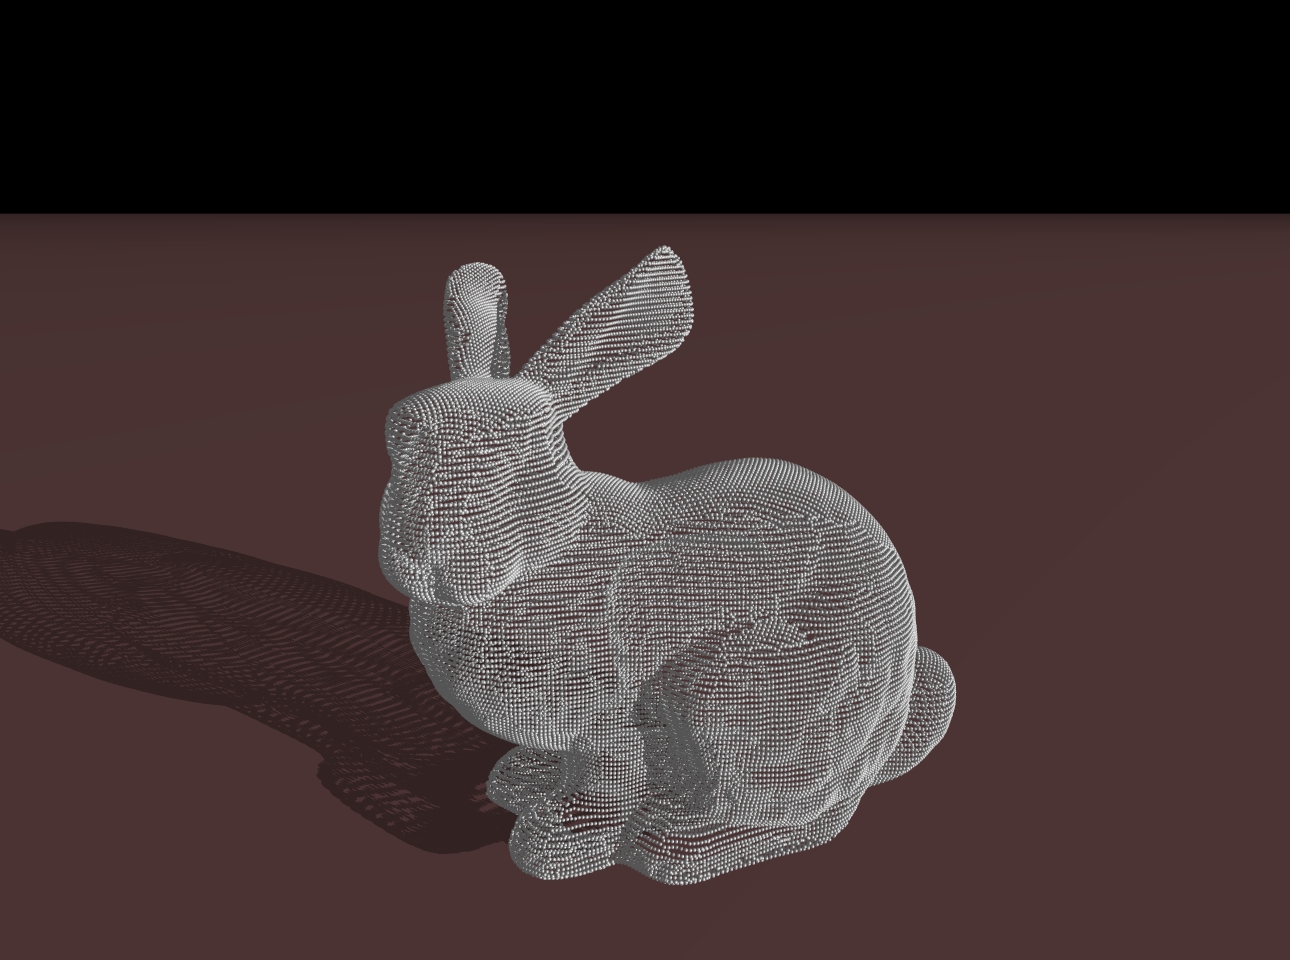
bunny_jumbo.pov with Hard Shadows, No Anti Aliasing, 640 x 480
GPU: 1.26 sec
CPU: 21 min 56 sec

bunny_jumbo.pov with Soft Shadows, 4x Anti Aliasing, 1290 x 960
GPU: 14 min 35 sec
CPU: Don't even want to try.
bunny_jumbo_tris.pov with Hard Shadows, No Anti Aliasing, 640 x 480
GPU: 1.307 sec
CPU: 17 min 24 sec
bunny_jumbo_tris.pov with Hard Shadows, 2x Anti Aliasing, 640 x 480
GPU: 2.269 sec
CPU: 73 min 1 sec

bunny_jumbo_tris.pov with Soft Shadows, 4 x Anti Aliasing, 1290 x 960
GPU: 13 min 14 sec
CPU: Don't even want to try.
bunny_tasty.pov with Hard Shadows, no Anti Aliasing, 640 x 480
GPU: 1.667 sec
CPU: 24 min 18 sec |
| |
|
Reflection, Refraction, and Texture Mapping
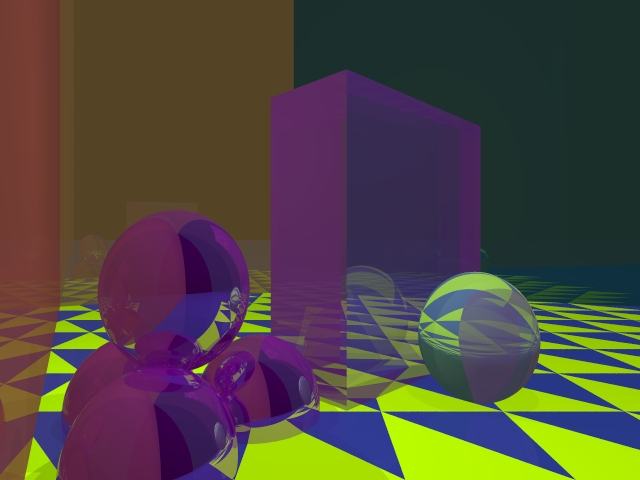
This is recurses.pov, provided by Zoë. This is 4 x anti aliasing and in CUDA with hard shadows, 640 x 480.
This took 3 min 58 sec.
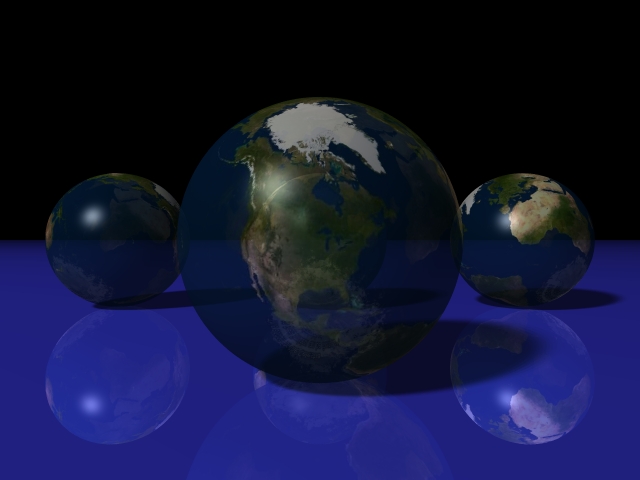
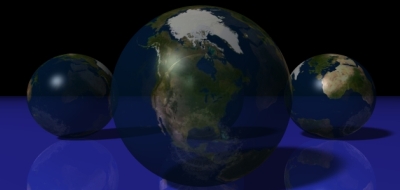
Transparent globes with specular. the plane below is reflective. Notice the soft shadows. This is 640 x 480, 2 times anti aliasing on the CPU.
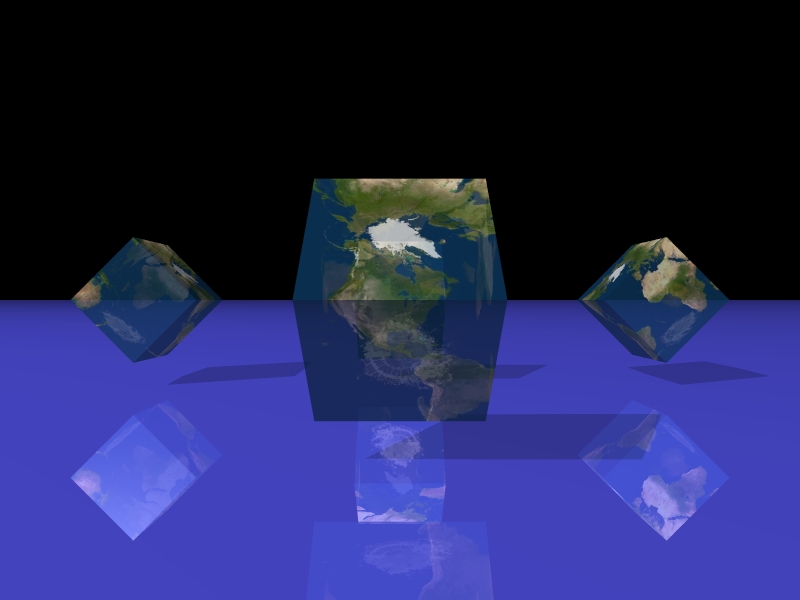
This was just a test to see if boxes would texture map correctly... they did, and I really like this, so here it is.
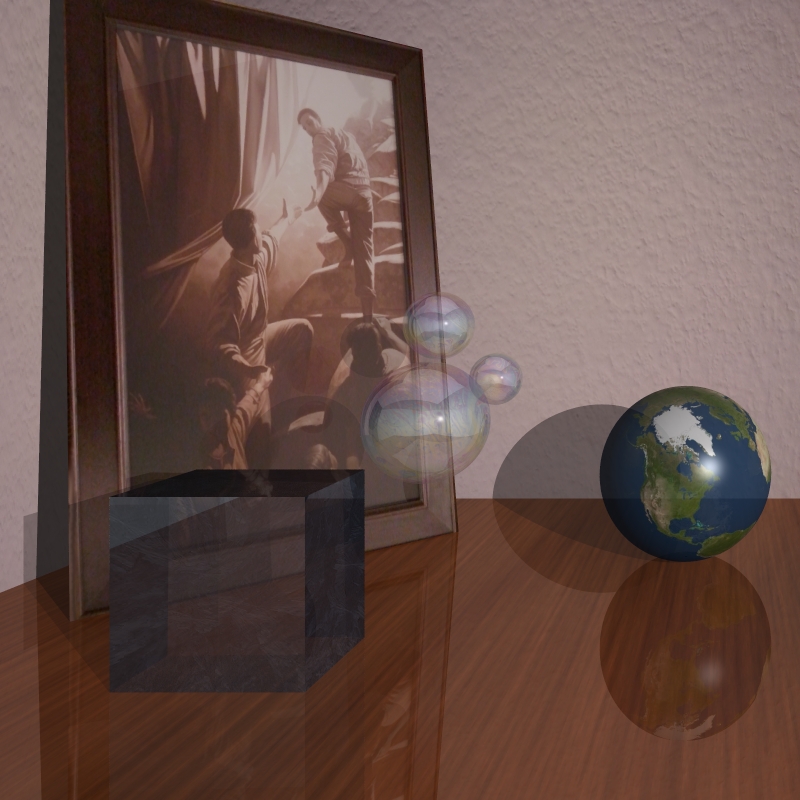
This was a first step to the scene I had in mind. The picture is one of personal value to me. The bubbles are using a multi-colored oil wash as a texture. Using reflection and refraction, thy look quite real. This is 800 x 800, 4x anti aliasing.
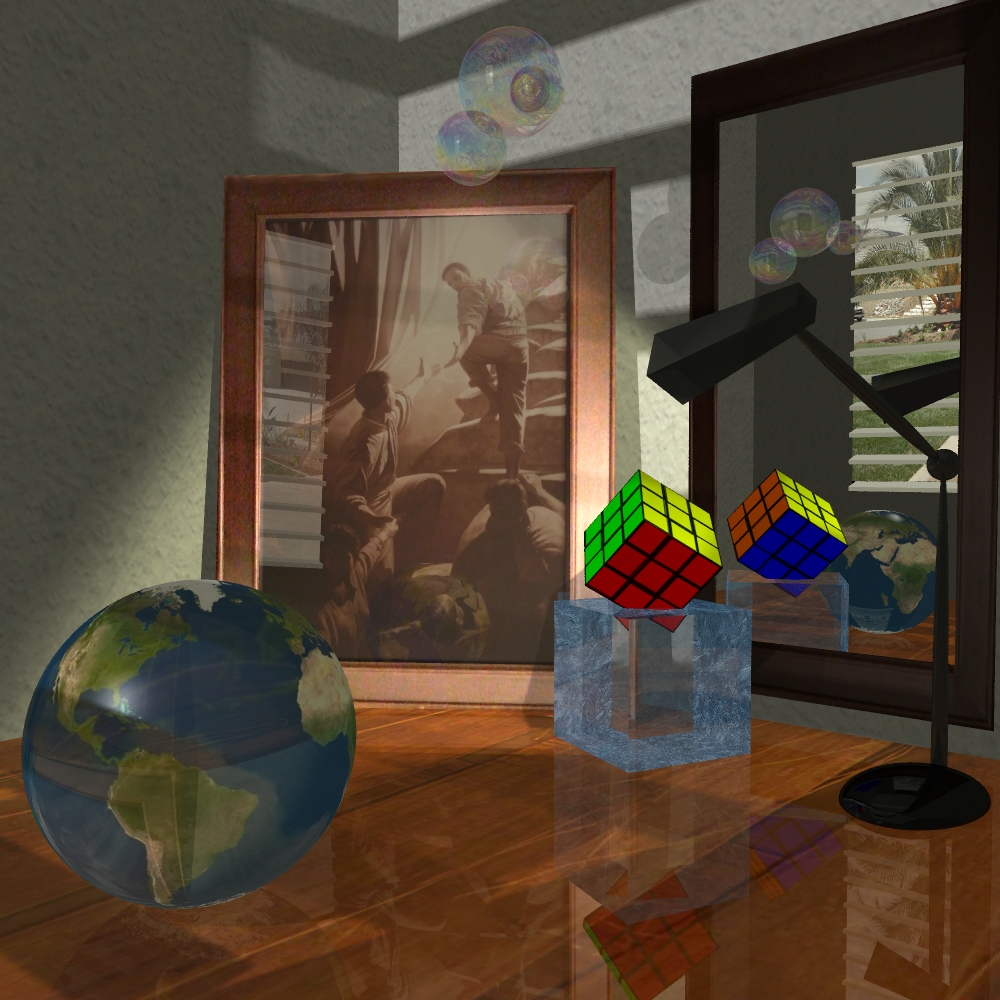
This was the final product of the 'desk' scene. There are a lot of features. The glass refractive globe. The realistic, shined, wooden table. The plastic refractive ice cube stand for the rubiks cube. The mirror reflects the window you can't see, with a scene outside. The lamp that produces more light for the picture. The reflections of the bubbles, globe, and window in the picture. The lighter shadows of the bubbles on the wall. The soft lighting of the sun through the blinds, and the shadow of the blinds moving across the globe, walls, and picture. This is my masterpiece!
This was rendered on the CPU. It is 2x anti aliased, soft shadows, 1000 x 1000. It took 5 hours, 45 minutes, and 11 seconds.

This is the exact scene above rendered on the GPU. It is 4 x anti aliased, 1000 x 1000, soft shadows, and took about 4 minutes, 30 seconds. There are some subtle differences. The lamp, for some reason, is not tranformed or even reflecting correctly. The ambience of the whole scene is slightly brighter. The refraction in the blue cube is slightly different, and the rubiks cube has some shine on it in the mirror. I didn't have time to figure out where these subtle bugs were coming from, but I was happy to be able to render this much so well and so quickly.
More of Everything!
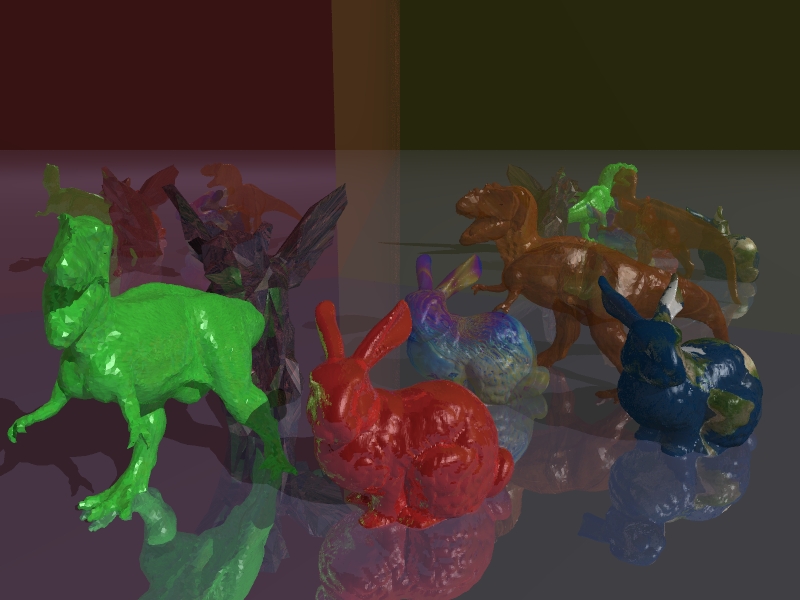
This is where things start getting fun. Thanks to mesh files, I can easily get complicated geometry rendered. Thanks to CUDA, I can render them really fast! Here I have the tyra_20k.m, bunny.orig.m, and gargoyle500.m. Each has its own texture, color, and finish. Notice the world textured bunny, the reflection of green on the red bunny, and the reflections in the background. This was rendered as a 800 x 600 2x anti aliased, hard shadows, and in CUDA in eactly 3 minutes.
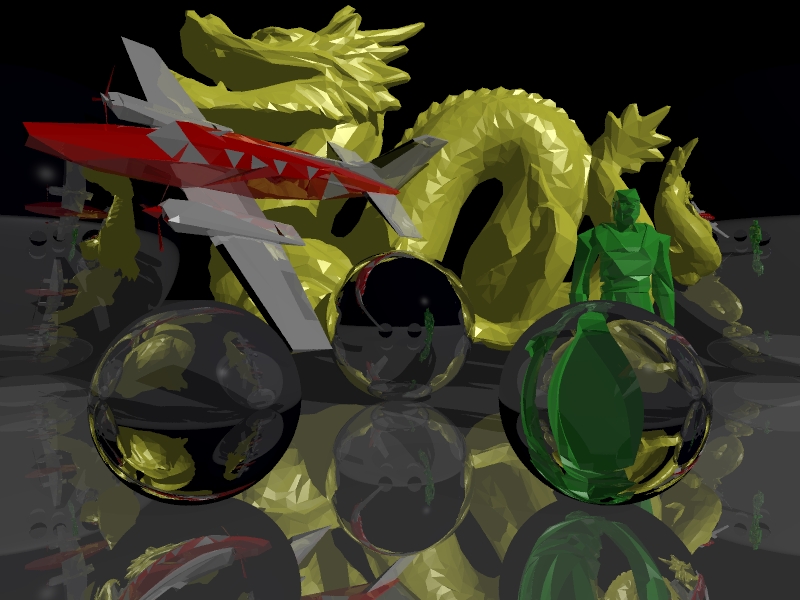
More meshes, reflections, and refractions!
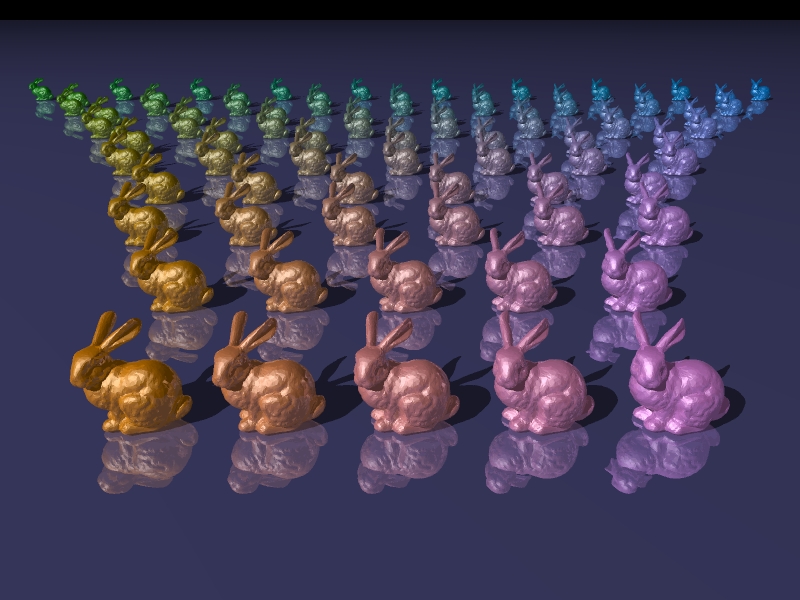
Lots of pretty bunnies! |
|
|