Mesh simplification via Progressive Meshes and Quadric Error Metrics
Robert Kwon
California Polytechnic State University, San Luis Obispo
CSC 570
Winter 2007
Introduction
Overview:
Detailed geometric models are pretty commonplace in computer graphics. However, these high resolution meshes challenge rendering performance, transmission bandwidth, and storage capacities. Progressive meshes allow for a high resolution geometric model to be simplified to different level of detail (LOD) views. Progressive mesh detail records keep track of the edge collapse information, so that you can break down a mesh and then do the reverse (vertex splits) and build the mesh back to the original high resolution.
Goal:
The purpose of this project is to be able simplify a high resolution mesh into a lower resolution mesh using progressive meshes and applying quadric error metrics. There will be a list of detail records that maintains all the edge collapses, so that a simplified mesh can be built back up into the high resolution mesh. Applying QEM means that a geometric error approximation is maintained at each vertex of the current model. The approximate error is represented using quadric matrices. Using QEM, allows the simplification to be efficient and of higher quality. I have the ability to turn off the use of quadric error metrics and you will see in the comparison of the low-res screenshots of each model, that using QEM provides more accurate simplifications. However, the use of shortest edge as an edge collapse metric is not all that inaccurate as you will see in the results.
Progressive Mesh Application
Features:
- Load mesh in *.ply formats
- Switch between flat and smooth shading
- Collapse edges via an edge collapse
- Build back up to higher res. mesh via vertex split
User commands:
| Command | Function |
|---|---|
| 's' | Edge collapse |
| 'S' | Vertex split |
| 'd' | Collapse 5% of the edges |
| 'D' | Build 5% of the edges |
| 'f' | Toggle between flat and smooth shading |
| 'c' | Change to non-QEM simplification method |
The model can be rotated around by left-clicking the mouse on the model and then rotating the mouse around while holding the mouse button down.
Running the program:
Download the executable to a local directory on your computer along with some
of the .ply files. From the command prompt, go to the directory that contains
the executable and type
MeshSimplification.exe "ply file name"
Screenshot Results
 |
 |
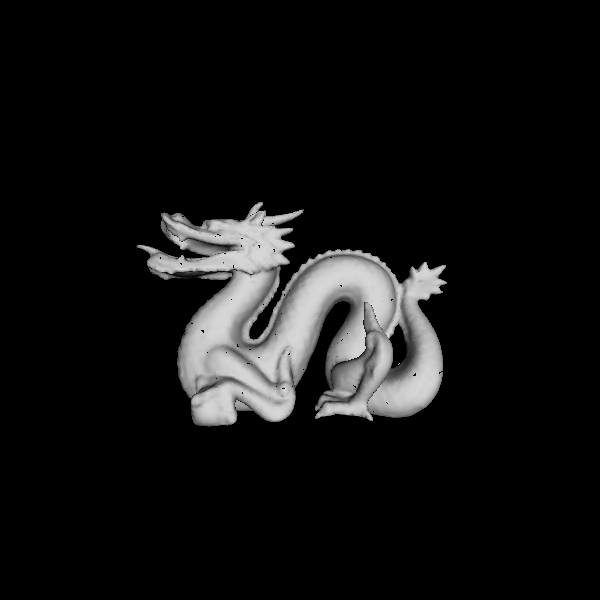
Left: Dragon @ 47,794 triangles (Smooth shading)
Right: Dragon @ 47,794 triangles (Flat shading)
 |
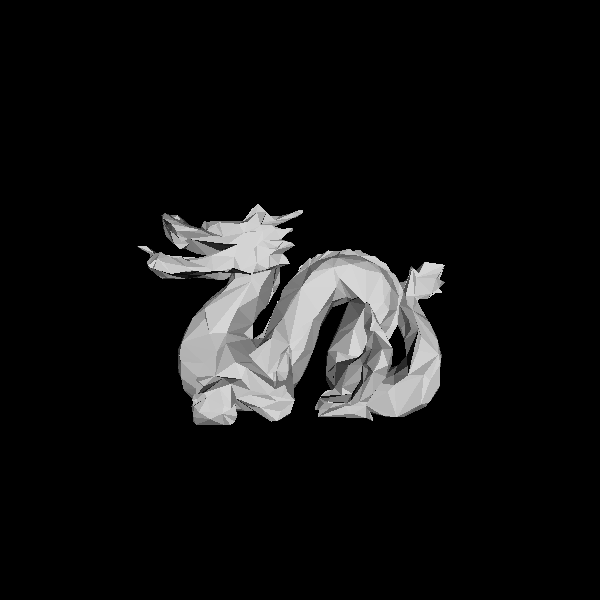
Dragon @ 21,312 triangles
 |
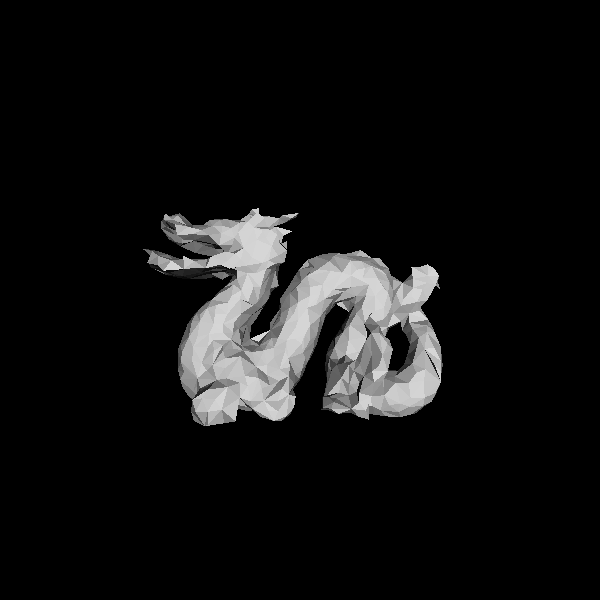 |
Left: Dragon @ 2,358 triangles (QEM applied)
Right: Dragon @ 2,358 triangles (Shortest edge collapsed)
 |
 |
Left: Buddha @ 67,240 triangles (Smooth shading)
Right: Buddha @ 67,240 triangles (Flat shading)
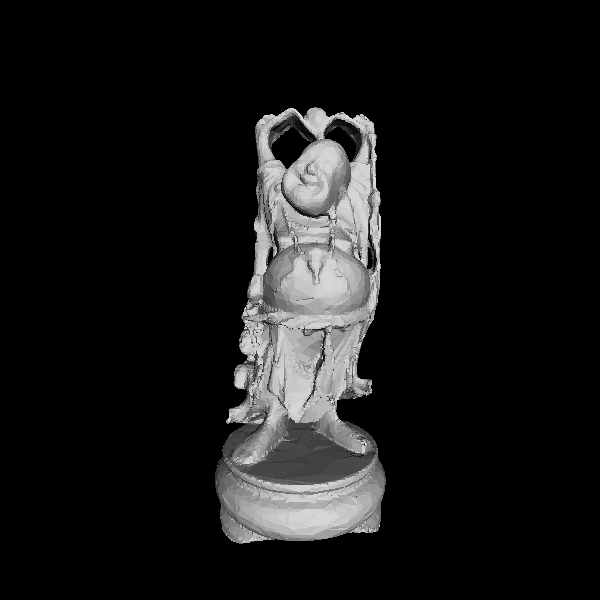 |
Buddha @ 30,258 triangles
 |
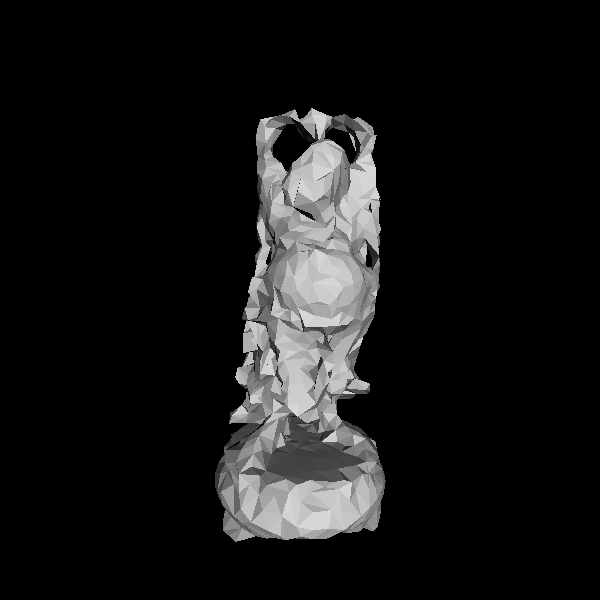 |
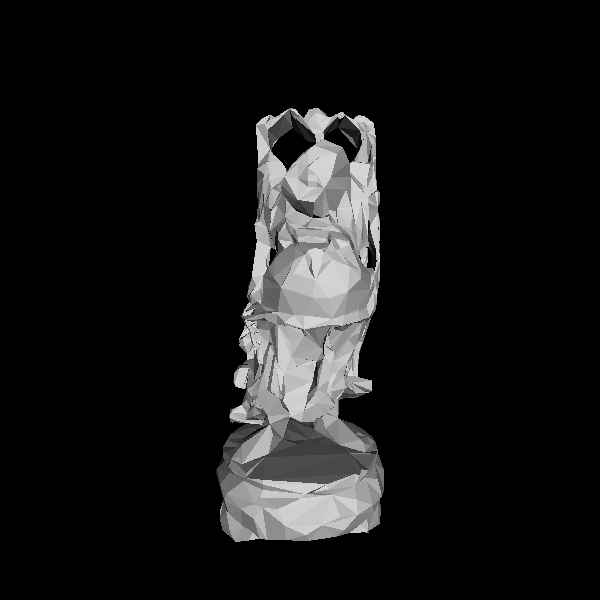
Left: Buddha @ 3,418 triangles (QEM applied)
Right: Buddha @ 3,418 triangles (Shortest edge collapsed)
 |
 |
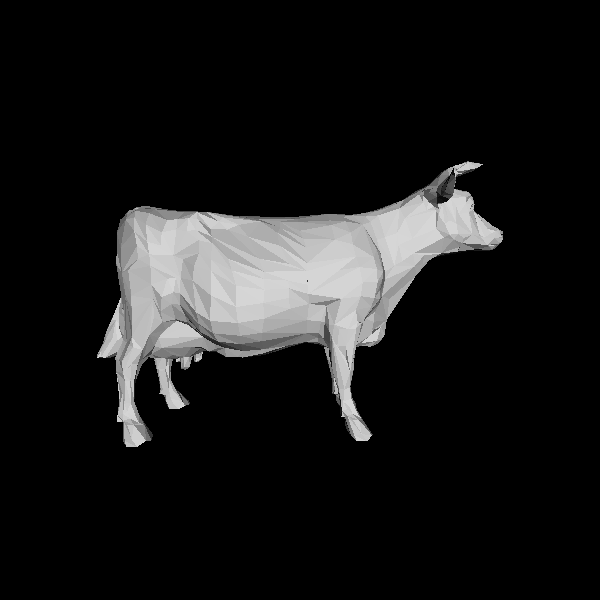
Left: Cow @ 5,804 triangles (Smooth shading)
Right: Cow @ 5,804 triangles (Flat shading)
 |
Cow @ 2,636 triangles
 |
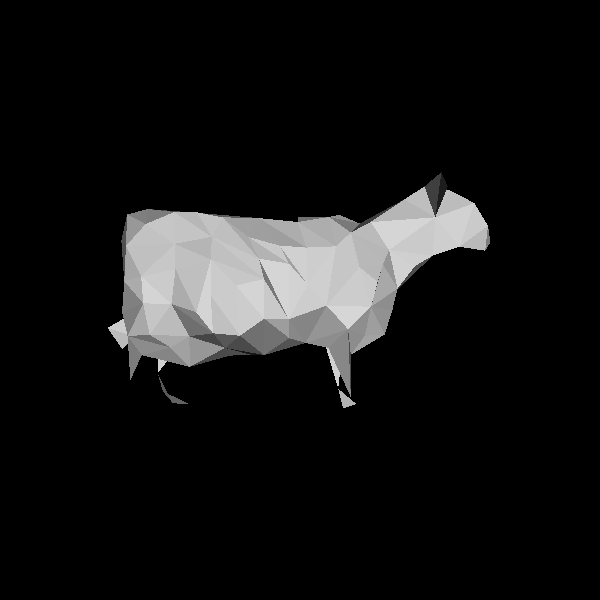 |
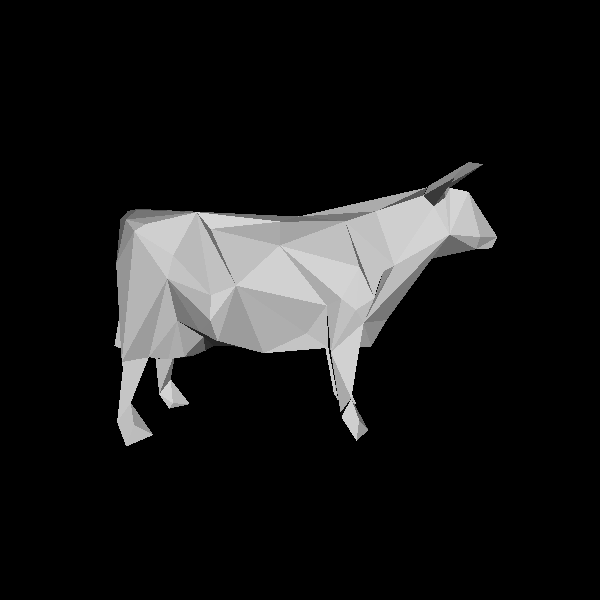
Left: Cow @ 328 triangles (QEM applied)
Right: Cow @ 328 triangles (Shortest edge collapsed)
Results comments:
From the results, you can see that the dragon simplification looks pretty similar between the QEM simplification and the non-qem simplification. However, you can see slight differences between the dragon models and the cow models. The buddha has some differences in the meshes drawn on the face and sides. The shortest edge collapse method doesn't provide as clean and accurate of a simplified model. The cow has some stark differences seen in the area of the legs and mid-section area of the body.
Downloads
Executable:
Ply files:
Future work:
- Speed up the loading and simplification of really large meshes
- Create a better interface for the application i.e. MFC GUI, more controls, etc.
- Work on a view-dependent progressive mesh algorithm that doesn't simplify the mesh in all areas uniformly
- Work on a feature that will let you compress a mesh representation, so that passing that mesh through the network will be efficient i.e. Streaming Compression of Triangle Meshes
- Add a feature that will let you write a simplified mesh representation to a file
- Allow for smooth geo-morphing of the progressive mesh
References
- Progressive Meshes. Hughes Hoppe, SIGGRAPH 1996.
- Garland, M. and Heckbert, P. S. 1997. Surface simplification using quadric error metrics. In Proceedings of the 24th Annual Conference on Computer Graphics and interactive Techniques International Conference on Computer Graphics and Interactive Techniques. ACM Press/Addison-Wesley Publishing Co., New York, NY, 209-216.