Photon Mapping - 570 Final Project
Paul Armer - parmer
After reading Jensen's paper on Photon Mapping, I decided that for my final project I wanted to make awesome scenes that involved color bleeding and caustics.
Overview
This method of photon mapping involves a 2 pass system. The first pass involves shooting photons, and the second pass is ray tracing the scene to render the image. The photons will be stored in 2 different kd-trees: one for the general photons, and a second tree for the concentrated photons that are shot at objects that will create caustics.
The first pass is the shooting of photons at a scene and we record them at every bounce (if the surface has some diffuse reflection). The photon bounces in a random direction if the surface is diffuse, along the reflection vector if the surface is specular, and refracts if the surface is translucient.
The second pass is mostly a simple ray tracing of the scene. The color of each pixel may be determined by just the sampling of photons, or weighing in the color that the ray tracing would produce as well. In the paper, Jensen recommends using the color from the ray tracing since it produces a smoother image.
Discussion
A kd-tree was used to store the photons. The kd-tree was used because it provides a simple way to organize points in the scene. It is just a 3 dimensional binary tree, where each node's children are above or below them on a given axis.
I was not able to implement refraction properly, hence why there are no caustics. There was some weird bug where it would either loop infinitely inside of a sphere or when it refracted through it would never return a color. After a few sleepless nights I decided to render some nice images and focus on the website.
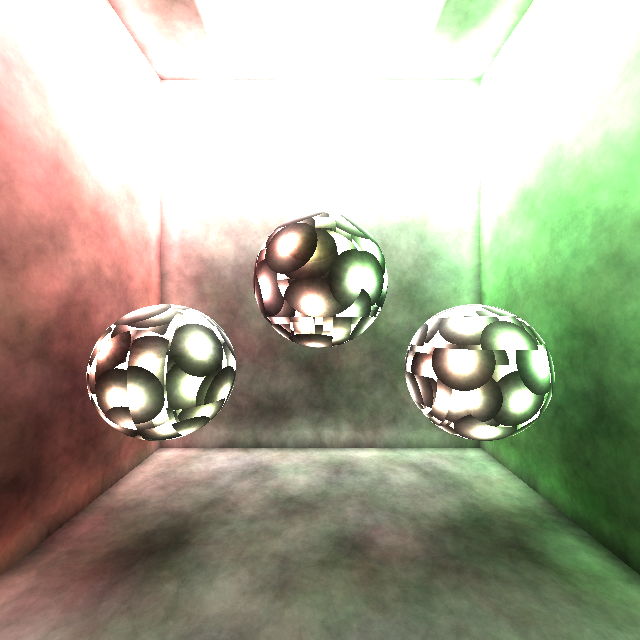
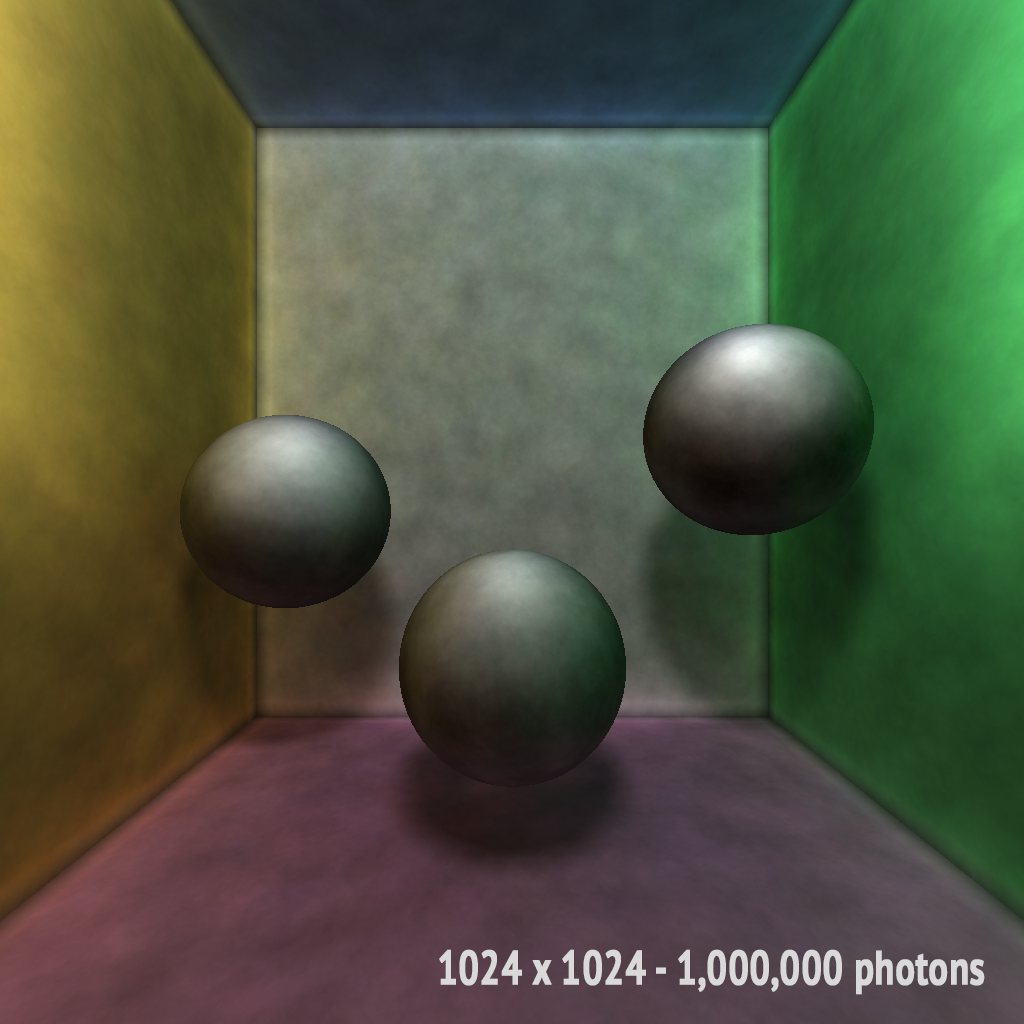
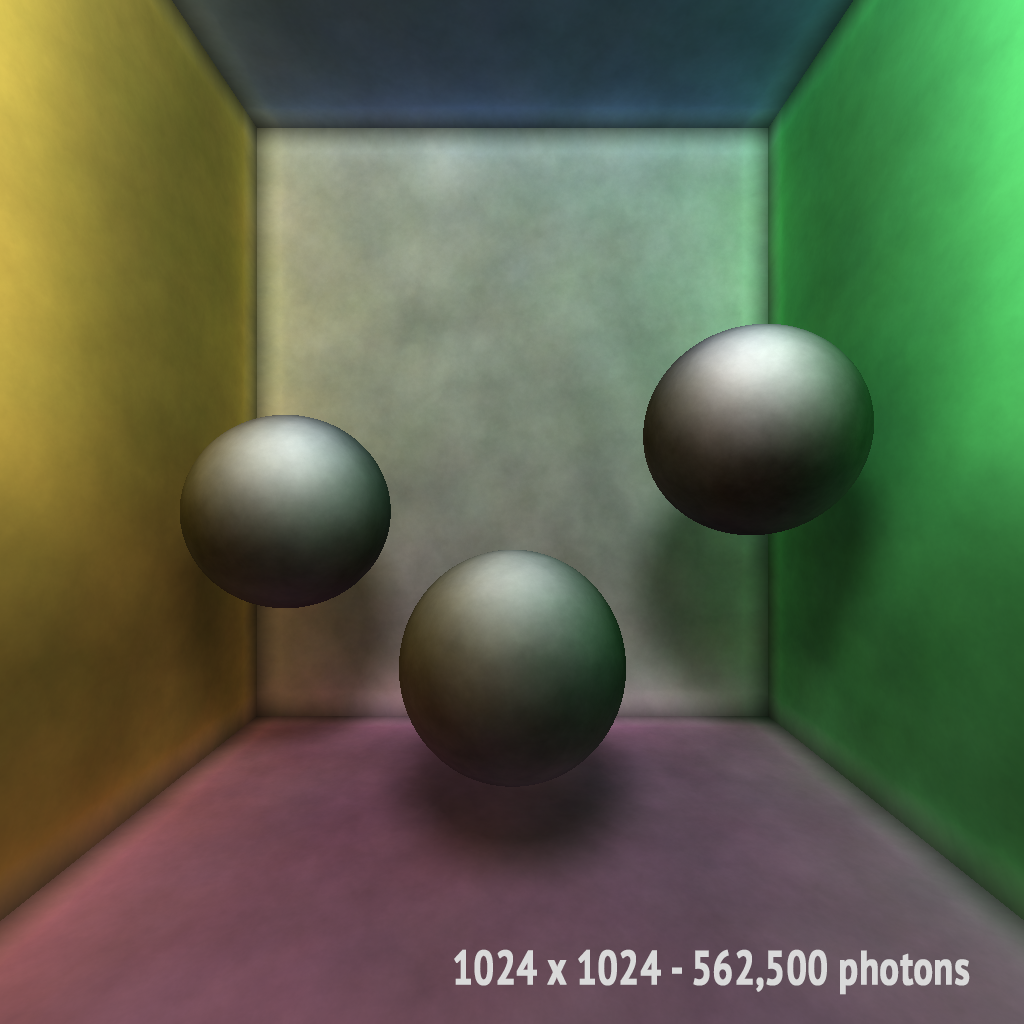
Another interesting facet about the photon mapper, is that sometimes with more photons, especially in this small box, it ends up creating more noise and doesn't look as good as a lower amount of photons. One way to combat this is to increase the search radius of the second pass (the spread that the system will look to gather photons). While this approach tends to make things blurry if objects are close to each other, it helps smooth out some of the color bleeding, which is somewhat desired.
Another technique that was described in the paper was combining ray tracing with the photon mapping to get a smoother look, however I actually like the textured look that the photons give the scene so I played around with the balance of the photons rather than adding in color from the ray tracing.
Specs
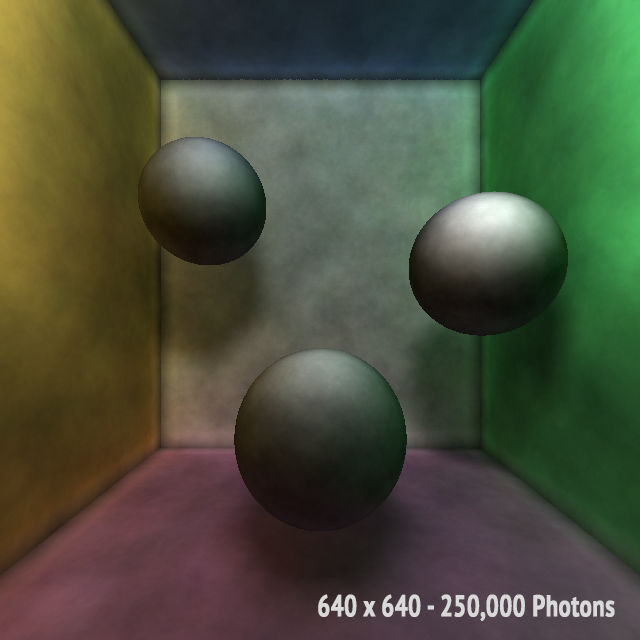
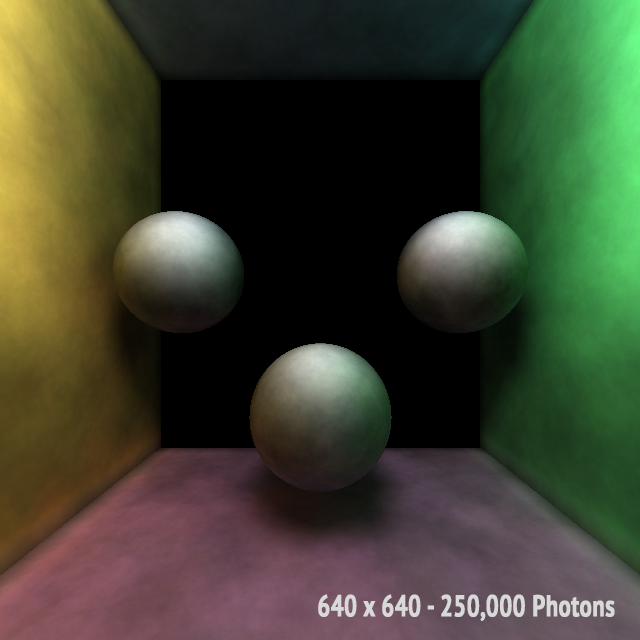
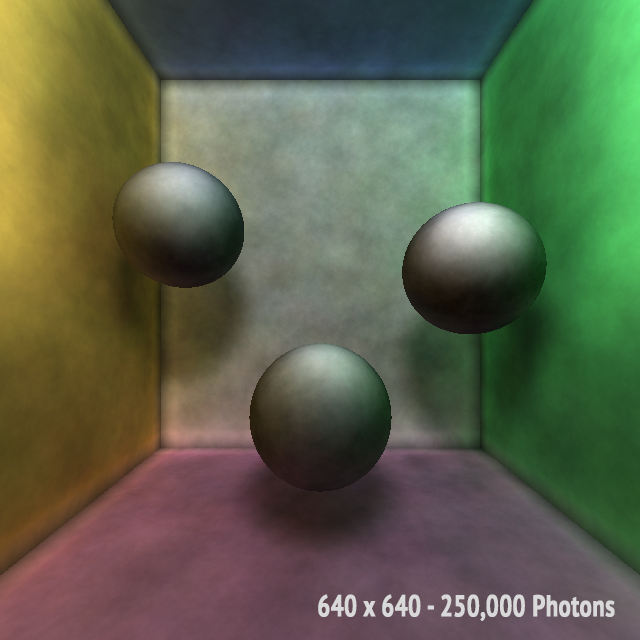
- 250,000 photons
- 640 x 640
- Search Radius of 5.
- 1,000,000 photons
- 1024 x 1024
- Search Radius of 3.
- 562,500 photons
- 1024 x 1024
- Search Radius of 6.
Renders
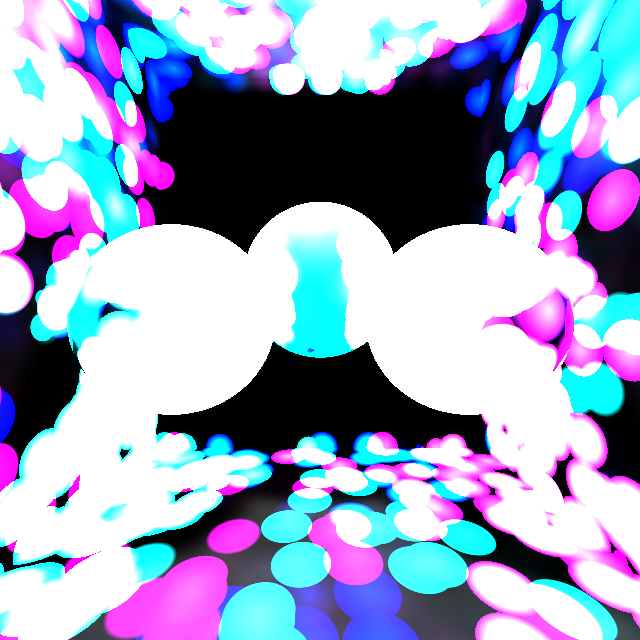
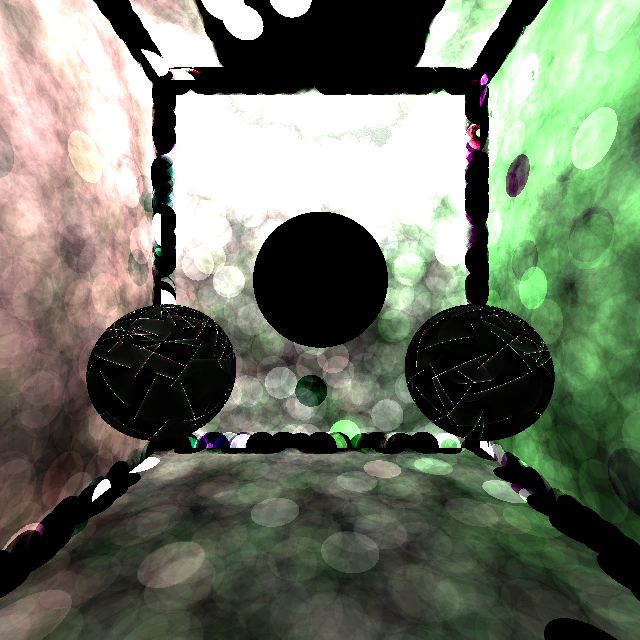
Screw-Ups
Sometimes you got to own your mistakes, and maybe even admire them