Blend Shape Based Facial Animation DemoAndrew Acosta
Introduction
Background
How it Works
Models
Controls
Conclusion
Introduction
For my final project in CPE 572 during Spring Quarter 2015, I choose to implement a way to take a few models of emotions and create any combination of them an artist would want. This was done by using Blend Shapes and blending the emotions, as well as allowing the user to modify parts they find unsatisfactory.
The final product of the program can be seen in the video below:
BackgroundFacial Expressions
Facial expressions are crucial for creating a good human character in a video game. Humans gather a lot of information about each other from faces. (If you want proof, ask a poker player or magician about their poker face.) Thus, if a video game character could change their face to show their mood, it would add a lot of depth to them. For example, the game L.A. Noir is known for it's use of motion captured faces, allowing the player to be able to try and figure out if a person is lying or not telling the whole truth.
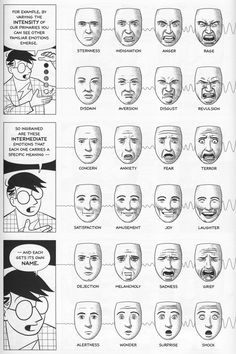
Unfortunately, this creates the problem of having to create facial expressions to capture all possible moods for a character. Thankfully, this can be approximated by making 6 faces for the "primary" emotions, and blending them together to create many more. This can be seen in the pictures below:
The "primary" emotions
The Ranges of the "primary" emotions
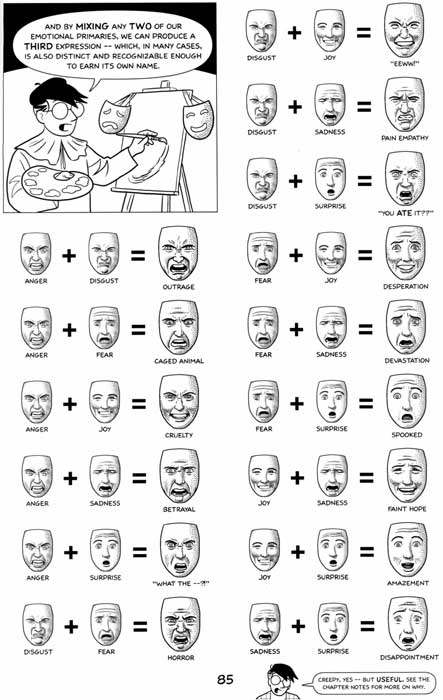
Table from combining 2 "primary" emotions
These pictures are taken out of the book Making Comics: Storytelling Secrets Of Comics, Manga, and Graphics Novels , by Scott McCloud. These pictures were the inspiration for undergoing this project, and I highly recommend this book for anyone interested in story telling in any way.
With this knowledge, a system can be implemented to blend these emotions for each character in a way that is fast, simple, and lightweight. But how do we do that? That leads us to Blend Shapes.
What is a Blend Shape?
A blend shape is a way of deforming geometry to create a specific look for your mesh. A contains multiple "deformed" versions of a mesh and blends them together with a neutral version of the mesh. This allows for the mesh to take on a variety of appearances without needing to create many models. This technique can also be used with animations, such as in this Nvidia demo where they had a fairy change between multiple faces, including: happy, sad, angry, and ear wiggle.
Blend Shapes are commonly used for facial expressions due to the complexity of a facial expression.
To recap: we would like to be able to create more realistic character by giving emotion to their faces. We can create a wide variety of emotions by simply mixing together six "primary" emotions depicted in the pictures above. To blend these faces, we can implement blend shapes. This will also allow for the face to be animated, switching between these basic expressions, as well as more situational expressions like ear wiggling.
The blending of the deformations and neutral face is done by linearly interpolating between each vertex. Each deformation has a weight which affects how much it deforms the vertex. The deformations on each vertex are added together so that multiple deformations can happen at once.
The linear interpolation is done to the normal and uv coordinates of the vertex, as well as it's position.
Deformation Map
A deformation map holds the largest deformation for each vertex across all of the deformations. To clarify, across all of the deformations in the blend shape, it stores the largest deformation for the vertex.
In this implementation, the deformation map is a collection data structures holding the vertex index, the largest for that vertex deformation, and absolute power of the magnitude of that deformation. The vertex index is important, as the deformation map is later sorted by deformation magnitude.
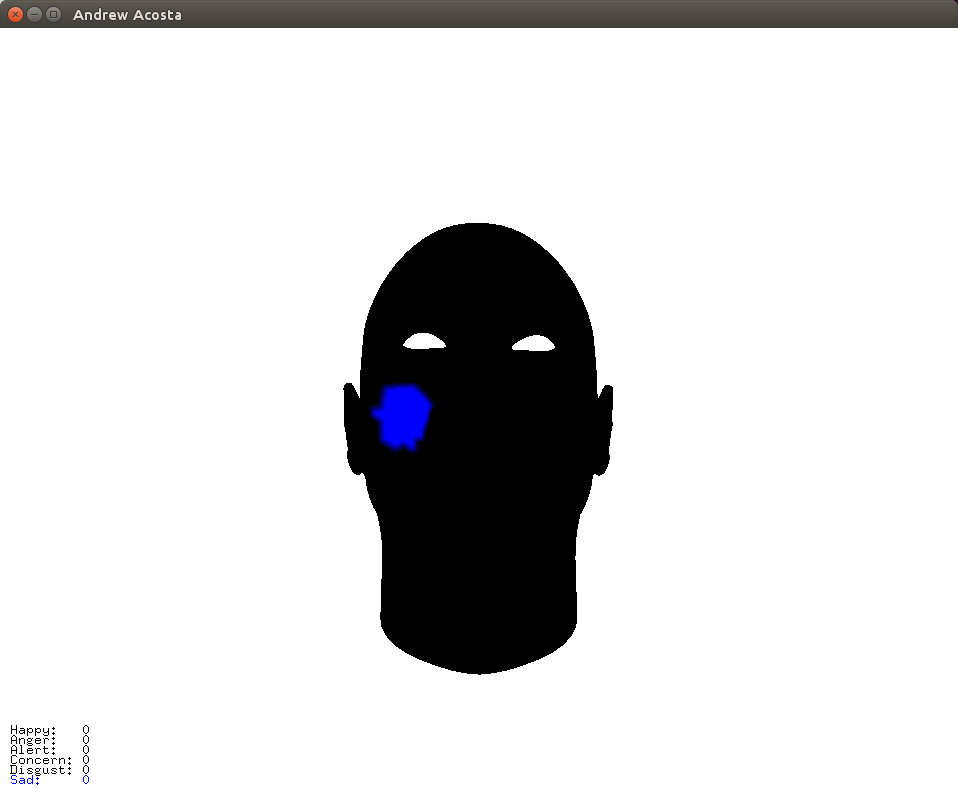
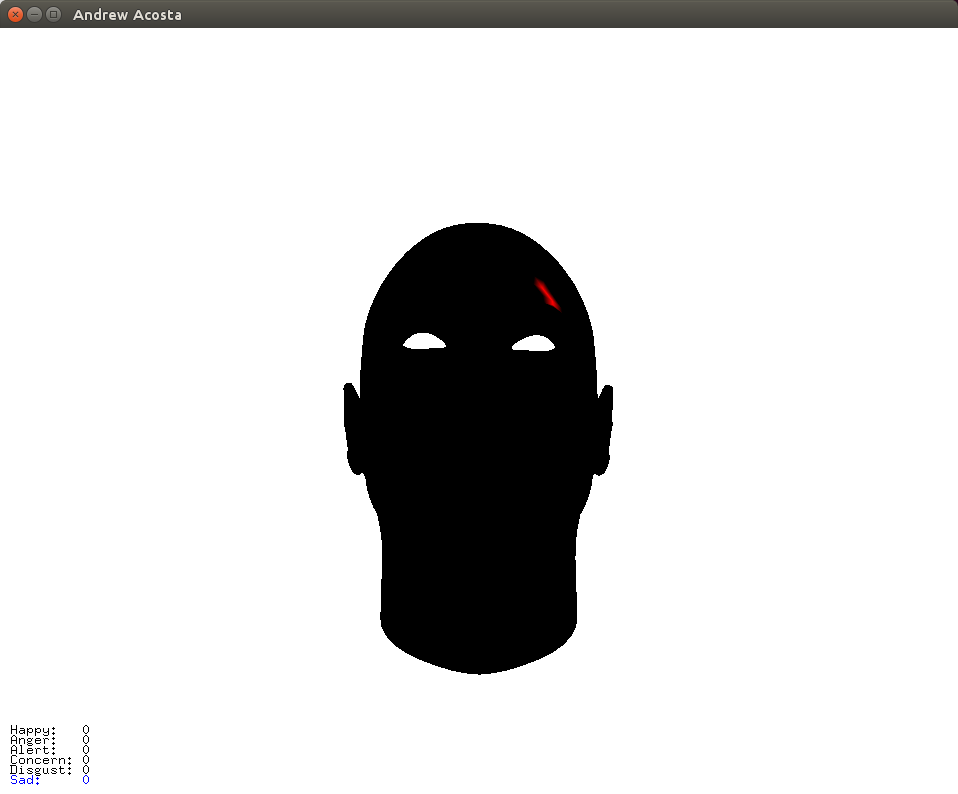
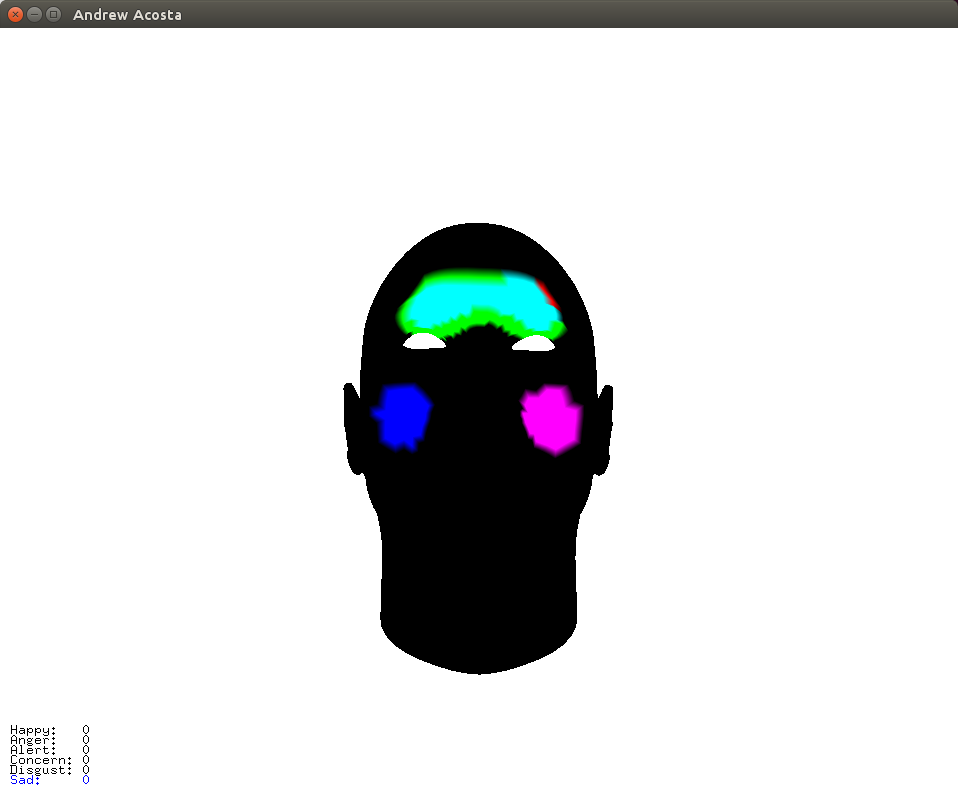
Segmenting
To segment the blend shape, the program creates a deformation map. This map is similar to the map in the paper, except it ignores things the paper uses for motion capture. This is because I am not using motion capture data.
It then sorts the deformation map, putting the largest deformations in front.
With the sorted map, it starts at the largest deformation, and attempts to make a group around that vertex. This group will be one of the segments. The group is formed by going through each connected vertex and checking if their largest deformation is at least 75% as large as the main vertex's largest deformation. If it is, then it is added to the group, and it's connected vertices's are checked. This is a recursive function that goes until it can't find an adjacent vertex to put in the group. This whole thing is done up to 5 times, forming at most 5 groups. Vertices's cannot be part of 2 groups at once.
This 75% cap can be changed, however it is currently hard coded as 75%. By decreasing this value, it allows for larger segments. This can be useful for deforming the face based off the segments.
You can deform the face based off the segments. See below in the controls for more information.
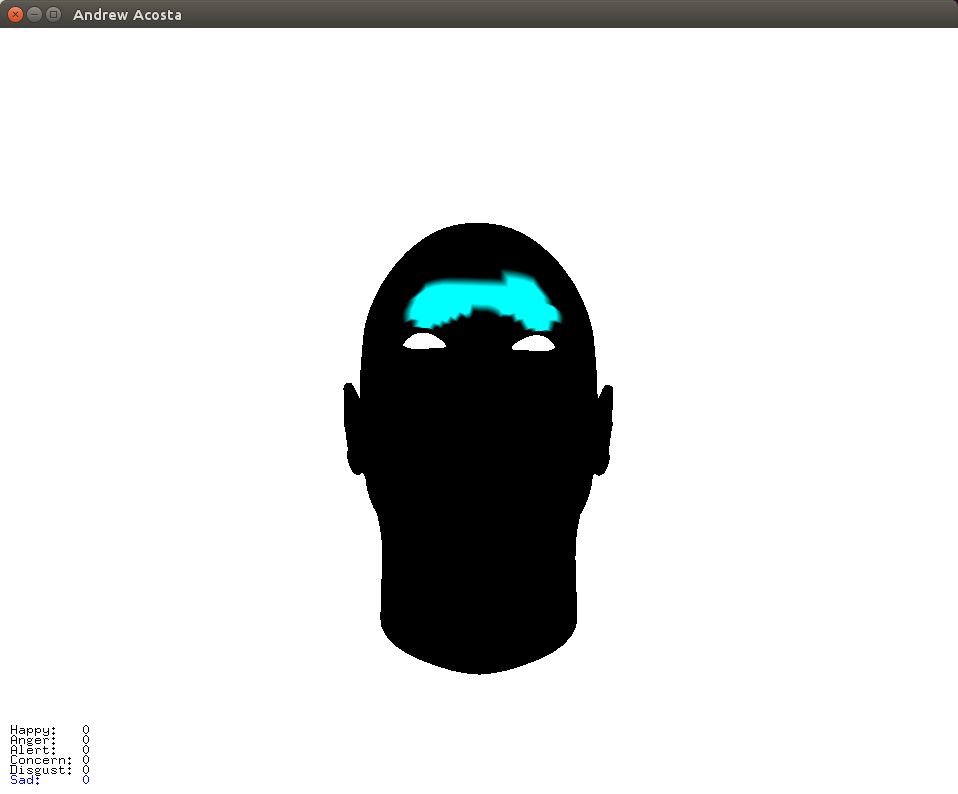
The First Segment, Colored in Teal
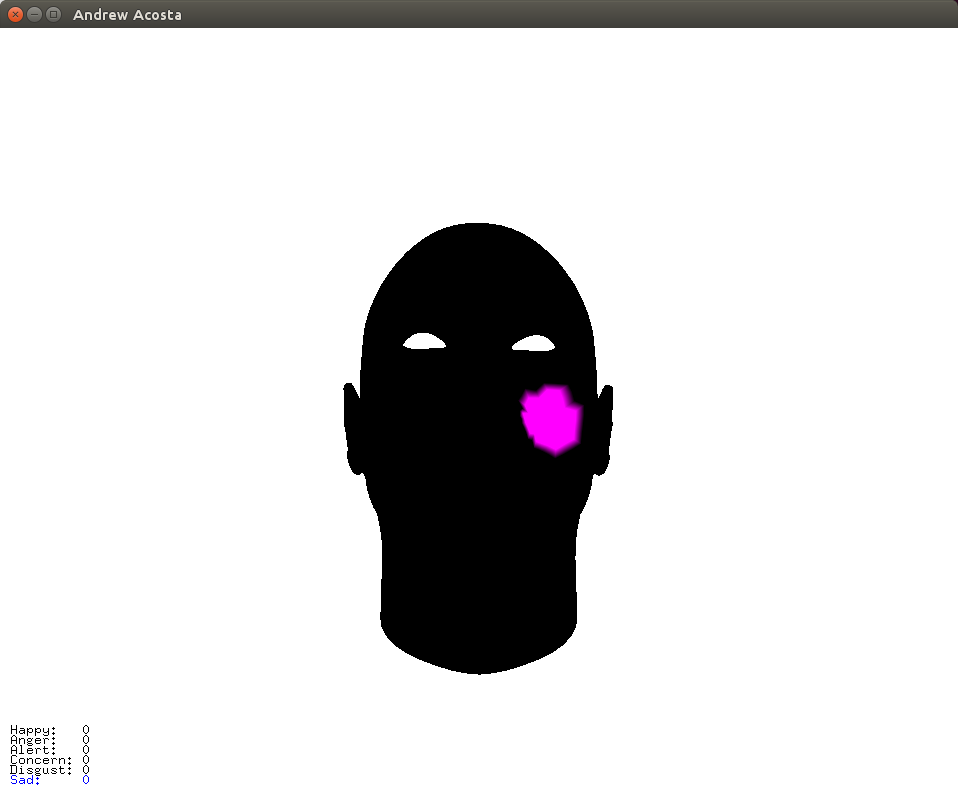
The Second Segment, Colored in Magenta
The Third Segment, Colored in Blue
The Fourth Segment, Colored in Green
The Fifth Segment, Colored in Red
All of the segments in their respective colors
ModelsModels Used
To make a blend shape, you will need a neutral model, and up to 6 deformations of that model. Each deformation MUST have the same number of points as the neutral model, and each point in the deformation must correspond to same point in the neutral model.
The models used in this project can be seen below. The neutral model was based off a model from turbosquid.com, and then deformed to create the other models. I deformed the the other models in Maya.
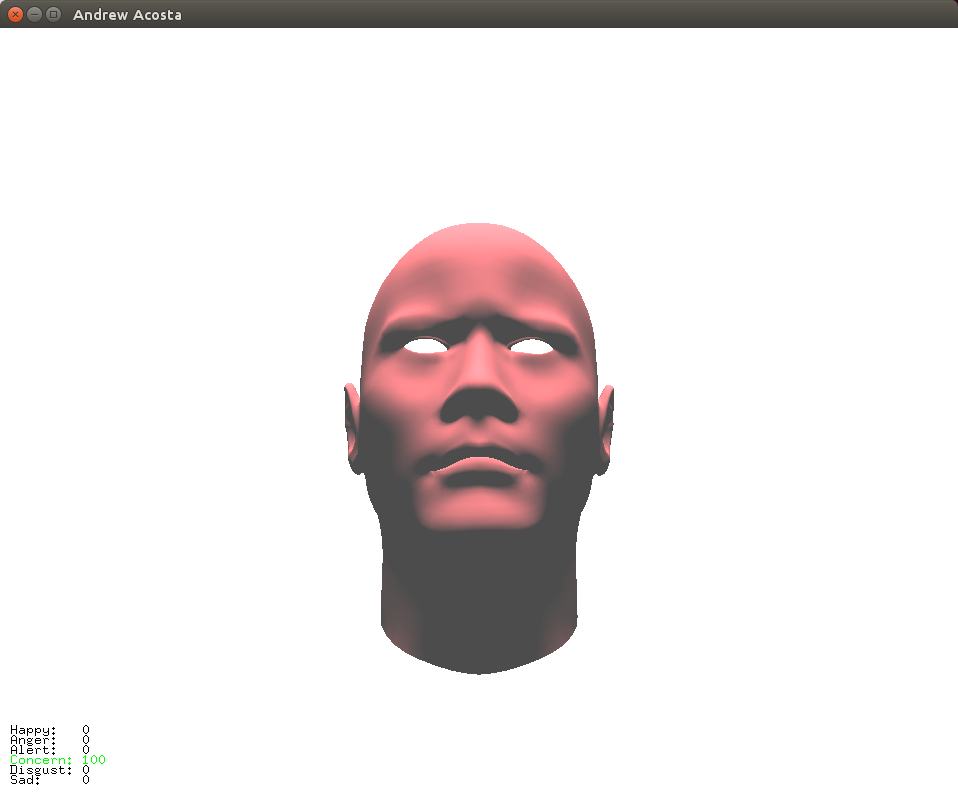
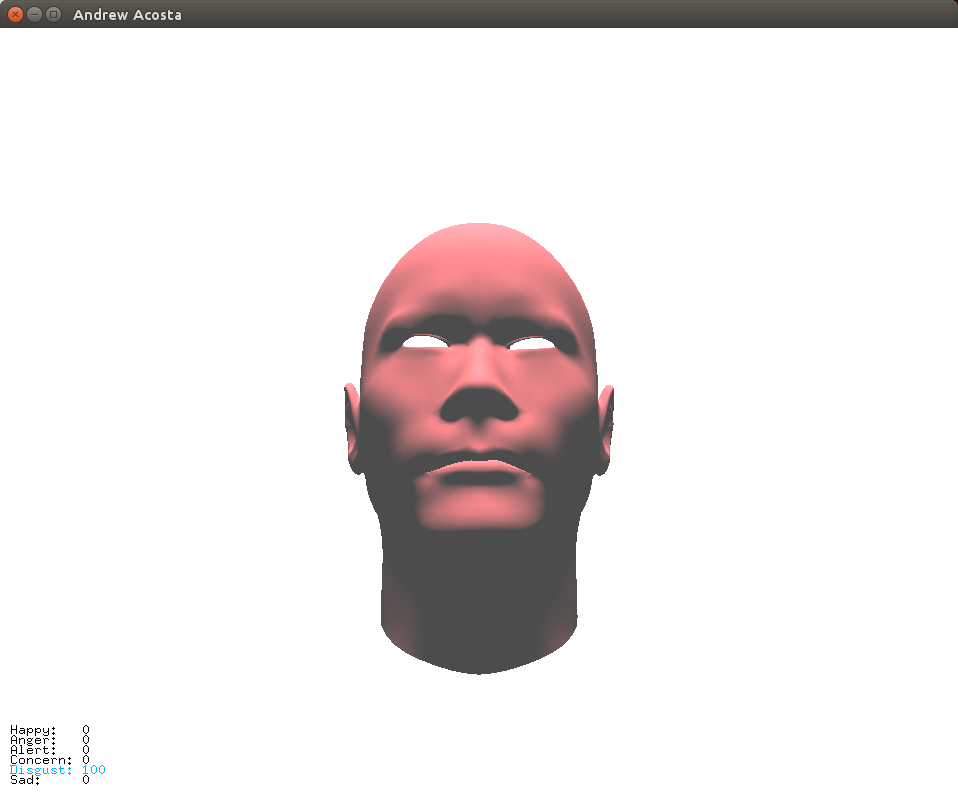
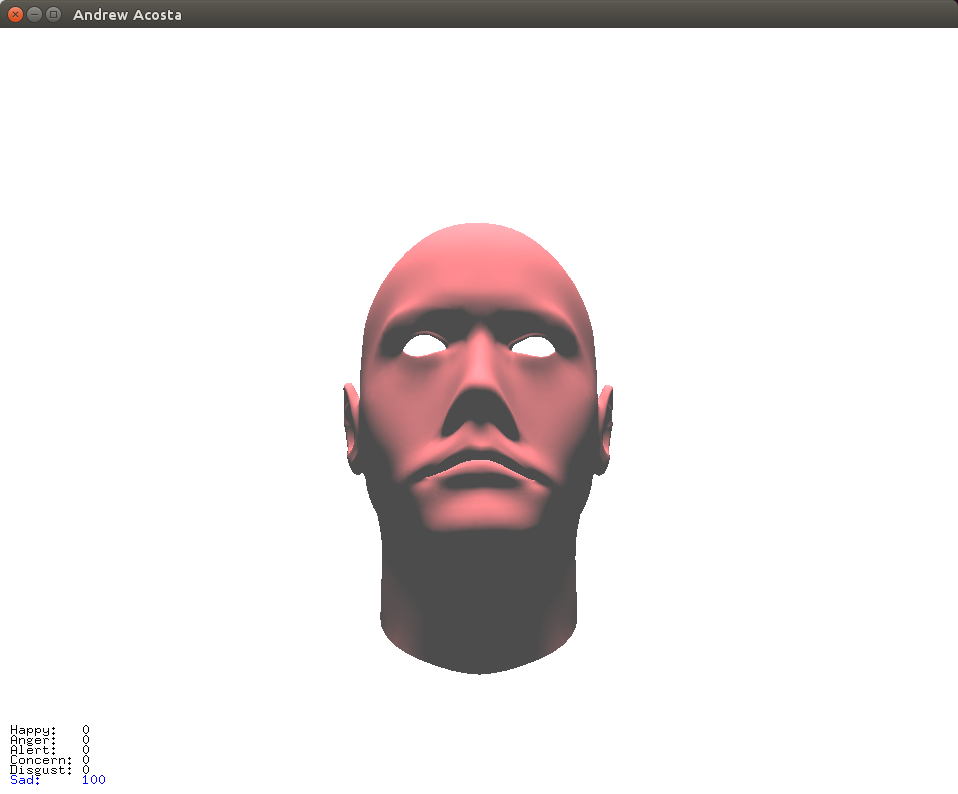
The player can add and subtract emotion to the neutral model with the controls below. The emotions are shown at the bottom left of the screen, and the current selected one is highlighted. Each emotion can be added up to 100%, and down to 0%.
G - Adds 5% of the selected emotion to the neutral face.
H - Subtracts 5% of the selected emotion to the neutral face.
1 - Selects Happy (highlighted red)
2 - Selects Anger (highlighted brown)
3 - Selects Alert (highlighted orange)
4 - Selects Concern (highlighted green)
5 - Selects Disgust (highlighted light blue)
6 - Selects Sad (highlighted dark blue)
Things to keep in mind, anger and sadness are very overpowering. This has to do with how I made the model, and is a result of my rushed modeling.
Segmenting Controls
These controls can only be done in segmenting mode. In segmenting mode, most of the face turns black and the selected segments are colored. These changes are also connected to the current emotion set. So if the emotion is set to 0 power, changes won't be shown!
S - Toggles if in segment mode.
Q - Selects the teal segment
W - Selects the magenta segment
E - Selects the dark blue segment
R - Selects the green segment
T - Selects the red segment
Y - Selects every segment
M - Moves the points in the selected segment out slightly
N - Moves the points in the selected segment in slightly
Up Arrow - Moves the points in the selected segment up slightly
Down Arrow - Moves the points in the selected segment down slightly
Left Arrow - Moves the points in the selected segment left slightly
Right Arrow - Moves the points in the selected segment right slightly
Other Controls
L - Toggle line mode
click + move mouse - Rotate the camera
(shift) click + move mouse - Pan the camera
(ctrl) click + move mouse - Camera zoom in and out
ConclusionThings to Work On
The results are unfortunately limited by models I used. The models for the primary emotions can be improved for better segmenting, as currently there are 2 segments that don't feel right (the green and red segments). The paper also discusses creating realistic textures. I did not implement this, as I did not texture my model, and didn't know how.
The program is assumes there are 6 blends passed to the shaders and it always tries to create 5 groups. These are hard coded but can be made dynamic simply. Nvidia claimed that a good Blend Shape implementation should be able to handle over 50 deformations, but only needs to blend at most 8 of them at once. Future implementations should have this goal in mind.
The paper discusses using this for motion capture data. I did not have motion capture data, but I would have loved to have tried to make blend motion captured faces together for more realistic faces. I believe this also would have made more better segments, as well as being all together cool.
Try it Yourself
This project can be forked from bitbucket, so feel free to try it yourself! It is fun to play with, and can be improved by using different models with stronger facial expressions! This depends on glut, so be sure to install that on your device before attempting to compile. Click the link on the bottom to go to the repository on bitbucket!