Terrain is a very important part of real-time graphics when we want to portray a realistic world. This can come from modeling your own terrain, reading information from a height map, alogirthmically, etc. However, something all of these have in common is the performance impact they can have in real-time graphcis. Generally, terrain is created with lots and lots of patches which is generally formed by the combination of two triangles. Having the detail to make realistic terrain results in having lots of these patches. Therefore, a great amount of performance loss can occur when trying to render terrain. I decided to do one optimization for my project which involved tessalating with a process called geomipmapping on a heightmap built terrain.
Geomipmapping is a process a lot like mipmapping. It was portrayed in the paper by Willem H. de Boer as an alternative to the current ways to improve terrain performance. The way that he proposed was to use the concept for mipmapping for textures on the actual terrain mesh itself. If you are not familliar with the concept, mipmappin is having stored multiple textures at a lower resolution. Then, as your camera moves away from the texture, it picks a mipmap accordingly to save on performance. Geomipmapping is a little bit more complicated, but here is a brief description of what to do to implement this technique.
First off, you need to import in a height map and read it in asa set of triangles. This can be done by using a program to read in the depth info of the height map to determine the height based on a scale of yor own choosing. For convenience, make the number of verticies be 2^n; trust me, makes life easier. Then, you will need to make sure you have the view frustum of your scenes camera. These values are you near plane, far plane, left, right, top, and bottom.
Now that you have all this information, you will need to cut your mesh into pieces. These pieces have to be to 2^n power, which will each be referred to as a patch from now on. Since you made you mesh 2^n verticies, this is creating a number of element buffers for each of them. This is where we get into the meat of the algorithm. Now for each of these element buffers, you can create lower resolution buffers. Each new buffer you create is a lower resolution buffer. You do this by looking at the number of verticies in the buffer of a higher resolution, and remmoving every off vertex. This will result in cutting down the computation in rendering your terrain.

Now what I said above sounds easy in concept, but their is a few things that still need to be answered. One: how do we pick a certain resolution level. Two: Is there any other unforseeable issues. For one, the Boer paper presents a way using you camera's view frustum. It does this by precomputing a distance between each level of a patch. We do this because removing verticies can cause something we call pop in. This is something we don't want in our terrain, so the calculated distance is a way to determine how much pixels will be altered between two levels. Then, based on a pixel threshold of your choice, you choose when to change levels. This is basically a computationally simple way to reduce pop ins within terrain. Other concepts explored later is Geomorphing, but this causes more CPU overhead.
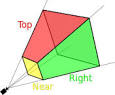
Another big issue is two patches next to each other are of a different level. This causes cracks to form which look very ugly and make are mesh not manifold. To fix this, a numebr of ways have been proposed. For my implementation, I chose to do the way Boer recommended. This was to modify the verticies accordingly.

Example of this event occuring
Modifying accordingly is idgnoring the verticies of higher resolution patches that don't match the patch next to it. then, you amke a triangle fan and connect the vertcies that noew don't have connections to the closest avaliable vertex above the removed vertex. This will handle cracks and not have a lot of CPU overhead.
Here is a link to the paper if you want more detail. Boer paper
I did everything I just described above, while also using the ROAM terrain algorithm for a bit. I decided to do geomipmapping in the end because ROAM was not made to use the vertex/element buffer effectively which causes building the BST tree to be overly complex. Also, doing ROAM with crack handling causes so much CPU overhead that geomipmapping is almost always preferred from terrain read from a heigh map. For generating terrain, its a different story. That causes ROAM to have many good reasons to be used. However, I wanted to make a terrain from a pre-existing height map, so I changed my focus.
From the paper, I do almost everything they did except the quad tree which they use for performance reasons. I didn't implement this because of time constraints. I also read in the texture and generate from displacment map. This is code heavily based on lab 3.
Freetype and Freeimage is used for importing and displaying text, Cmake used to compile the program, and GLFW is the event handler. OpenGl version 4.5 used in the shader, but ony 3.0 is required if necessary. Code for camera, program, and textures heavily based off code provided by sueda. The code of Roam is heavily based on their tutorial code, but it is currently not in use in my program.
This is to show a few pictures of what my application does in action.

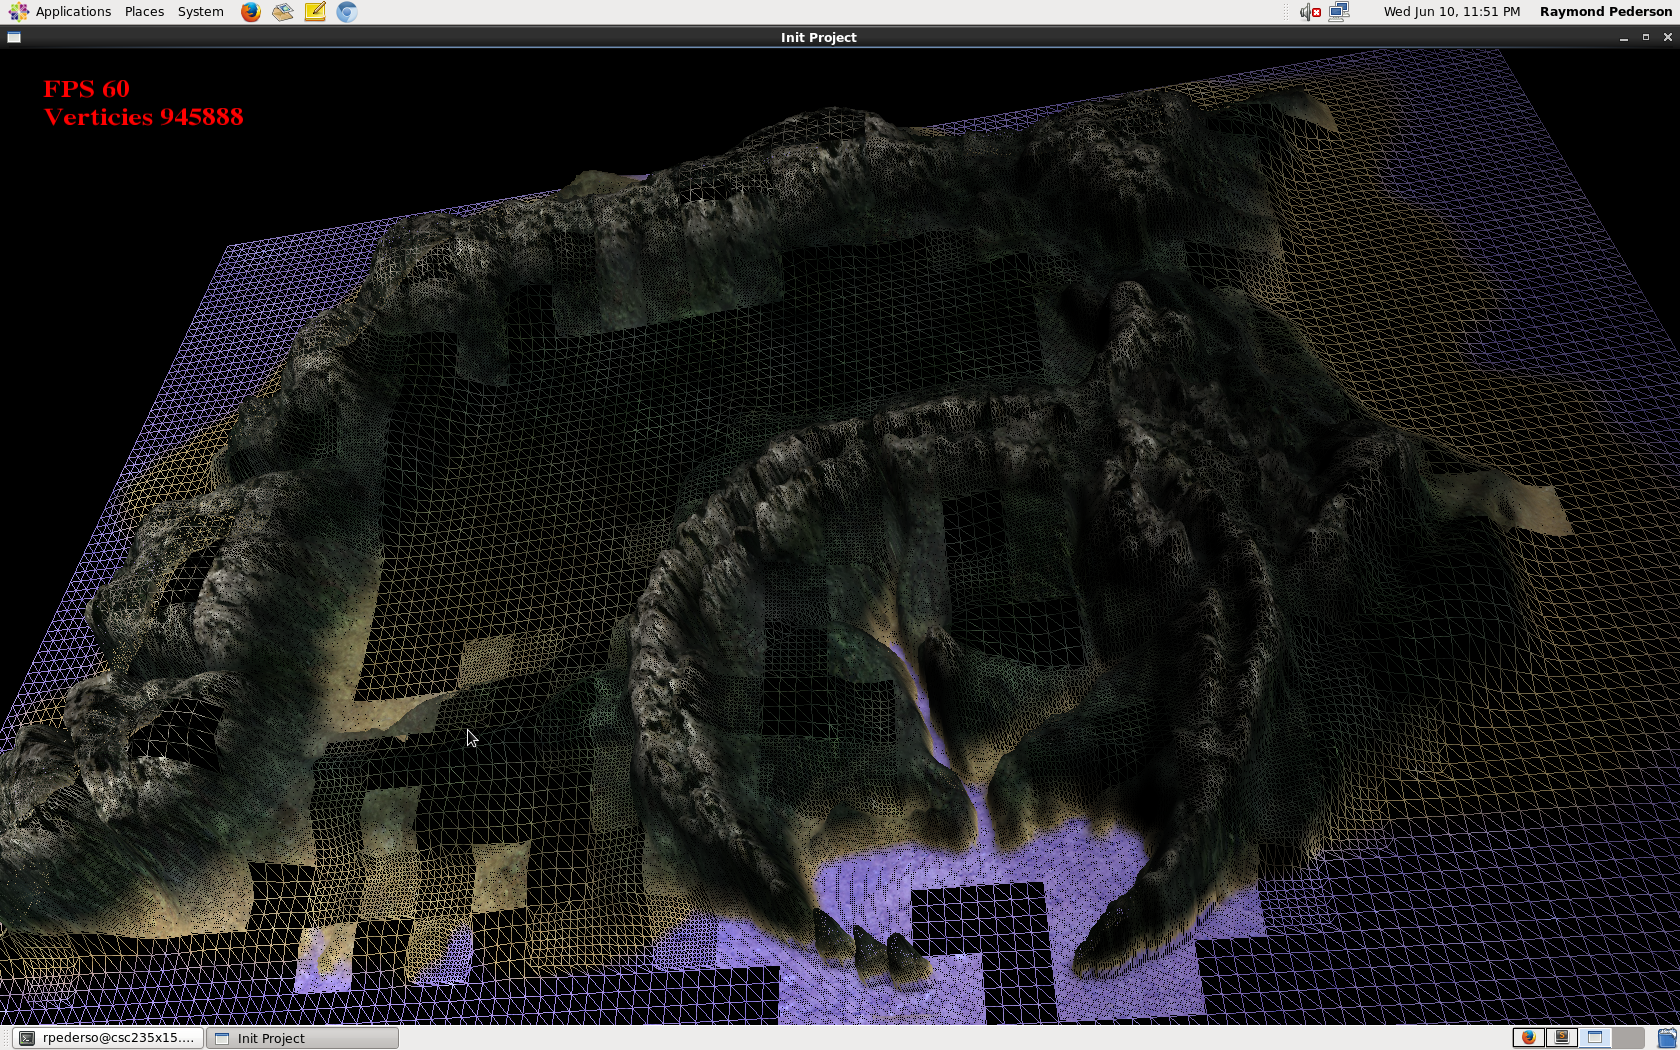
Over view picture which looks pretty good.
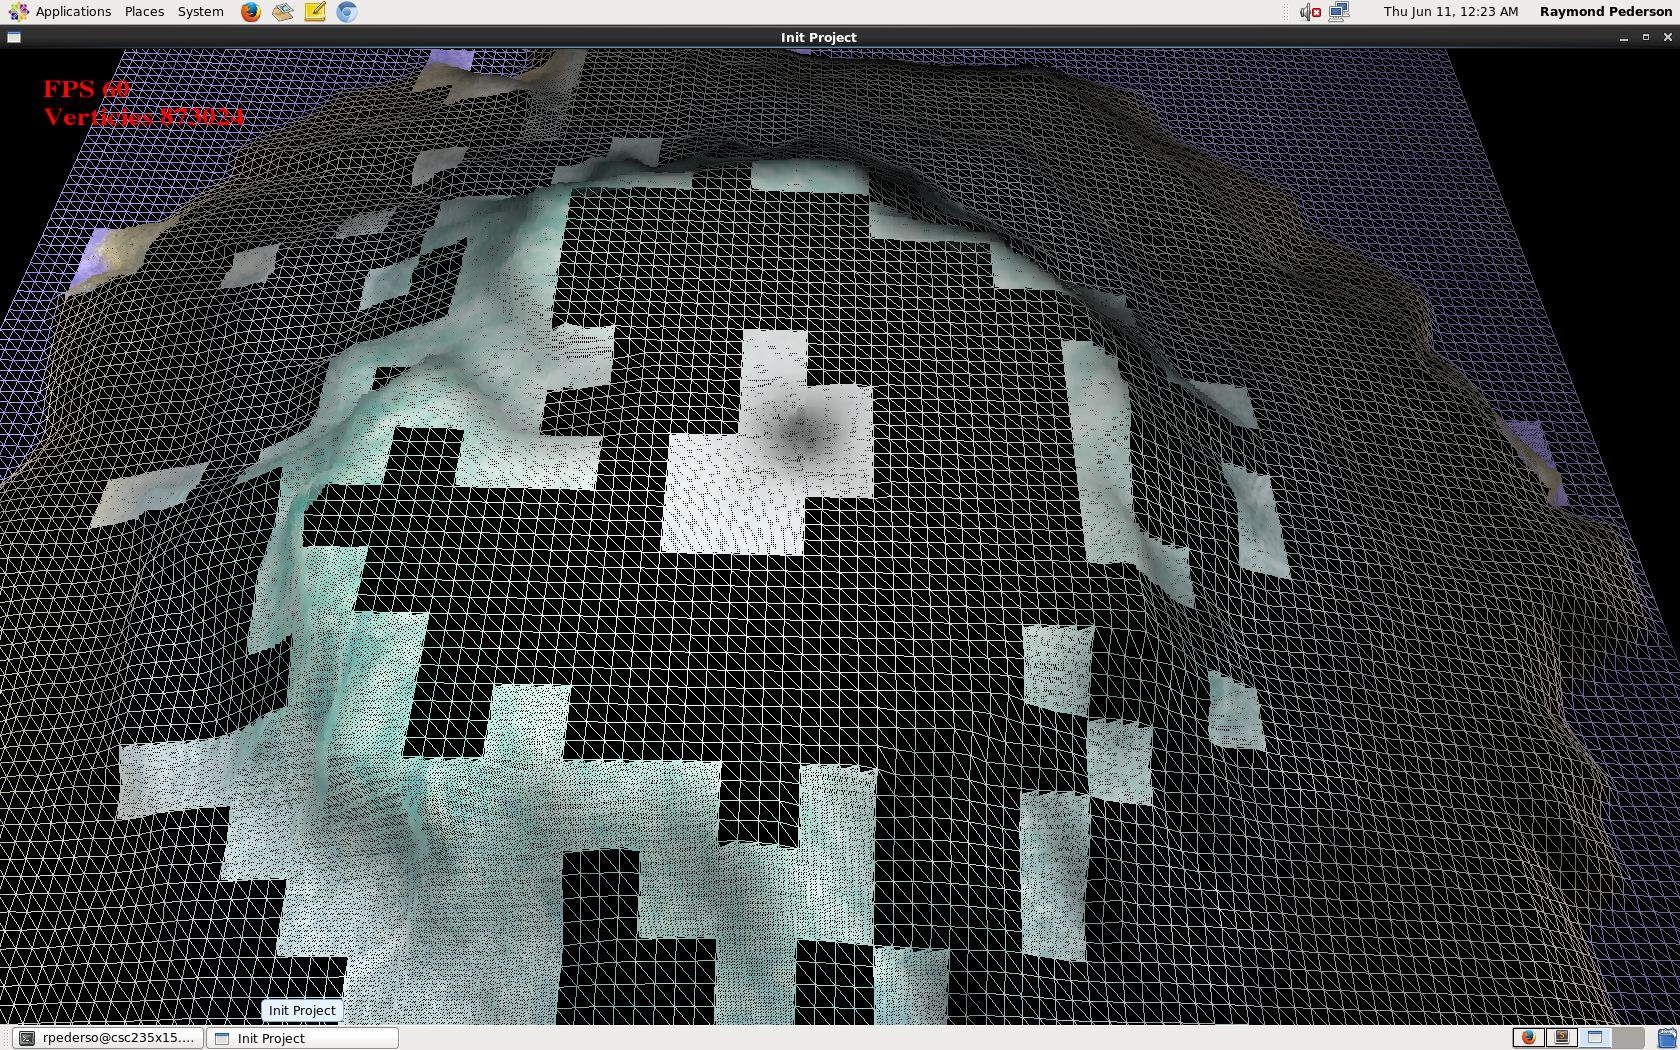
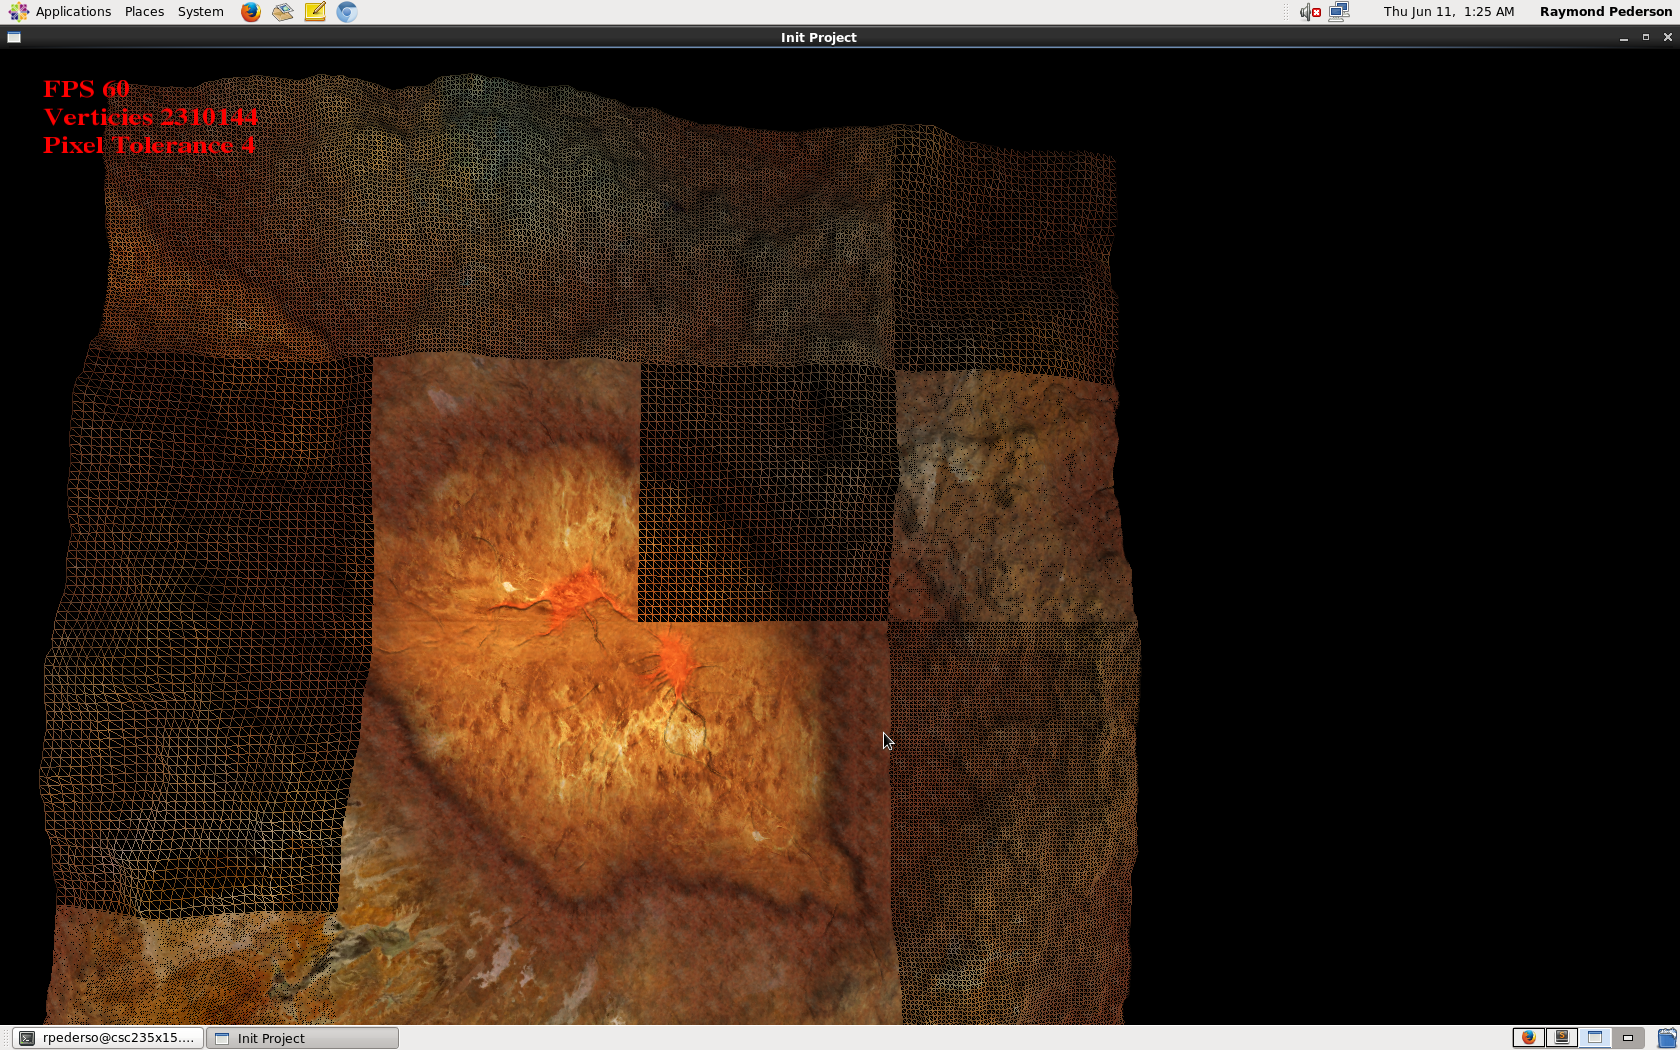
However, with the magic of geomipmapping, it can be rendered in great detail looking like this.
As you can see, higher detail is kept in places where popins would be most noticable
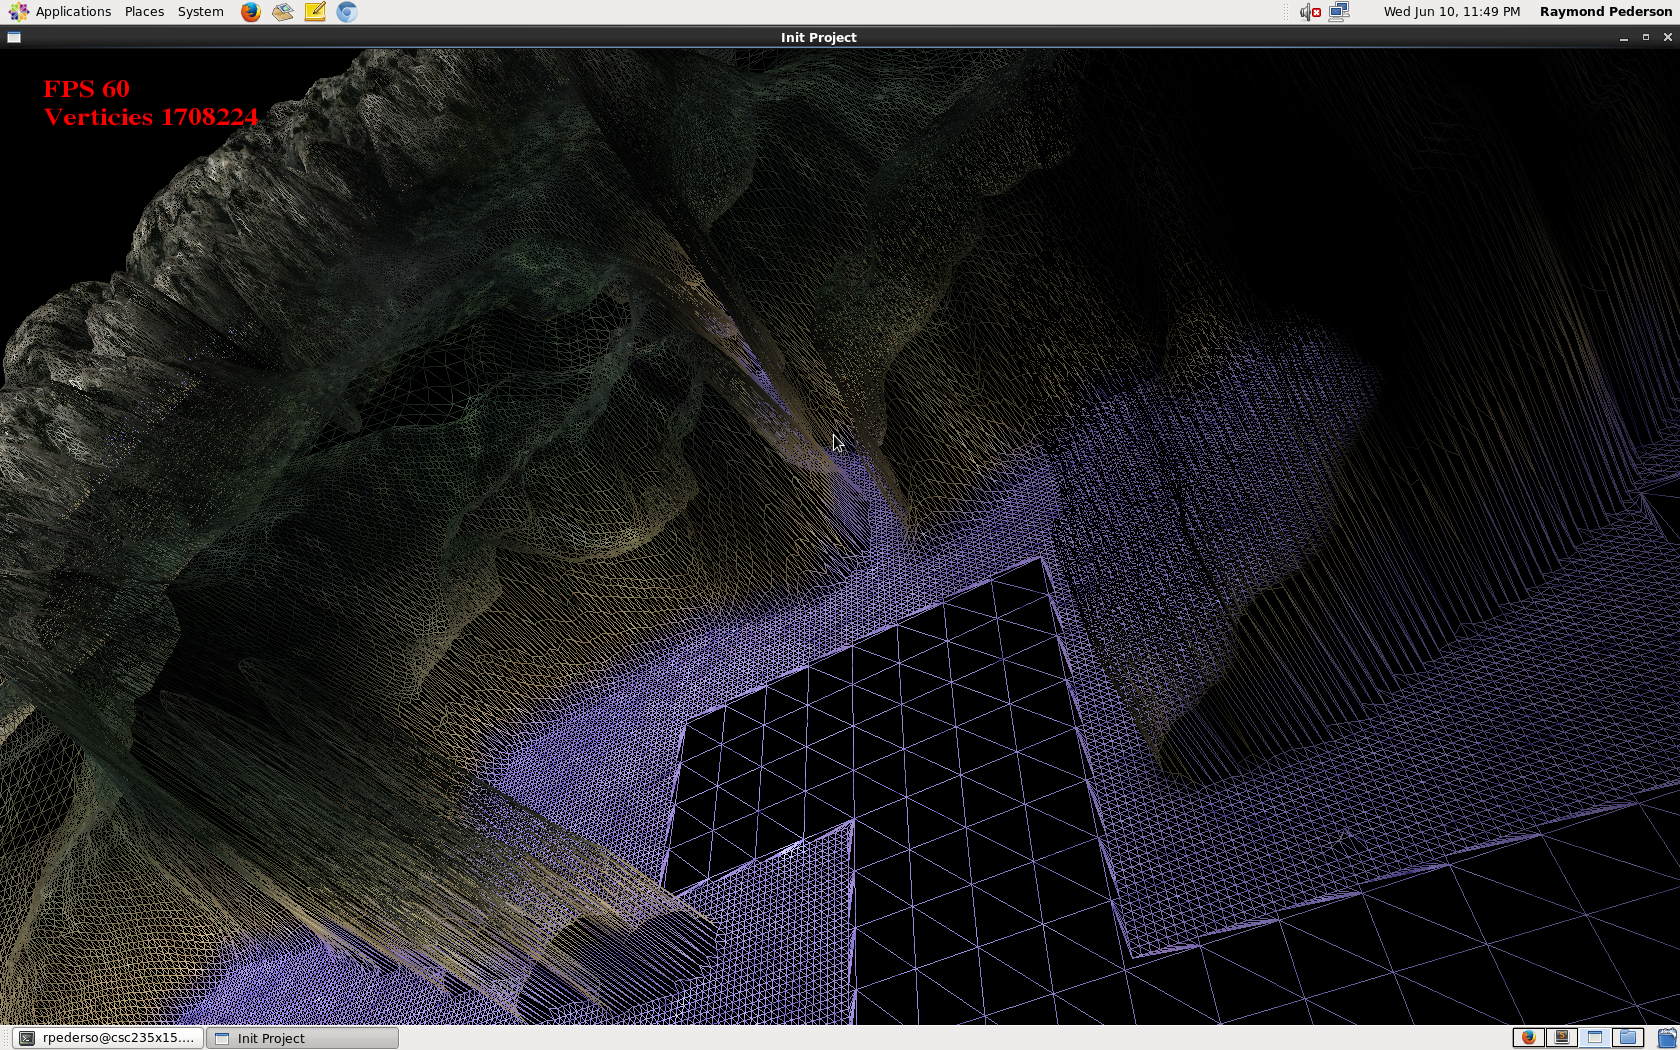
To show you the best and worst case for this algorithm, I made another terrain, which is a jungle.
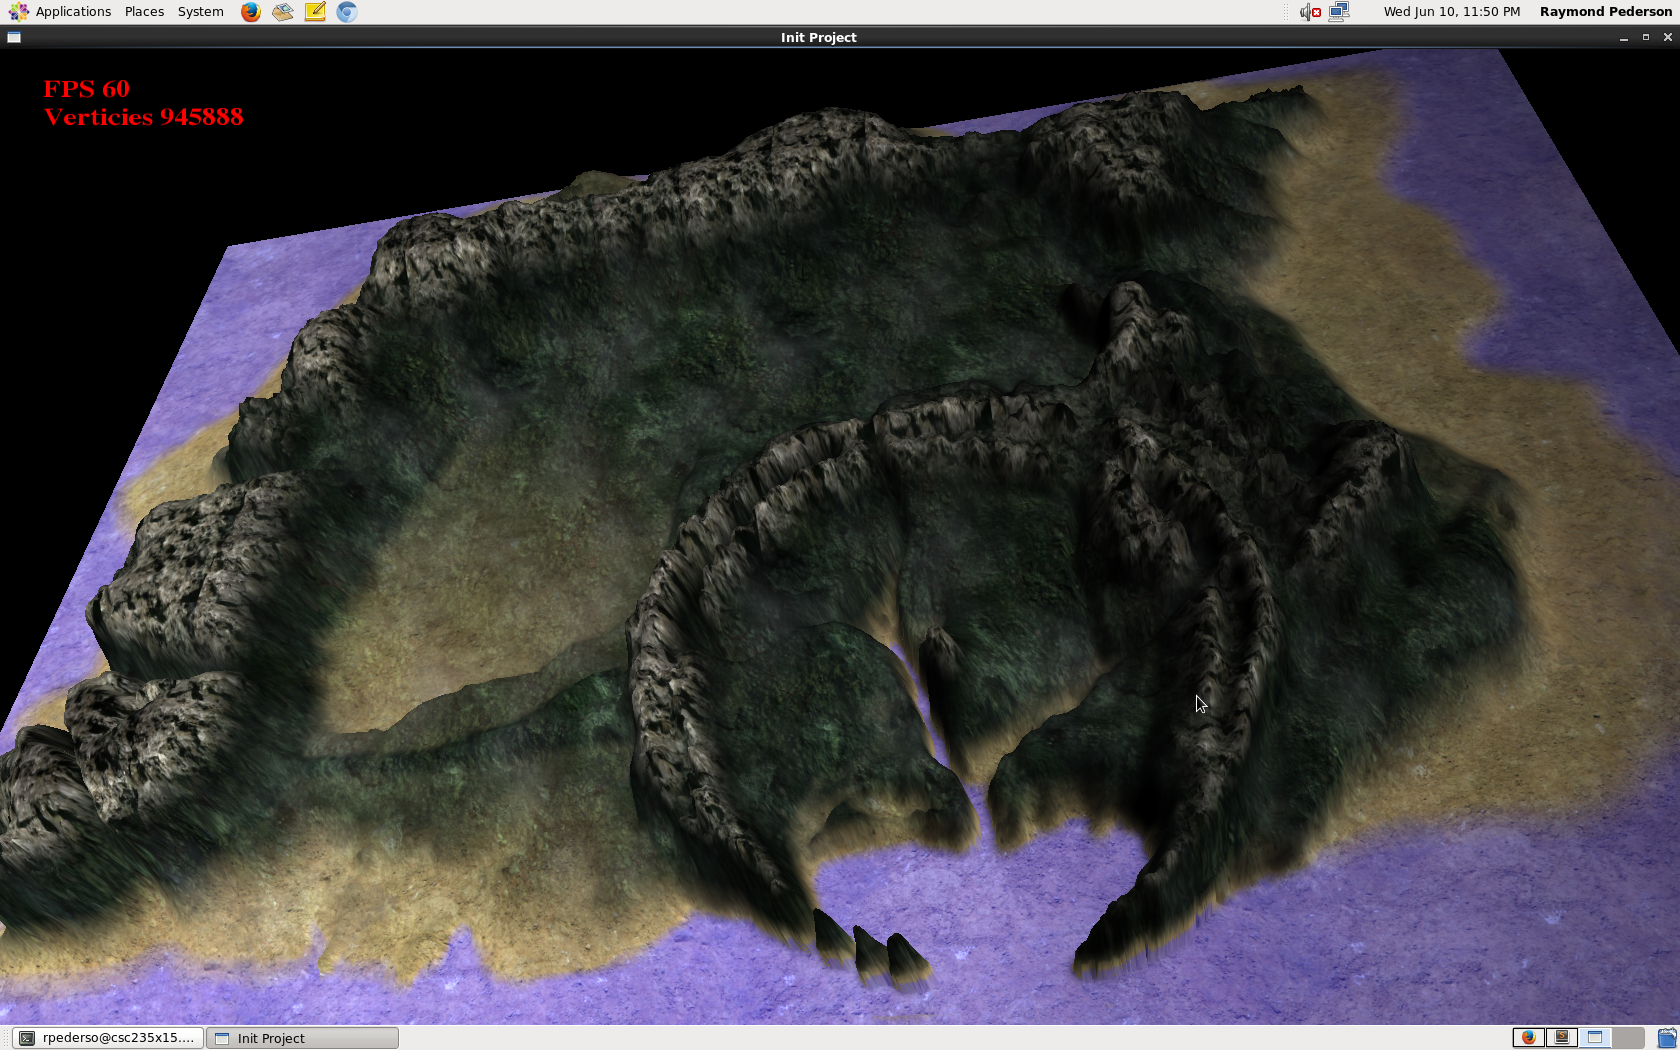
Over view picture
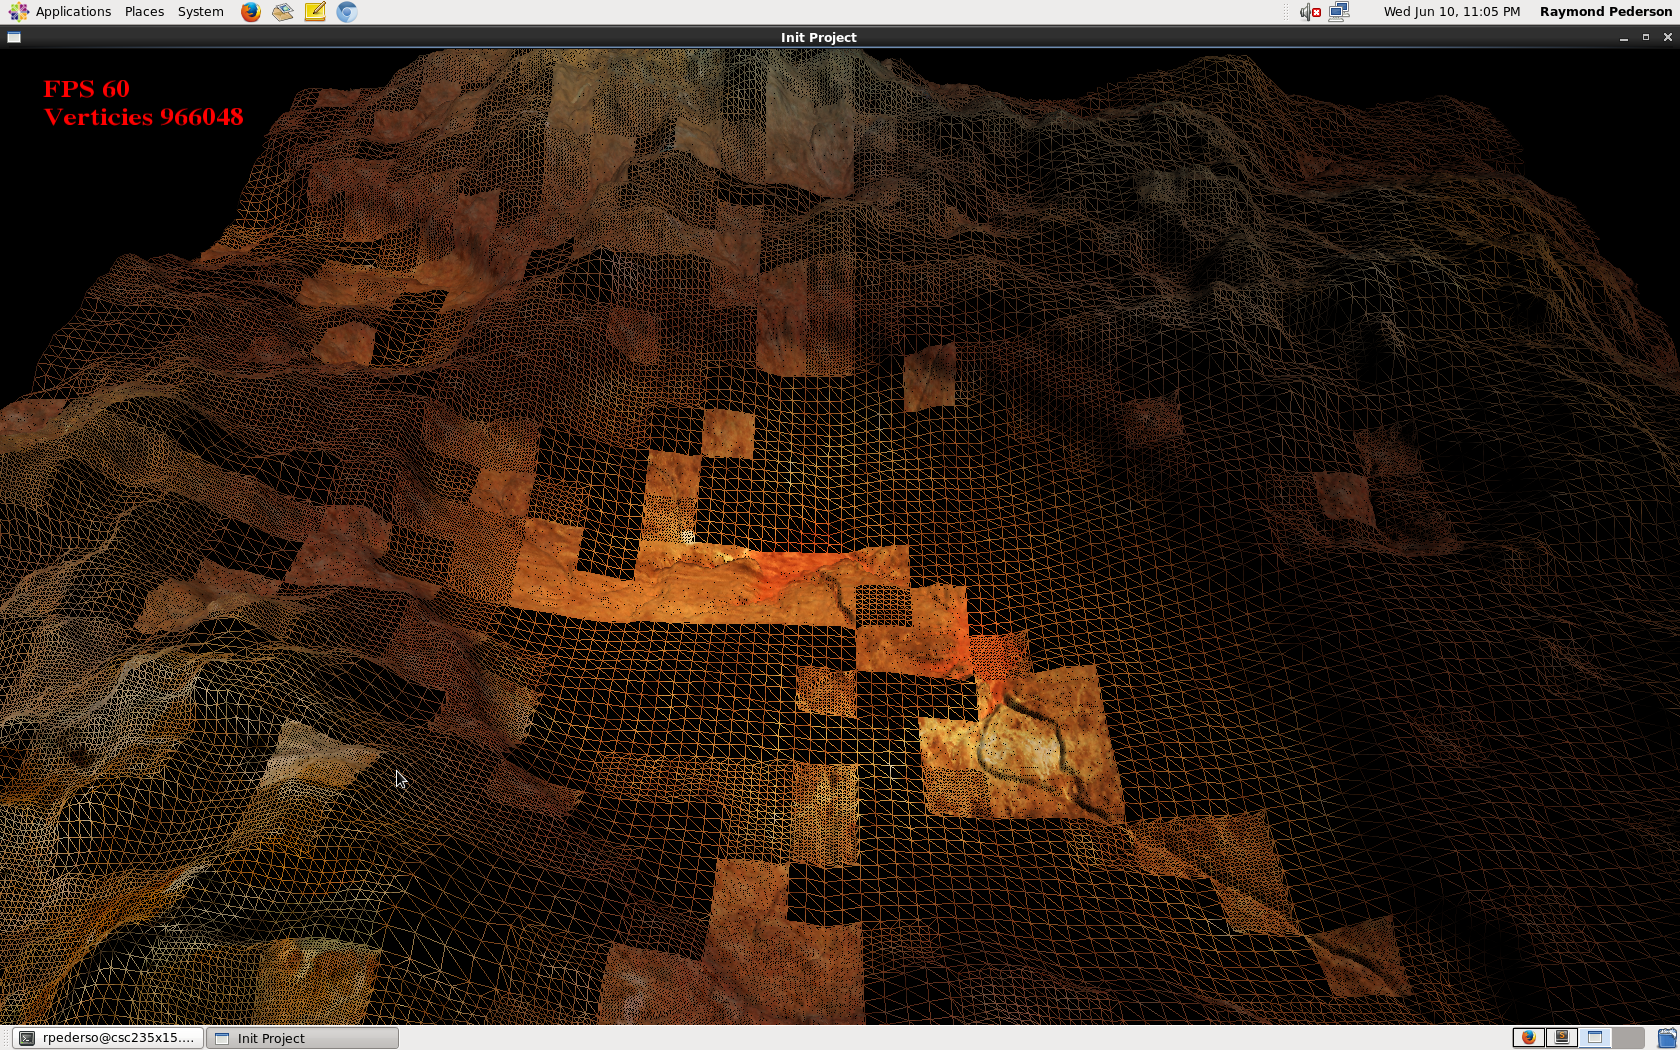
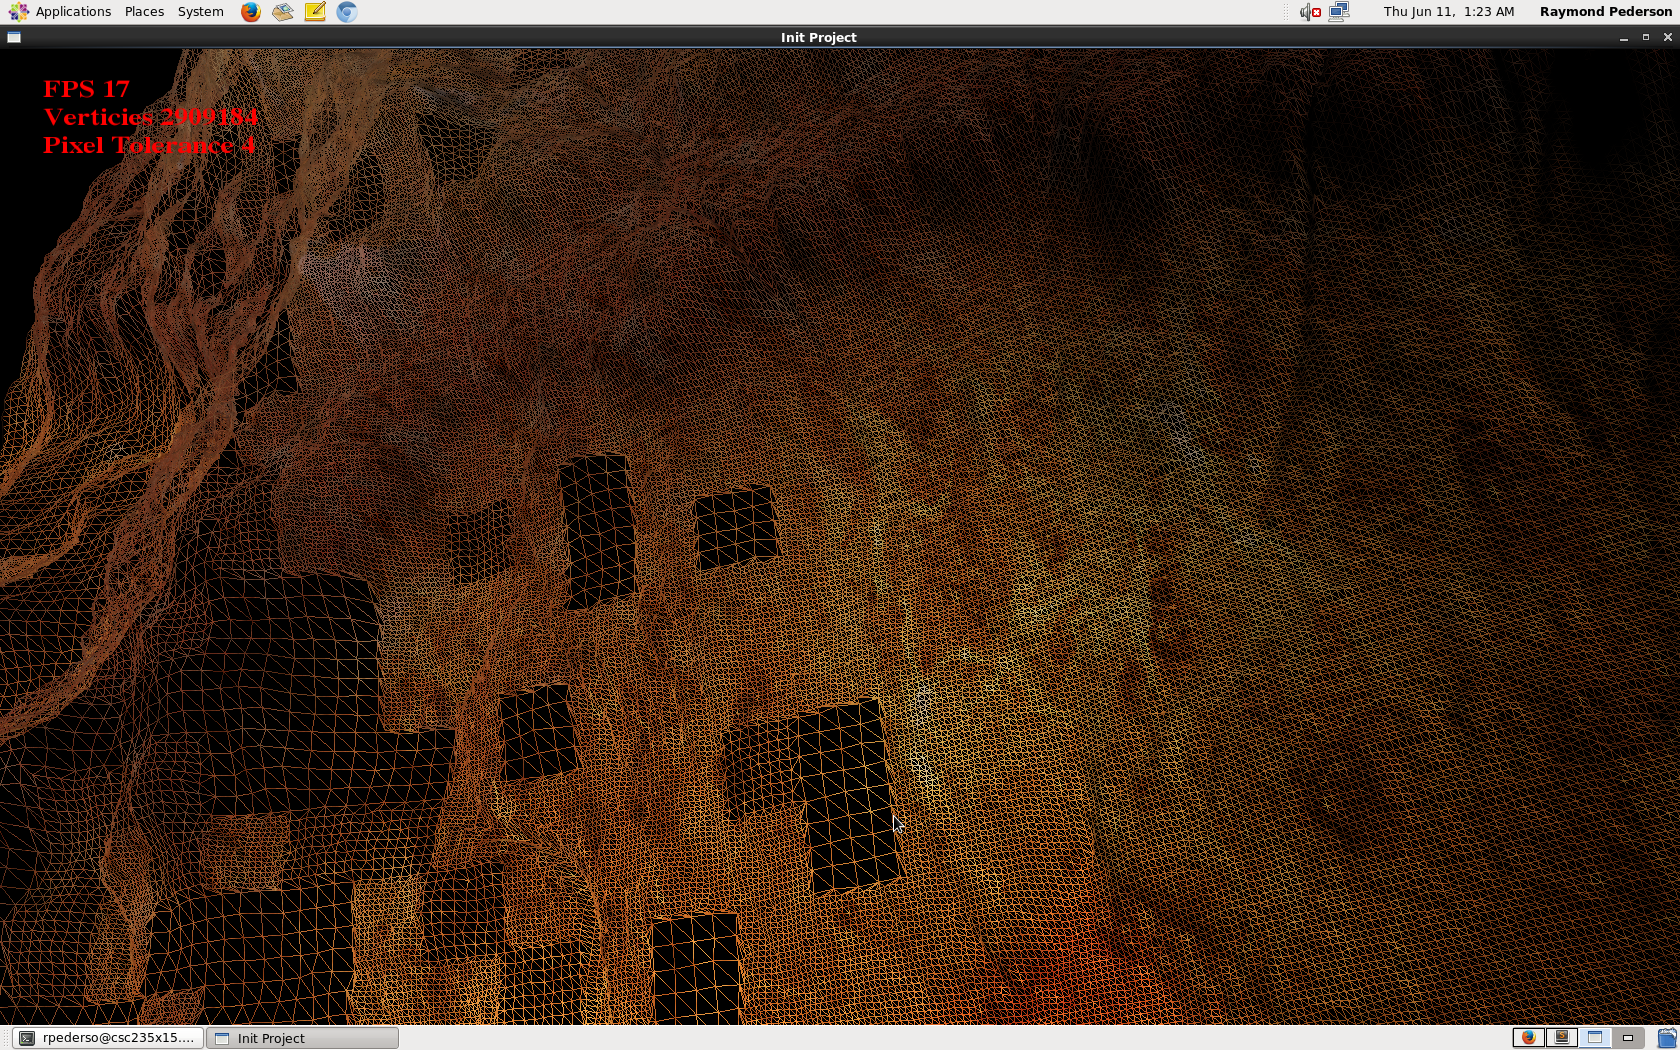
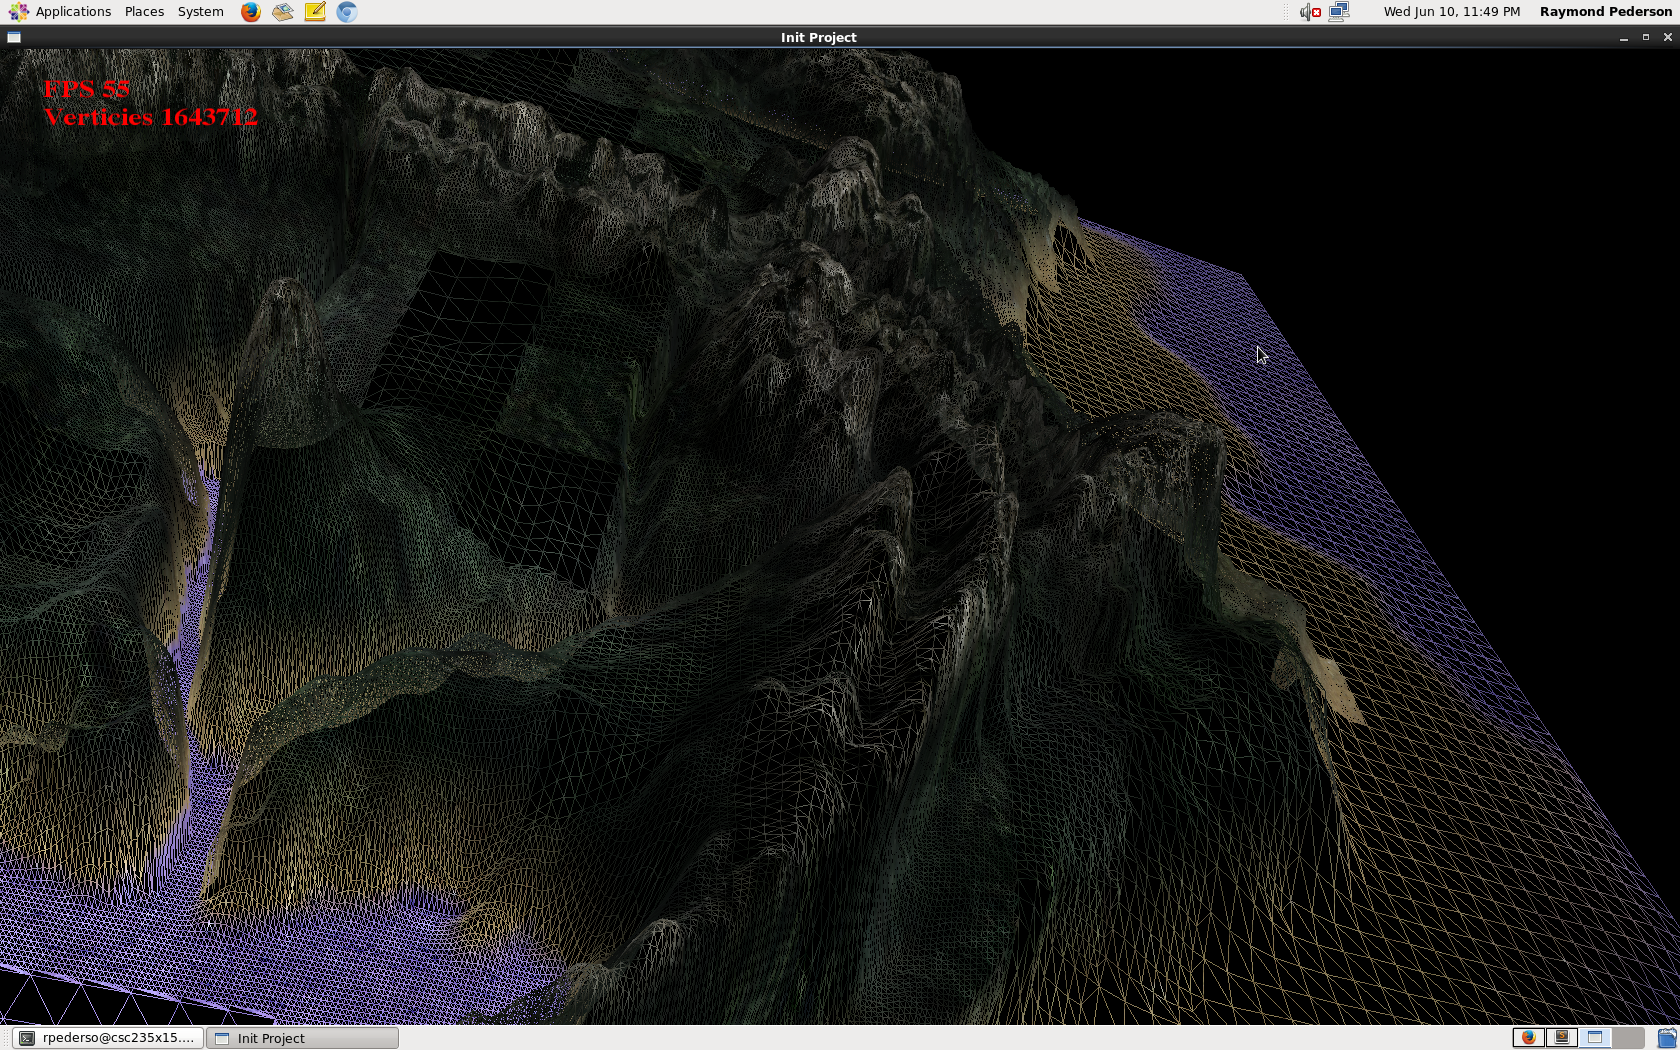
Now, when I show you it with GL_LINE mode:
So, at best case, in flat surfaces, almost all the verticies are removed making a significant increase in performance. In places of heavy detail, things don;t change a lot making geomipmapping not nearly as effective.
As a quick performance comparison, here is picture of the first terrain with no geomipmapping.
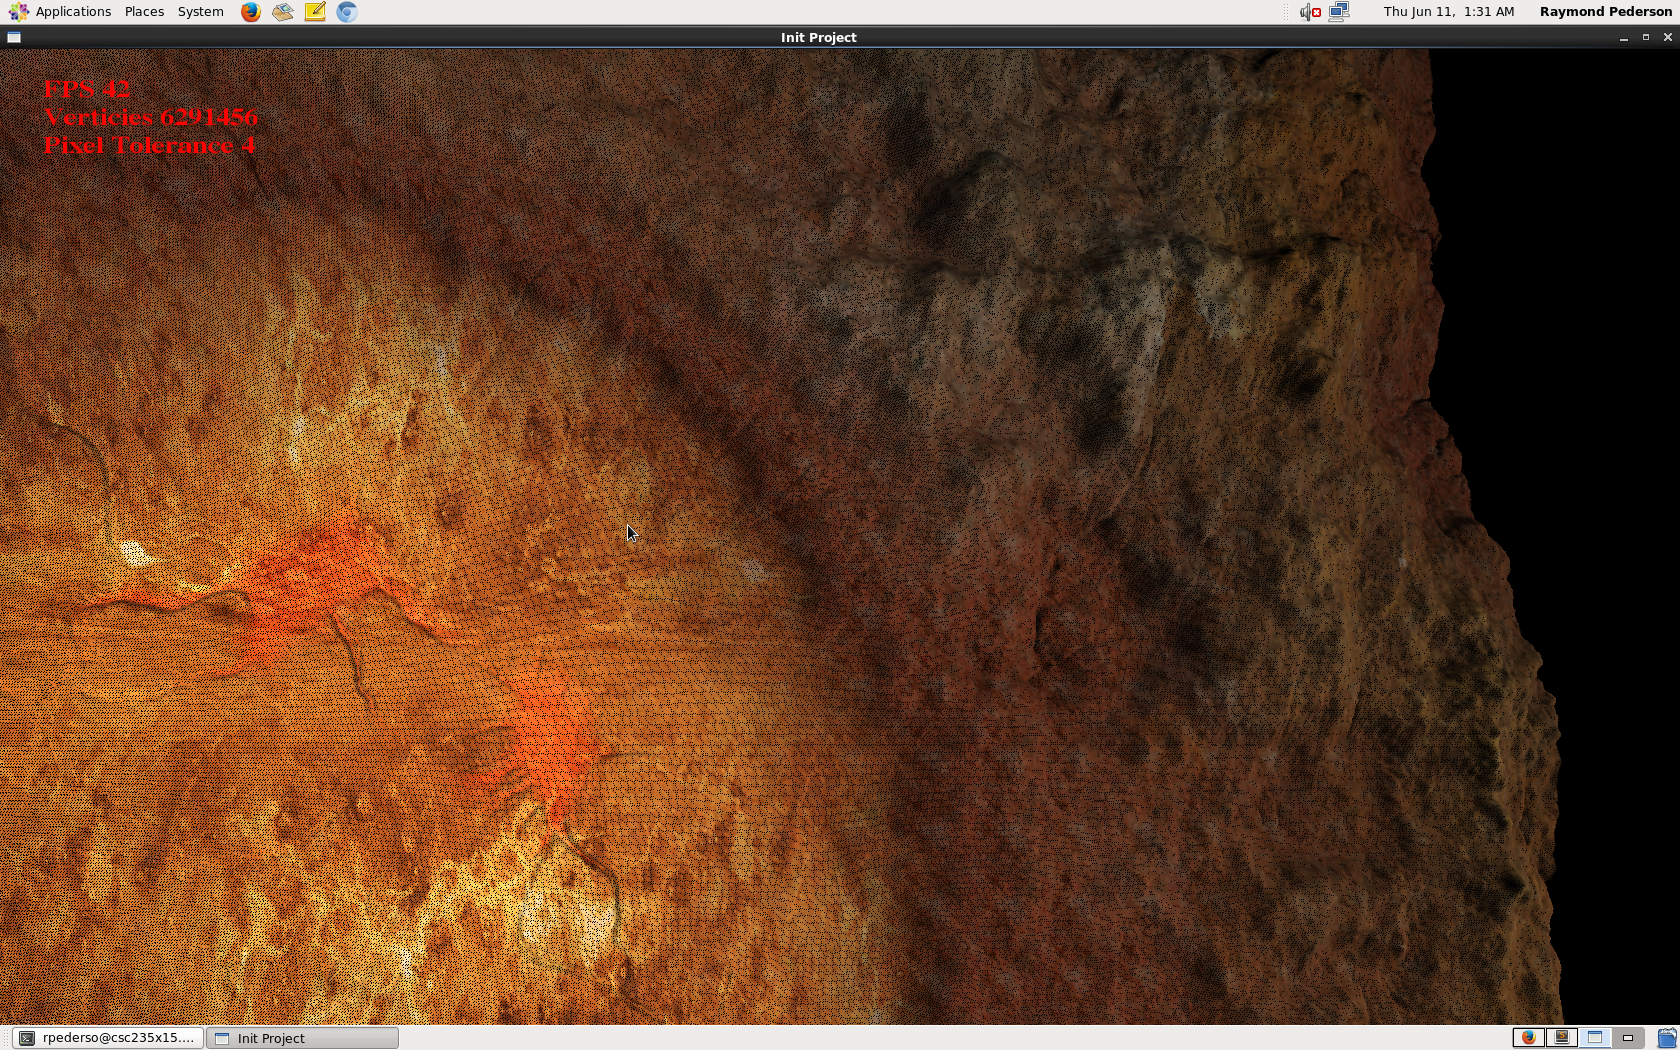
Tested on the CSL machines, it had a FPS of 42 compared to a soldid sixty when geomipmmaping was in place. This is because over 850,000 verticies are not drawn through geomippmapping when you first run the executable; and thats when your even close to the ground!
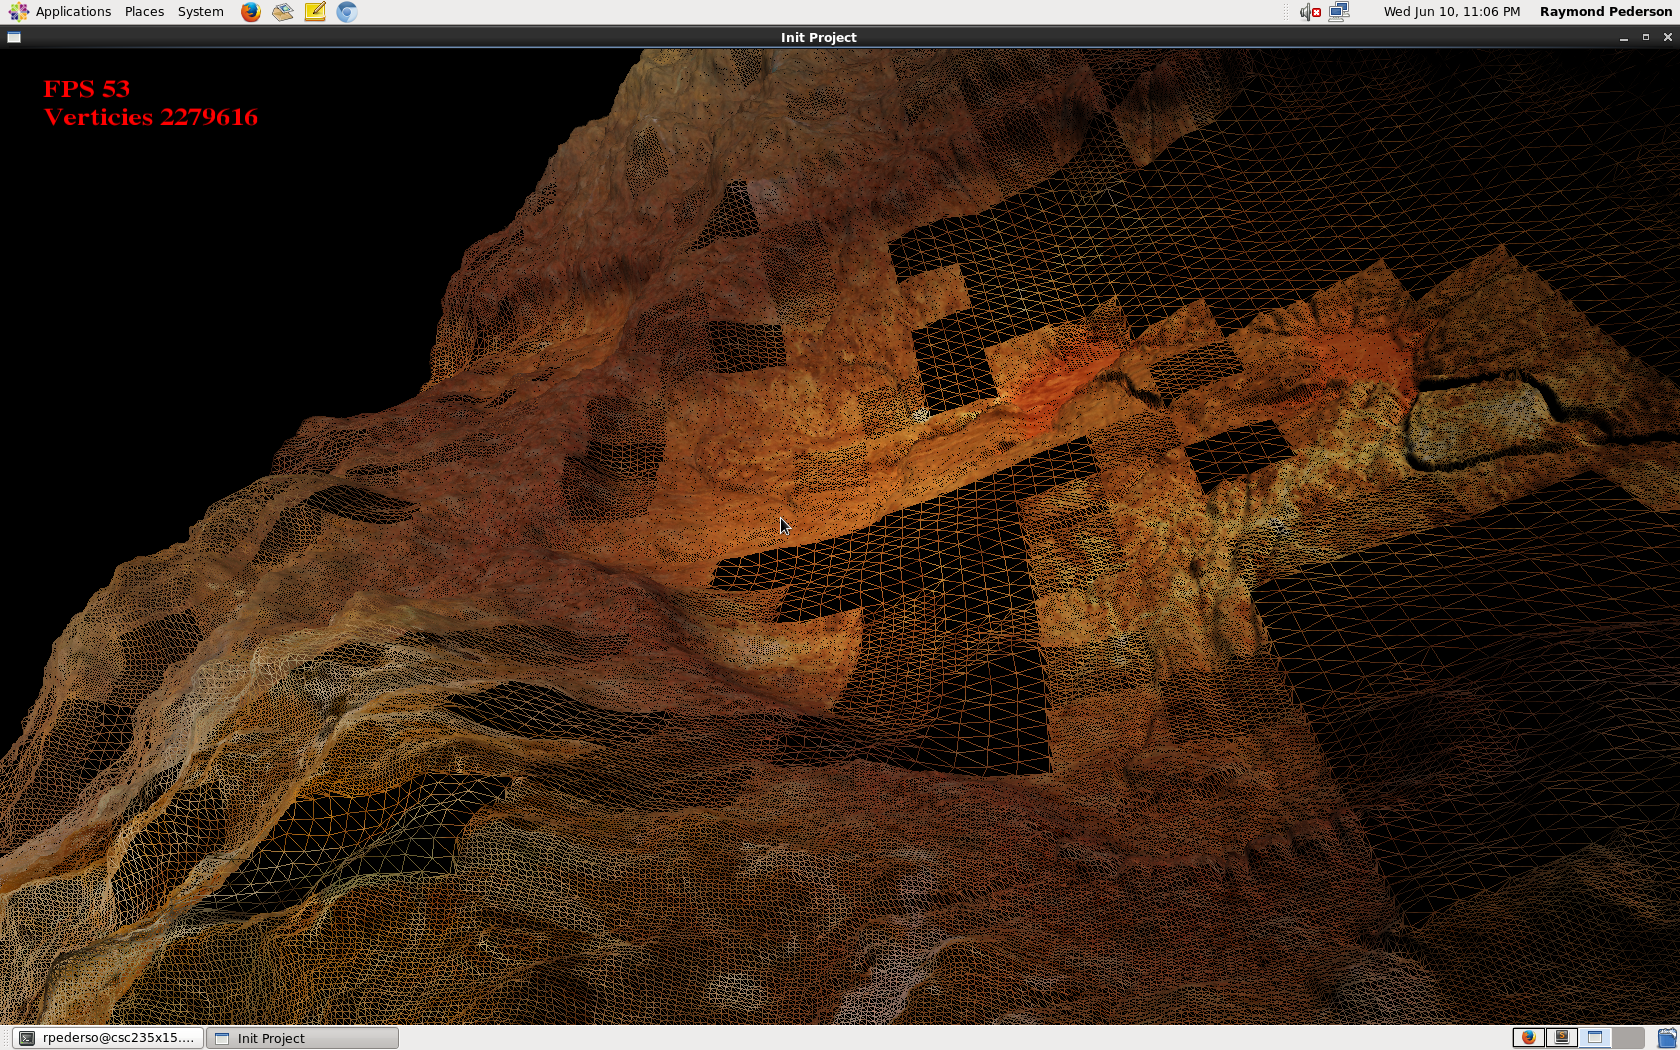
Another view of terrain 1
Terrain 1 with smaller patch sizes. FPS greatly reduces, so make sure you keep patches at a reasonable size
Terrain 1 with large patches. To large of patches could cause not enough performance gain.
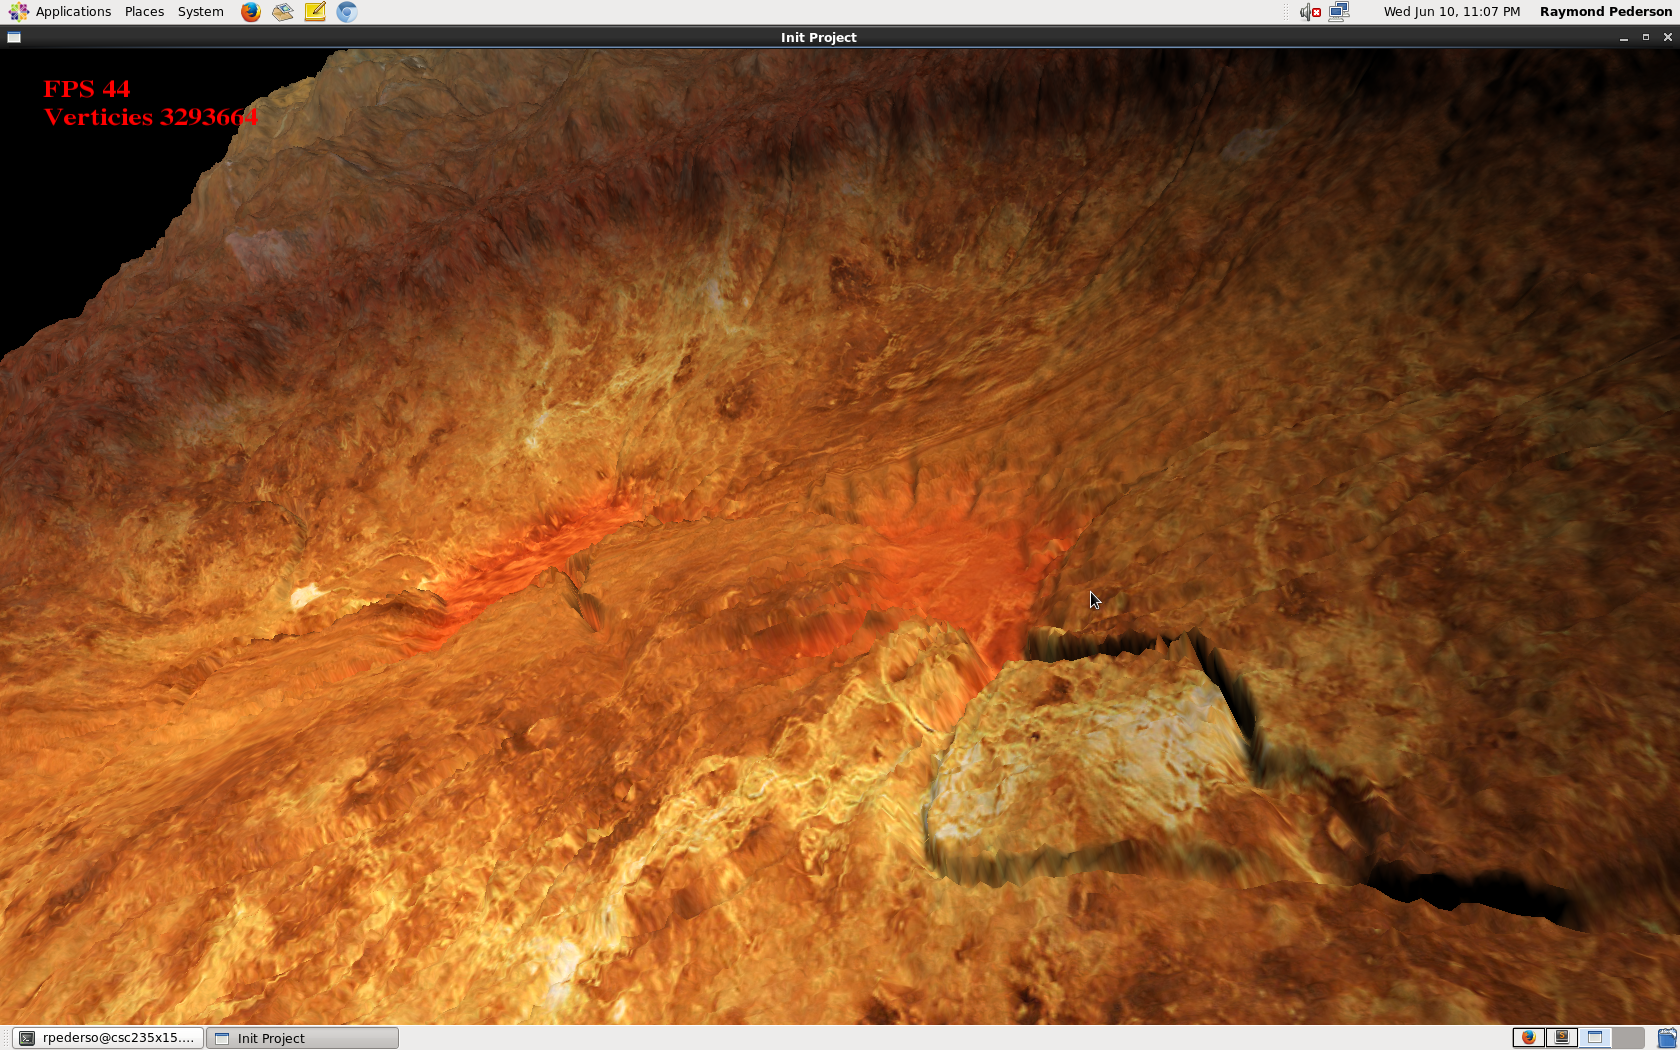
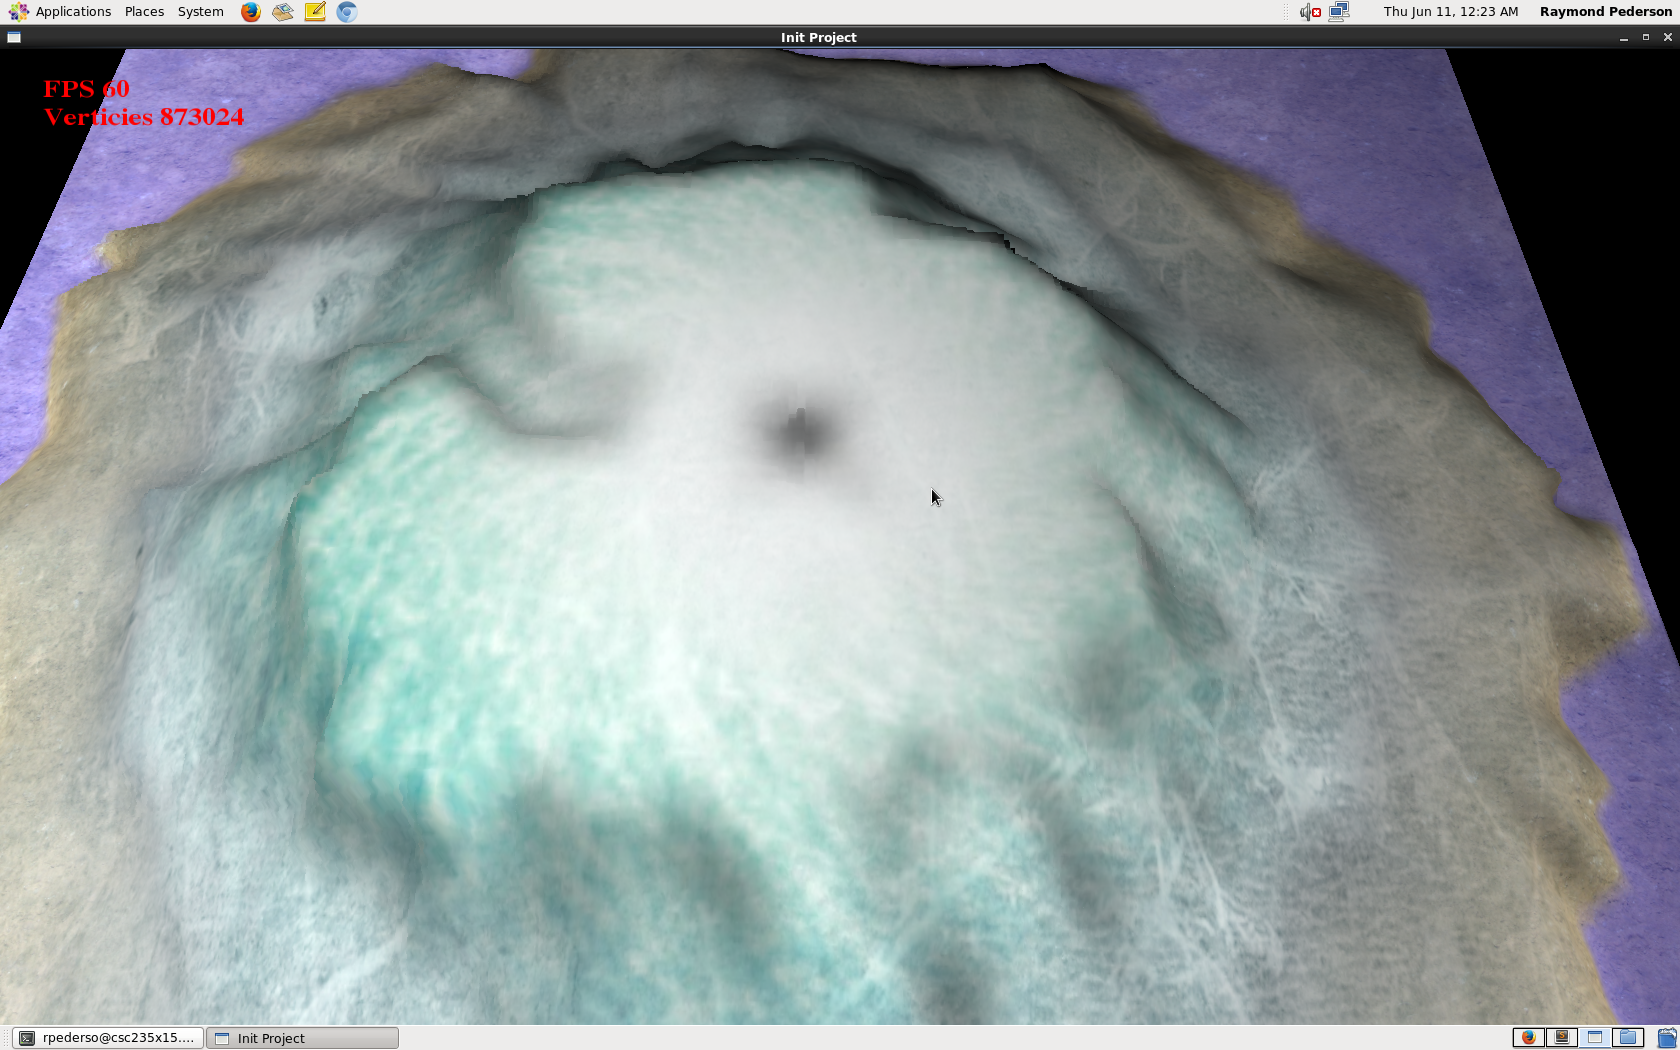
Close up picture
More pictures of terrain 2.
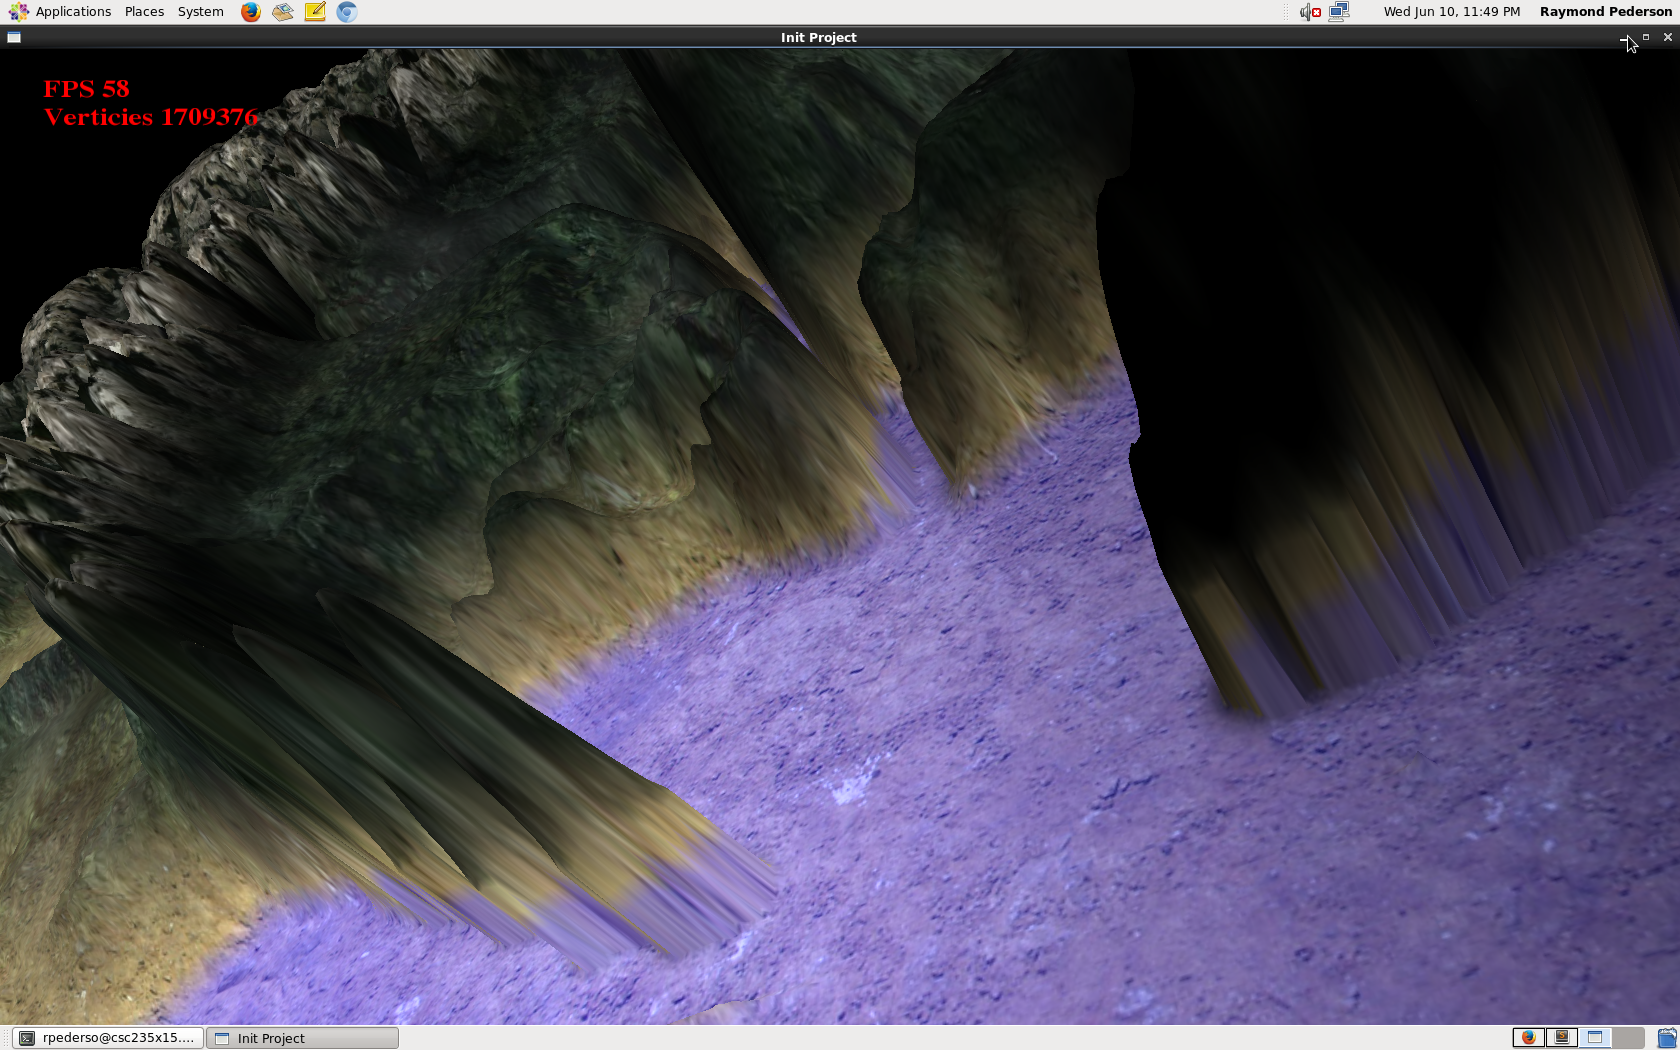
More pictures of terrain 2.
More pictures of terrain 2.
Picture of terrain 3.
Additional external references: