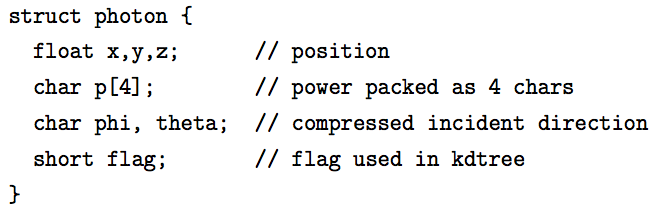
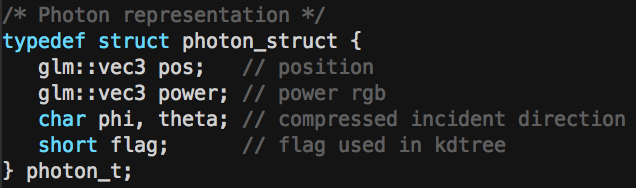
This project is an attempt to implement photon mapping as first described by Henrik W. Jensen.
Photon mapping is a great way to model global illumination and some more intricate lighting phenomena like caustics. The concept is relatively straight forward and is done in a two pass process. The first pass is emitting photons and storing them in a "photon map". The second pass is a traditional render pass with ray tracing but now the photon map is utilized to adjust the color of point based on the photons around that point! If caustics were added there would be another pass after the photon map creation that creates a caustic map, this was not implemented for this project.
There are a couple different types of ways to emit photons and it depends on the type of light source. There are numerous types including diffuse point lights, spherical lights, square lights, and complex lights. The light type I supported was the diffuse point light, so the emission of photons is from a point light. The emission uses a simple rejection sampling to get the direction of the emitted photon. To be more technical, to determine the (x, y, z) direction vector we simply select a random number between -1 and 1 for each dimension. If x^2 + y^2 + z^2 > 1 we will use the direction, if not we continue generating random numbers. The image below is taken from [2] and visualizes the different types of light sources.
Before we do the actual rendering we want to know how to compute a radiance estimate which, as stated in [1], is estimated using the nearest photons in the photon map. This is also where the k-d tree would come into play had I successfully integrated that into the project. To put it simply, imagine taking a point and placing a sphere on that point, any photons within that sphere are used to estimate radiance, those that are outside of it are disregarded. We use the equation displayed below to compute the radiance at this point, for a more detailed explanation of the equation see [2]. Once all of the photons in the hemisphere/sphere have been gathered by either traversing the k-d tree or iterating over a list of photons we are able to get an estimate of the radiance at the point.

5,000 and 50,000 photons visualized and various levels of power.
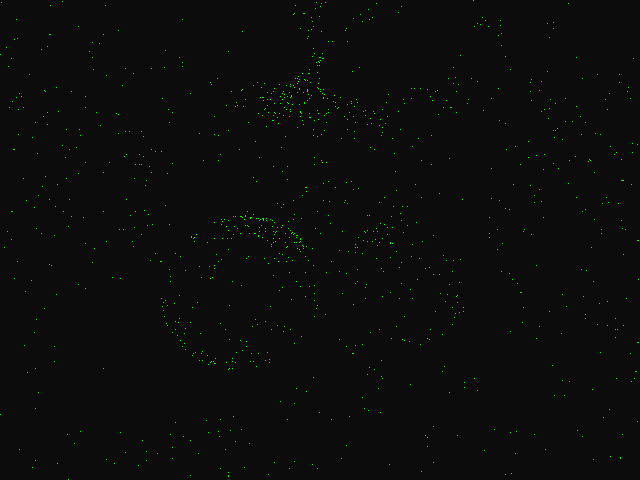

100 photons emitted, ~50 survived.
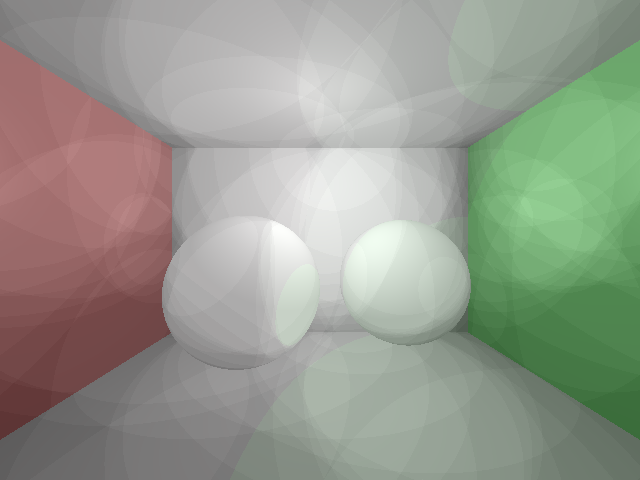
100 photons emitted, ~50 survived but manually tweaked the photon power.

1000 photons emitted, ~500 survived.

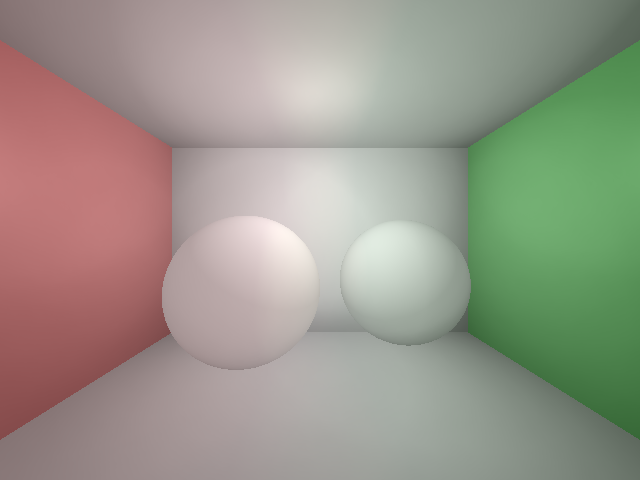
10000 photons emitted, ~5000 survived. Roughly 20 minutes to render which is extremely slow and would have been much faster with a working k-d tree.
Lighting has been my weakest point in graphics thus far so I wanted to try to learn more about it. This was a great project in doing that because it challenged me and required some interesting software engineering decisions and mathematical computations. I am really bummed I didn't get the k-d tree integrated into the project, all of my unit tests work flawlessly but there seems to be a memory issue causing the balancing to fail when integrating into the final solution. The performance loss is very apparent when iterating through a vector, it was actually very surprising to see a relatively small number of photons cause the program to run for a very long time. It really emphasized how important some data structures are, especially when scenes get much more complex than this.
If needed feel free to contact me at joncatanio [at] gmail. Or check out my personal website for other methods.