CSC 572 Spring 2017
By: Justin Kehl
I chose to implement caustics because I am interested in water and light and how they interact. I chose photon mapping for this because we read "A Practical Guide to Global Illumination using Photon Map" by H. Jensen., et al this quarter. This paper provides the theoretical foundation for photon mapping and one of the scenes in the paper interested me enough to want to attempt to reproduce it.
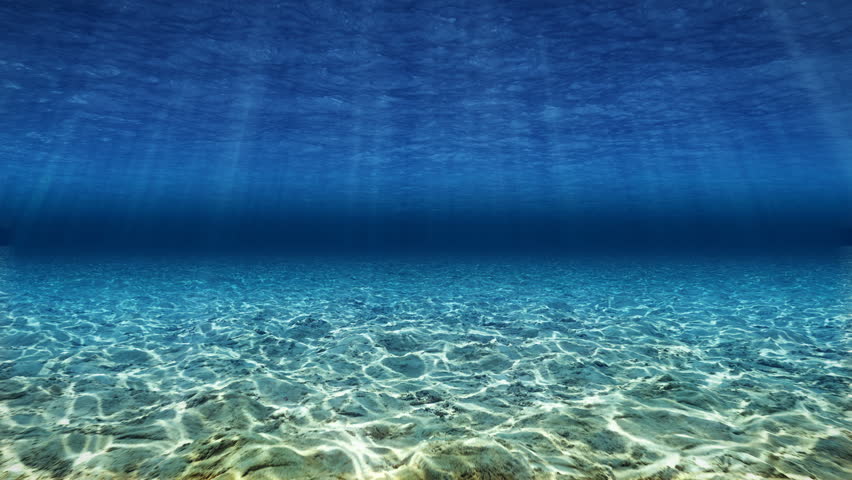
Caustics are the rays of light reflected or refracted by a curved surface. When light passes through water it refracts, reflects, and scatters to produce the interesting patterns seen above.
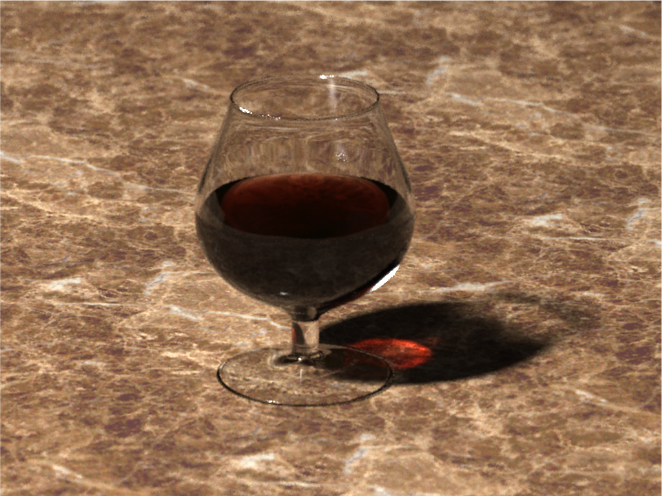
For my project I wanted to reproduce the caustics visible through the glass of cognac in the scene above from the Photon Mapping paper.
In this section I will describe the approach to Photon Mapping described by Jensen in the paper above. Jensen's Photon Mapping uses two passes to generate the scene:
Once the two photon maps have been built, Monte Carlo Ray Tracing is used to render the scene. However, the ray tracing is sped up significantly by pulling data from the pre-generated photon maps to determine where more detail is necessary (directly visible objects illuminated by direct light) and areas where the global photon map approximation can be used instead (indirectly illuminated objects, corners, shadows, etc.). The data from the caustic photon map is used directly as the high density of photons used in its generation supplies enough information to accurately depict the caustic lighting. This approach produces very realistic scenes with modest efficiency improvements to pure Monte Carlo Ray Tracing. Full details can be found in the paper, "A Practical Guide to Global Illumination using Photon Map" by H. Jensen., et al.
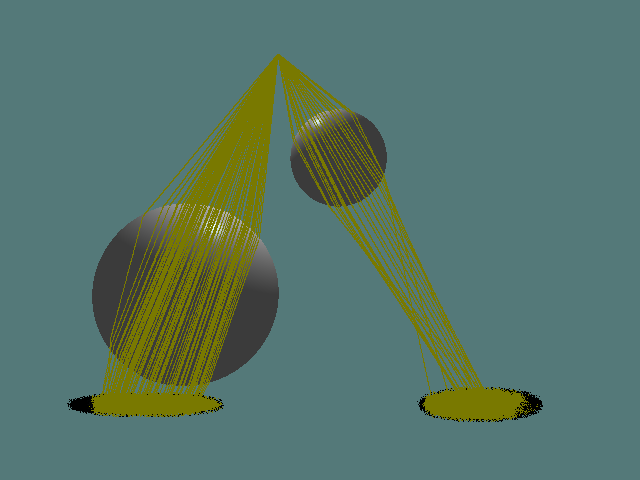
I chose to focus on the caustics photon map exclusively so I skip the entire first pass of the photon mapping algorithm, use a simple ray tracer rather than Monte Carlo, and light the majority of the scene with a simple Blinn-Phong lighting model rather than computing radiance. The images below show some visualizations of my implementation with images on the left using about a tenth of the number of photons as their counterparts on the right.
These images show the trace of each individual photon as it refracts through the spheres. Since each photon supplies such a small amount of light and even with denser samples the caustic is not very smooth, I increased the energy of each photon and then distribute the light from each photon across neighboring pixels. This 'blurs' the caustic a bit, but also helps to define the shadow produced by the sphere.
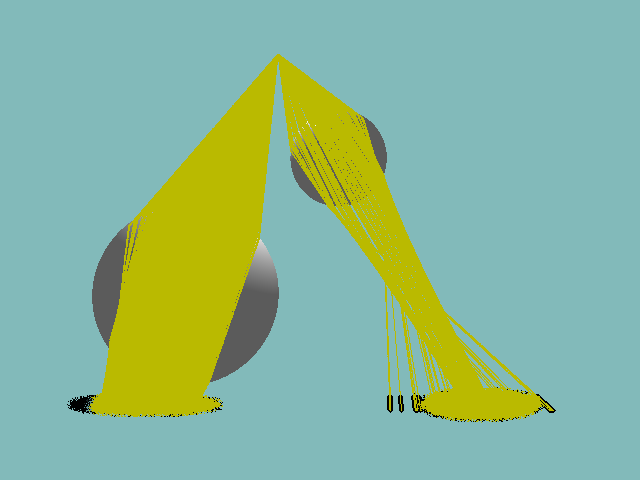
In these images I have added a more solid shadow since the 'shadow' effect produced by my blurring of the caustic photon map did not quite produce enough of a visible and clear shadow. The addition of the ground plane also helps round off the scene a bit more.
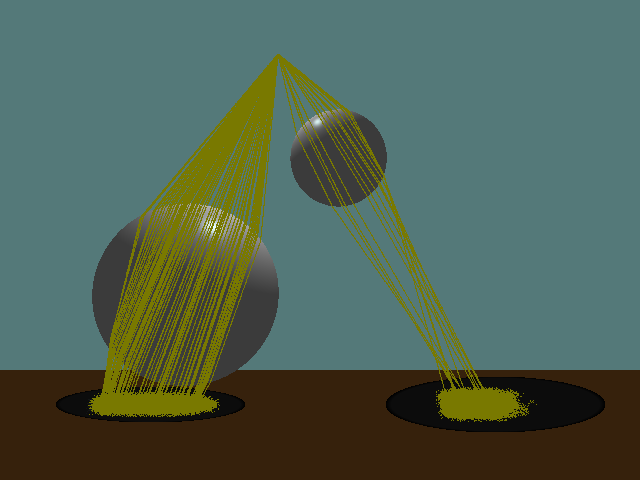
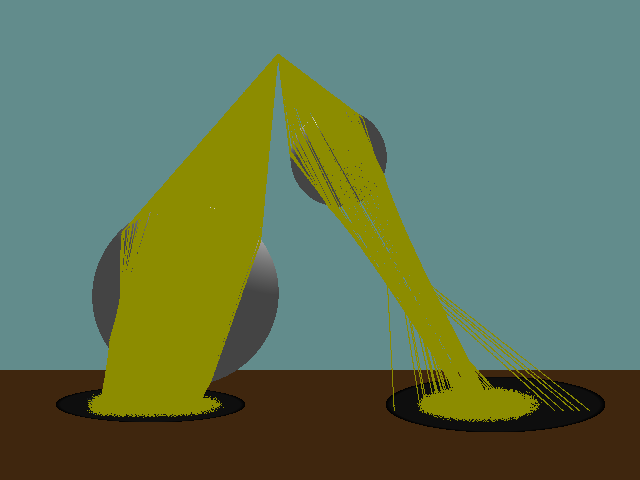
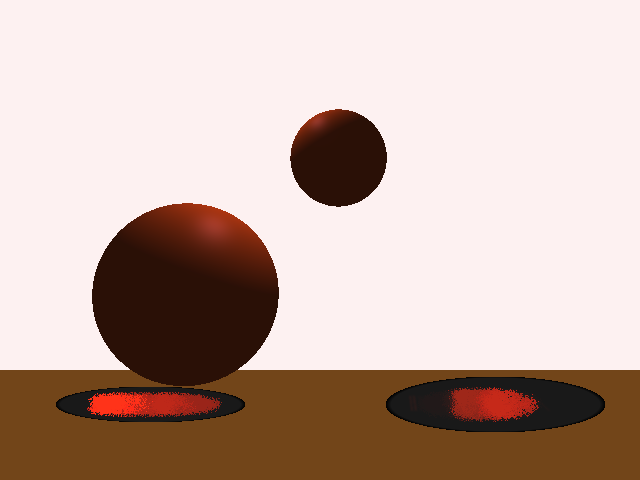
These next images show an initial full scene. The image on the left uses fewer photons with less bluring which produces a more accurate, but pixelated caustic. The scene on the right uses 10x more photons with additional bluring. These two pictures show some of the interesting variation that can be achieved by tweaking the number of photons, strength of photons, and blur amount. In particular, the photons in both of these scenes are slightly overpowered which produces more of a fake-looking, monochromatic caustic.
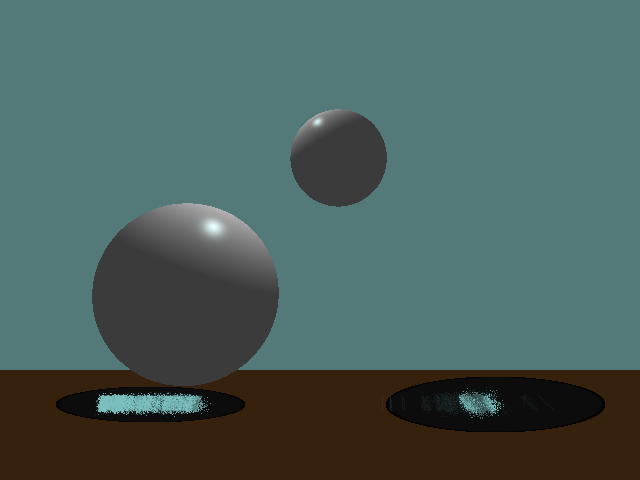
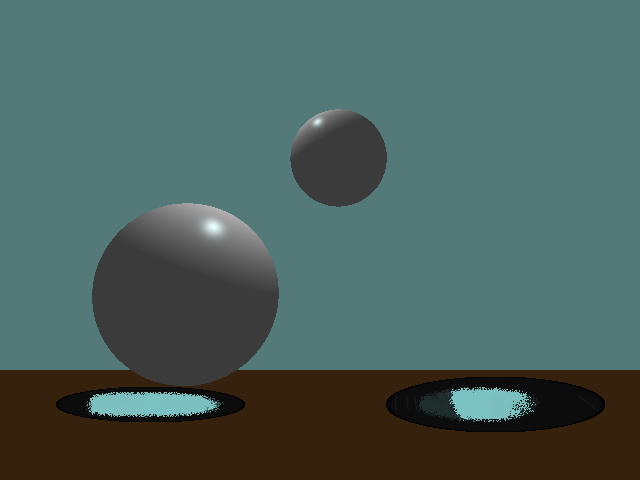
These last images show the final result of my project (on the right) compared against the reference caustic I wanted to recreate. Ignoring the glass and textured ground plane, my rendered spheres and caustics do look somewhat similar, particulry the sphere on the left with the brighter portion of the caustic towards one side of the shadow away from the light.

"A Practical Guide to Global Illumination using Photon Maps" (H. Jensen., et al)