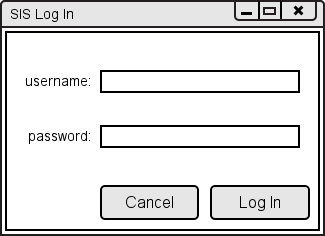
After a teacher clicks the Import Class From SIS button in the New Class window, they are presented with the following SIS Log In prompt.
Figure 2.2.1.1: SIS Log In prompt.
A teacher then enters their SIS log in information in the given text fields as below. The credentials will be checked in accordance with the SIS policies.
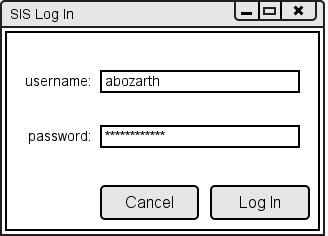
Figure 2.2.1.2: SIS Log In prompt with filled in credentials.
After the user clicks the submit button to proced to the Import Class window below. If SIS takes more than a moment to retieve the class data the dialogue seen in Figure 2.2.1.6 is displayed. If a teacher clicks the cancel button they are returned to the New Class dialogue.
![]()
Figure 2.2.1.3: The initial Import Class dialogue.
When the Import Class window first opens the a teacher first chooses a grading period from the Period drop down. When a teacher clicks the Period drop down a list of available periods in SIS is shown starting with the latest period as seen below.
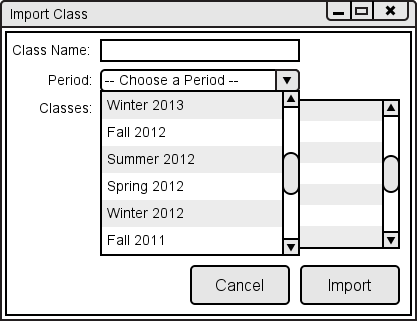
Figure 2.2.1.4: Drop-down for choosing a Period.
After choosing a Period the Classes list is populated with the list of class sections a teacher is teaching for the selected period according to SIS. A teacher can then select one or more class sections to import into their new class as seen below. When a teacher selects the section(s) if the Class Name field is empty, it is automatically filled in with the common parts of the names of the selected sections as shown below. It will continue to be updated automatically as different sections are selected until a teacher edits the Class Name field directly.
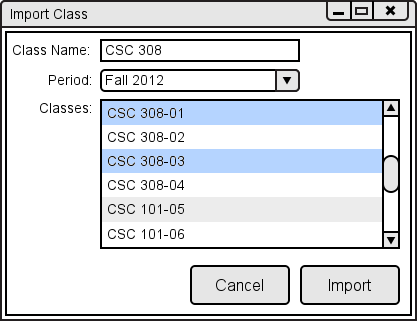
Figure 2.2.1.5: Selecting class sections.
Once a teacher has choosen the class sections they want to import and have filled in the Class Name field they click Import to import the student data from SIS into the new class. If a teacher has selected multiple sections in SIS, as seen above, they will be combined into one new gradebook. In the example above the teacher selects the two lecture sections of 308 to import, leaving the two lab sections, which would usually contain the same roster as the lecture, unselected. If the import takes more than a moment the following dialouge is displayed.
Figure 2.2.1.6: Importing from SIS dialogue.
After the class is successfully created the following Class Spreadsheet window will open, seen here after assignments and grades have been added via methods found in sections 2.4 and 2.5 of the Functional Requirements.
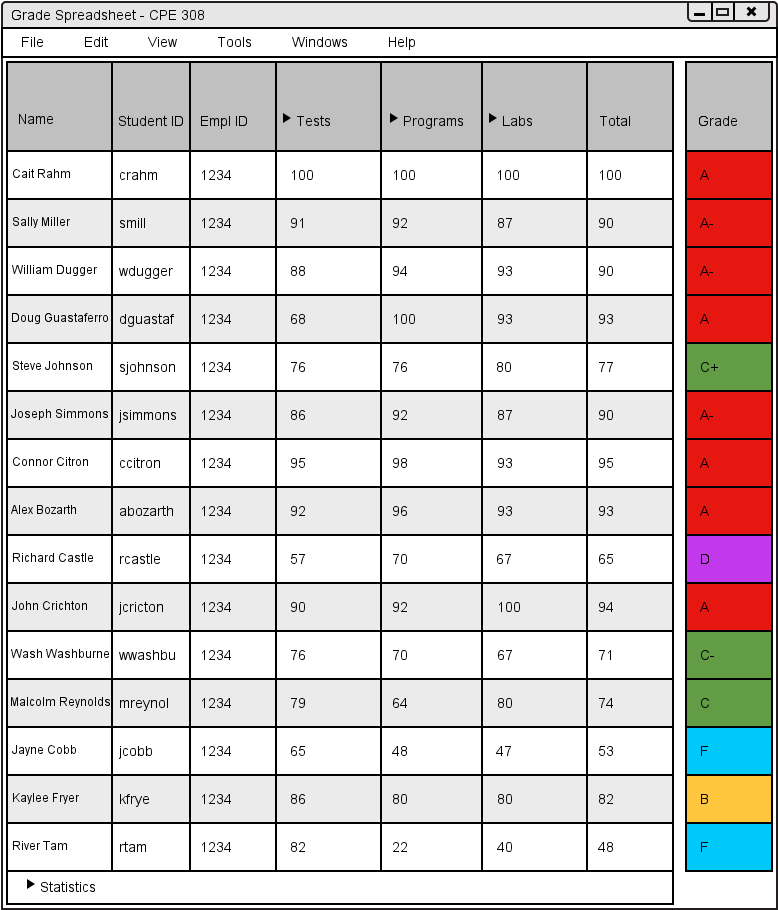
Figure 2.2.1.7: Completed Spreadsheet.