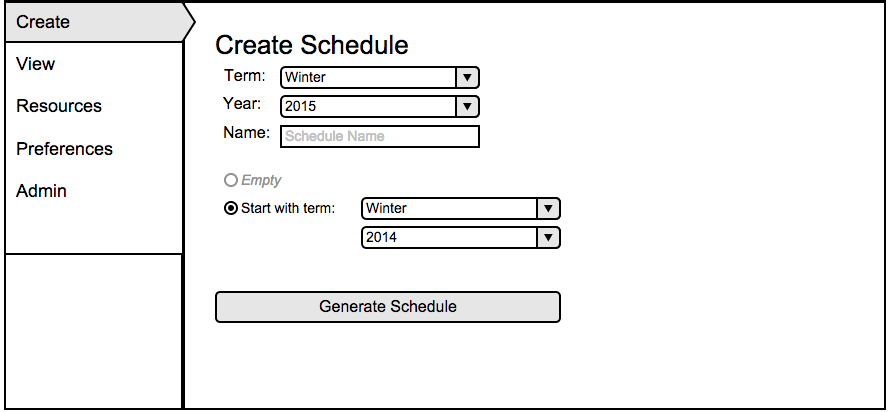
This introductory scenario shows a user generating a basic schedule. Generating schedules is one of the most commonly performed operations with the Scheduler system. In this scenario, we assume that the resources: instructors, courses, and rooms have all been set up properly, and only the normal default settings for all options. Details of setting up resources for schedule generation is covered in Section 2.4
To generate a schedule, the user selects the Create item in
the sidebar menu, whereupon the system displays the dialog shown in
Figure 9.
Figure CAS-1: Create schedule dialog.
When the user initially selects the down arrow next to the Term drop down menu, the menu shown in Figure 10 appears.
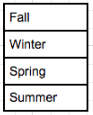
Figure CAS-2: Term menu.
When the user initially selects the down arrow next to the Year drop down, the menu shown in Figure 11 appears.
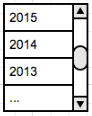
Figure CAS-3: Year menu.
The information directly under the name field is used to specify whether or not to use a previous term as a basis for a new schedule. The option to start with a previous term is automatically defaulted. Immediately to the right of the Start with term: label are two drop down menus. If it is toggled, then information pertinent to starting with a previous term changes from greyed-out to black. This information is the term and the year the user wishes to start with. If a term and year combination is selected that does not currently exist the scheduler will default to an empty schedule. By starting with a previous term, the schedule generator will use the preferences and global constraints from the term selected to generate the schedule.
If the Empty option is toggled, then information pertinent to starting with a previous term changes from black to greyed-out. By starting with an empty schedule, the schedule generator will use the preferences and global constraints currently selected to generate the schedule.
Figure CAS-4 shows an example of a completely filled in "Create Schedule" screen
starting with a previous term.

Figure CAS-4: Filled in create screen.
Figure CAS-5 shows an example of a completely filled in "Create Schedule" screen
starting without a previous term.
![]()
Figure CAS-5: Filled in empty create screen.
When the user selects the Generate Schedule button at the bottom of the display, the Scheduler system generates a schedule and redirects the user to the default view of the newly generated schedule. A basic generation of a schedule is shown below in Figure CAS-6. Details of viewing the schedule are covered in
Section 2.3.
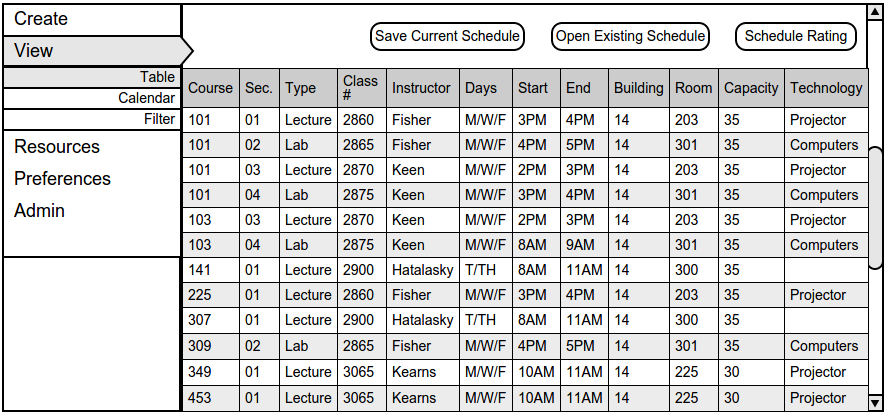
Figure CAS-6: Table view.
The Scheduler system uses instructor preferences, as well as department-level preferences in order to generate the best schedule it can. Modifying these preferences allows the user to put constraints on schedule generation. Details on modifying preferences are covered in Section 2.5.
If the resources are not properly filled in while attempting to generate a new schedule, the error message, shown below in Figure CAS-7,
will pop up and the user will be redirected to the managing resources option upon clicking OK. In order to avoid this error message, there must be at least one instructor, course, and room inputted.
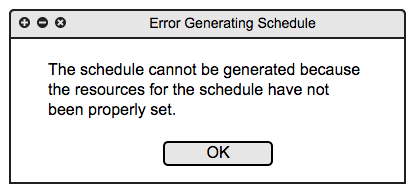
Figure CAS-7: Error generating schedule.