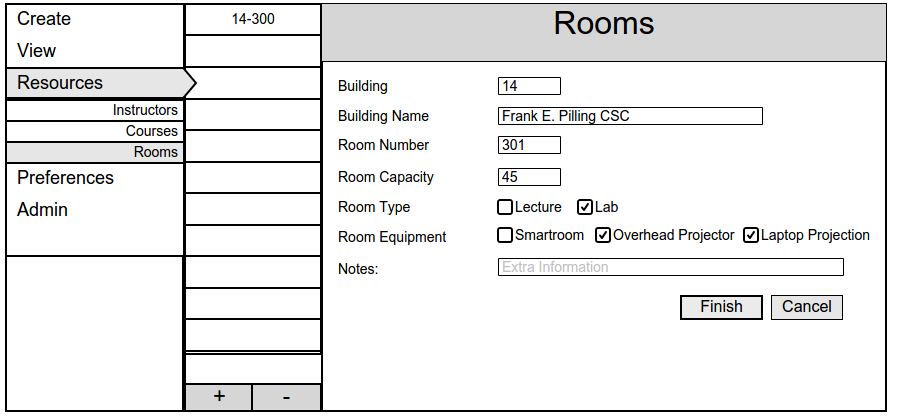
Figure MR-4: Filled In Fields for Room.
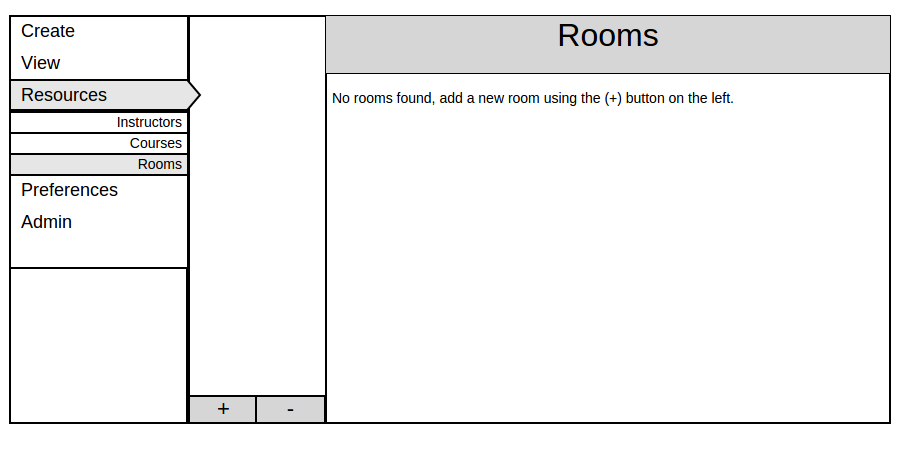
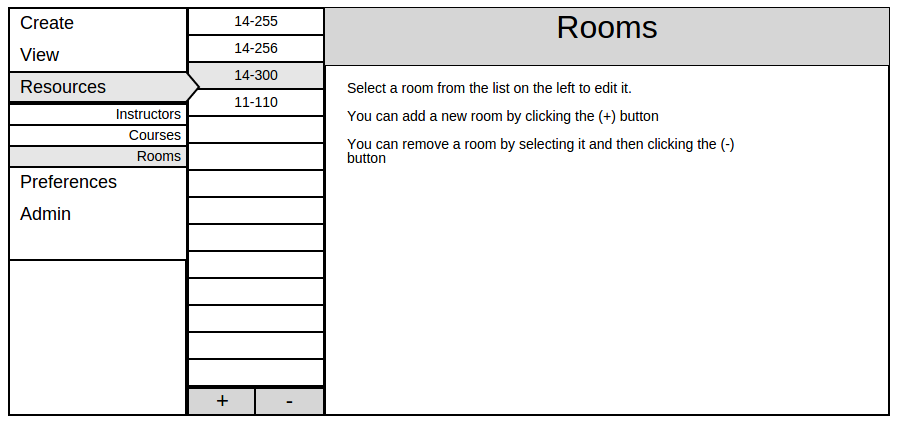
After the Resources tab is selected in the navigation panel, options for Instructors, Courses, and Rooms are presented. When the admin selects the Rooms tab for the first time, the message shown in Figure MR-1 will be displayed. Once rooms have been added to the database, the screen seen in Figure MR-2 will be displayed when the admin clicks the Rooms tab.
This scenario shows an admin adding a room. Rooms are part of a building, have a number, have a capacity, have a type, have certain extra equipment, and can have an optional note. Rooms are identified by the combination of "Building Number" and "Room Number" which must form a unique pair.
The admin clicks the + button to add a new room. The system responds with a form to add a new room, as shown in Figure MR-3. The Finish button is grayed out until all required fields have been filled.
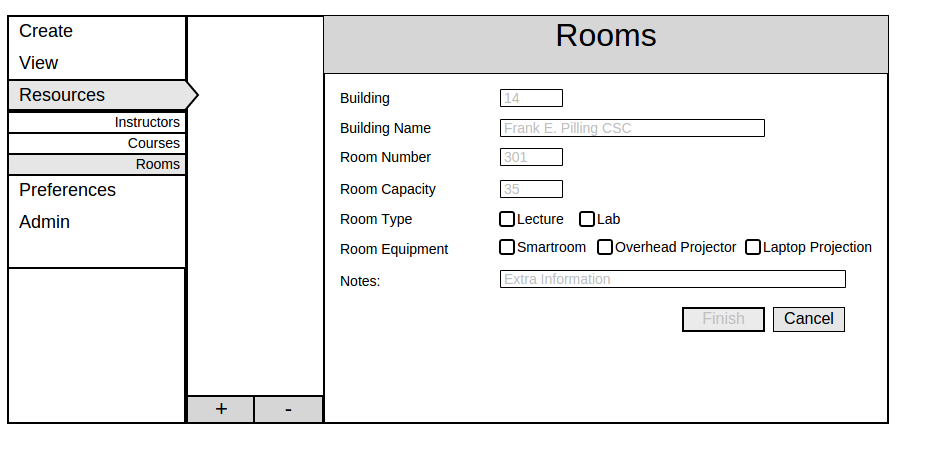
Below is a description of the fields. Starred (*) fields are required:
Figure MR-4 shows the filled in room form.
If the user clicks the Finish button, the room will be added. If the user clicks the Cancel button, two different actions may occur:
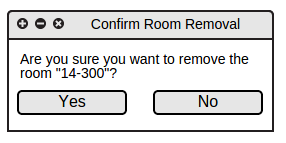
Figure MR-5 shows the alert that will be displayed in case (2) above. If the user cancels the alert, they will be able to continue to edit the form. Otherwise, they are taken back to the room listing and the room information is completely discarded.
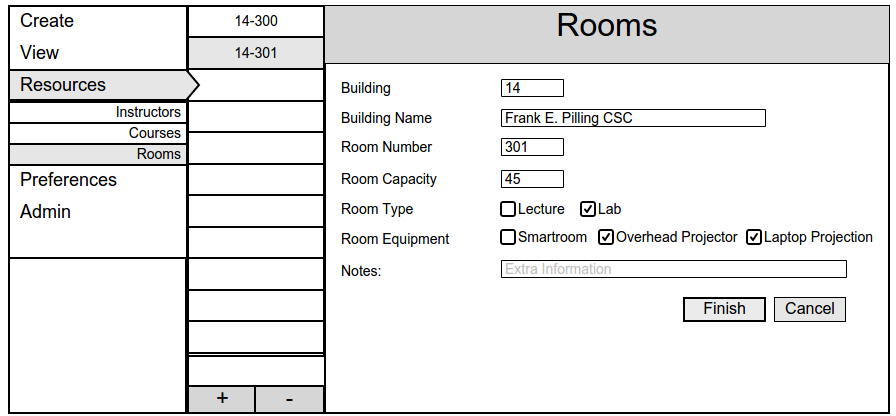
After a room has been added to the database, the admin presses + to add another room. Figure MR-6 shows a second room being added.
Figure MR-7 shows the second room now in the database.
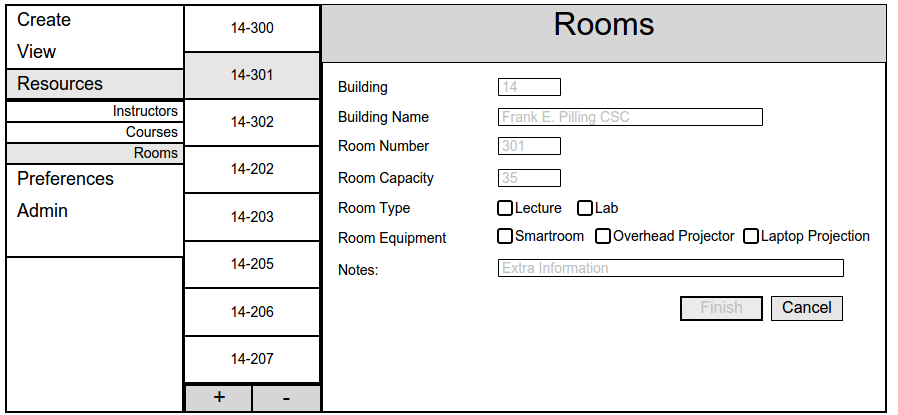
Once all the rooms are added to the database, the rooms listing appears as it does in Figure MR-8.
This scenario shows how an admin may edit a course. If any required fields are erased during editing, the Finish button will be grayed out until they are refilled. Pressing finish will commit the changes to the database. Pressing cancel has the same behavior as in "2.4.3.1 Adding a Room."
The user selects the room they would like to delete in the room listing.
The user clicks the - button below the listing. The system will display the dialog shown in Figure MR-10, which asks the user to confirm that they would like to remove the room. The user clicks OK to remove the room or Cancel to leave the room intact.
After the admin selects an option on the dialog, the dialog will close and the room listing screen will remain open. If the admin chose to remove the room, it will no longer appear in the room listing.