After the Resources tab is selected, options for Instructors, Courses, and Rooms are presented. When the Courses tab is selected, the courses added to the database are presented. The scenarios in this section show a user managing courses by adding, editing, and deleting courses.
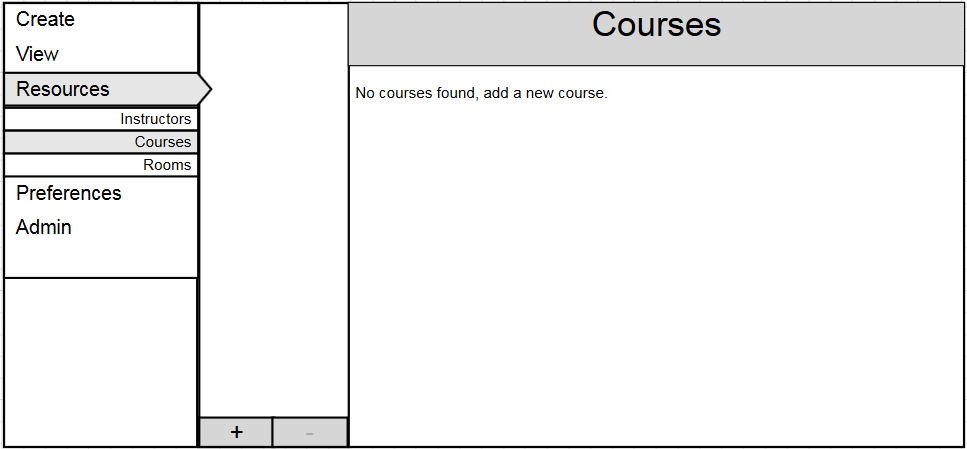
When the user selects Courses for the first time, the program displays the screen show in Figure MC-1.
Figure MC-1: Empty course view.
When there are no courses in the database, the middle panel is empty. The middle panel displays all of the courses that have been added.
The Minus button at the bottom of the middle panel is grayed out to show there are no courses to remove.
On clicking the + button at the bottom of the middle panel, the administrator is prompted to add a course, as shown in Figure MC-2. More on adding a course in Section 2.4.2.1.
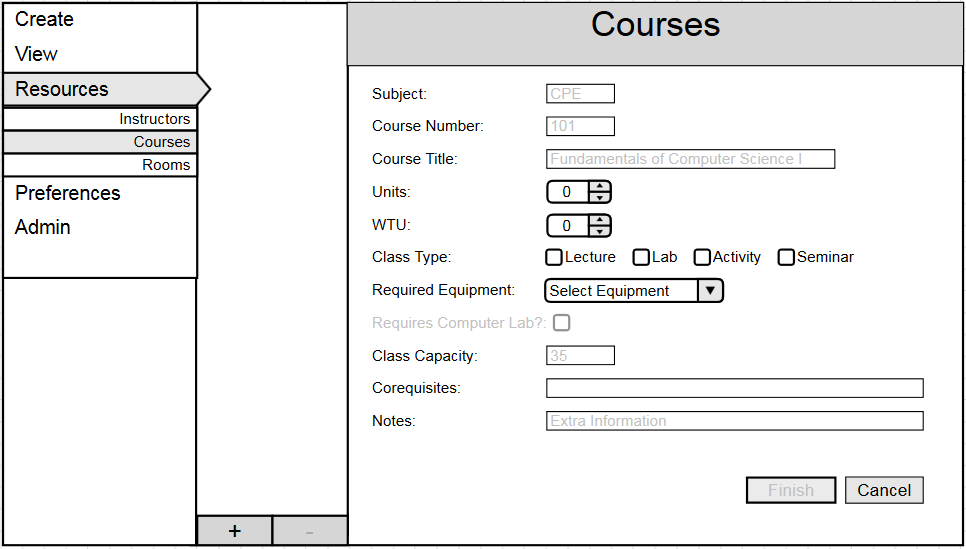
Figure MC-2: Add course dialog.

Figure MC-3: Course view for populated database.