The following image, Figure 2.3.1, depicts what the author of the tutorial initially sees upon choosing to add a new tutorial from the High Level Manager.
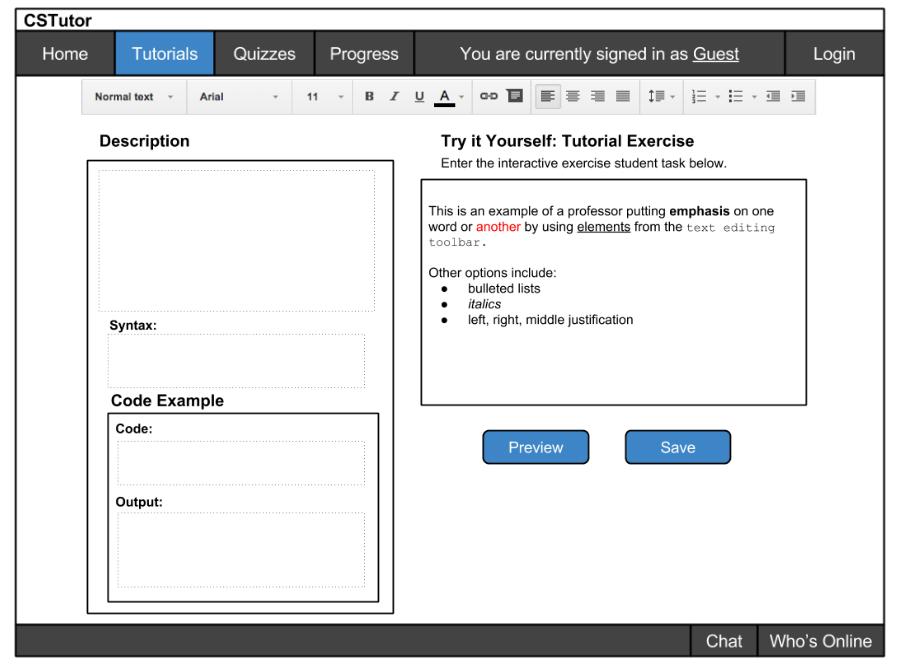
The Description, Code Example and Try It Yourself sections of the page are all text inputs for the author to input their material.
The Description box is intended for authors to briefly summarize the topic in general terms, allowing for a definition and syntax example. The definition tells students what the topic is for and the syntax example shows them how to use it by providing the general structure. An example of this is shown in Figure 2.3.2.
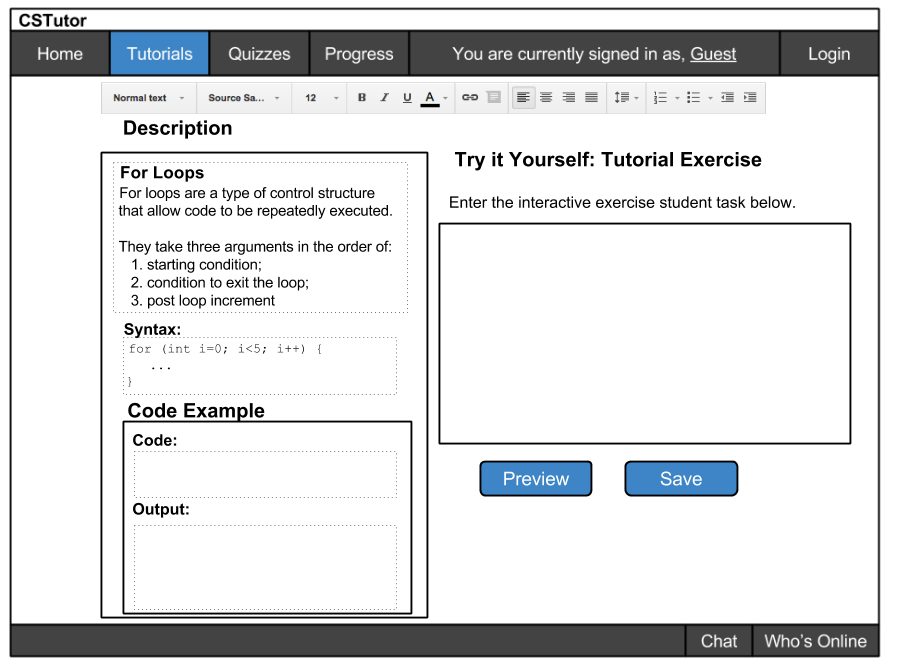
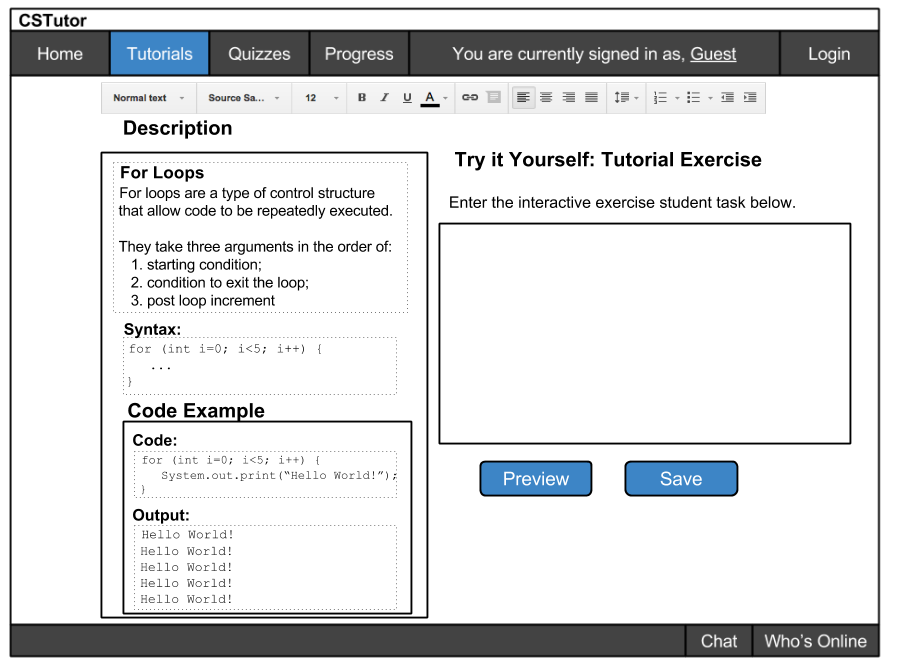
Furthering the description, the page includes another input for a Code Example, which shows how the topic is used, as expressed in Figure 2.3.3. It's meant to include an example output so the student are able to see what the example code produces for output.
Finally, the last type of text entry for this page is the Try It Yourself section where authors are expected to provide the prompt for a coding exercise that the students will try for themselves. Ideally, authors will also include the expected output so the students know exactly what they're trying to acheive, though this is optional.
Clicking on the "Save" button saves the newly edited/created tutorial page and adds it to the tutorial track.
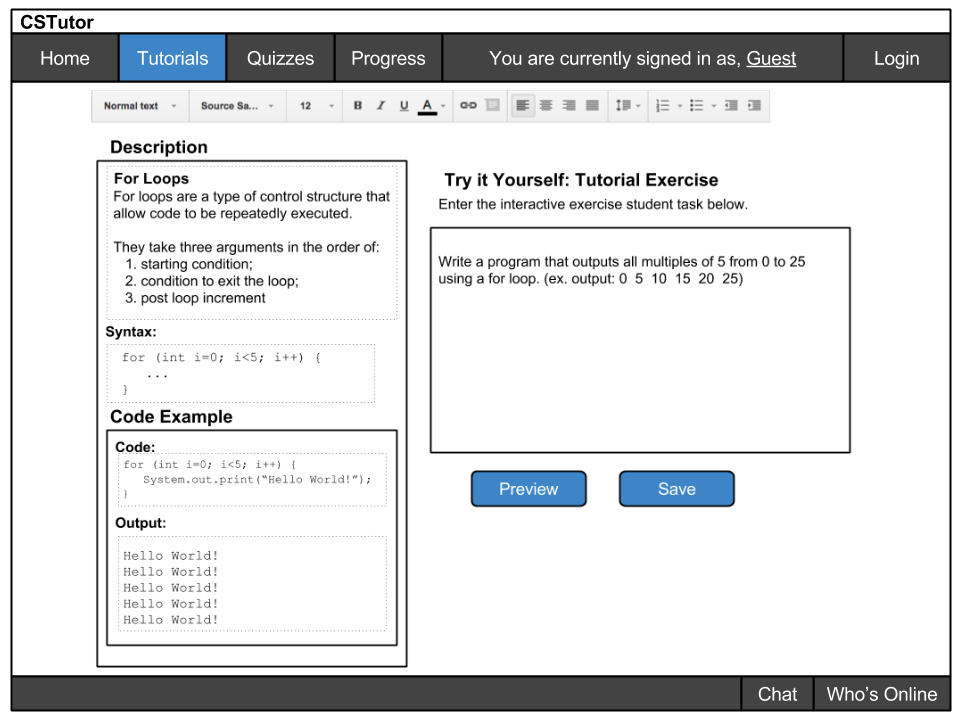
Figure 2.3.4. shows what is done up to this point.
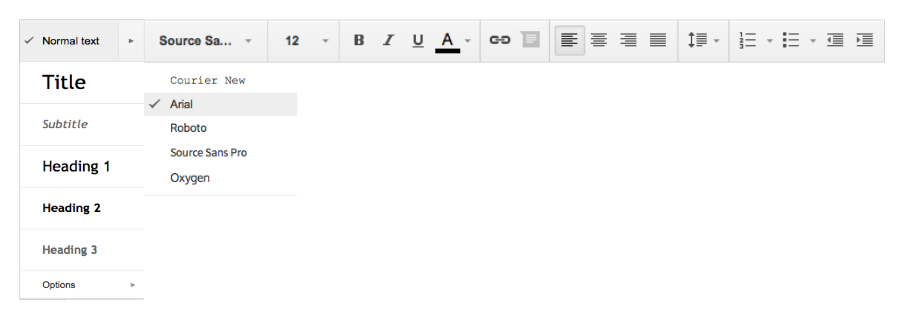
The included toolbar, as shown in Figures 2.3.5 and 2.3.6, allows authors to format text in any of the text input boxes. Authors have the ability to emphasize phrases by bolding them, choosing different heading styles, as well as chang the font style, which typically helps for the clarity of example code. Certain text boxes such as the Code Example, Syntax, and Output may default to a monospace font.
Clicking the "Preview" button from the tutorial editing page directs the author to an example of the page as the student sees it, shown in next section, Student interaction with a tutorial.