From the Select Schedule view in section 2.5.1. Select Schedule to View/Edit, the administrator may remove schedules from the Scheduler tool.
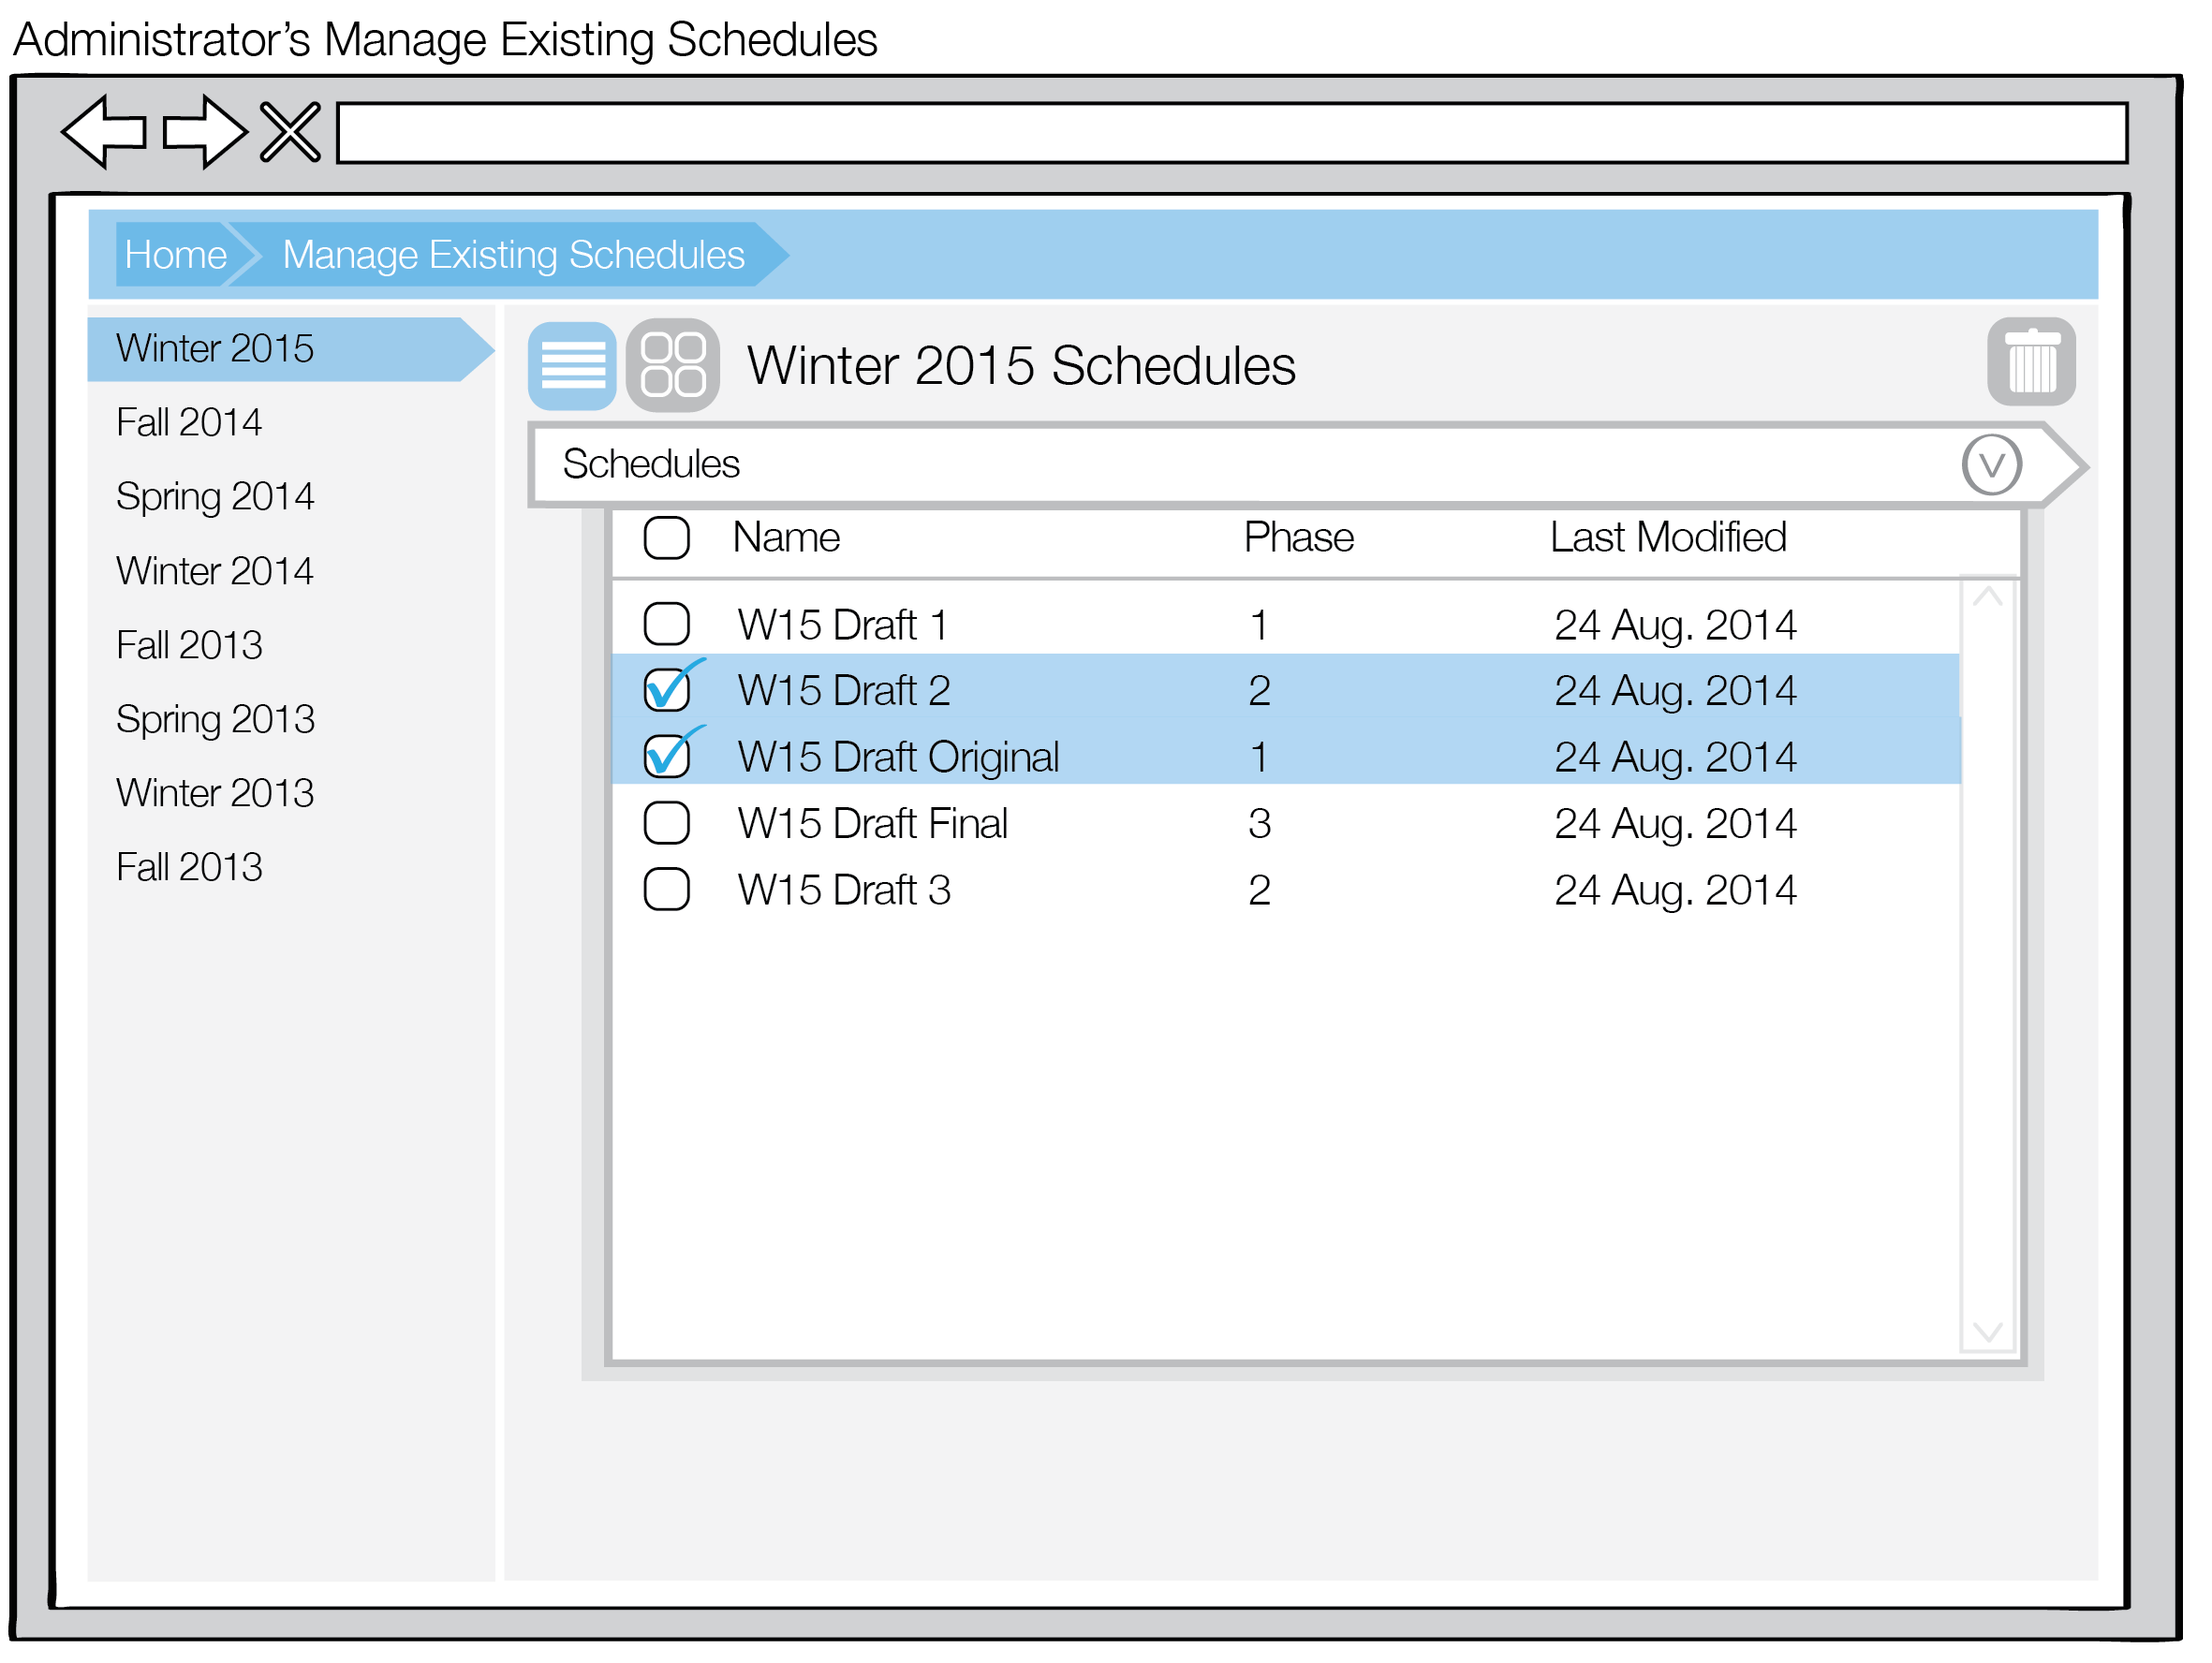
From the list view in Figure 1 in section 2.5.1, the administrator can choose which schedules to remove by checking the checkboxes beside each line item, as shown in Figure 1.
Figure 1: Choose schedules to remove from list view
The administrator can also select schedules for removal similarly on the grid view, as shown in Figure 2.
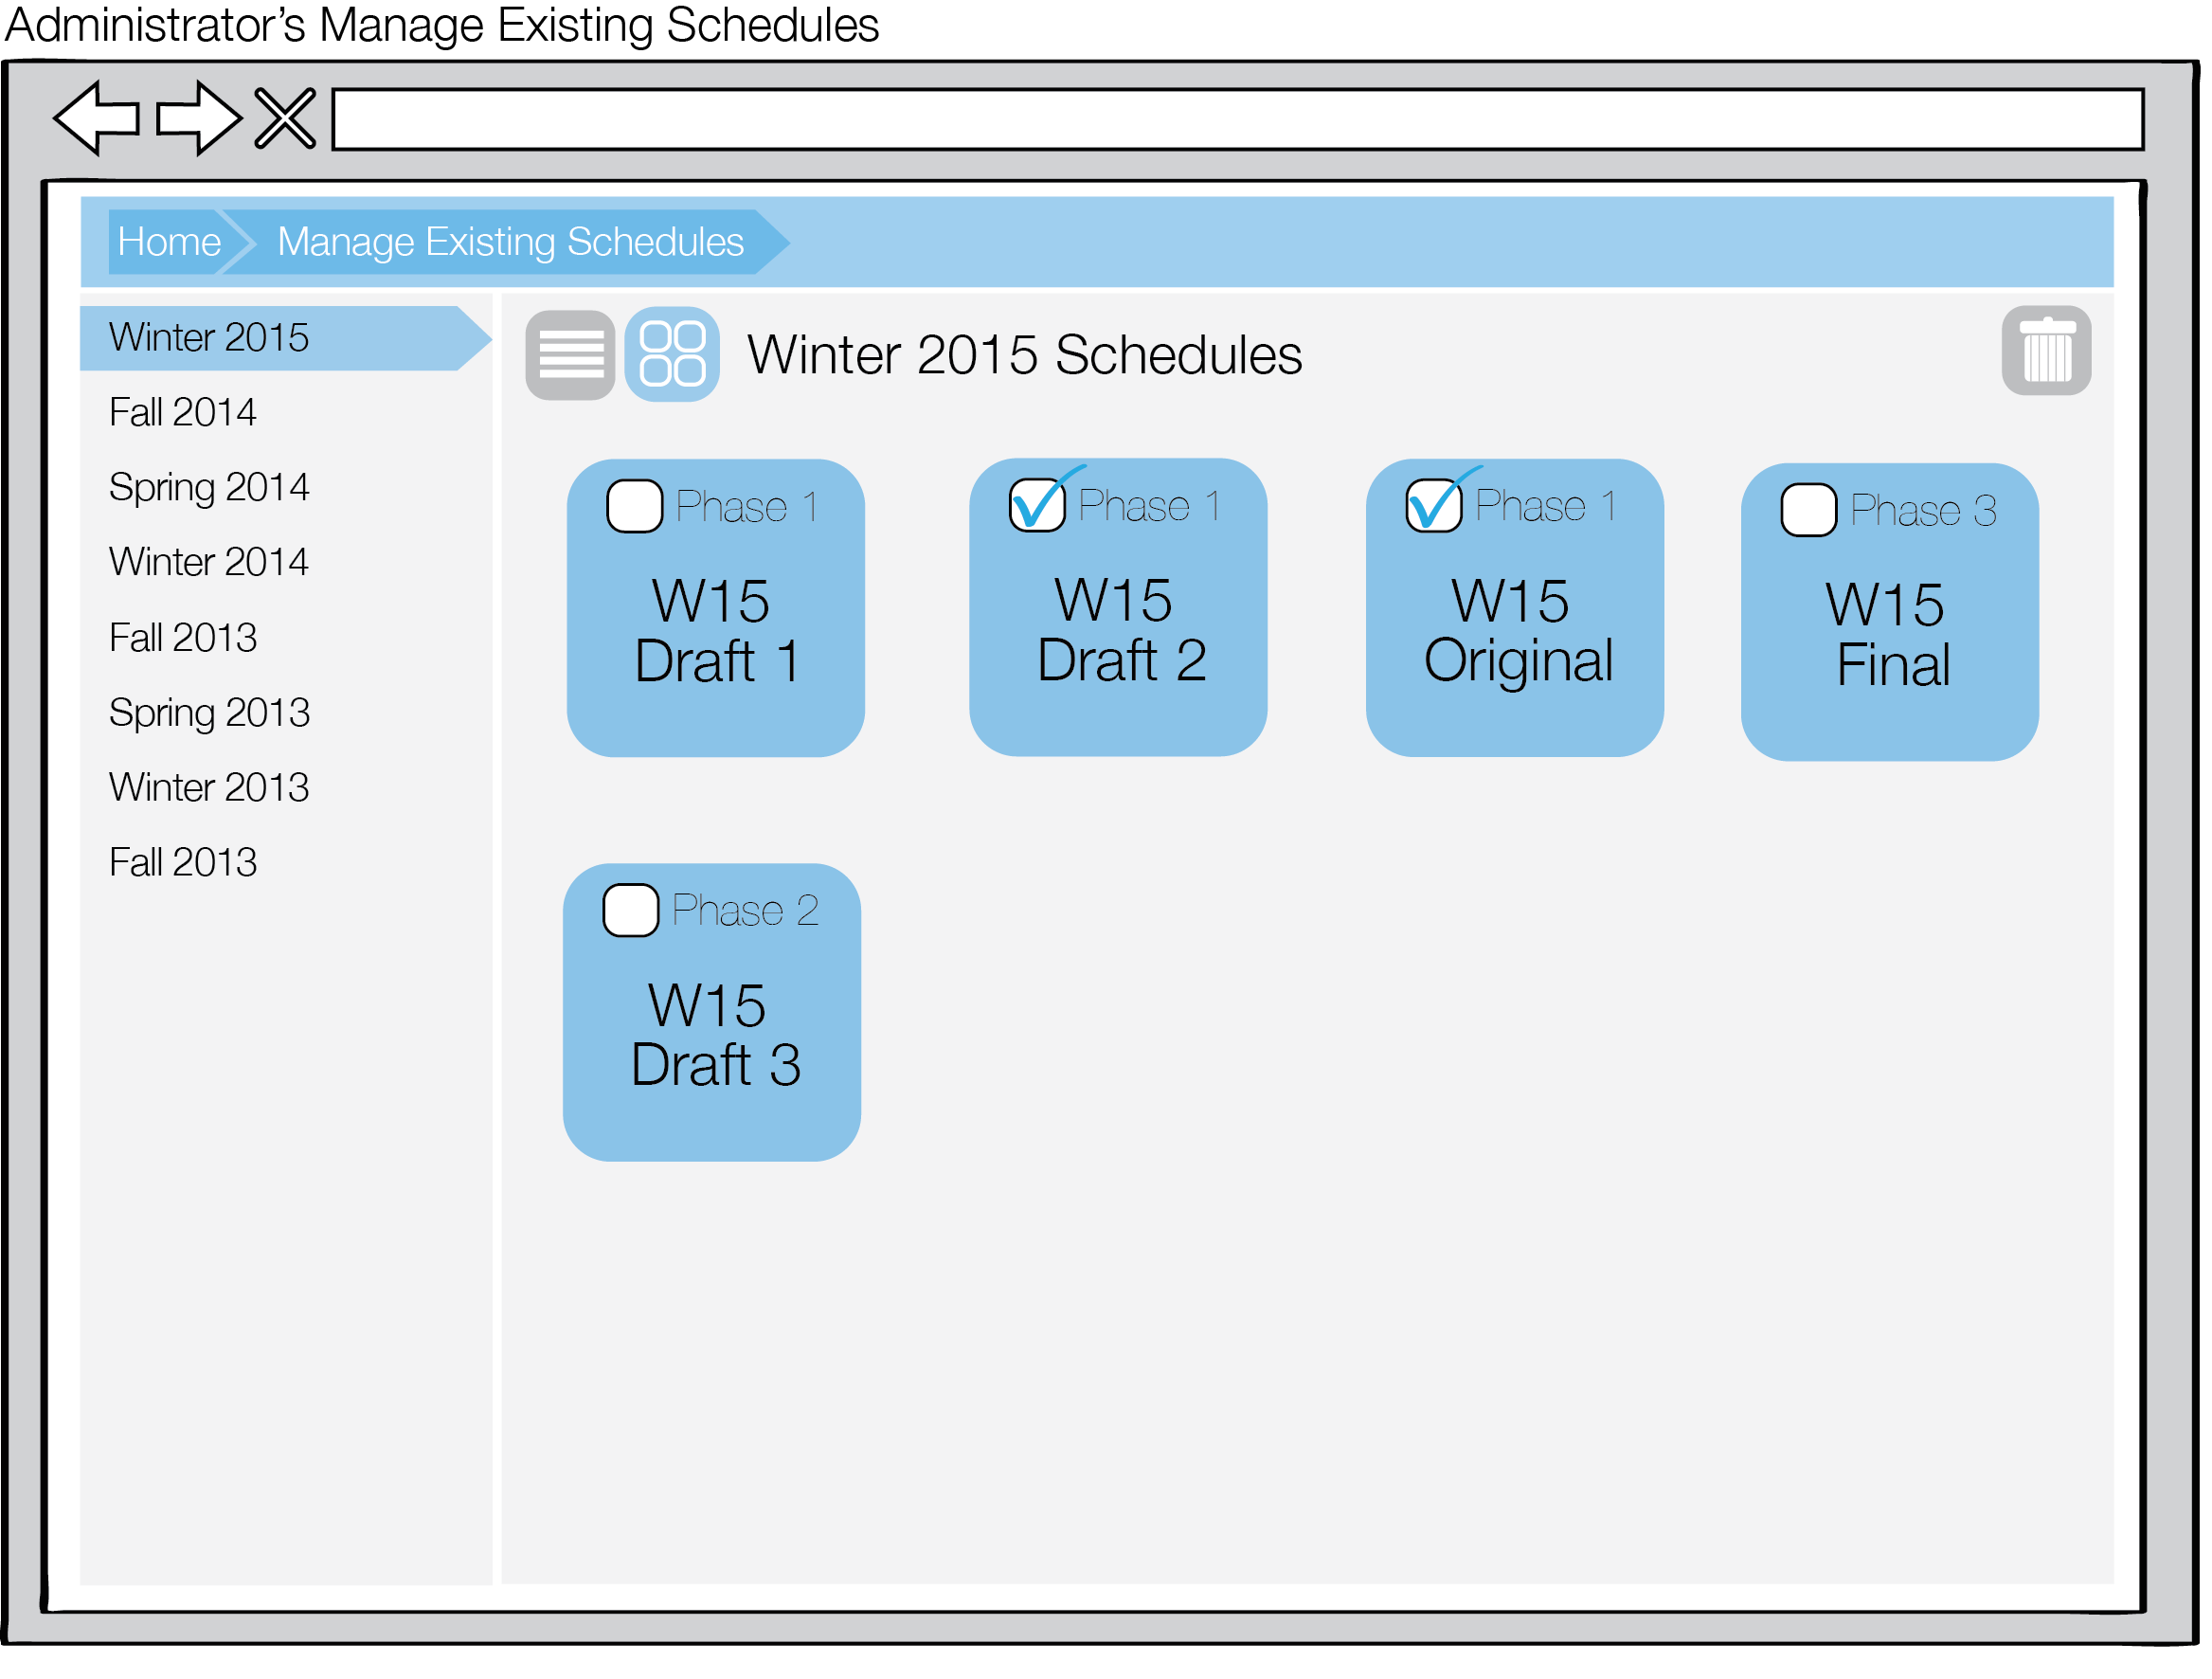
Figure 2: Choose schedules to remove from grid view
Once the administrator has selected schedules for removal, he/she may click on the Trash button on the upper right hand corner. A removal confirmation dialog appears, as shown in Figure 3.
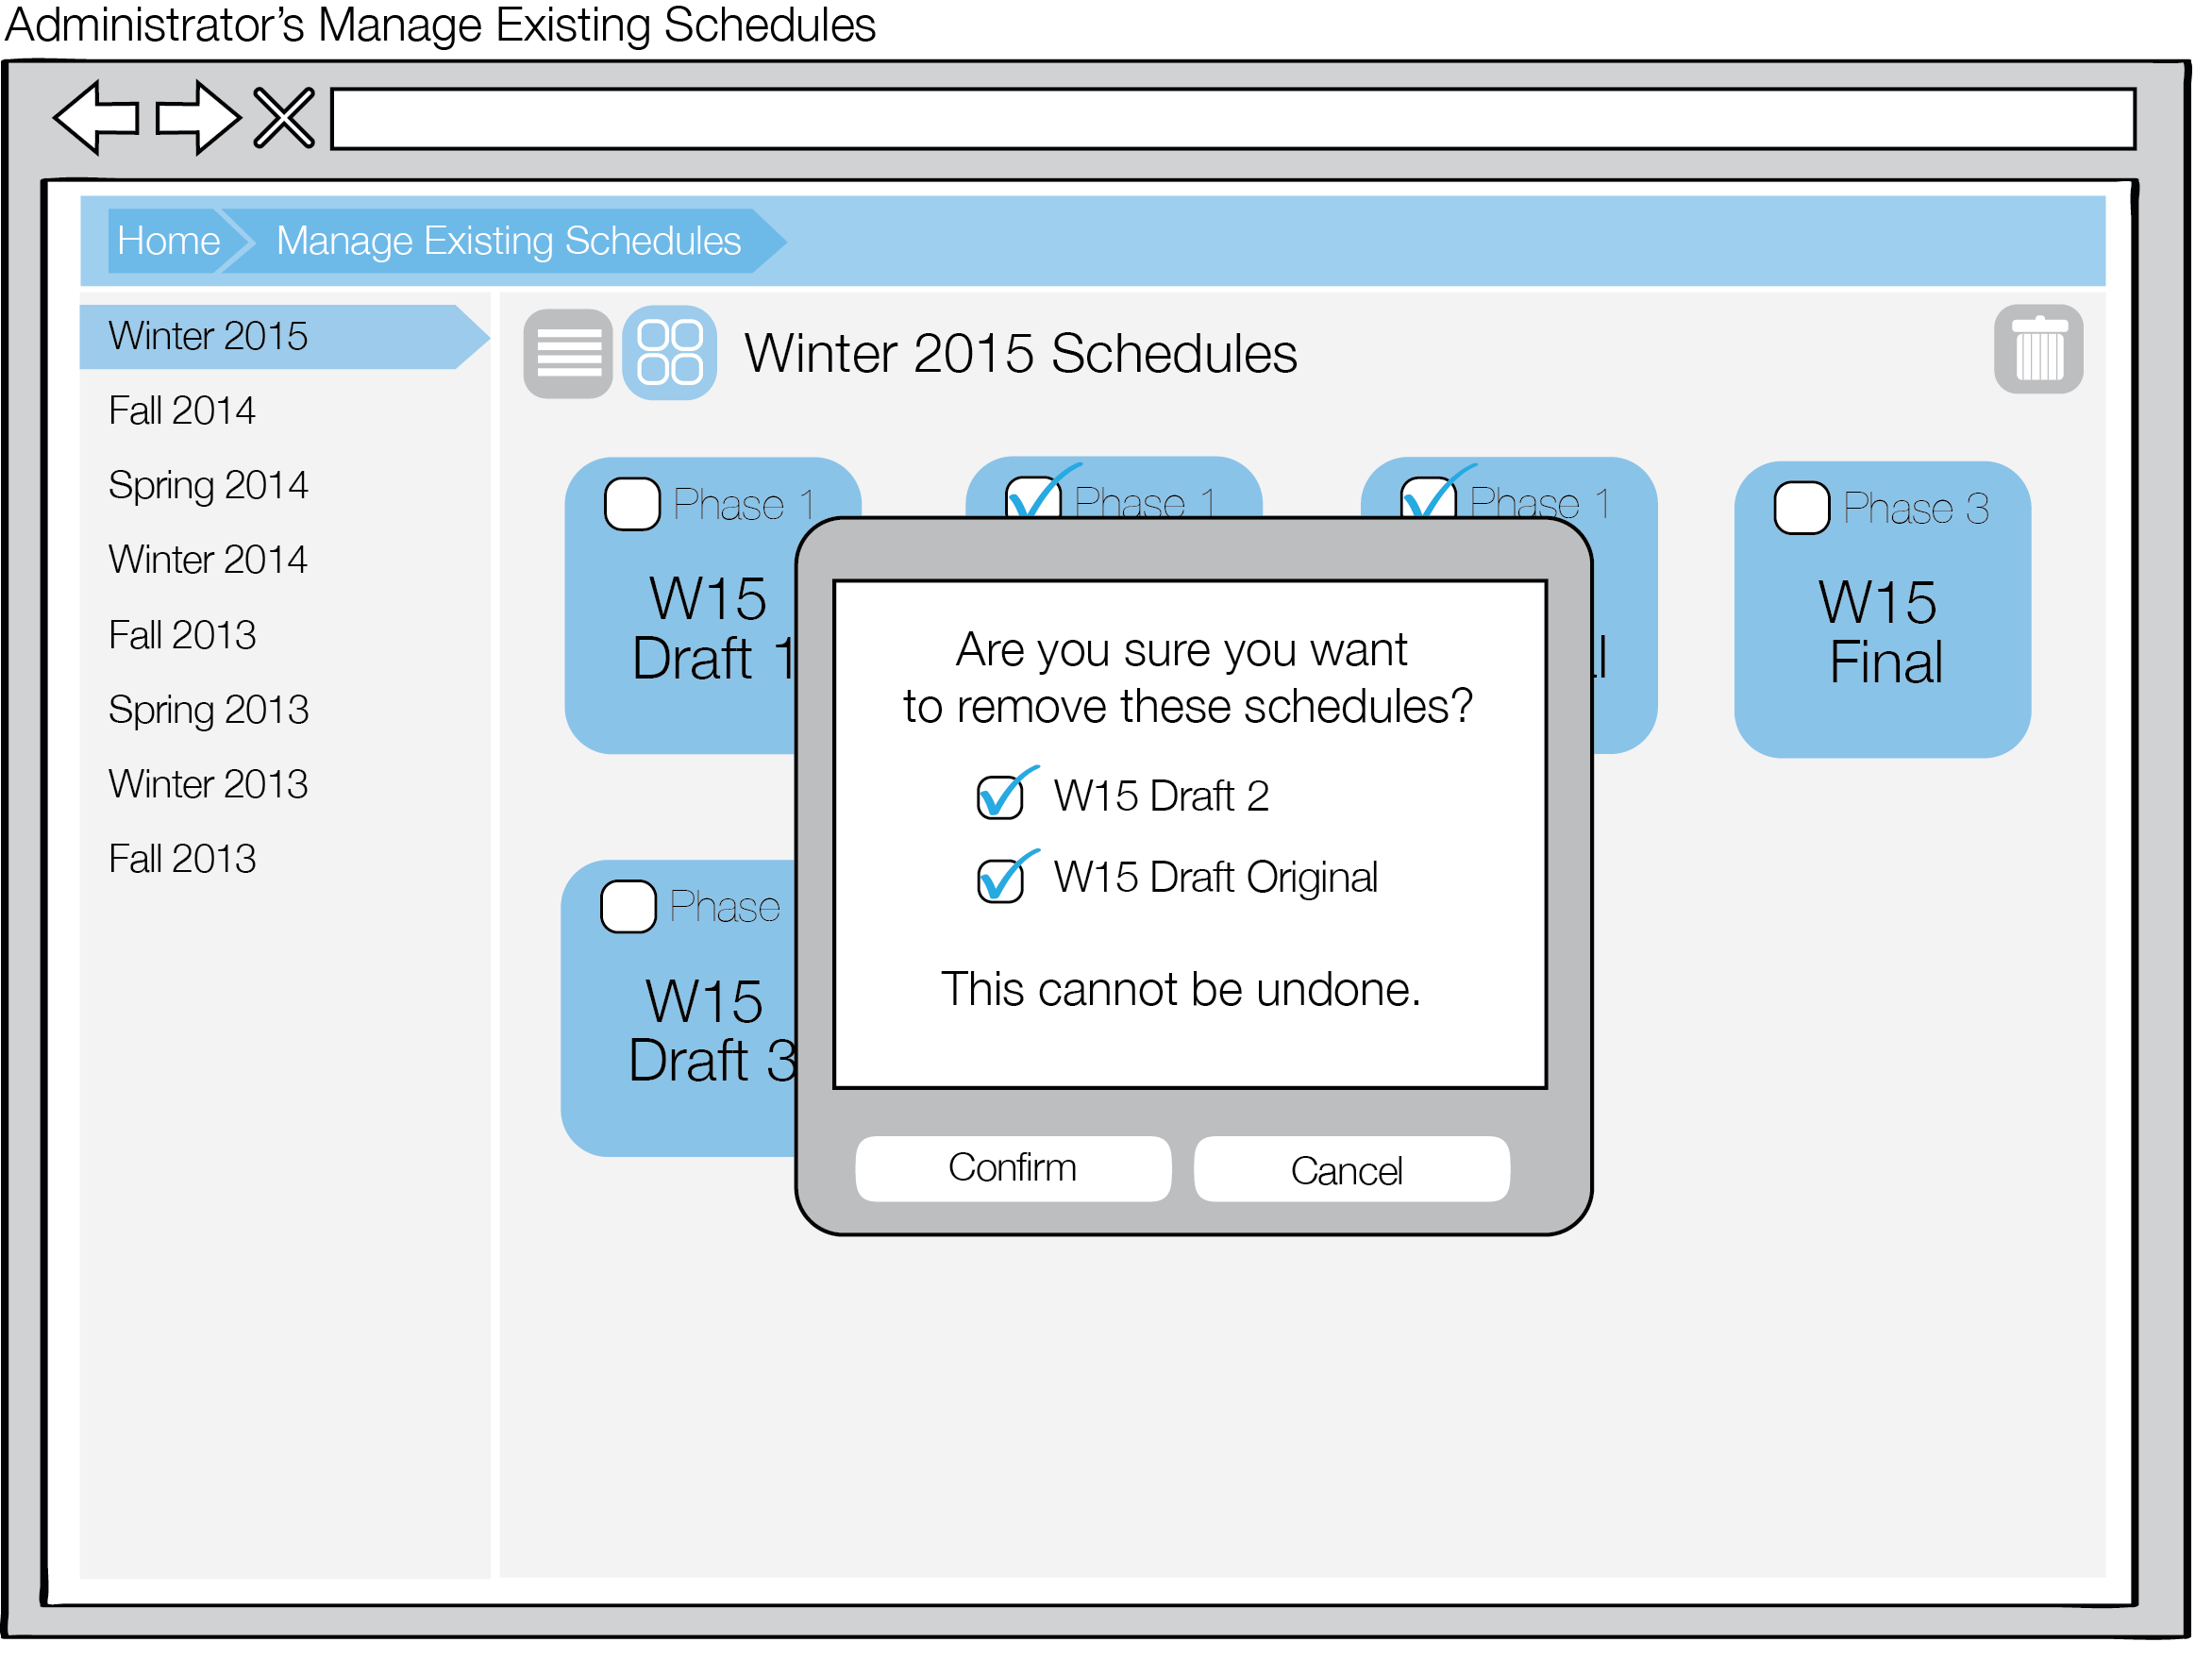
Figure 3: Schedule removal confirmation dialog
The removal confirmation dialog includes the list of selected schedules for the administrator to check or uncheck again. Clicking Cancel dismisses the dialog and returns the screen to Figure 2. Clicking Confirm dismisses the dialog and removes the schedule(s) from the grid and list views, as shown in Figures 4 and 5.
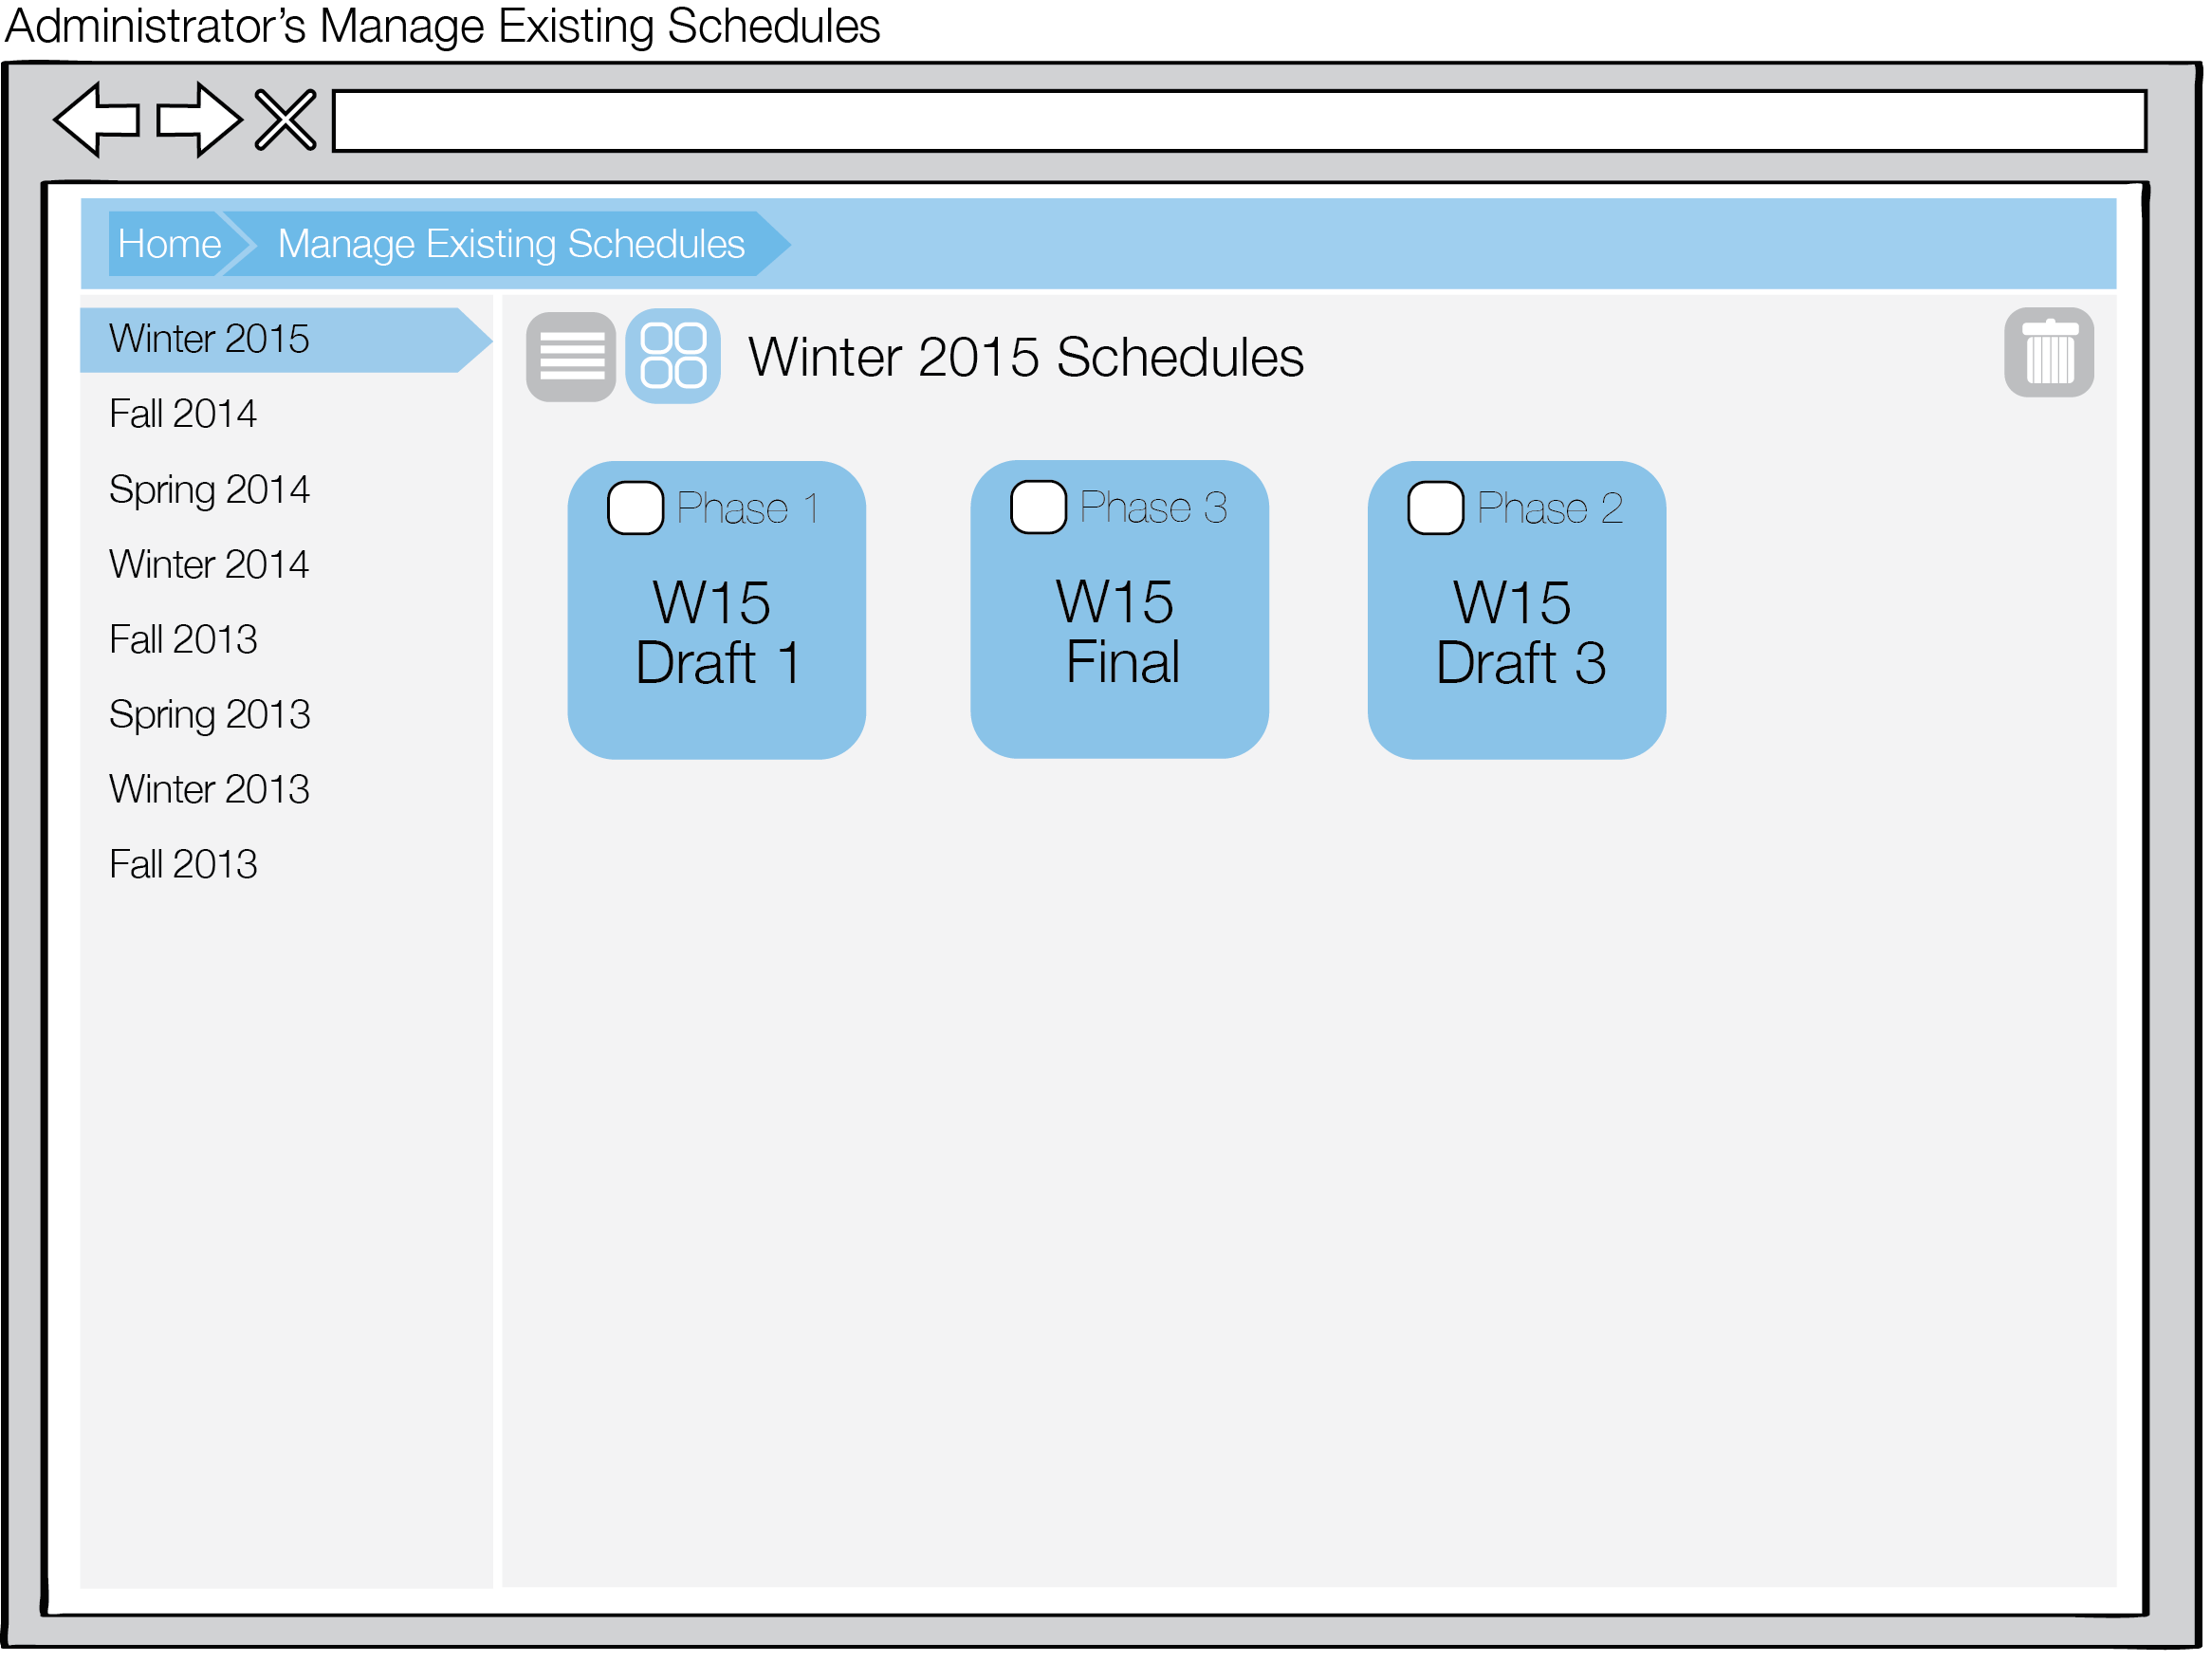
Figure 4: Grid view after removing schedules
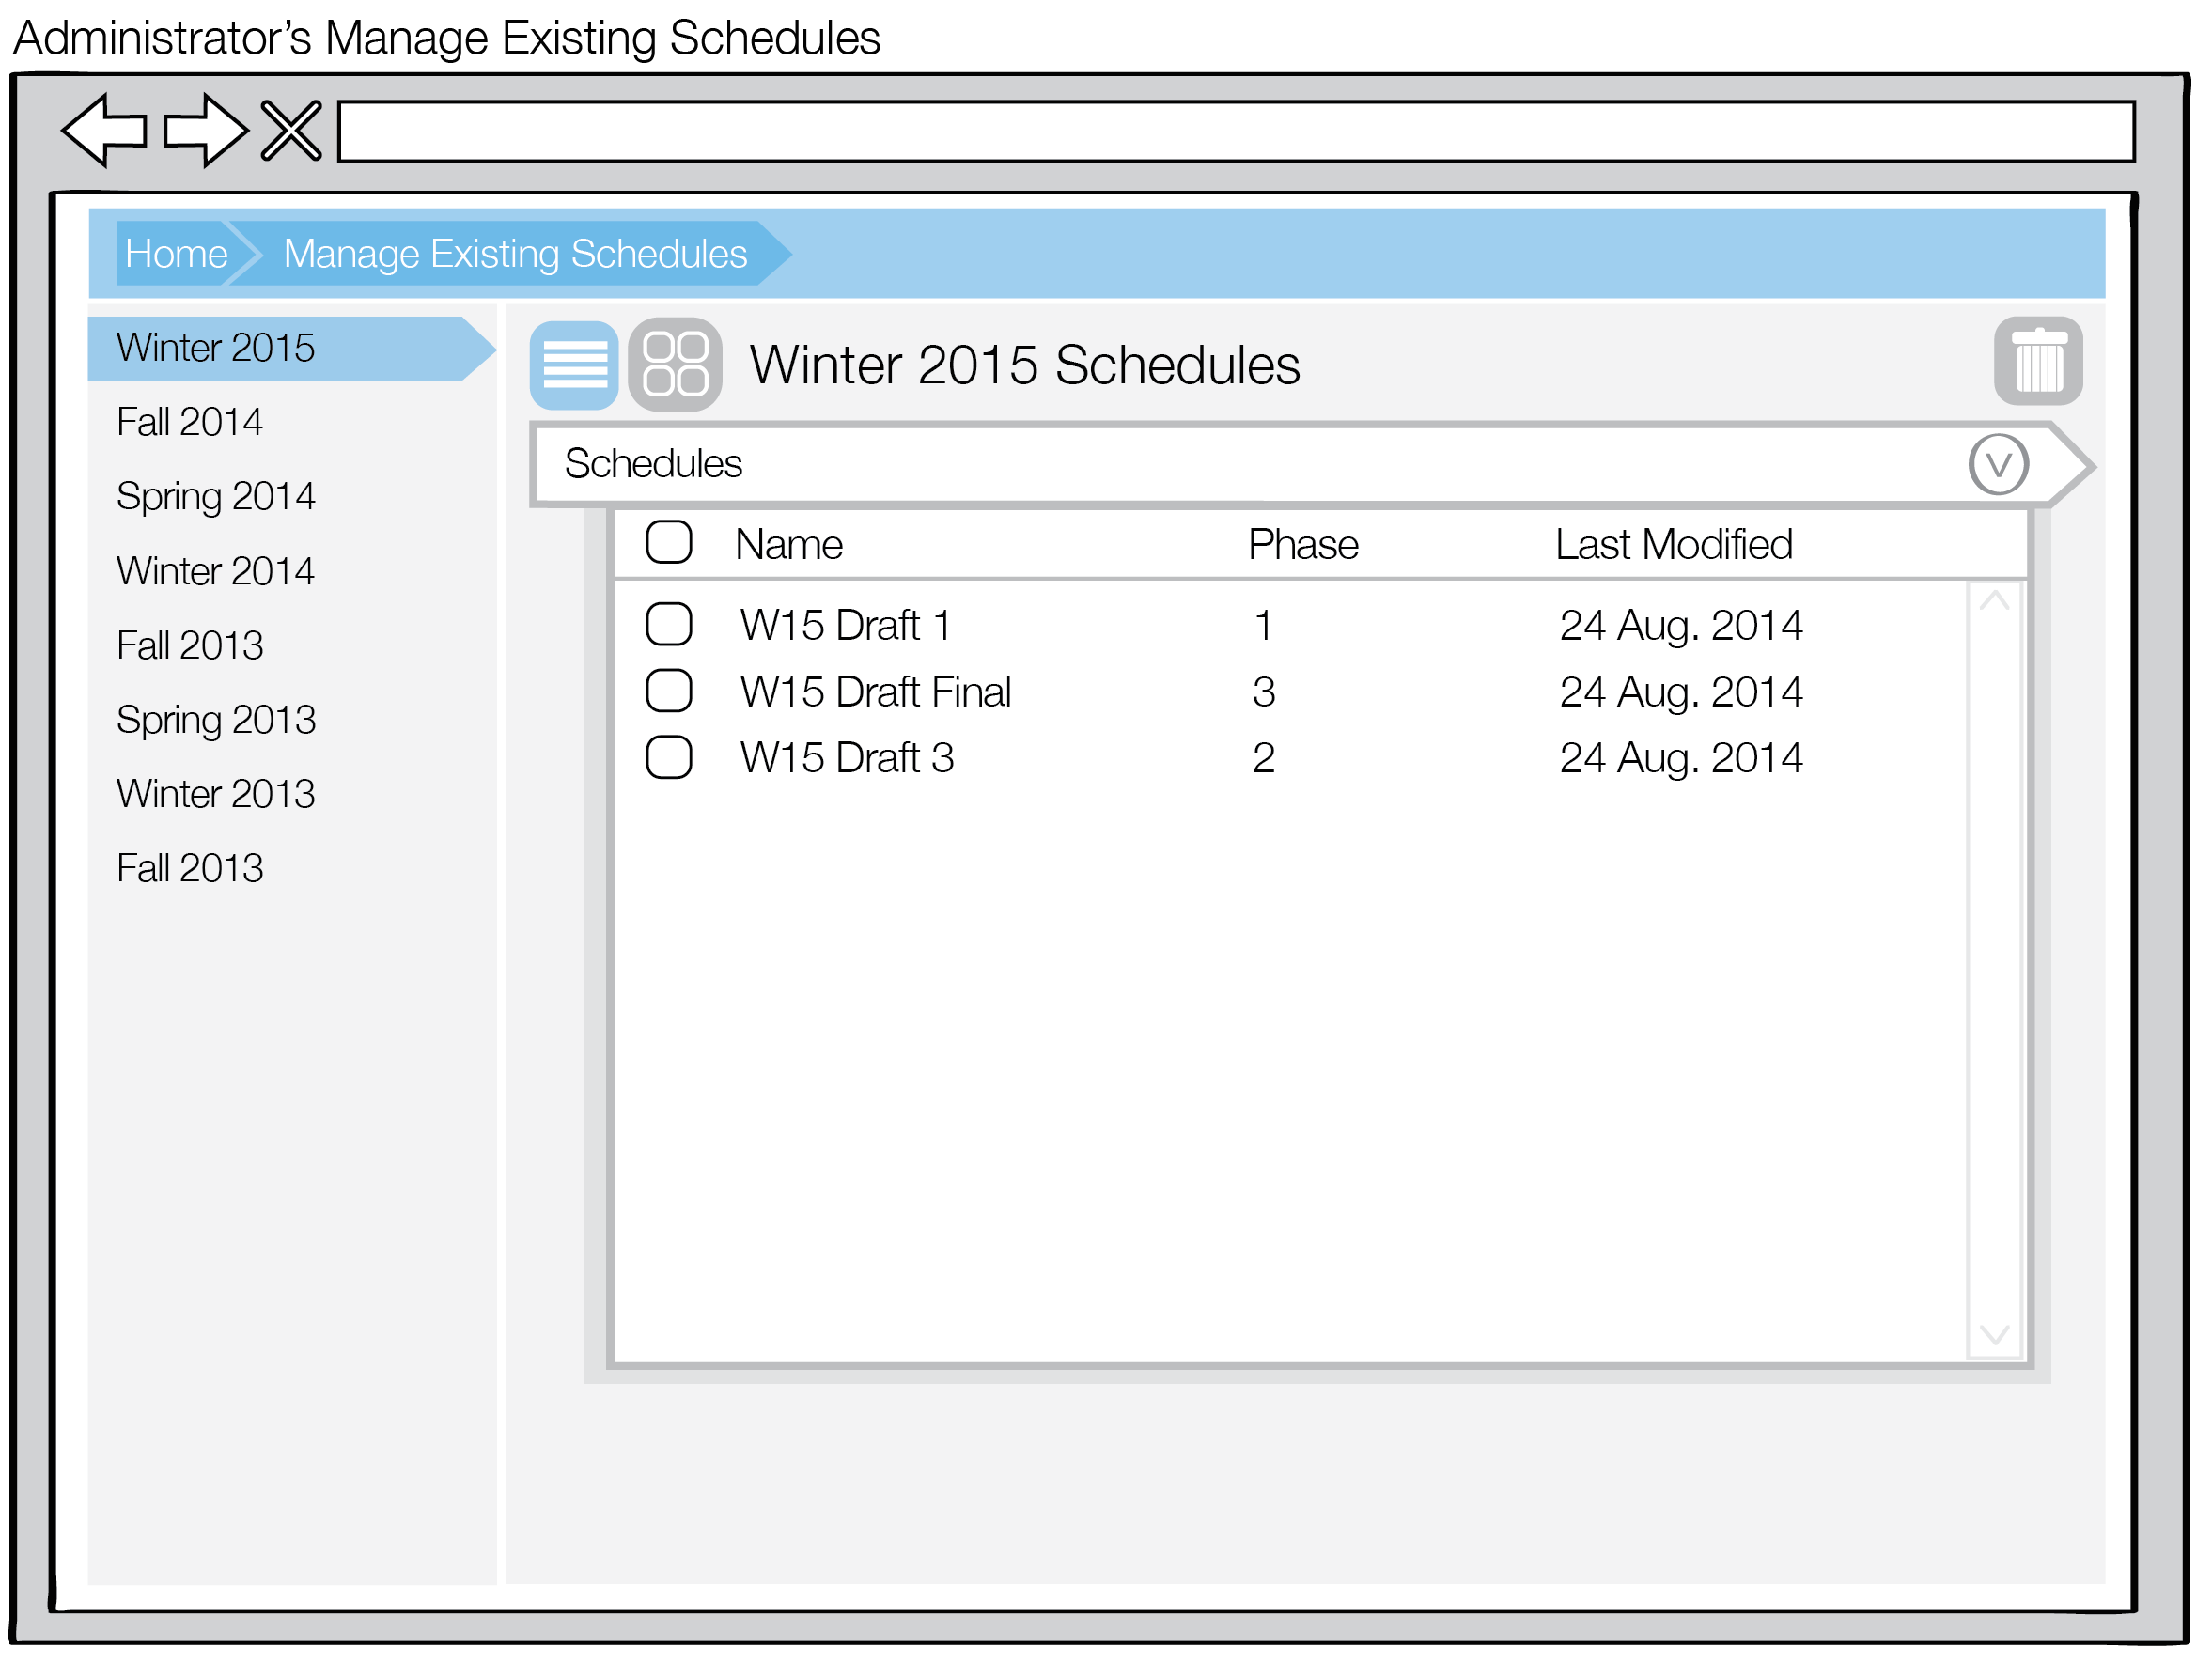
Figure 5: List view after removing schedules