This section discusses the use of the Chat Tool, which is located on the right side of the application window of the student's screen after he has logged in (discussed in Section 2.1) and selected a lecture to view (discussed in Section 2.4) or the instructor's screen after he has logged in (discussed in Section 2.1) and launched a live lecture (discussed in Section 2.3). The functionality of the Chat Tool is exactly the same for an instructor as it is for a student. The following examples refer to the user as a student, but the terms student and instructor are interchangable in this context.
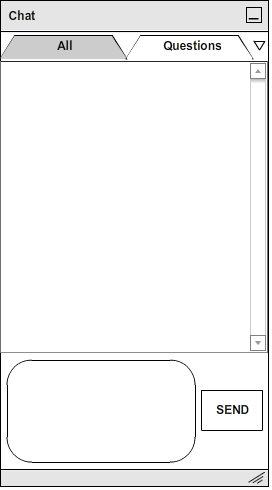
Figure 22: Initial Student View of Chat Tool.
In order to send a message, the student makes sure the appropriate tab is open in the Chat Tool window and types a message in the message box located at the bottom
of the Chat Tool window. When the message is ready to send, the student clicks the "Send" Button and the message becomes visible to the people included
in the Chat tab that is currently open. Figure 2 illustrates these steps.
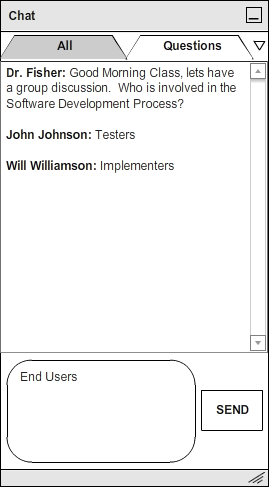
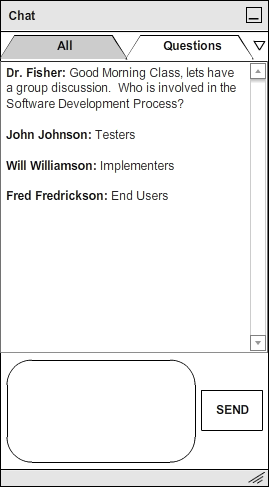
Figure 23: Typing and sending messages.
The student my start conversations with individuals or groups of students if he wishes. In order to start a conversation, the student selects one or more names from the Roster window and then clicks the "Add to Chat" Button. A drop down menu will then appear, listing any groups the student has already made and a "New Group" option as shown in Figure 3 below.
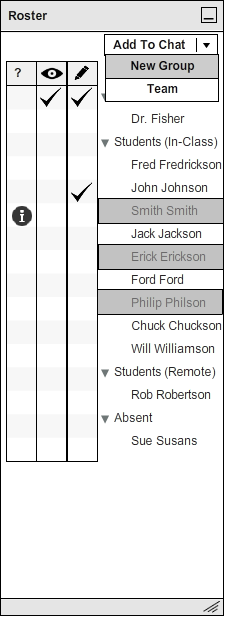
Figure 24: Selecting people to add to a new chat group.
To start a new conversation, the student selects "New Group." A dialogue box will then appear, asking the student to enter a name for the group. The student enters a group name and then clicks the "Create" Button to create the group, or the "Cancel" Button to abandon creating a new group.
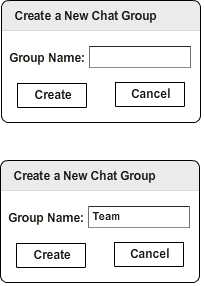
Figure 25: Naming a new chat group.
When the new group is created, a new conversation tab with the group's name will appear in the Chat Tool. A small "X" will also appear next to the group's name, which the student may press if he wishes to end the conversation. The "All" and Questions" tabs do not have an "X", and therefore cannot be closed.
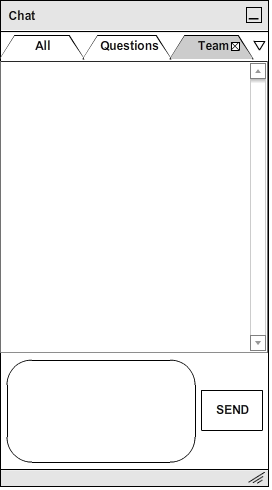
Figure 26: Appearance of a new conversation tab.
The student can add additional students to an existing group by selecting one or more names from the roster, clicking the "Add to Chat" Button, and selecting the appropriate existing group name from the drop down menu. If someone is added to an existing group, he will only be able to view messages sent after he was added.
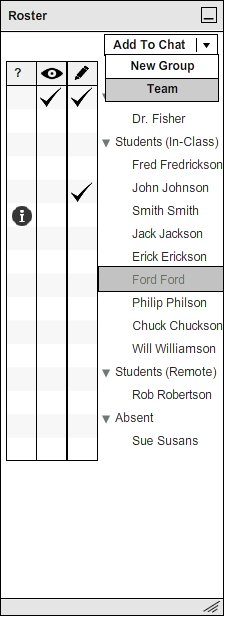
Figure 27: Adding people to existing conversations.
The student may add as many students to as many conversations as he wishes. If the number of conversation tabs grows too great for the Chat Tool window to hold, a drop down arrow will appear, which the student can click to select from any of his current conversations to open, as shown in Figure 5 below.
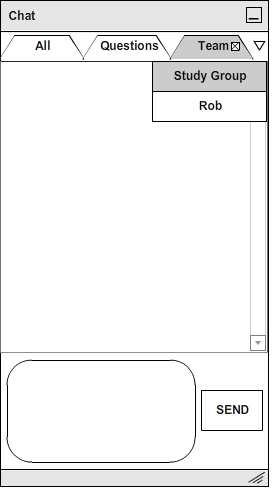
Figure 28: Selecting a conversation tab to open when there are many in existence.