This section discusses the use of the Overlay Tool, which is located on the left side of the application window of the student's screen after he has logged in (discussed in Section 2.1) and selected a lecture to view (discussed in Section 2.4) or the instructor's screen after he has logged in (discussed in Section 2.1) and launched a live lecture (discussed in Section 2.3). The functionality of the Overlay Tool is nearly identical for an instructor as it is for a student. The following examples refer to the user as a student, but the terms student and instructor are interchangable in this context unless stated otherwise.
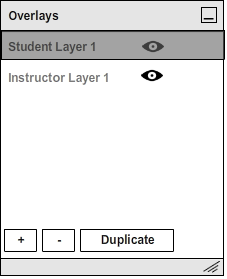
When the student is initially directed to the live lecture view, by default, there will already exist 2 layers. One will be named "Student Layer 1" and the other will be named "Instructor Layer 1". "Instructor Layer 1" refers to a layer that the instructor has created and is visible to all students currently logged in. Instructor Layers appear faded to the student, as shown below in Figure 17, so that the student does not confuse the them with his own layers.
Figure 17: Initial View of Overlay Tool.
In addition, Instructor Layers are uneditable by students and are saved with lecture notes. The only action that the student may perform on an Instructor Layer is to toggle visibility for note-taking purposes. Instructor Layers are discussed in more detail in Section 2.3.
Instructors will not see student layers during a lecture. However, instructors may give students permission to draw on a public layer, which is described in more detail in Section 2.6.
The student can create multiple layers of notes using the Overlay Tool. When using the tools in the Drawing Toolbar (discussed in Section 2.5.1), changes will be made to whichever layer the student has selected. Only one layer may be selected at a time.
To create a new layer, the student clicks the "+" Button. To delete a layer, the student selects the undesired layer in the Overlay Tool window and then clicks the "-" button. To rearrange the order of the layers, the student can drag and drop them in the desired order within the Overlay panel.To duplicate a layer, the student selects the desired layer, and then clicks the "Duplicate" Button. The duplicated layer will appear directly below the original layer.
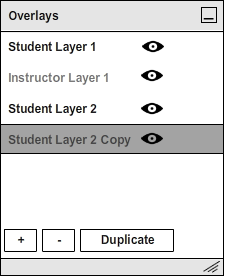
Figure 18: Example of the Overlay Panel with multiple Student Layers, including duplicates.
To toggle the visibility of layers, the student clicks the eye-shaped icon next to the appropriate layer. When a layer is hidden, the eye-shaped icon will appear faded, as shown below in Figure 19.
Figure 19: Toggling the visibility of layers.
Hiding layers that are not currently in use makes it easier for the student to take new notes on the selected layer.
To rename a layer, the student double clicks the current layer name, types the new name, and presses enter when finished, as shown below in Figure 20.
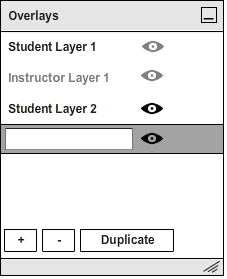
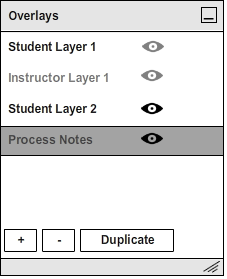
Figure 20: Initial View of Overlay Tool.
A practical example of a student using the Overlay Tool to take several layers of notes using the techniques that have just been discussed is shown below in Figure 21 as a continuation of the example from Figure 16 in Section 2.5.1.5.
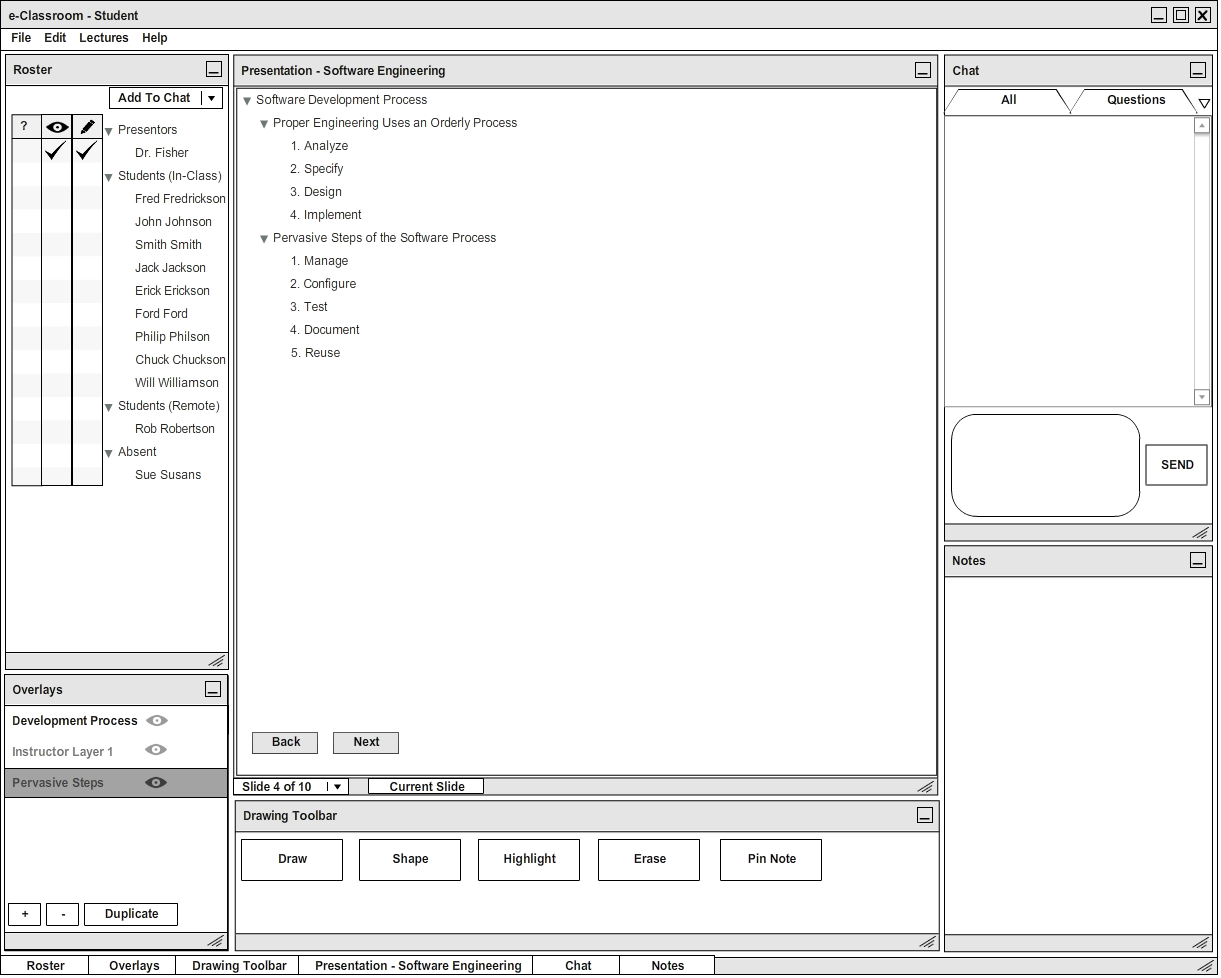
Figure 21: Example of using Overlay Tool to make space for new notes.
When the student has filled a layer with notes and needs more room to draw, he creates a new layer by clicking the "+" Button in the Overlay Panel. He then makes the lowest layer invisible so that he can take new notes without being confused by old drawings. When he is finished, he decides to rename his layers to remind himself which notes each layer contains. He does this by double clicking each layer's name, typing the appropriate name, and pressing enter when finished. The student is now ready to take another layer of notes.