Before annotating a layer, a user should first ensure they've selected the desired layer to annotate (public or private). Then they may select which annotation tool to use (pen, highlighter, shape, eraser, or text) from the annotation toolbar, shown in Figure 2.3.2.0.1.
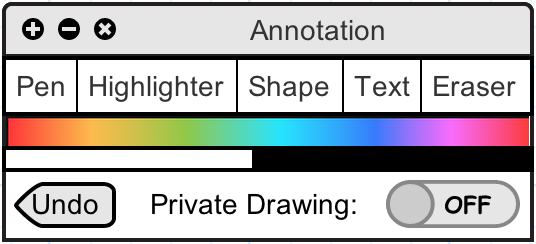
Figure 2.3.2.0.1: The annotation toolbar with annotation tools, an undo button, the private drawing switch, and a color selector
2.3.2.1. DrawingsUsers have two drawing tools: pen and highlighter. Both tools operate in the same way, but the resulting drawings are slightly different. In both cases, annotations are drawn in a freehand manner, where clicking and dragging the mouse creates a custom shape. The pen tool has completely opaque lines (as a real pen would), but the highlighter makes semi-transparent lines so that underlying content may still show through (mimicking the utility of a real highlighter). The results of each tool are shown in Figure 2.3.2.1.1 and Figure 2.3.2.1.2.
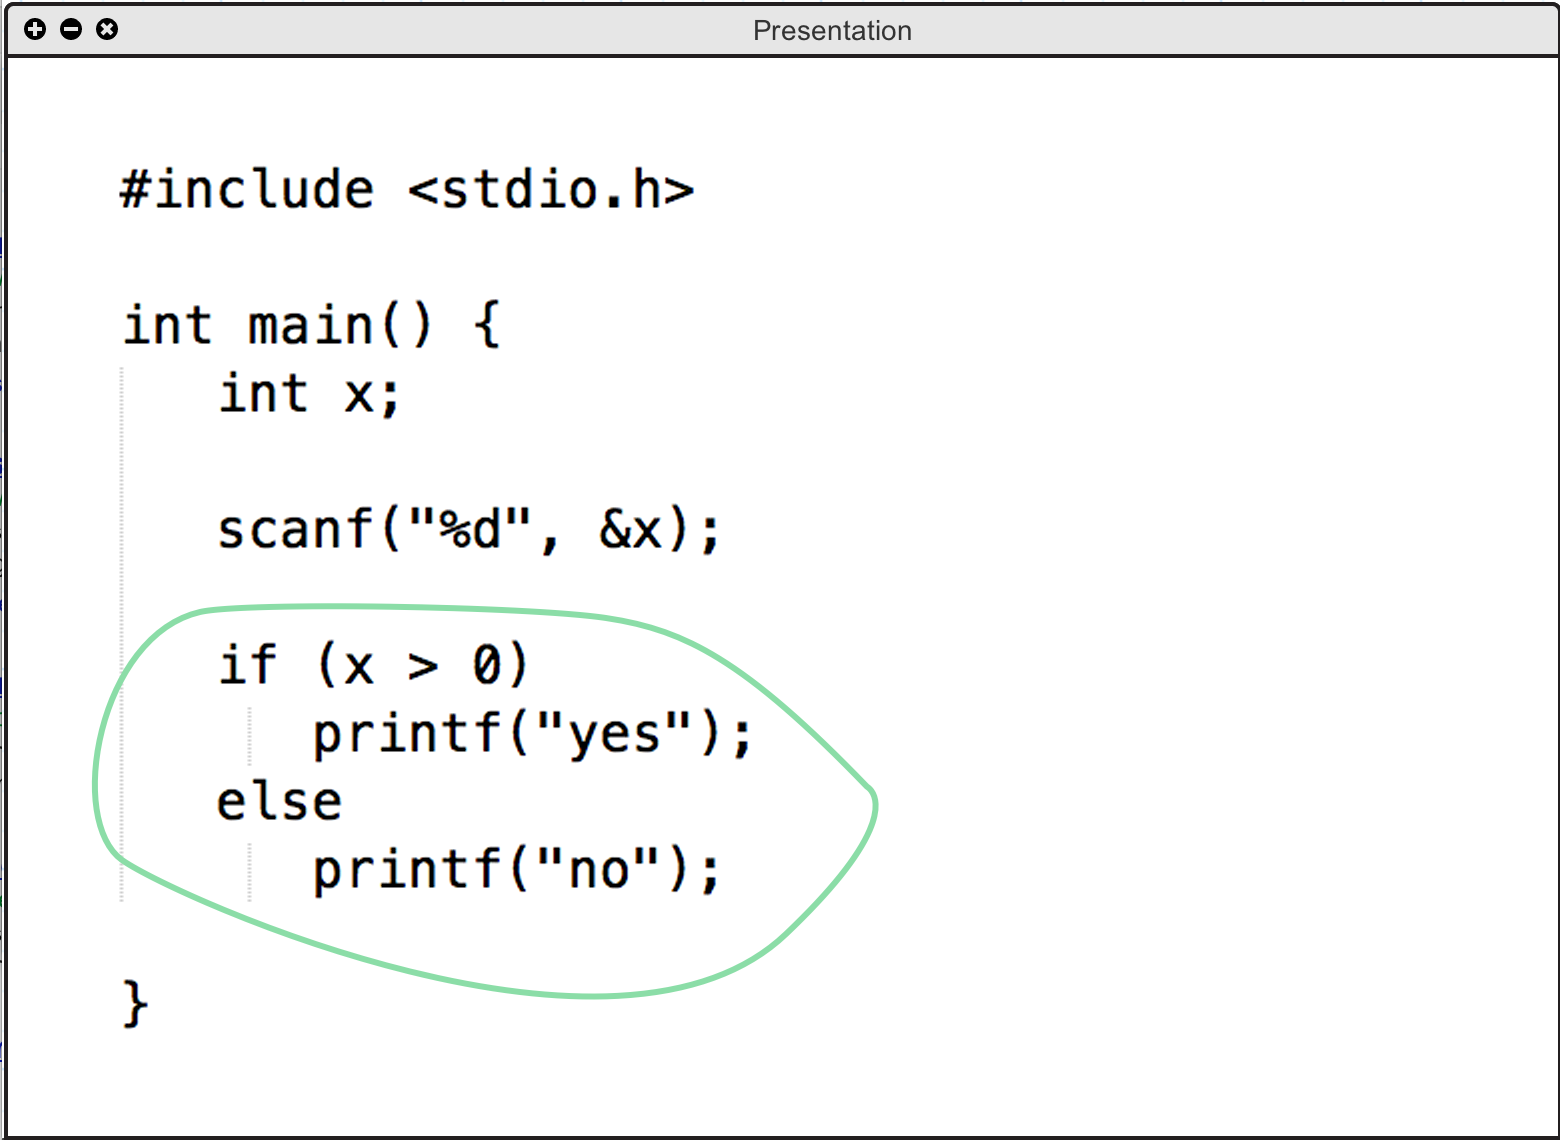
Figure 2.3.2.1.1: An example showing use of the pen tool
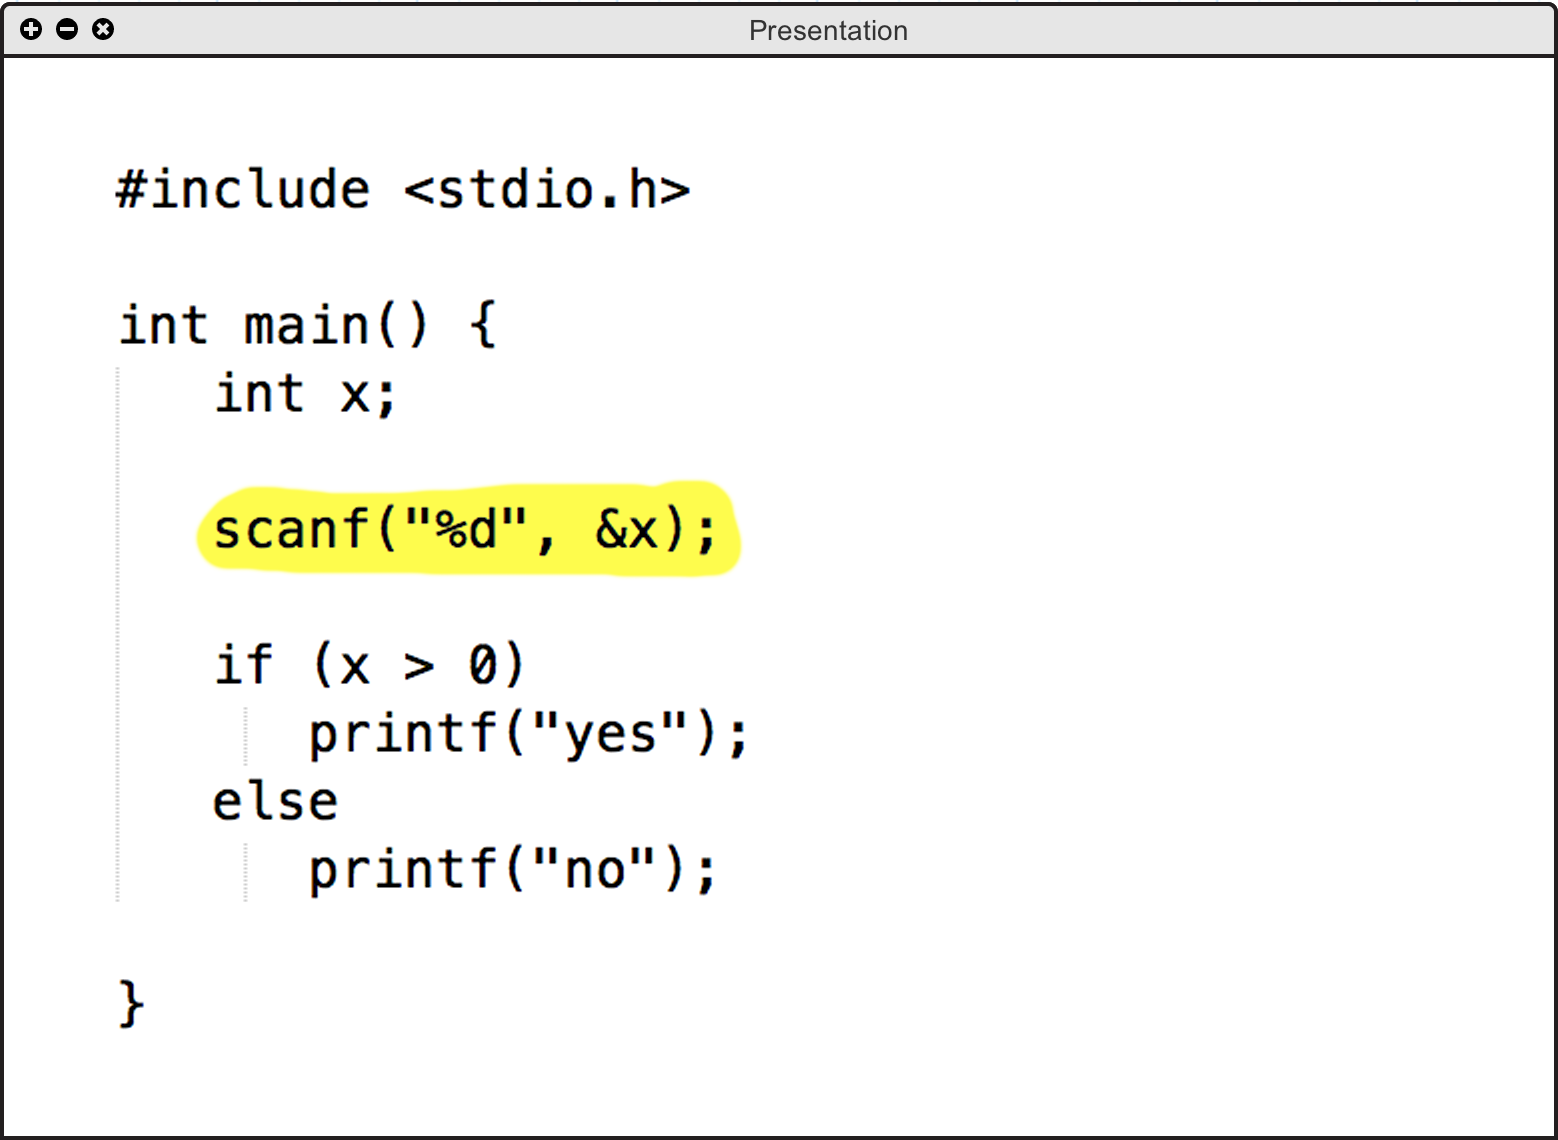
Figure 2.3.2.1.2: An example showing use of the highlighter tool
2.3.2.2. ShapesOnce the shape tool is selected, users may choose between four shapes to draw in the Shapes window (shown in figure 2.3.2.2.1): rectangle, circle, line, and multiline. Once the specific shape is selected, the drawing is made by clicking and dragging on the presentation layer to match the size and position of the shape they would like to make. That is, where the mouse is first pressed down represents where one corner of the shape will be, and where the mouse is released represents where the farthest corner of the shape will be. Once the mouse is released, the shape is filled in according to the user's clicks. One exception is the multiline tool: each click adds a line from that point to the previously drawn point. Double clicking stops the creation of the current multiline shape. Examples of all available shapes are shown in Figure 2.3.2.2.2.
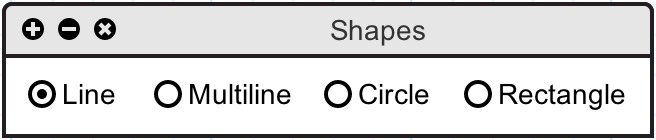
Figure 2.3.2.2.1: The shape selection window
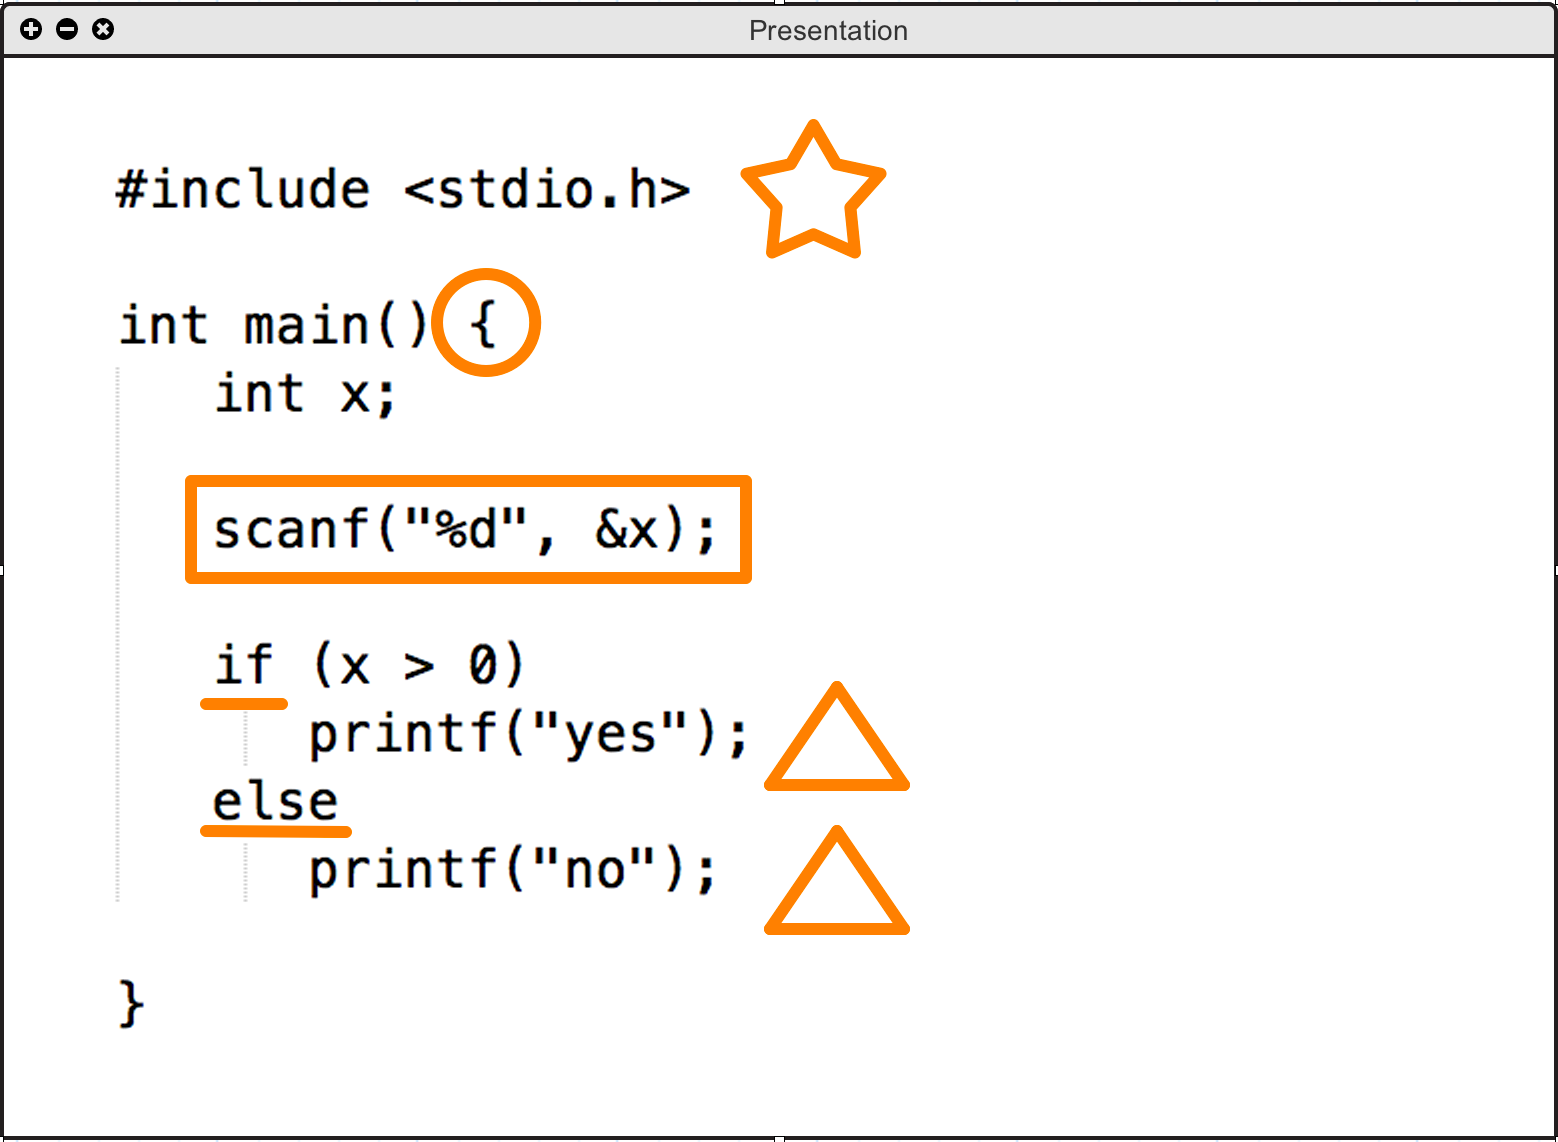
Figure 2.3.2.2.2: An example showing use of the shape tool
2.3.2.3. TextIf the text tool is selected, the user then selects where they want their text box to be placed on the presentation layer. Clicking and dragging defines the size and location of the box, and when the mouse is released, the textbox will stay in place, ready for input. Any clicks inside of the textbox will move the typing cursor to that location. Clicking and dragging outside of the textbox will create another textbox. Creation of a textbox is shown in Figure 2.3.2.3.1, and the result of adding text is shown in Figure 2.3.2.3.2.
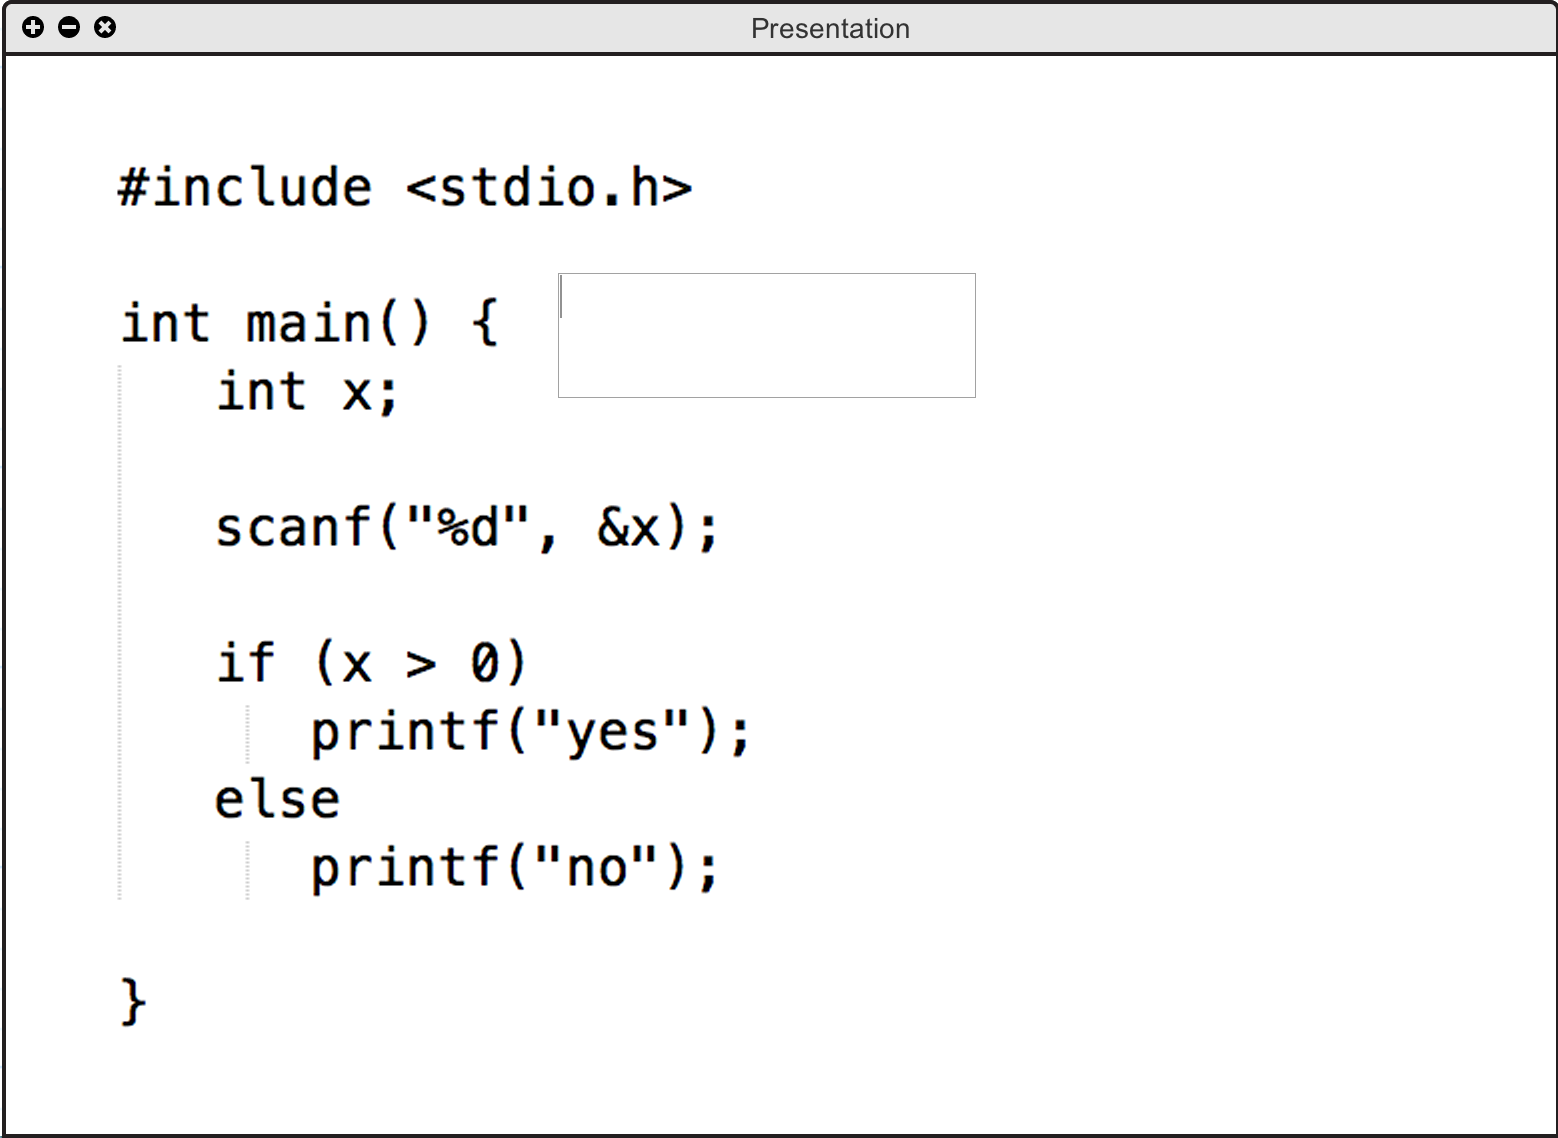
Figure 2.3.2.3.1: An example showing a just-created textbox
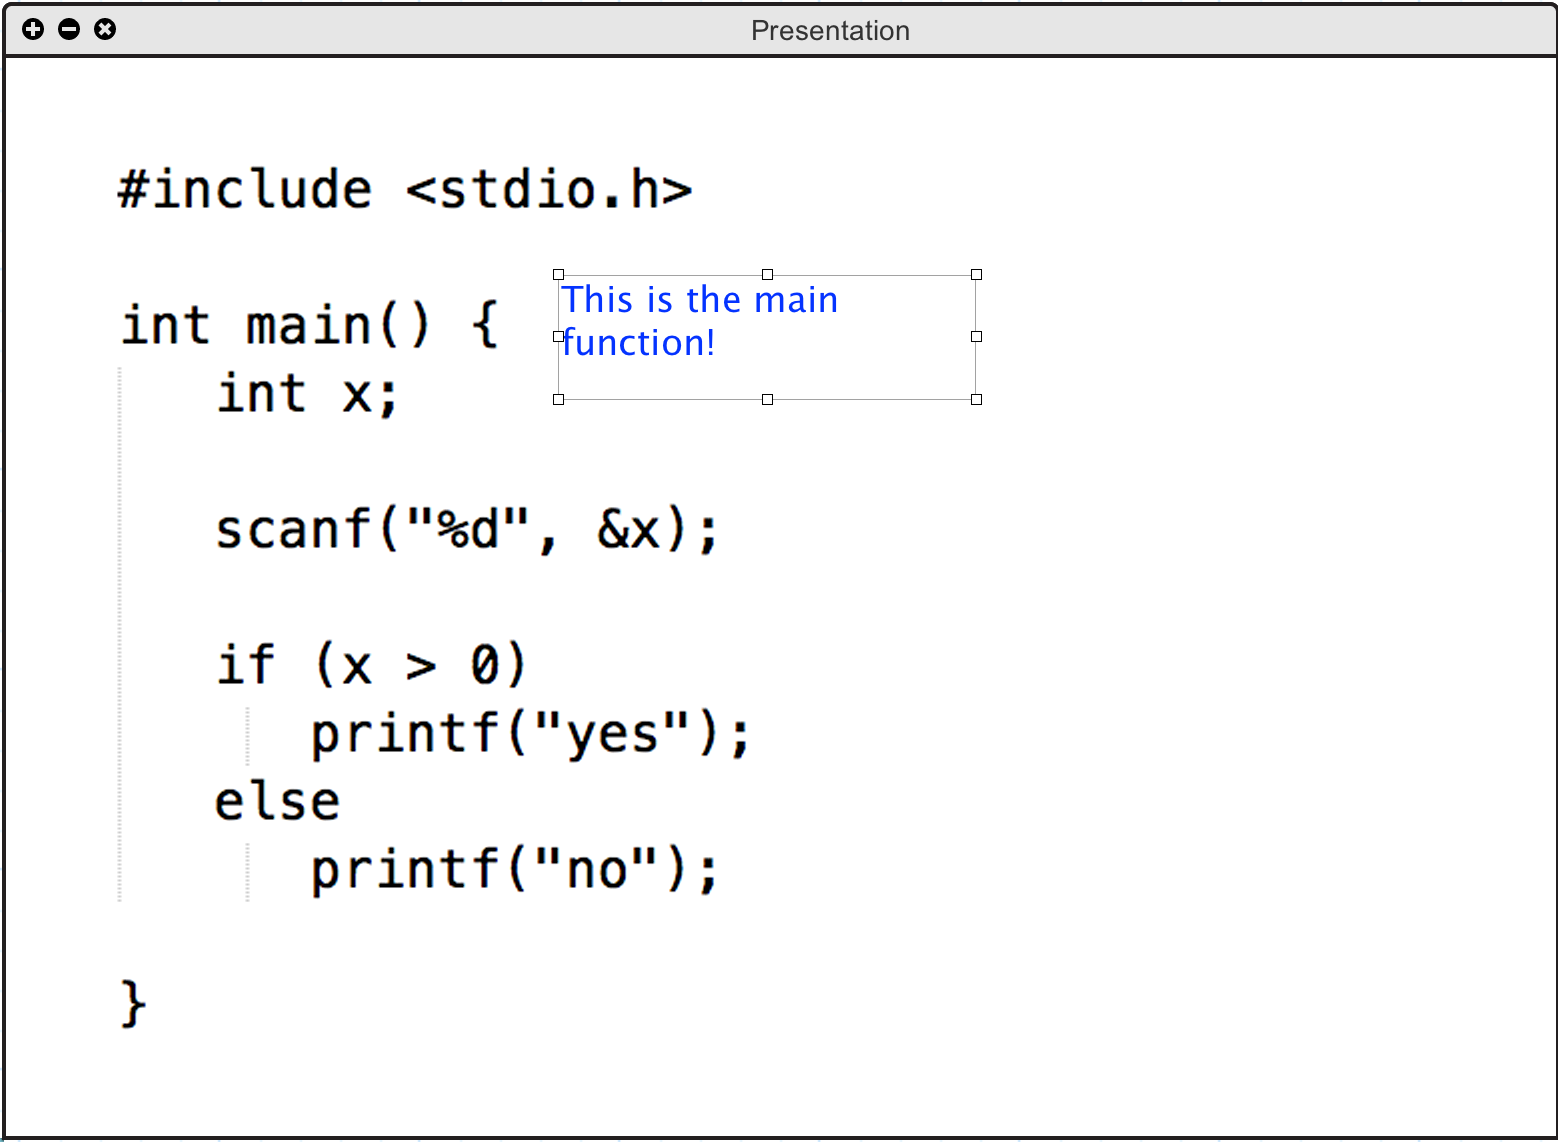
Figure 2.3.2.3.2: An example showing typed text in a textbox
In addition to creating textboxes, the user has the option of changing the font and size of any typed text. Those options are found in the text toolbar shown in Figure 2.3.2.3.3, which appears once they select the text tool in the drawing toolbar.
Figure 2.3.2.3.3: The text toolbar
2.3.2.4. EraserWhen the eraser tool is selected, clicking on any point in the presentation layer causes any annotations (for example, an oval made with the pen tool) touching that point to be removed from the layer. Examples of before and after using the eraser tool are shown in Figures 2.3.2.4.1 and 2.3.2.4.2.
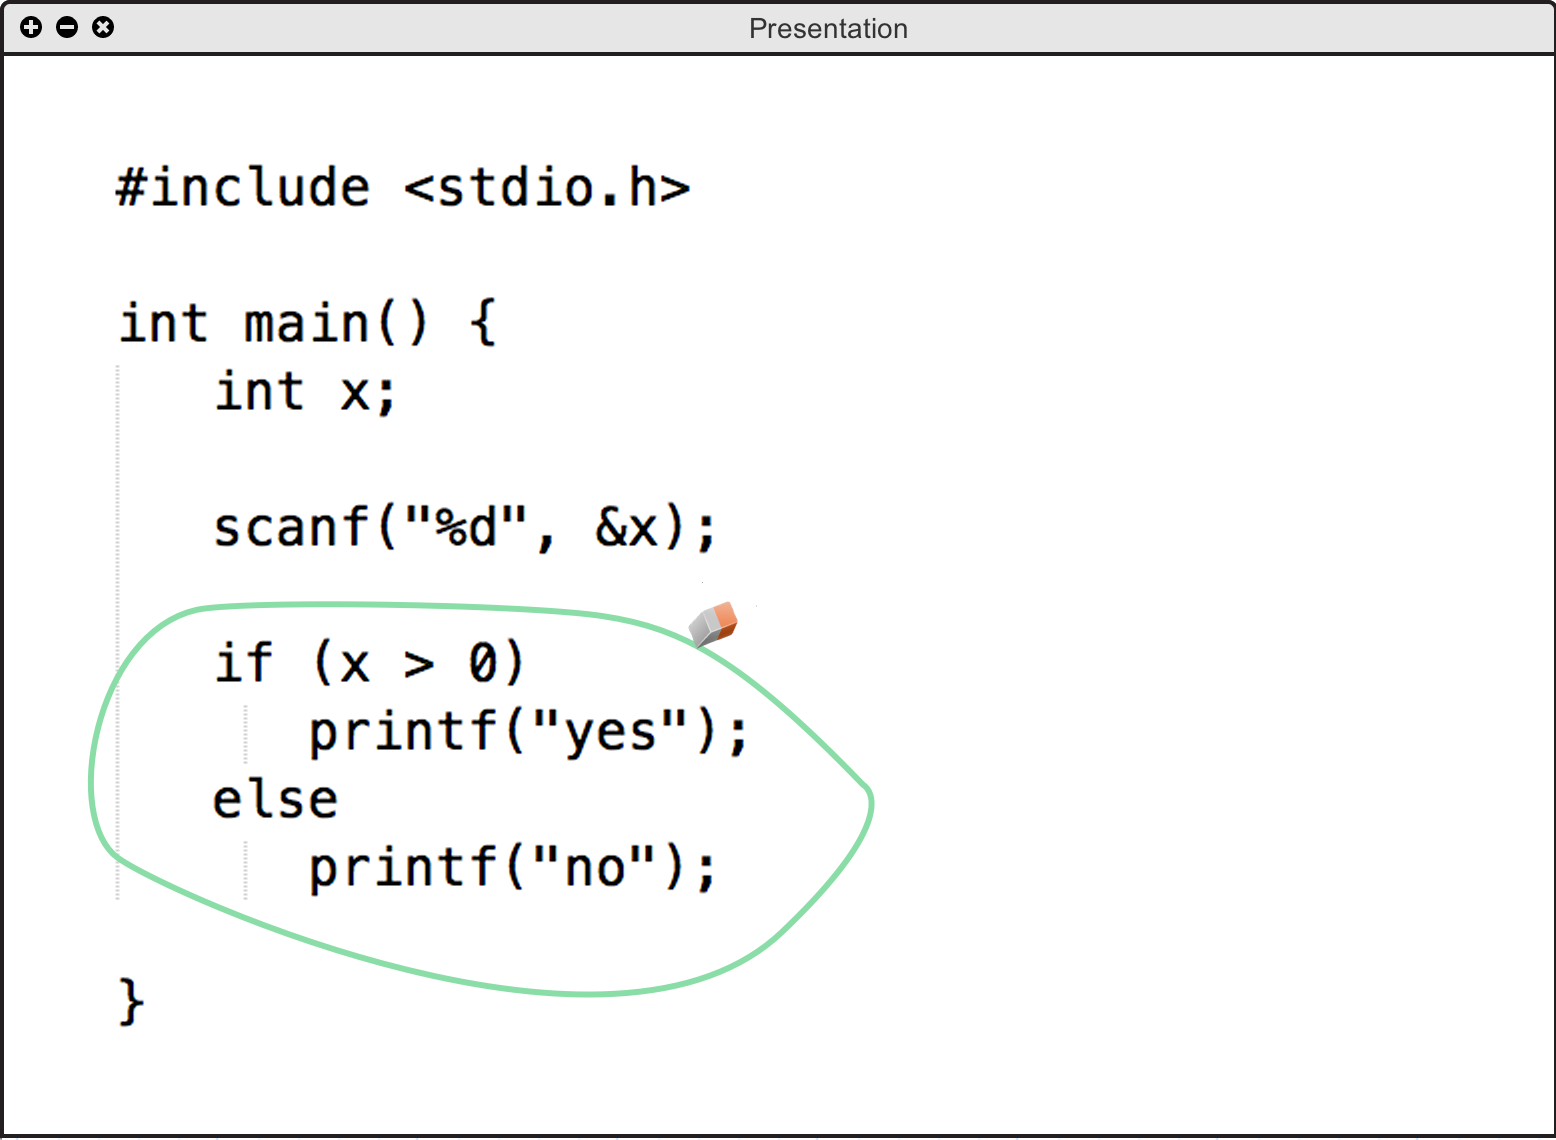
Figure 2.3.2.4.1: An example showing the positioning of the eraser tool
Figure 2.3.2.4.2: An example showing an erased annotation using the eraser tool
2.3.2.5. UndoIn case of mistaken annotating or erasing, the user may click the undo button in the annotation toolbar (as shown in Figure 2.3.2.0.1) to undo their most recent action.