Often times a user may want to export all the layers that were viewed during a presentation. This function is available by going to "File > Export". When the user chooses this menu option, the export dialog appears, as seen in Figure 2.4.4.1. In its initial state, all boxes are unchecked and fields are empty.
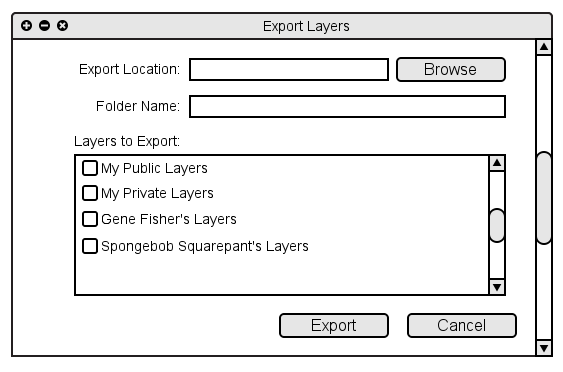
Figure 2.4.4.1
The first input box is where the user inputs the location to export the files to. They can type this into the box or press the 'Browse' button and select the location.
The second box is where the user inputs the name of the exported folder that will hold the layer files.
Below this box is a list of the available layers. This includes the user's public layer, the user's private layer, and all other layers shared during the presentation. Each layer exported will be stored in a separate file. Each file will contain the outline and each slide overlaid on the corresponding slide.
In continuing with our example from the previous subsections, suppose the presentation has just ended and the student wants to export their public layers and the teachers layers associated with this presentation. They click the check boxes next to "My Public Layers" and "Gene Fisher's Layers". This example is shown in Figure 2.4.4.2.
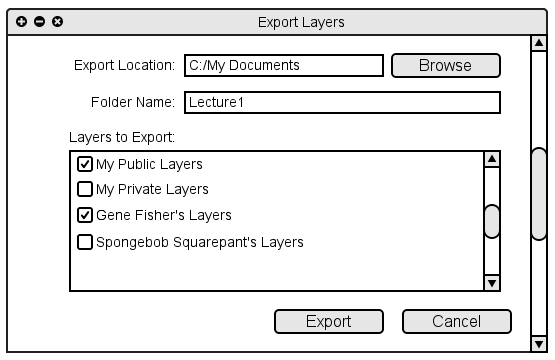
Figure 2.4.4.1