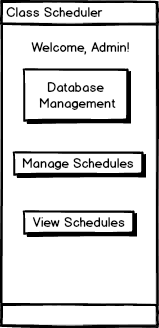
When the admin user initially invokes the Scheduler tool, the screen appears as
shown in Figure 1. When the student initially invokes the Scheduler tool, the
screen appears as shown in Figure 2. When the instructor initially invokes the Scheduler tool, the
screen appears as shown in Figure 3.
Figure 1: Initial screen.
The Database Management option allows the admin to view and edit
instructor, course, room, and building databases. The Manage Schedules option
allows admin to generate, edit, and create schedules schedules. The View Schedules
option allows admin to view existing and past schedules.
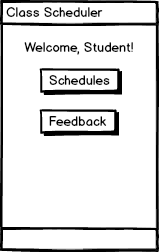
Figure 2: Initial screen for student.
The Schedules option takes the user to a page where he or she can view a
schedule for a specific quarter. The Feedback option takes the user to
a page where he or she provides feedback per quarter on if he or she was able to sign
up for their desired classes.
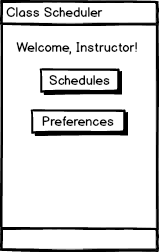
Figure 3: Initial screen for instructor.
The Schedules option takes the user to a page where he or she can view a
schedule for a specific quarter. The Preferences option takes the user to
a page where he or she enters preferences for a specific term.