2.2. Basic Gradebook Setup

This section covers the following topics:
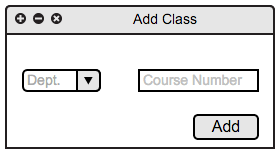
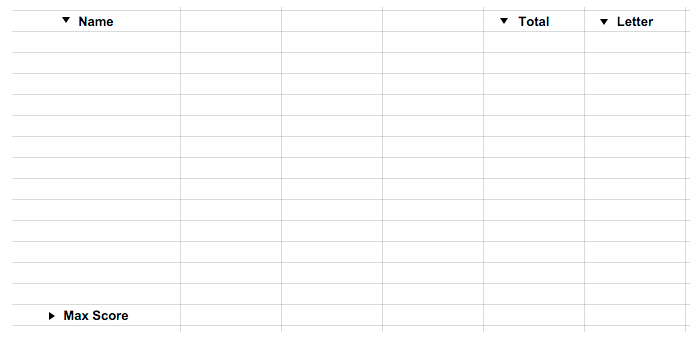
2.2.1 Class Creation

To begin, an instructor uses the top-level menu (shown in Section 2.1: UI Overview) to select File then New Class. The system displays the following window, Figure 2.2.1a.


Figure 2.2.1a

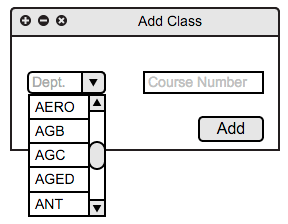
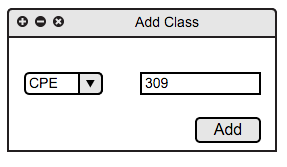
From this dialog box, the instructor specifies the Department using the specified combo box along with a Course Number in the text field provided. The Department combo box comes pre-loaded with all Cal Poly department acronyms, as shown below in Figure 2.2.1b.


Figure 2.2.1b

Once completed, the system displays Figure 2.2.1c and then the instructor can click Add to add the course to the gradebook.


Figure 2.2.1c

The navigational sidebar displays the newly added class, as shown in Figure 2.2.1d.


Figure 2.2.1d

When the instructor selects the class from the navigational sidebar, the system displays an empty gradebook, as shown in Figure 2.2.1e.


Figure 2.2.1e


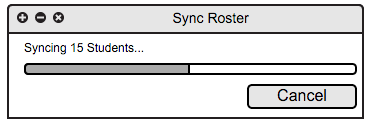
2.2.2 Syncing the Roster

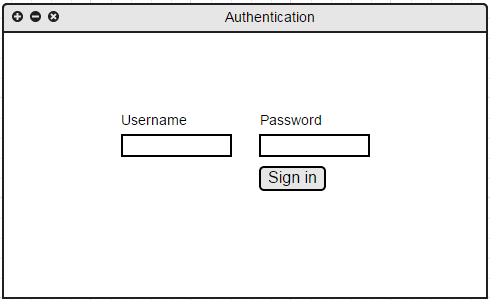
From the top level Students menu (shown in Section 2.1: UI Overview), the instructor selects Sync Roster. Since the system is not yet aware of instructor credentials, the system displays a login window to prompt the instructor for their authorization, as shown in Figure 2.2.2a.


Figure 2.2.2a

After the instructor credentials are verified, the system displays a progress bar showing how many students are being synced to the local gradebook based on the currently selected class, as shown in Figure 2.2.2b.


Figure 2.2.2b

Once syncing is complete, the instructor can use their navigational sidebar to view the synced sections of their class, as shown in Figure 2.2.2c.


Figure 2.2.2c

When the instructor uses the navigational sidebar to select the section, the system displays a gradebook with the new, synced students., as shown in Figure 2.2.2d.


Figure 2.2.2d