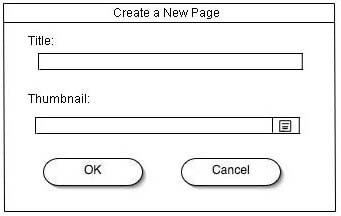
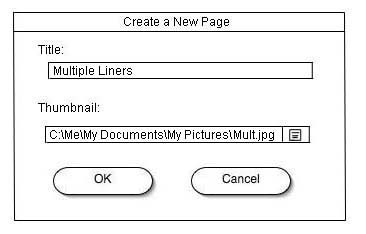
2.3.1 Creating Pages
Creating Pages is one of the primary functions of the CSTutor. Pages are organized into tutorials, which are the backbone of the CSTutor program. A page is composed of Text, Images, Links, Examples, HTML, and Code Boxes. To create a page, the user must be signed in as an instructor and have a tutorial open in the roadmap. Details on roadmap operations can be found in Section 2.3.3. When a new page is created, the CSTutor presents the instructor with a dialogue to create the page.
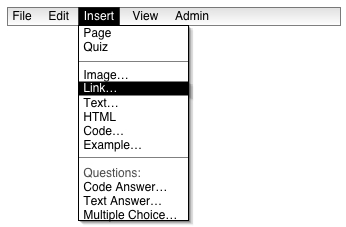
All six of the objects that can be inserted into a page have four operations: Insert, Edit, Move, and Delete. To insert an object, select the Insert menu and choose the object. To edit an object, double click on it and edit it based on what type of object it is. To move an object, select it and then drag and drop it to the desired location. If there are other objects in the location already, they must be moved before the chosen object can be placed there. To delete an object, select it and press the Delete button on the keyboard. The specifics of these operations are explained under the various objects.
2.3.1.1 Text
Text in the CSTutor is contained in a Text Box. The Text Box contains characters, numbers, and other symbols. To insert a Text Box, select Text from the Insert menu.
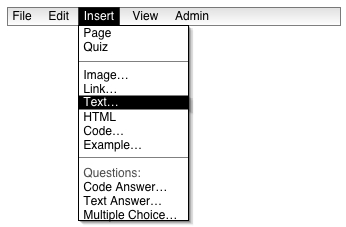
This places a new Text Box on the page.

To edit the Text Box, double click on it and type. When finished, click outside the Text Box and the lines will disappear, leaving just the text. To edit the text again, double click on the Text Box and make the necessary edits.
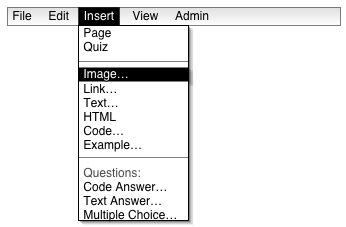
2.3.1.2 Images
Images in the CSTutor contain files with the extension .jpg. They, like all other objects, can be Inserted, Edited, Moved, and Deleted. To insert an Image, select Image from the Insert menu. This creates a new Image on the page.
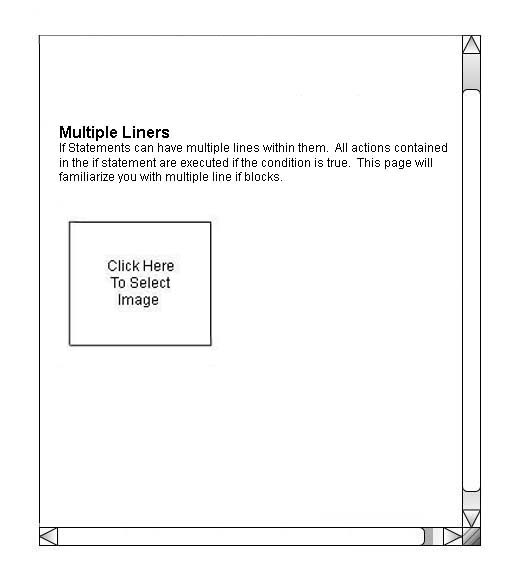
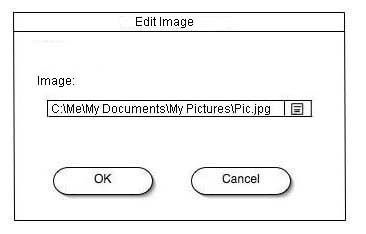
To Edit the Image, double click on it to bring up a dialogue box. Enter the file of the image into the text field, or select the file from the file viewer by pressing the file button, and then hit OK.
To move the Image, select it and drag it to the desired location. Here the Image has been moved from the left side of the page to the center.
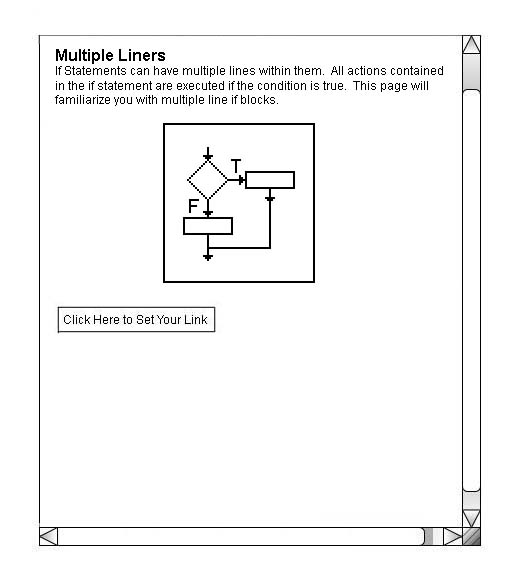
2.3.1.3 Links
Links in the CSTutor are connections to other pages, just like hyperlinks in html. Just like all other objects, Links can be inserted, edited, moved, and deleted. To insert a Link, select Link from the Insert menu.
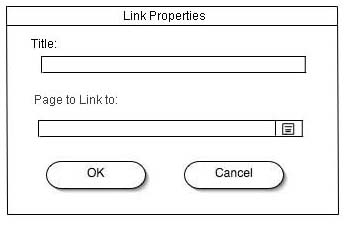
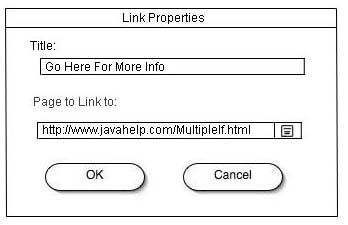
To edit the Link, double click on it to bring up the Edit Link dialogue box. Enter the name of the Link and the site to link it to in the text fields, or press the file button and select the site manually, and press OK.
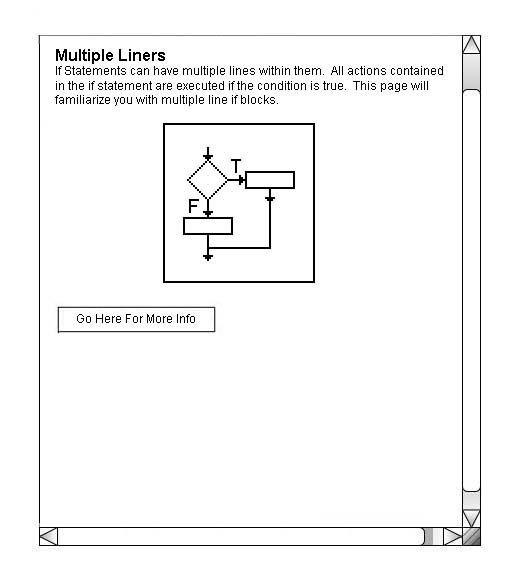
To move the Link, select it and drag it to the desired location. In Figure 2.3.1.2.7 the Link has been moved to the right slightly to make the page layout neater.
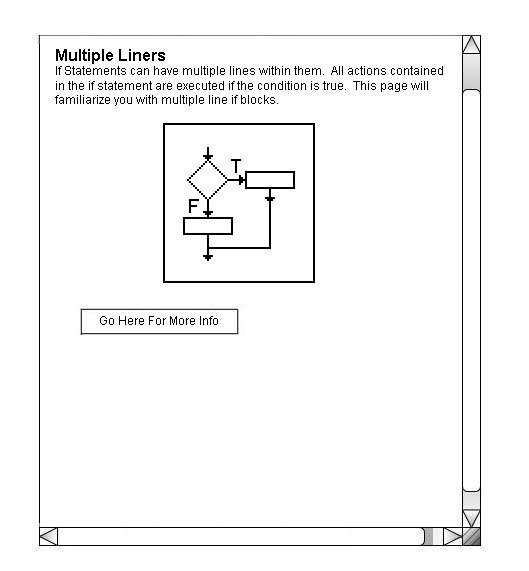
2.3.1.4 Examples
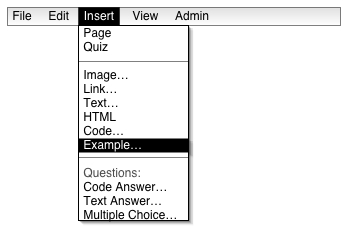
Examples in the CSTutor are connections to other pages that further detail the subject. They can be inserted, edited, moved, and deleted. Choosing Example from the Insert menu inserts the Example and creates a new Page for it to point to. For details on editing that Page, refer to the top of this section.
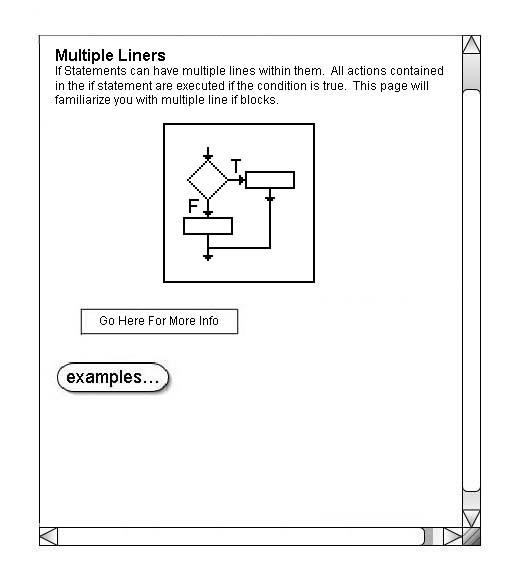
To edit the Example, double click on it to bring up the page. Refer to the top of this page for information on editing pages. To move the Example, select it and then drag and drop it. Figure 2.3.1.3.4 shows the example after being moved.

2.3.1.5 HTML
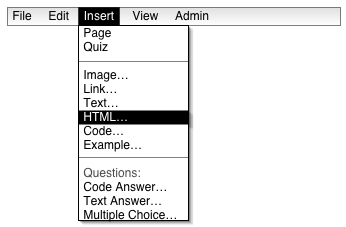
HTML in the CSTutor is a way to integrate html code into the page. When the student views the Page, the code that is inside the HTML Box will be converted and shown as html. To insert an HTML Box, select HTML from the Insert menu.
To edit the HTML, double click on the HTML Box and type. When finished, click outside the HTML Box and the lines will disappear, leaving just the text, just as in the Text Box.
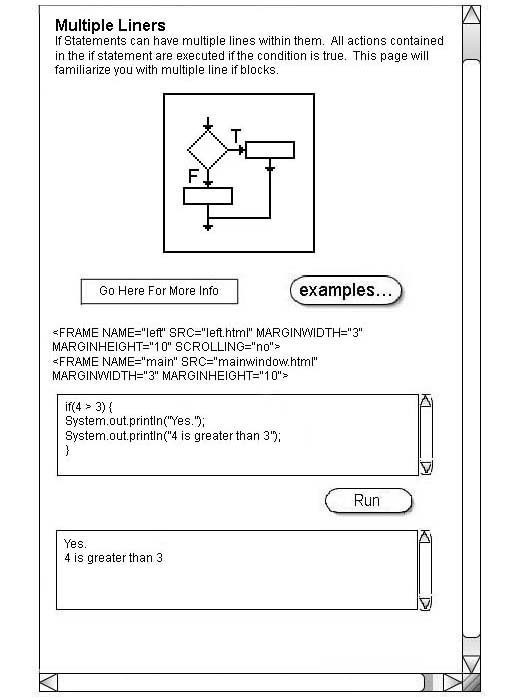
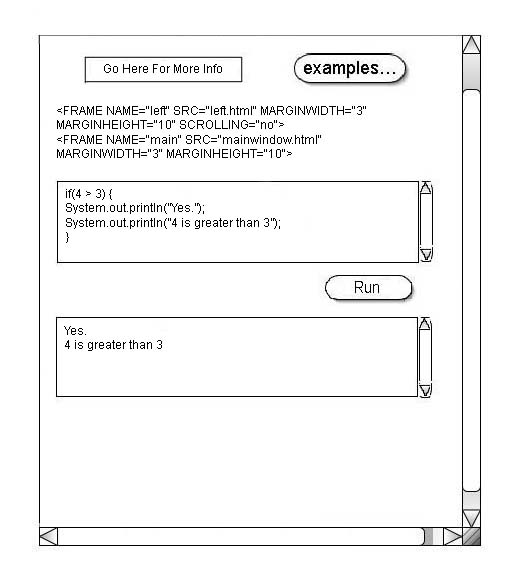
2.3.1.6 Code
Code in the CSTutor is run through the Java Beanshell. It allows the user to enter code without defining a main method or a class into the upper box of the Code Box and then run it and produce an output that is displayed in the lower box, which is not editable. To insert a Code Box, select Code from the Insert menu.

To edit the Code Box, double click on the upper box and enter the code. When finished, simply click outside the Code Box. To move the Code Box, select it and drag and drop it to the desired location.
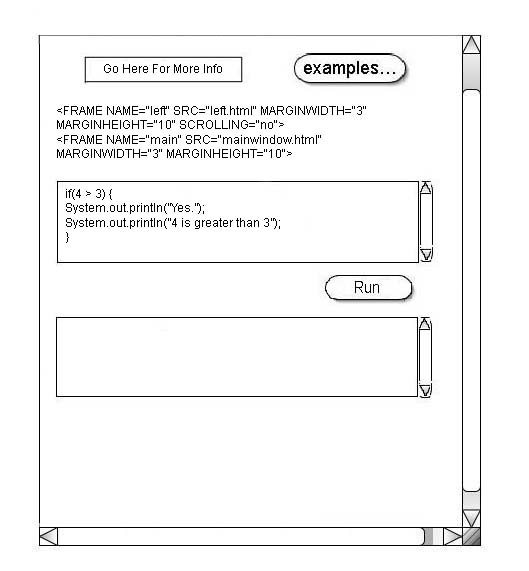
To run the code in the Code Box, press the Run button.
2.3.1.6 Finishing the Page
After finishing creating the page, save it to go back to the roadmap and continue work on the tutorial. Select Save from the File menu to save the page. Saving a page will not automatically exit the page, so to return to the roadmap close the page window.