
2.3.2 Creating Quizzes
When the instructor clicks on a quiz from the roadmap menu (as shown in Section 2.3.3), the system displays a blank quiz as shown in Figure 1.
The instructor adds text and images to a quiz the same way he adds text and images to a page. Creating a Simple Tutorial contains information on adding text and images to a page.
To create the first version of the if statements quiz, the instructor adds questions to the blank quiz page.
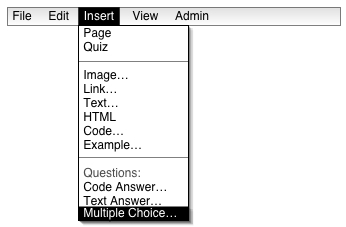
To add a question, the instructor selects the "Insert" menu located on the toolbar and clicks on a type of question: multiple choice, short answer or code. To add a multiple choice question, the instructor clicks on "Multiple Choice" as shown in Figure 2.
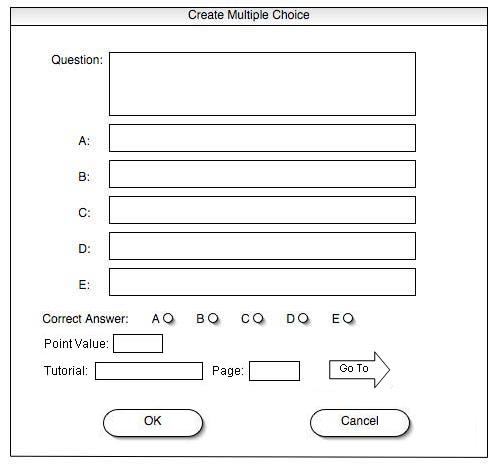
When the instructor clicks "Multiple Choice," the system displays the "Create Multiple Choice" window as shown in Figure 3.
As shown in Figure 4, the instructor types the question into the question text field, the answer choices into the A, B, C, D, and E text fields and the tutorial and page number.
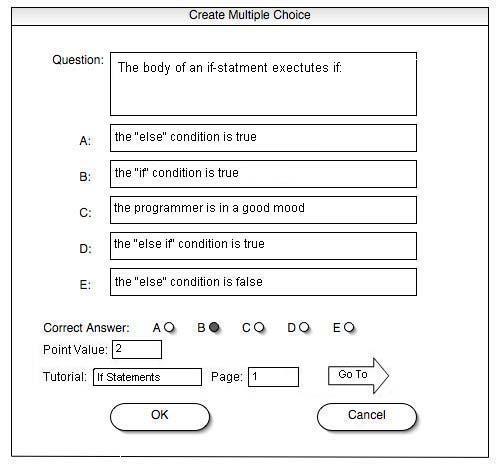
The instructor also enters the tutorial and page number by clicking on the "Go To" arrow. When the instructor clicks the "Go To" arrow, the CS Tutor opens the tutorial roadmap in a new window. The instructor selects a page thumbnail on the roadmap and clicks "OK." The CS Tutor closes the new window and fills the tutorial and page name text field boxes in the "Create Multiple Choice" window.
After taking the quiz, the student uses the instructor's tutorial and page number to look up more information about the question material. Taking Quizzes contains more detail of the student's use of the tutorial and page number.
For a question with less than five choices for answers, the professor only types answers into the number of boxes he needs. For example, to create a true/false question, the instructor types "true" in text field A and "false" in text field B as shown in Figure 5.
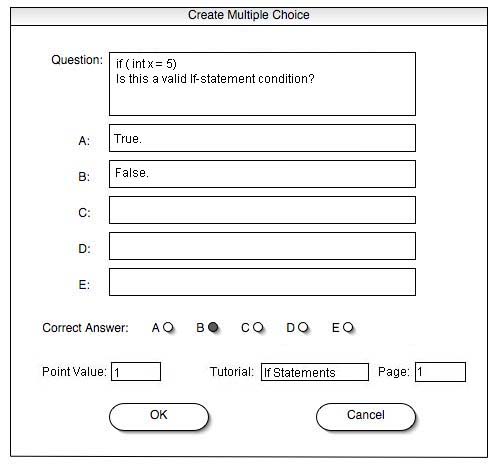
When the instructor leaves a text field blank, the CS Tutor automatically deletes the choices of the text fields that are left blank (i.e. text fields C, D, and E).
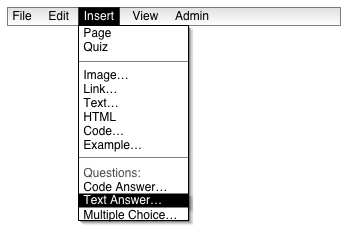
To enter a text answer question, the instructor clicks on "Text Answer" as shown in Figure 6.
The CS Tutor displays the "Create Text Answer" window as shown in Figure 7.
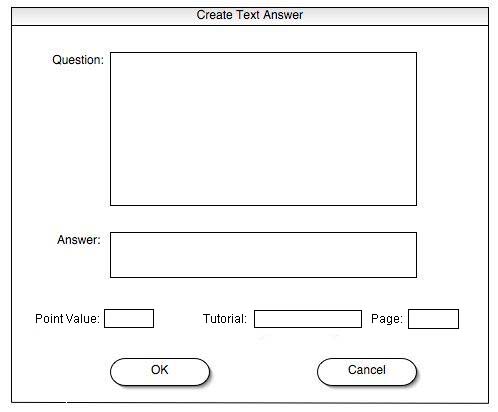
The instructor types a question in the question text field, a one word or short phrase answer in the answer text field, and a tutorial and page number as shown in Figure 8.

To receive credit for a text answer question, each character in the student's answer (as shown in Taking the Quiz) must match each character in the instructor's typed answer. For this question, the student must enter "==" to receive credit. The string match is case sensitive and based on a platform-dependent character collating sequence.
To enter a code question, the instructor selects "Code Answer" as shown in Figure 9.

The system displays the "Code" window as shown in Figure 10.

The instructor enters a question, code, and a tutorial and page number as shown in Figure 11.
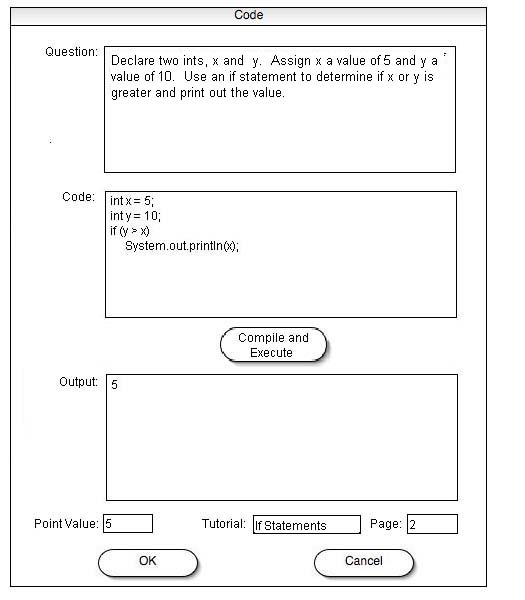
When the instructor clicks the "Compile and Execute" button, the CS Tutor compiles and executes the code and displays the "standard" output, as defined for the Java programming language in the output window. To receive credit for the code answer, each character in the student's output must match each character in the instructor's output. The instructor clicks "OK," the CS Tutor saves the instructor's output to compare the student's output. "Taking the Quiz" contains more information on how the student enters code.
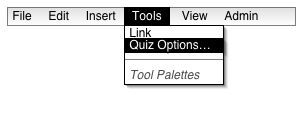
To enter scoring ranges for the quiz, the instructor selects "Quiz Options" from the "Tools" menu as shown in Figure 12.
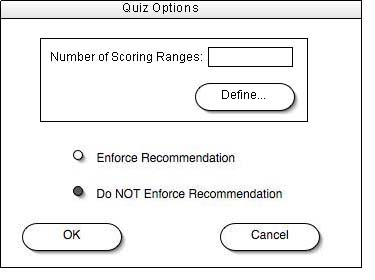
After selecting "Quiz Options," the system displays a blank "Quiz Options" window as shown in Figure 13.
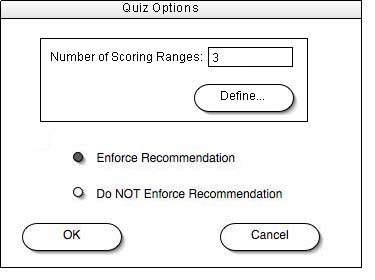
The instructor enters the number of scoring ranges for the quiz, as shown in Figure 14.

When the instructor clicks "Define...", the CS Tutor displays an empty "Scoring Range" window (as shown in Figure 15) that contains text fields for the number of scoring ranges the user entered in the "Quiz Options" window .
As shown in Figure 16, the instructor enters the starting and ending point ranges (inclusive) along with the recommended tutorial name and page number for the student to go to.

When the instructor clicks "OK," the CS Tutor closes the "Scoring Range" window and the "Quiz Options" window remains open. Each version of a particular quiz uses the same set of scoring ranges, recommendations, and whether or not the quiz is enforced.
To enforce the quiz, the instructor selects "Enforce Recommendation" as shown in Figure 17.
Taking the Quiz contains more information on how the student follows the recommendations.
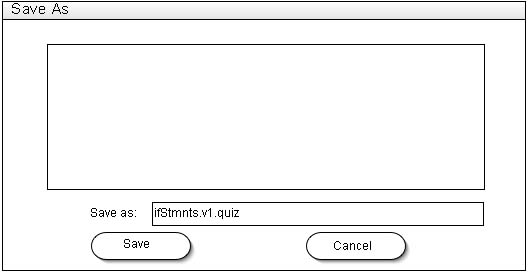
When the instructor finishes creating a quiz, he clicks "Save As" located on the File menu. Since a quiz has multiple versions, the CS Tutor adds an extension to the quiz files to keep track of the versions. Since this is the first version of the if statements quizzes, CS Tutor saves this quiz as "ifStmnts.v1.quiz" as shown in Figure 18.
To create another version of the if statements quiz, the instructor opens a new blank quiz and adds questions to create another quiz as shown in Figure 19.
When the instructor saves the second version of the if statements quiz (by clicking "Save As"), the CS Tutor changes "v1" in the file extension to "v2" because "ifStmnts.v1.quiz" already exists. The CS Tutor saves the second version as "ifStmnts.v2.quiz" as shown in Figure 20.

Taking the Quiz contains details on how the student progress through different versions of a quiz.