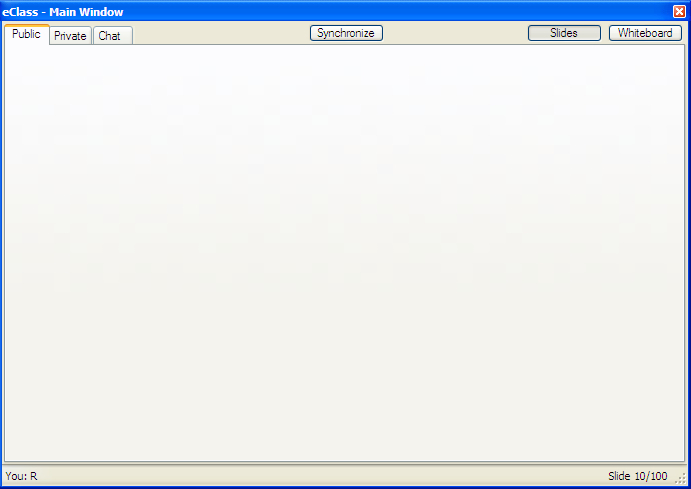
Figure 2.5.1: Showing a blank default Main Window.
The scenarios in this section show a Student and an Instructor interacting with the "Main Window" pane.
Some particular interactions are different for Students than they are for Instructors. These differences are explicitly marked. If unmarked, the interaction described applies equally to Students and Instructors.
The Synchronize button is a handy way for the Student to get back in sync with the Instructor. Alternately, for the Instructor, the Synchronize button forces all of the Students' eClass software to sync back to the lecture at hand.
Each tab contains a view into the lecture with a certain set of permissions. The current permissions of a user are indicated in the status bar at the bottom of the Main Window. In the default configuarion shown in Figure 2.5.1 above, there are "Public", "Private" and "Chat" tabs. Each of these tabs has different permissions on what the user is allowed to do.
In the Public tab (shown above), the Student sees exactly what the rest of the class sees in their Public tab. Students have Read-Only access to this tab by default, but the teacher can temporarily enable a specific student the ability to change what slide the class is looking at (The "Control" Permission), and/or the ability to draw doodles on the public layer, i.e. the "Write" permission.
The Private tab is for the Students' own note-taking. By default, all students have Read, Write and Control permissions on this tab. This means that they have full ability to go back slides, or draw whatever they want. Currently, the private slides are completely private, and there isn't a way for one student or the Instructor to see another student's Private tab.
The Chat tab is somewhat special. The Chat tab is a shared whiteboard between students in the currently selected chat (see Section 2.7 for more detail). The person who starts the chat is the "Owner" of the whiteboard for that chat group. If the owner allows, anyone in that chat group can write to the whiteboard for all the other chat participants to see. Here is an example of what the Chat tab looks like:
When a tab is selected, it can be either in "Slide" or "Whiteboard" mode. It cannot be in both, nor can it be in neither. The Slide and Whiteboard modes coexist in every tab (except the Chat tab, where Slide mode is disabled by default).
The Whiteboard is an infinitely long sheet of virtual paper. There are no slide breaks, and there is no concept of the Whiteboard following the slides. A Whiteboard is, however, associated with every set of slides, just as whiteboards, and their illustrations, are associated with a slide presentation in real life.
The Slides Mode most obviously shows the slides generated from the Instructor's presentation materials. Drawing on the the slides is exactly the same as drawing the whiteboard, except that drawings are 'attached' to the slide they were drawn on, and thus disappear when the slide is advanced. When the lecture is viewed later, the drawings are saved with the slides on which they were drawn.
By clicking on a topic bullet point, single bullets can be expanded to full detail. If the amount of text takes up more space on the slide than is available, a scrollbar is inserted to allow the User to read the text.
This functionality is in addition to the functionality provided by the Outline Depth sldier described in Section 2.3. The purpose of this zooming is to allow a quick increase of information on a single point to answer a specific question.
If a Student clicks the Synchronize button, it moves the current tab's view to be synchronized with what the teacher is presenting. The Synchronize button is drawn as pressed in, and the Student's selected tab will be slaved to the teacher's presentation. To un-slave the tab, the Student depresses the button. The Public tab is always slaved to the Teacher's Public tab.
If the Teacher clicks the Synchronize button, it behaves in a similar way, except that it forces all students to their Public tab. The Teacher can set in the permissions how agressive the Synchronize button is. It could be the case that the Synchronize button also disables the Students' other tabs, or it could just be a one-time Synchronize.
When in Slides mode, pressing the Up or Left arrows will move the slides back one slide. Pressing Down or Right arrows, or the Spacebar will advance the view one slide. These shortcuts are very similar to those used in the Microsoft PowerPoint presentation software.