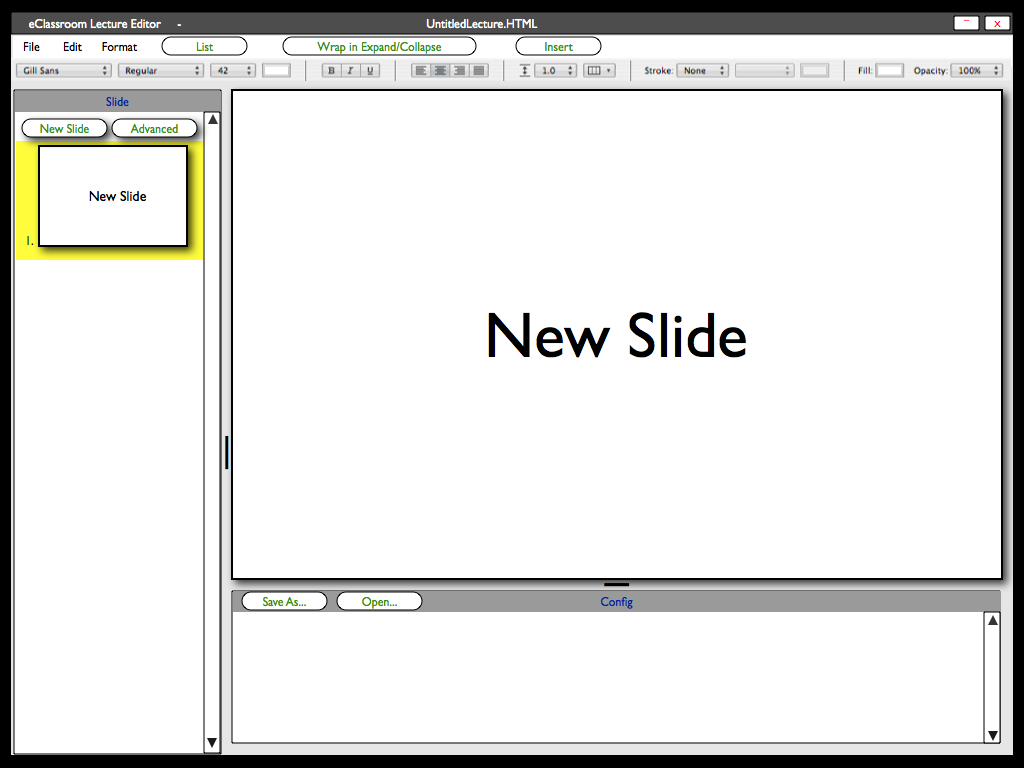
The eClassroom Lecture Editor is a platform independent, low impact editor designed to make creating lectures easy.
The editor is divided into three distinct frames: Slide Navigation, Preview, and Configuration. All three frames are opened when the lecture
editor is started. The Slide Navigation frame is located on the left hand side of the main editor window. The frame that dominates most of the
editor is the Preview frame. The preview frame displays the currently selected slide. It is also the main editing frame for each slide.
The Configuration frame is located on the bottom of the editor. It allows the user to change default configurations for each lecture.
When the user starts the editor, it loads a blank lecture with one slide. The editor also has a fully functional text editing tool bar located
underneath the 'File Menus'

Figure #5: Lecture Editor Overview.
The user can access the File menu at the top of the editor to start a New lecture, Open a saved lecture, Open a Recent lecture, Close a lecture,
Save a lecture, and Save All open lectures.
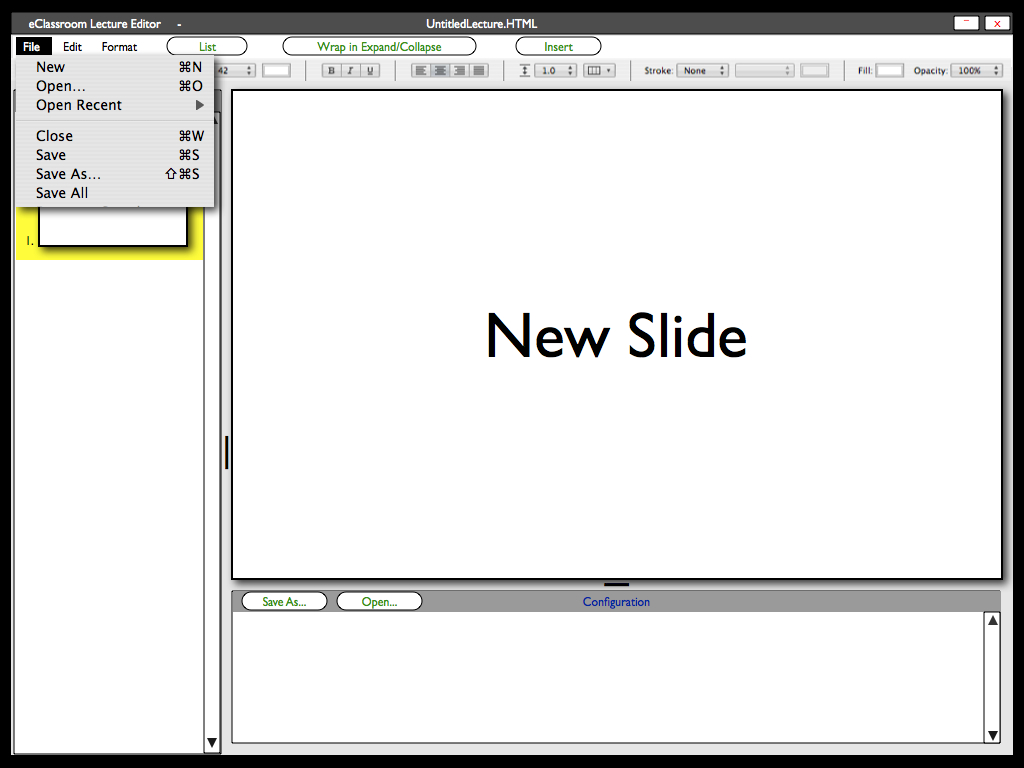
Figure #6: Lecture Editor File Menu.
The user presses the Edit menu to access various shortcuts: Undo, Redo, Cut, Copy, Paste...
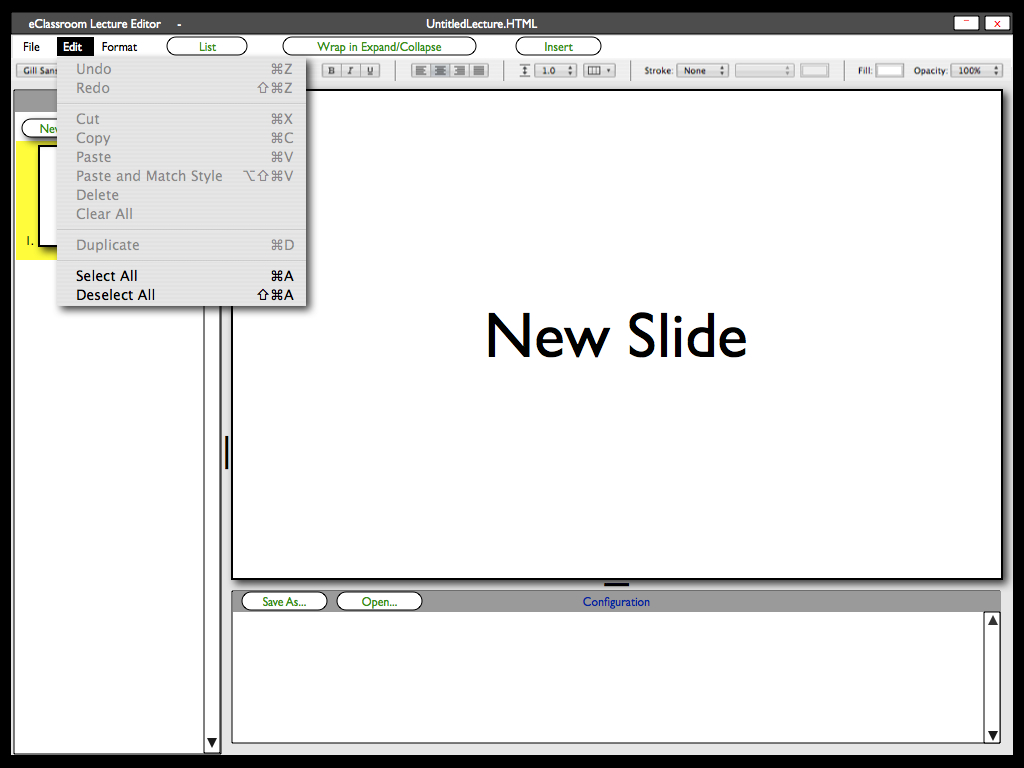
Figure #7: Lecture Editor Edit Menu.
In addition to the text editing tool bar, there is also a Format menu that the user uses to access Fonts, Text, insert Tables, Charts, and Shapes.
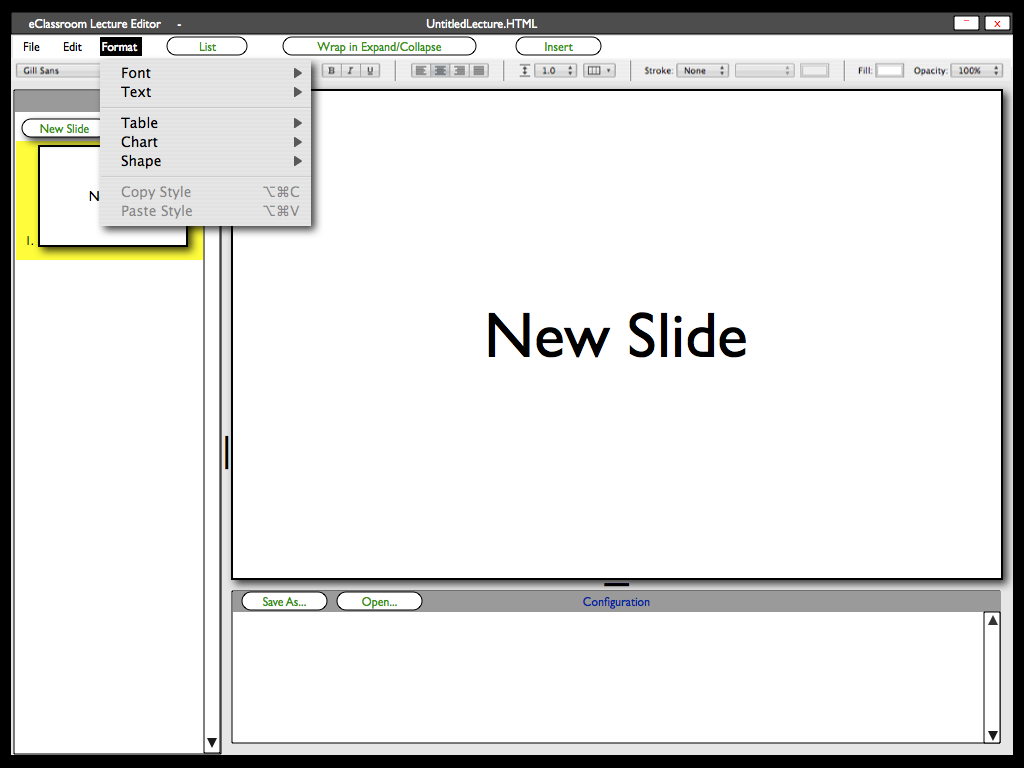
Figure #8: Lecture Editor Format Menu.
The user presses the 'New Slide' button located at the top of the Slide Navigation frame to add a new slide to the lecture. The added slide is
selected as the current slide and is highlighted by the yellow shading in the Slide Navigation frame.
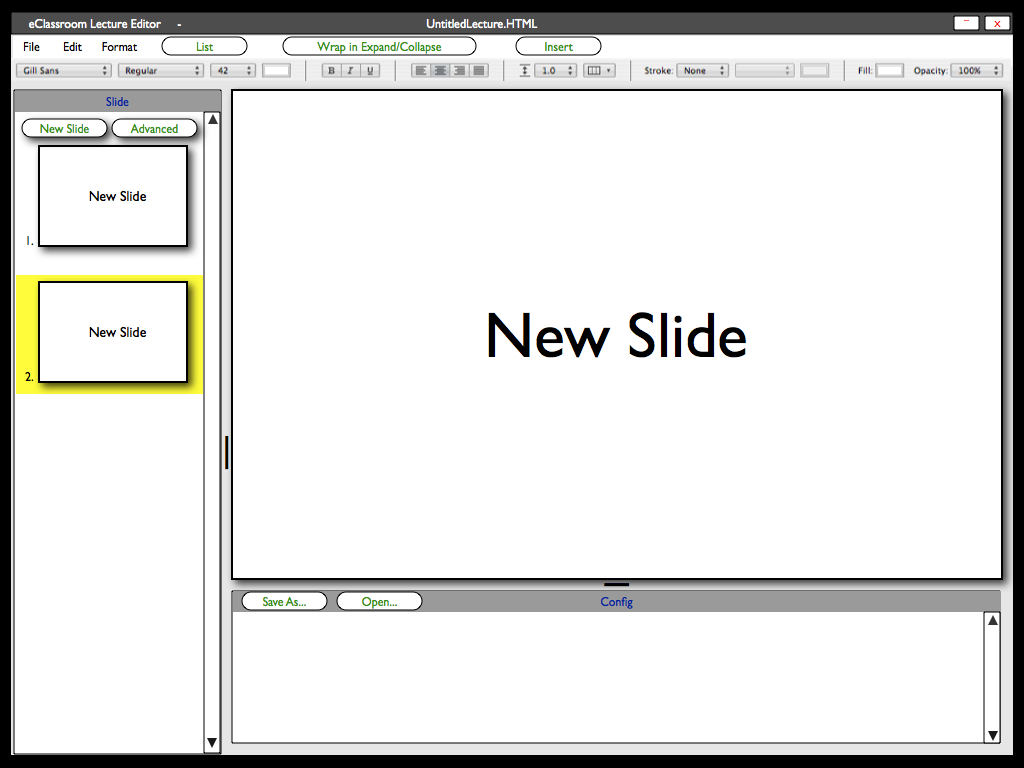
Figure #9: Lecture Editor New Slide.
The user can access the raw html that is used to render each slide by highlighting the desired slide in the Slide Navigation frame and pressing
the 'Advanced' button at the top of the Slide Navigation frame. The user presses this button and a new window appears that displays
the html.
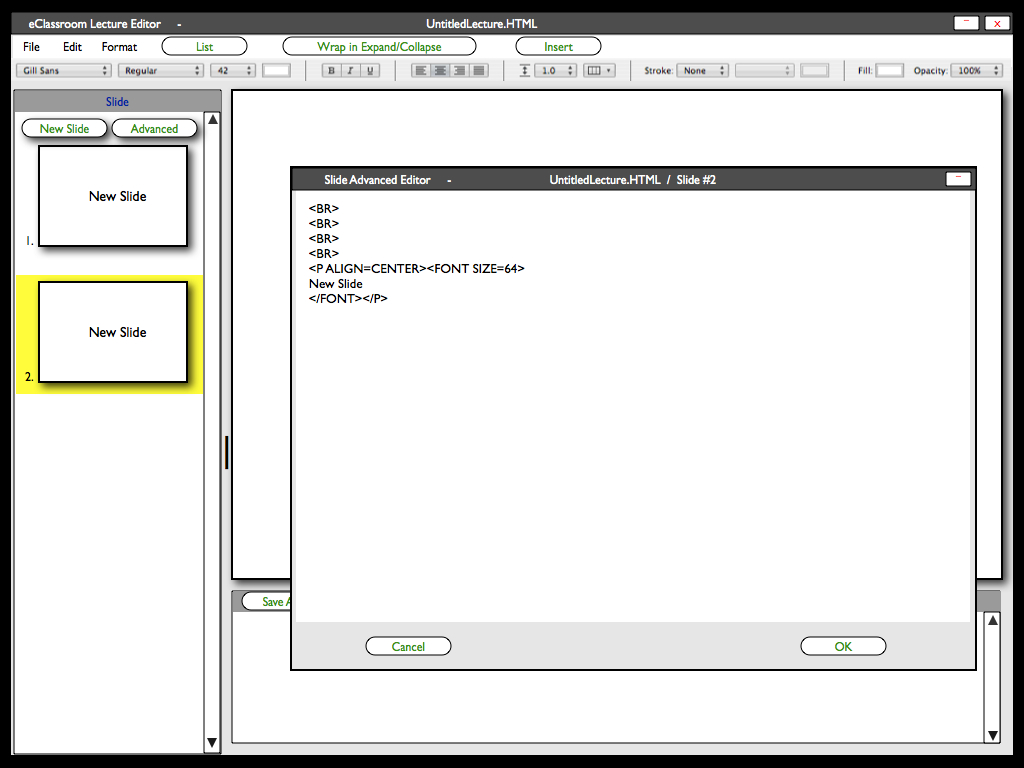
Figure #10: Lecture Editor Advanced Edit.
The user edits the html and presses 'OK' to save the changes or 'Cancel' to not.
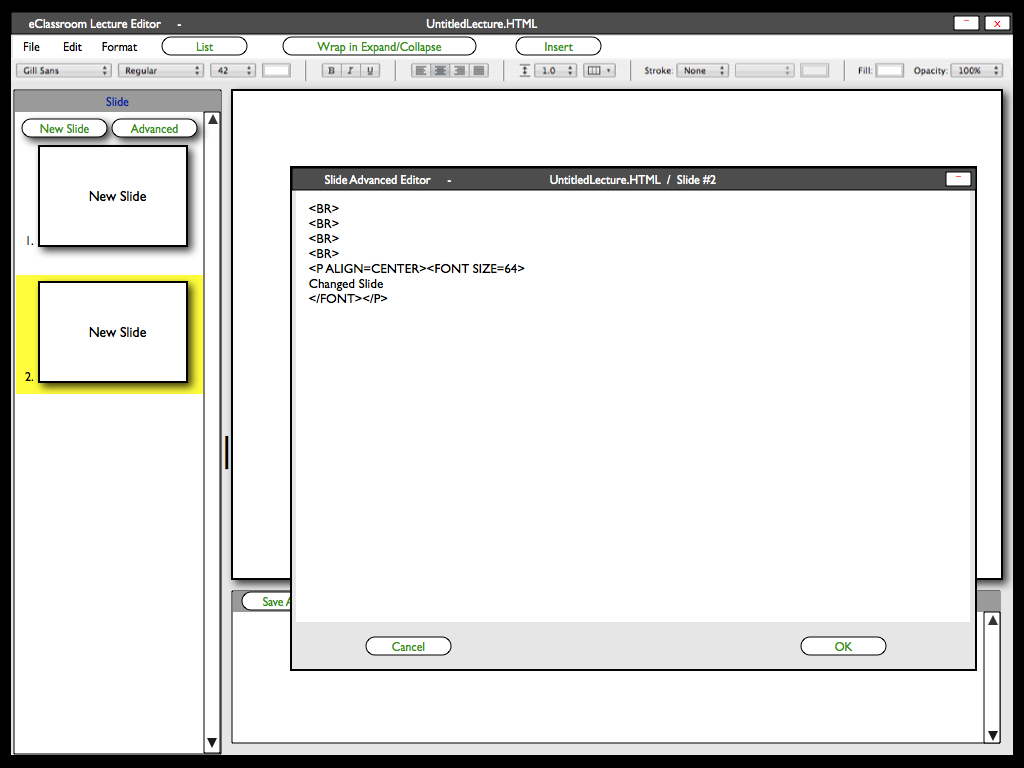
Figure #11: Lecture Editor Advanced Edit Change.
The user presses 'OK' and the window disappears and the changes are reflected on the slide.
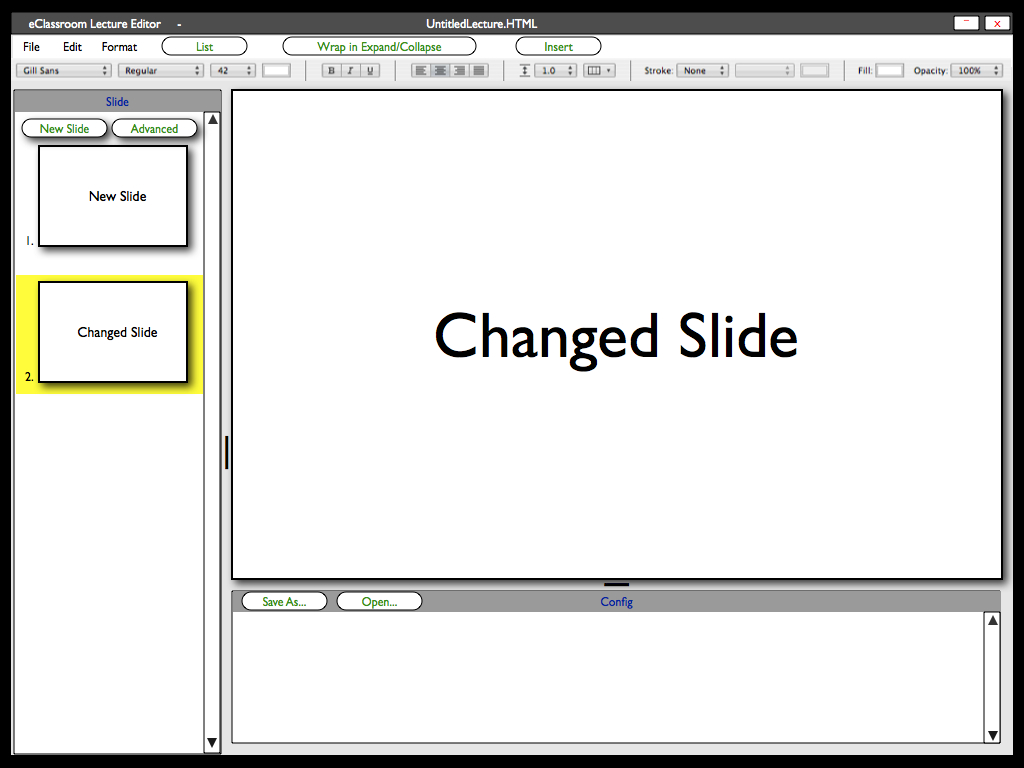
Figure #12: Lecture Editor Advanced Edit Save.
The user inputs configuration data into the Configuration frame. The user saves a configuration file to be used again by clicking the
'Save As...' button on the top of the Configuration frame. The user opens a previously made configuration file by clicking the "Open..." button
on the top of the Configuration frame.
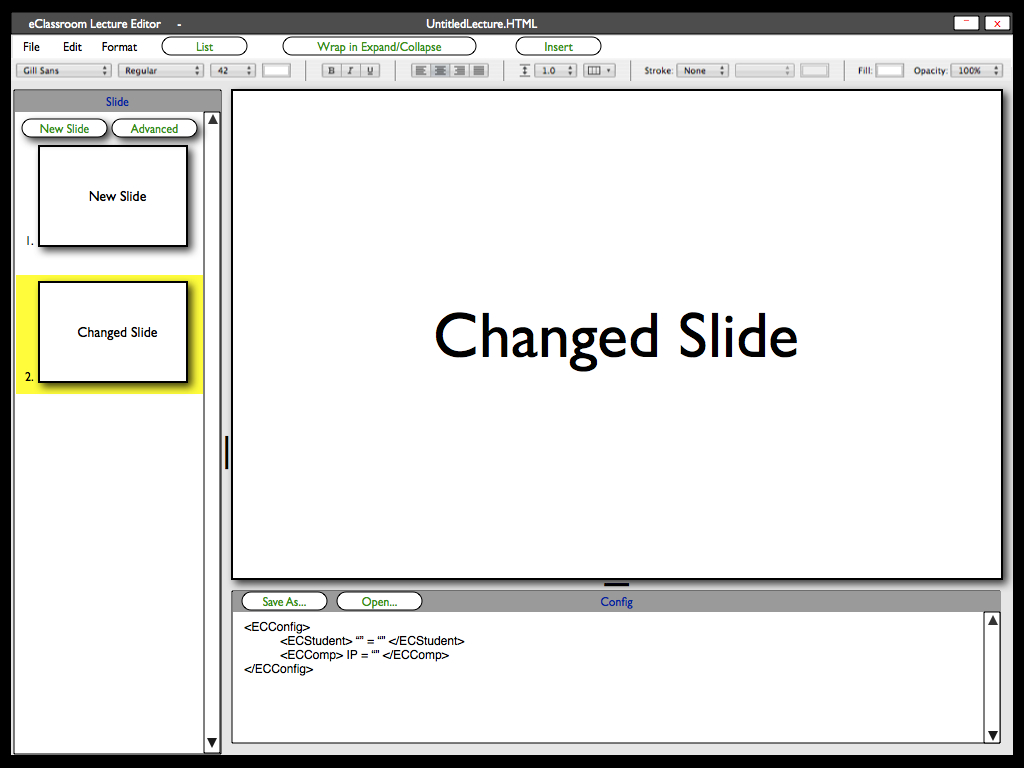
Figure #13: Lecture Editor Advanced Configuration.
The user rearranges and changes each individual frames size by clicking and dragging the black bar in between each frame.
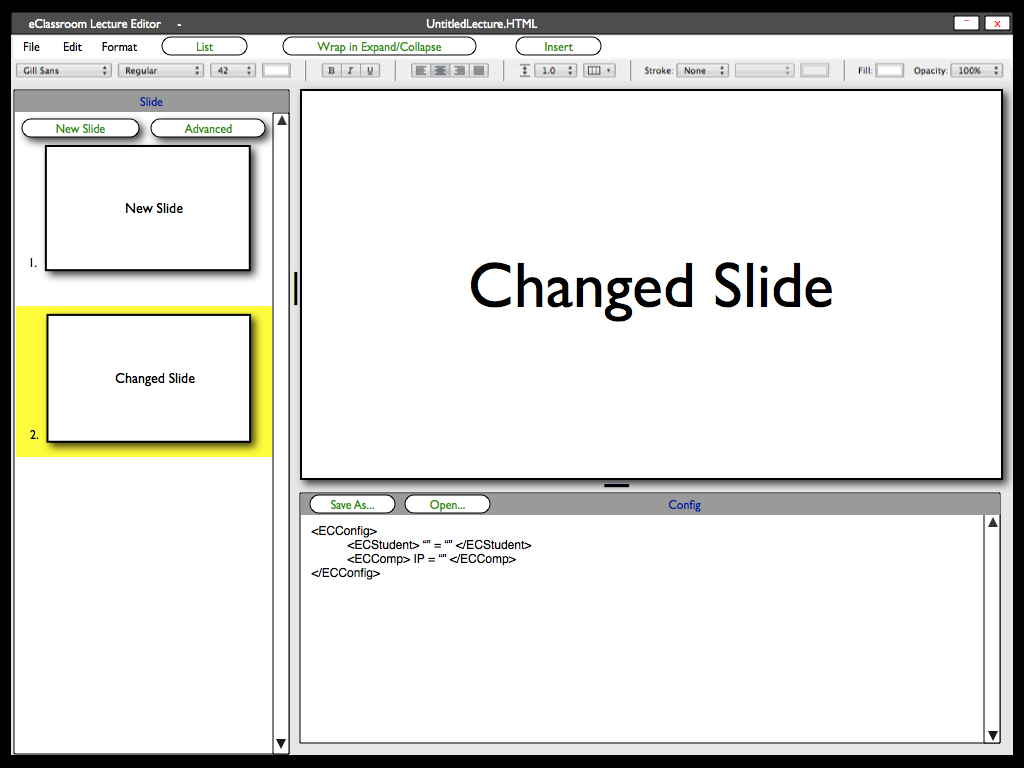
Figure #14: Lecture Editor Layout Change.