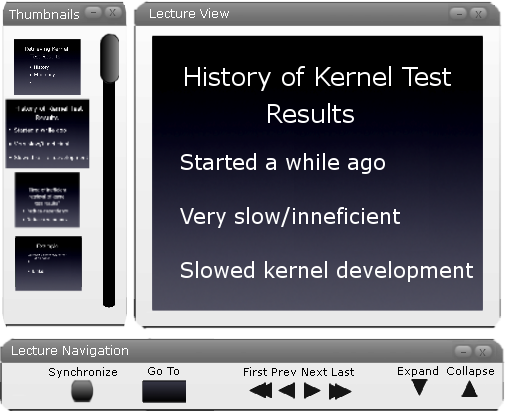
The Lecture View window, the Lecture Thumbnails window and the Lecture Navigation Toolbar contain the core of the lecture giving and viewing functions. These all appear when eClassroom is started, but can also be opened from the View menu. The Lecture View window shows a view of the current slide of the lecture along with its assosciated overlays. The Lecture Thumbnails window shows a thumbnail view of each slide and allows access to the slides by clicking a thumbnail. The Lecture Navigation toolbar provides functionality for navigating between lecture slides and expanding and collapsing lecture topics as well as unique instructor and student functions. A default view of all of these as they appear to a student on startup is below in Figure 1.

Figure 1: Lecture Viewing Window,Thumbnails Window and Lecture Navigation Window.
The Lecture Navigation toolbar is where most user interaction occurs when giving or viewing a lecture. The Lecture Navigation toolbar always contains Next, Previous, First, Last, Expand, and Collapse buttons as well as a Goto text box for navigating through a lecture. In addition, the instructor has a Lockdown button, and the student has a Synchronize button on their toolbar. Figure 2 below outlines the difference between instructor and student Lecture Navigation toolbars.
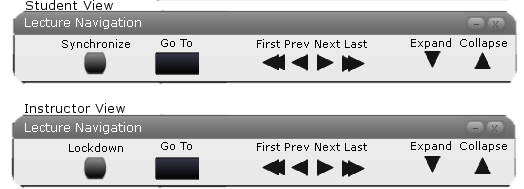
Figure 2: Instructor and Student Navigation Toolbar View.
In this scenario a student is following an instructor as the instructor gives a lecture. The student begins on slide 2 and their initial view is the same as the one above in Figure 1. The instructor begins this scenario on slide 1. To follow the instructor, the student starts by clicking the sycnchronize button. Since the instructor is on the first slide of the lecture, the student moves to the first slide of the lecture also. The student's view after synchroniztation is shown below in Figure 3.
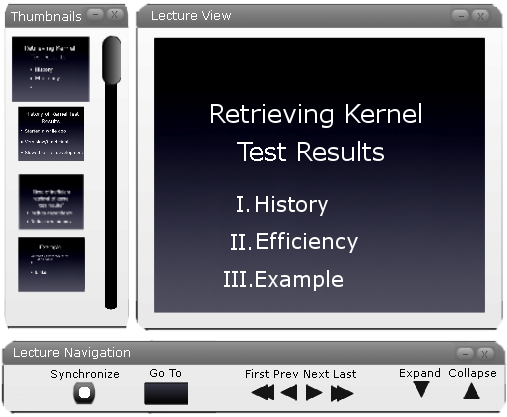
Figure 3: Student view after Synchronization.
Next, the instructor advances a slide by pressing the Next button on their Lecture Navigation toolbar. This also advances the slide of the student. Now the student is on the second slide in the lecture, which can clearly be seen in Figure 4.
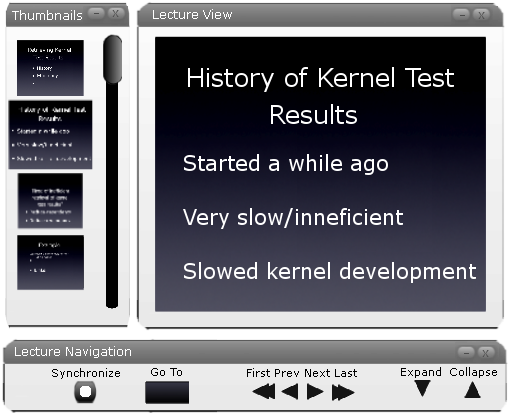
Figure 4: Student view after instructor clicks Next.
Now, the student decides to check something from the first slide. The student unchecks the Synchronize button and clicks First. This brings the student to the first slide of the lecture. The student's current view is that of Figure 5.
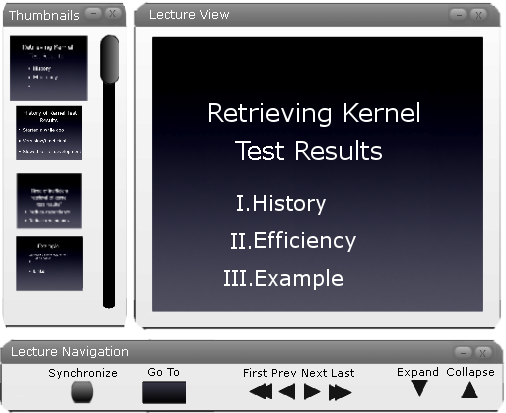
Figure 5: Student view after un-Synchronization and clicking First.
This lecture slide contains a topic that the student wants to expand. The user utilizes the Expand and Collapse buttons on the Lecture Navigation toolbar to do this. To expand a topic, the user selects the topic they are interested in by clicking on it and then clicks the Expand button. The topic expands, showing all sub-sections and giving further information. In this scenario the student clicks on History and then clicks Expand. The topics on this page are in a Roman Numeral outline format and they expand into upper-case lettered sub-sections. When the sub sections appear, they push the II and III topics off of the current slide. There are two options for how eClassroom handles this depending on whether ScrollExpand is set. ScrollExpand can be set via the "" menu on the menu bar covered in section 2.1.. In this scenario ScrollExpand is set to On. So, as the topics are pushed off of the slide, a scroll bar appears on the right side of the slide which allows the student to scroll down and view the II and III topics. The result of this expansion is demonstrated in Figure 6.
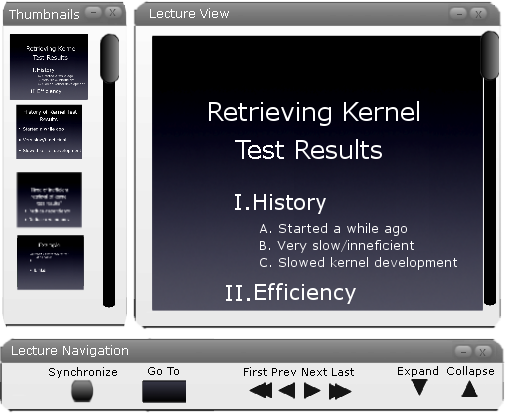
Figure 6: Student view after expanding History.
If ScrollExpand was set to Off, when the Expand button was clicked the slide would split into two sub slides. The topics that are cut off would be accessed via the Next button (or other navigation functions) the same way as the next slide in the lecture. To demonstrate, the student view after clicking Expand with ScrollExpand set to Off is displayed in Figure 7.
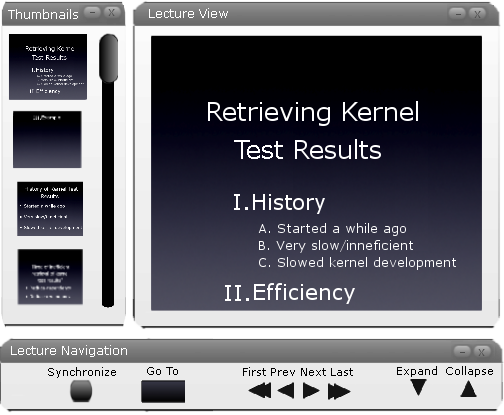
Figure 7: Student view after expanding History with ScrollExpand set to Off.
After reviewing the first slide, the student wants to skip ahead to the last slide to see what's next in the lecture. The student clicks the Last button on the Lecture Navigation toolbar and is switched to the last slide of the lecture. The student's view after the switch is shown in Figure 8.
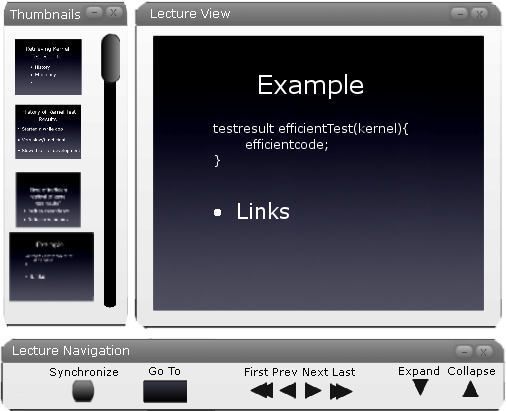
Figure 8: Student view after clicking Last.
The student continues by moving backward through the lecture by clicking the Previous button. This moves the student to the third slide of the lecture. The student's view is displayed in Figure 9.
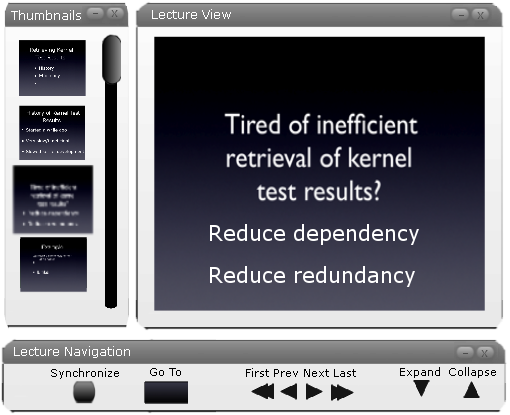
Figure 9: Student view after clicking Previous.
The student then moves back to slide two by using the Goto box. The student clicks inside of the Goto textbox and types 2, then presses enter. This moves the student directly to slide two. Figure 10 shows the current view of the student.

Figure 10: Student view after Goto.
Next, the instructor takes over the lecture to show the student an example. The instructor begins by clicking the Lockdown button on their Lecture Navigation toolbar. A view of the instructor's Lecture Navigation toolbar with the Lockdown button checked is displayed in Figure 11.

Figure 11: Instructor Lecture Navigation toolbar after lockdown.
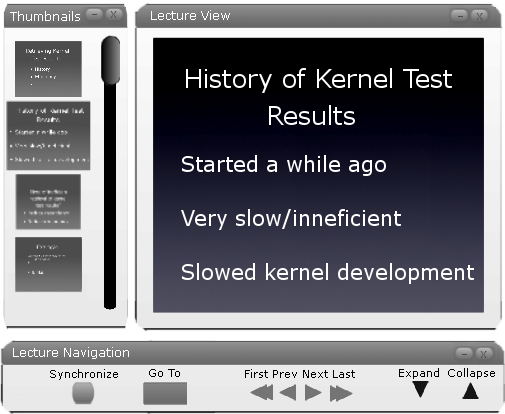
Figure 12: Student view after Lockdown.
The example the instructor wants to show is on the last slide. The instructor decides to use the Thumbnails window to move to the last slide. The Thumbnails window is a scroll box containing thumbnails of each of the lecture slides. The current slide is slightly larger than the others. When the user clicks any slide in the Thumbnails window, they immediately jump to that slide. In this scenario the instructor clicks the last slide, which is at the bottom of the scroll box. The instructor's view and the view of the student are moved to the last slide. A side by side view of both instructor and student views is shown below in Figure 13.
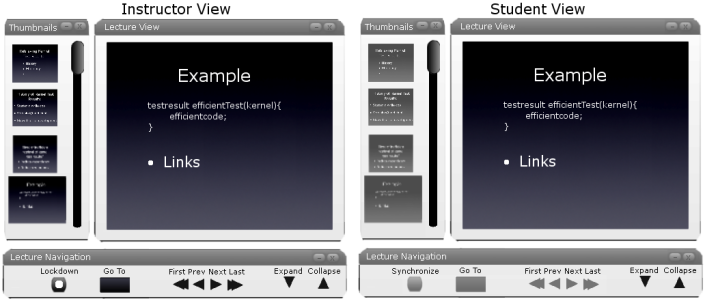
Figure 13: Slide 4 Instructor and Student view comparison.
After showing the example on the last slide the instructor frees the student by clicking the Lockdown button again. The student stays on the last slide and regains all of their navigation functions. The student decides to expand Links to get more information. The student clicks the Links topic and then clicks Expand. Because the Links topic uses a bullet format, the topic expands into text without sub sections. The result of this expansion is displayed in Figure 14.
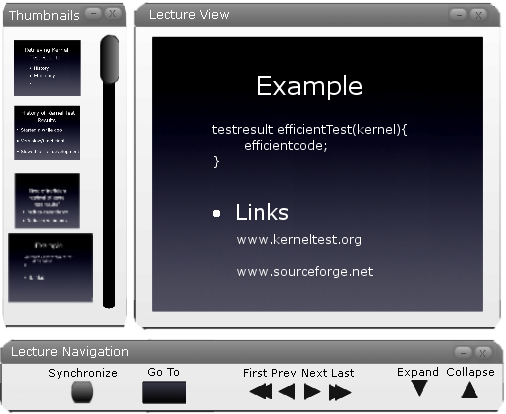
Figure 14: Student view after expanding Links on Slide 4.
After expanding the topic the student highlights "www.kerneltest.org" using the drawing tools described in 2.6. The student's view of the last slide after highlighting is displayed in Figure 15.
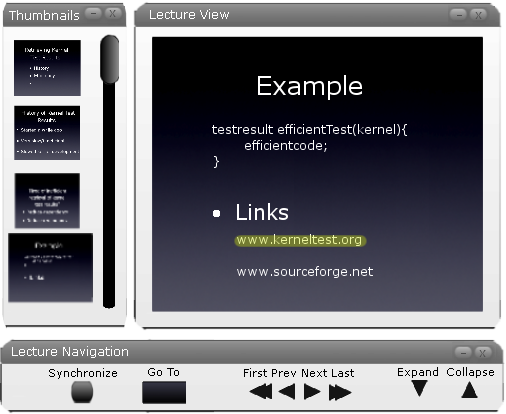
Figure 15: Student view after highlighting.
The student then collapses "Links" by clicking on it and then clicking Collapse. The highlighting and the content opened by expanding disappear and the student's view is now the same as in Figure 8 above.