The user uses the Create, Rename, and Delete buttons at the top of the Overlay Navigation window to manage the list of overlays in the Overlay scroll box. By default each lecture slide has a Public overlay at the top of the Overlay scroll box that is visible to the entire class. The layout of the Create, Rename, and Delete buttons and the Overlay scroll box were presented in Figure 1 of section 2.5. Figure 1 of section 2.5. is also the starting point for this scenario.
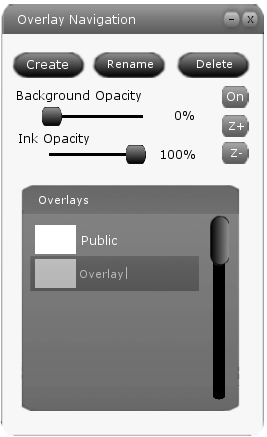
The user clicks on the Create button to start creating a new overlay. Overlays created in this way are private and can be viewed only by the creator. The result of clicking the Create button is shown in Figure 1 below.

Figure 1: Creating a new overlay.
A new overlay appears one step above the currently selected overlay, which is Public. The new overlay becomes the selected overlay and is given a default name of Overlay. A cursor appears at the end of the name of "Overlay" allowing the user to change its name. The user then enters the name "New Overlay" and presses the enter key to confirm the name. The Overlay Navigation window after creating "New Overlay" is shown in Figure 2.
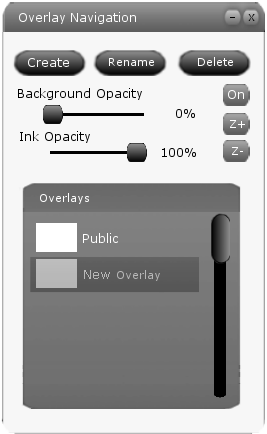
Figure 2: New Overlay created.
The user adds a few additional overlays to work with by clicking the Create button and pressing enter a few times. This quickly creates several overlays above "New Overlay", and each has a default name. Since overlays can't have the same name, each default overlay beyond the first has a number at the end of its name. This default naming scheme can be clearly seen in Figure 3.
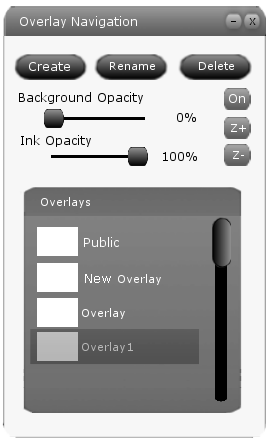
Figure 3: Multiple new overlays created.
The user renames an overlay with the Rename button. In this scenario the user renames "New Overlay". The user first selects "New Overlay" by clicking on it. Then, by clicking the Rename button, a cursor appears at the end of the name of "New Overlay", similar to when creating an overlay. The user moves the cursor using the arrow keys, then presses backspace to delete the word "New ". The user then presses enter to confirm the new name of the layer. The result of this is displayed in Figure 4.
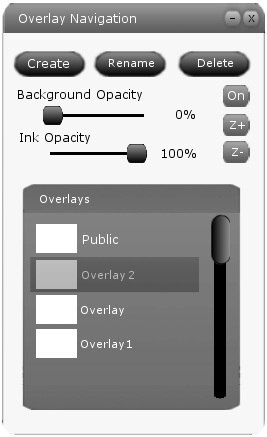
Figure 4: Overlays after rename.
Since this name is already taken by another overlay, the overlay is renamed "Overlay 2". The user cannot rename the Public overlay.
The user clicks the Delete button to delete the current overlay. In this scenario the user selects "Overlay 2", then clicks Delete. The result of this action can be seen below in Figure 5.
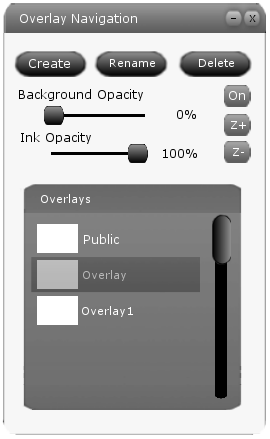
Figure 5: Overlays after delete.
This destroys the selected overlay completey and removes it from the Overlay scroll box. If the user wants to get it back they must use the undo function. The user cannot delete the Public overlay.